You can see the VLOG to the BLOG at the bottom of the page or you can reach it via this button:
In my opinion, you have three options:
Whatever you choose is your decision and your form of photographic expression. Still, I’d like to share a few reasons with you for why I choose certain shutter speeds.
When photographing large, majestic waterfalls (such as Skógafoss in Iceland or Múlafossur in the Faroe Islands), a short exposure time can help capture the power of the water as it plunges down such a massive cascade. This is especially effective when paired with a second element (a person, a bird, etc.) that further highlights the scale and size of the waterfall.
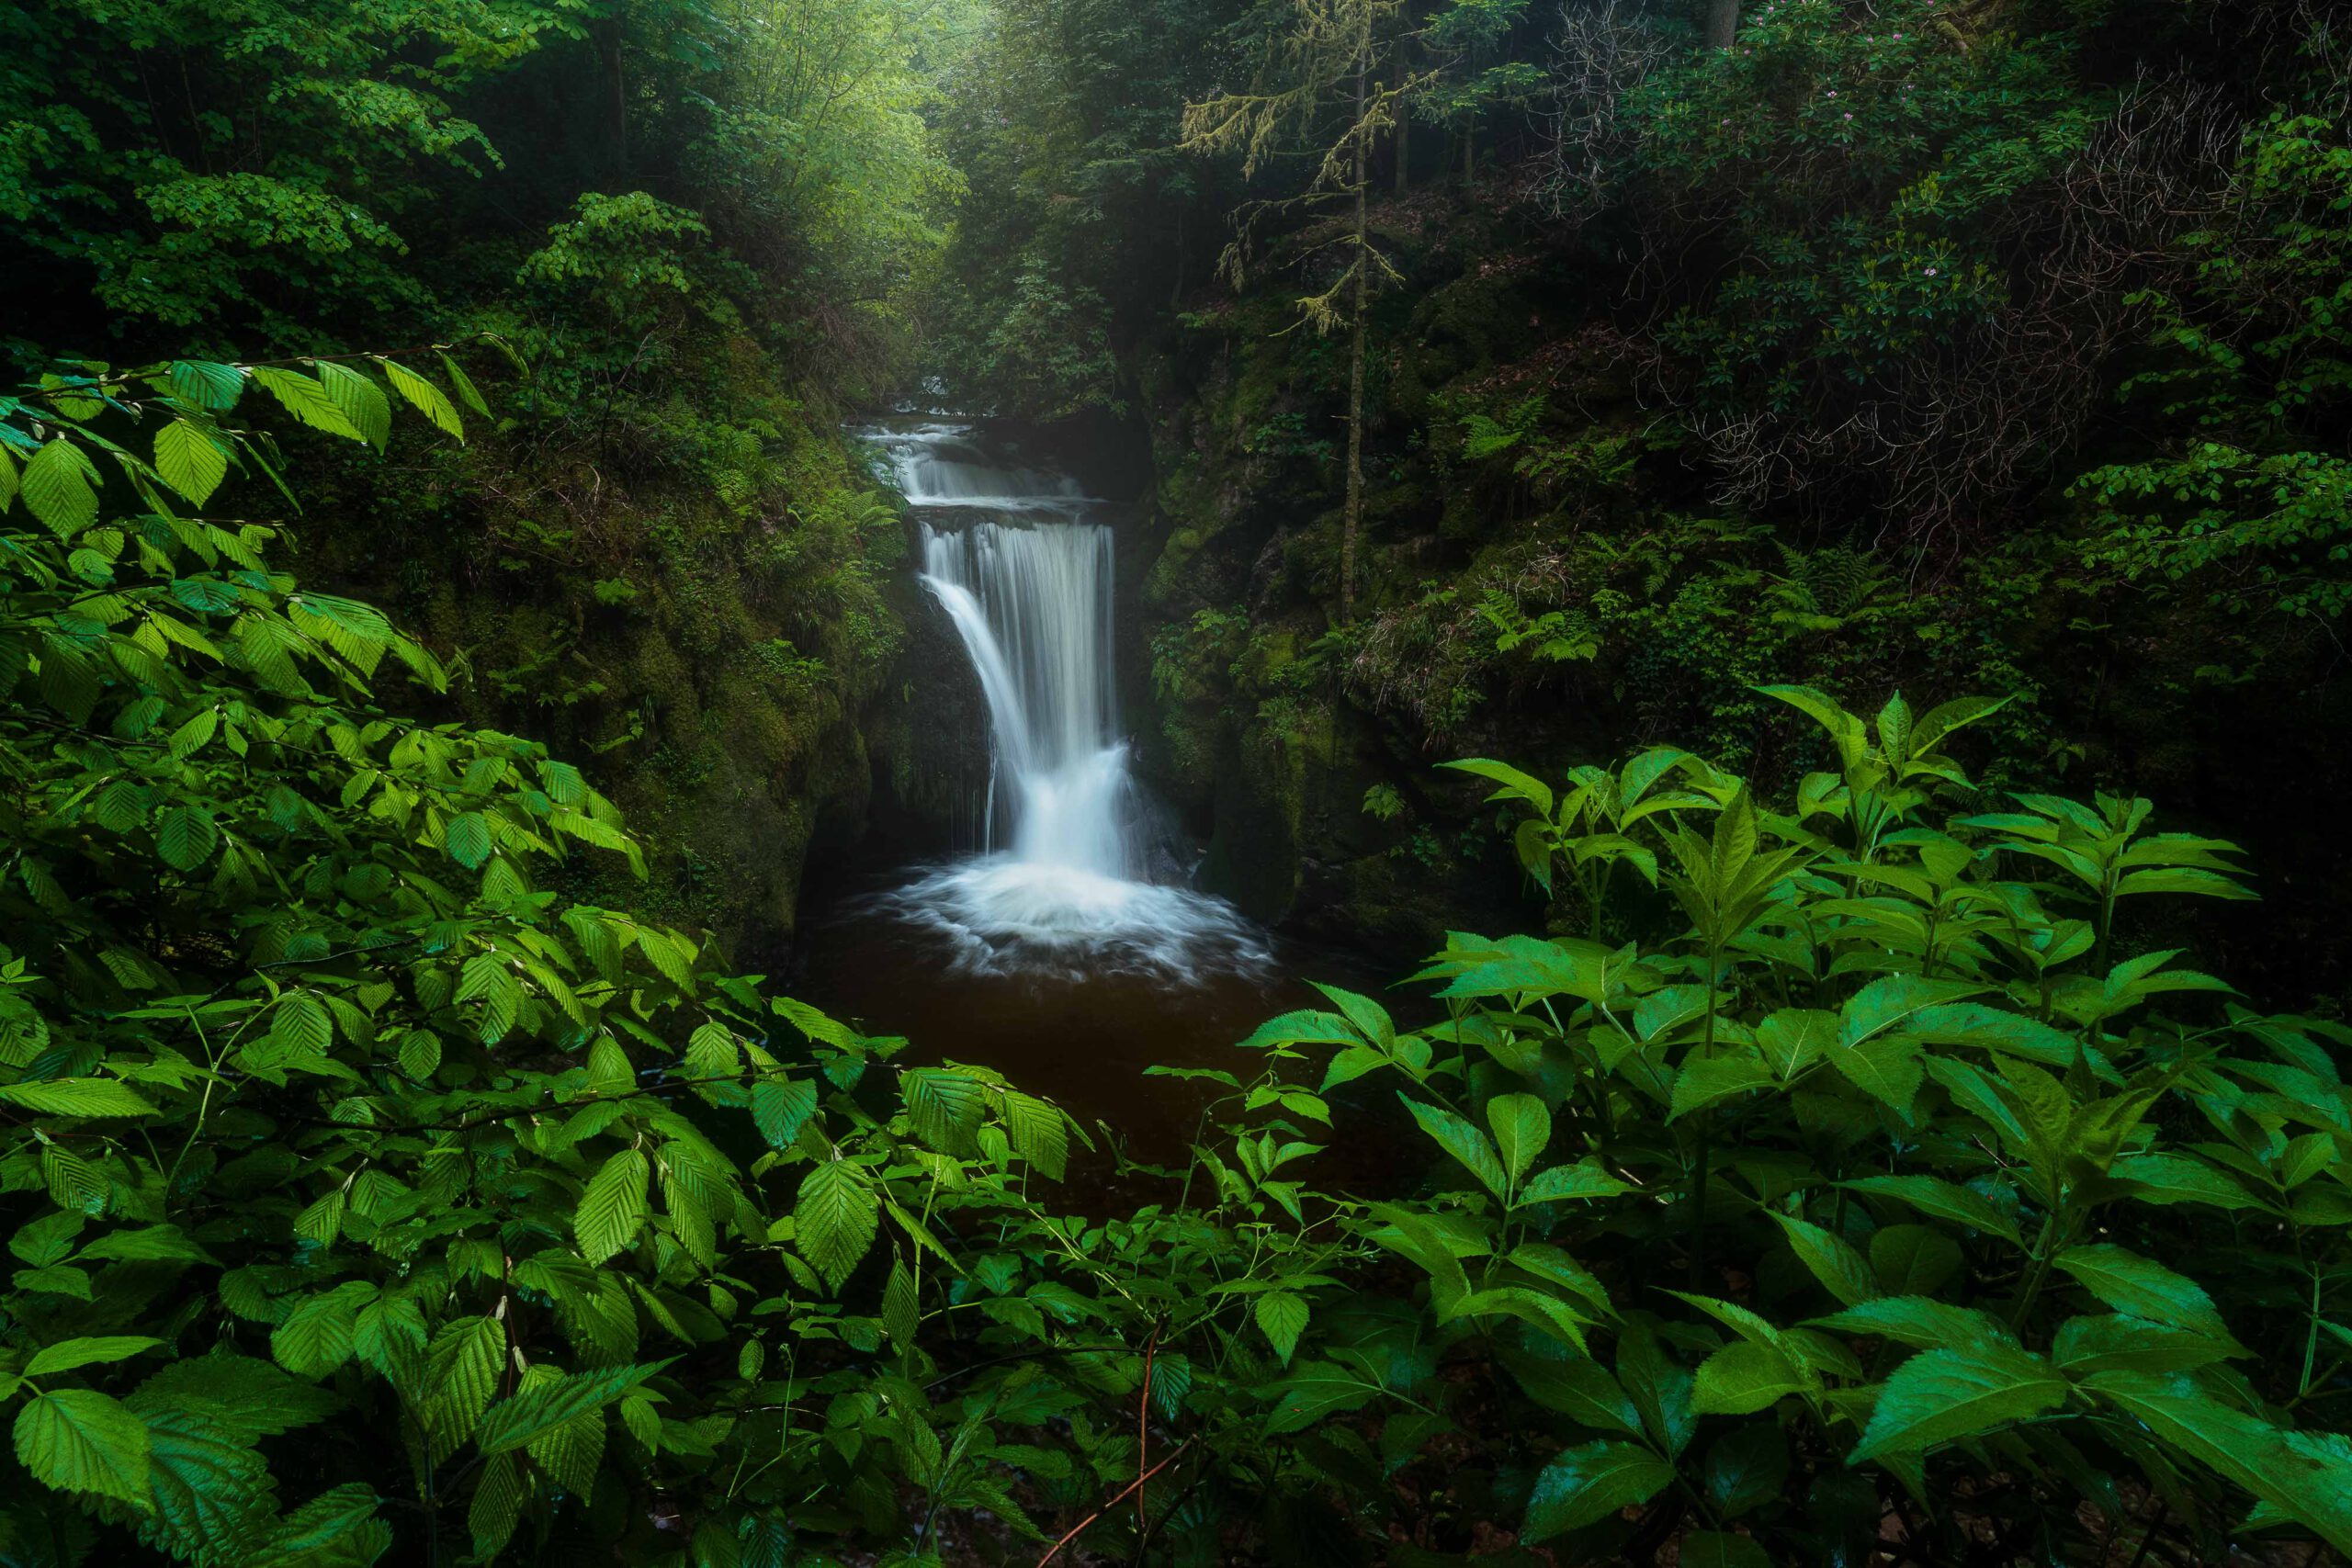
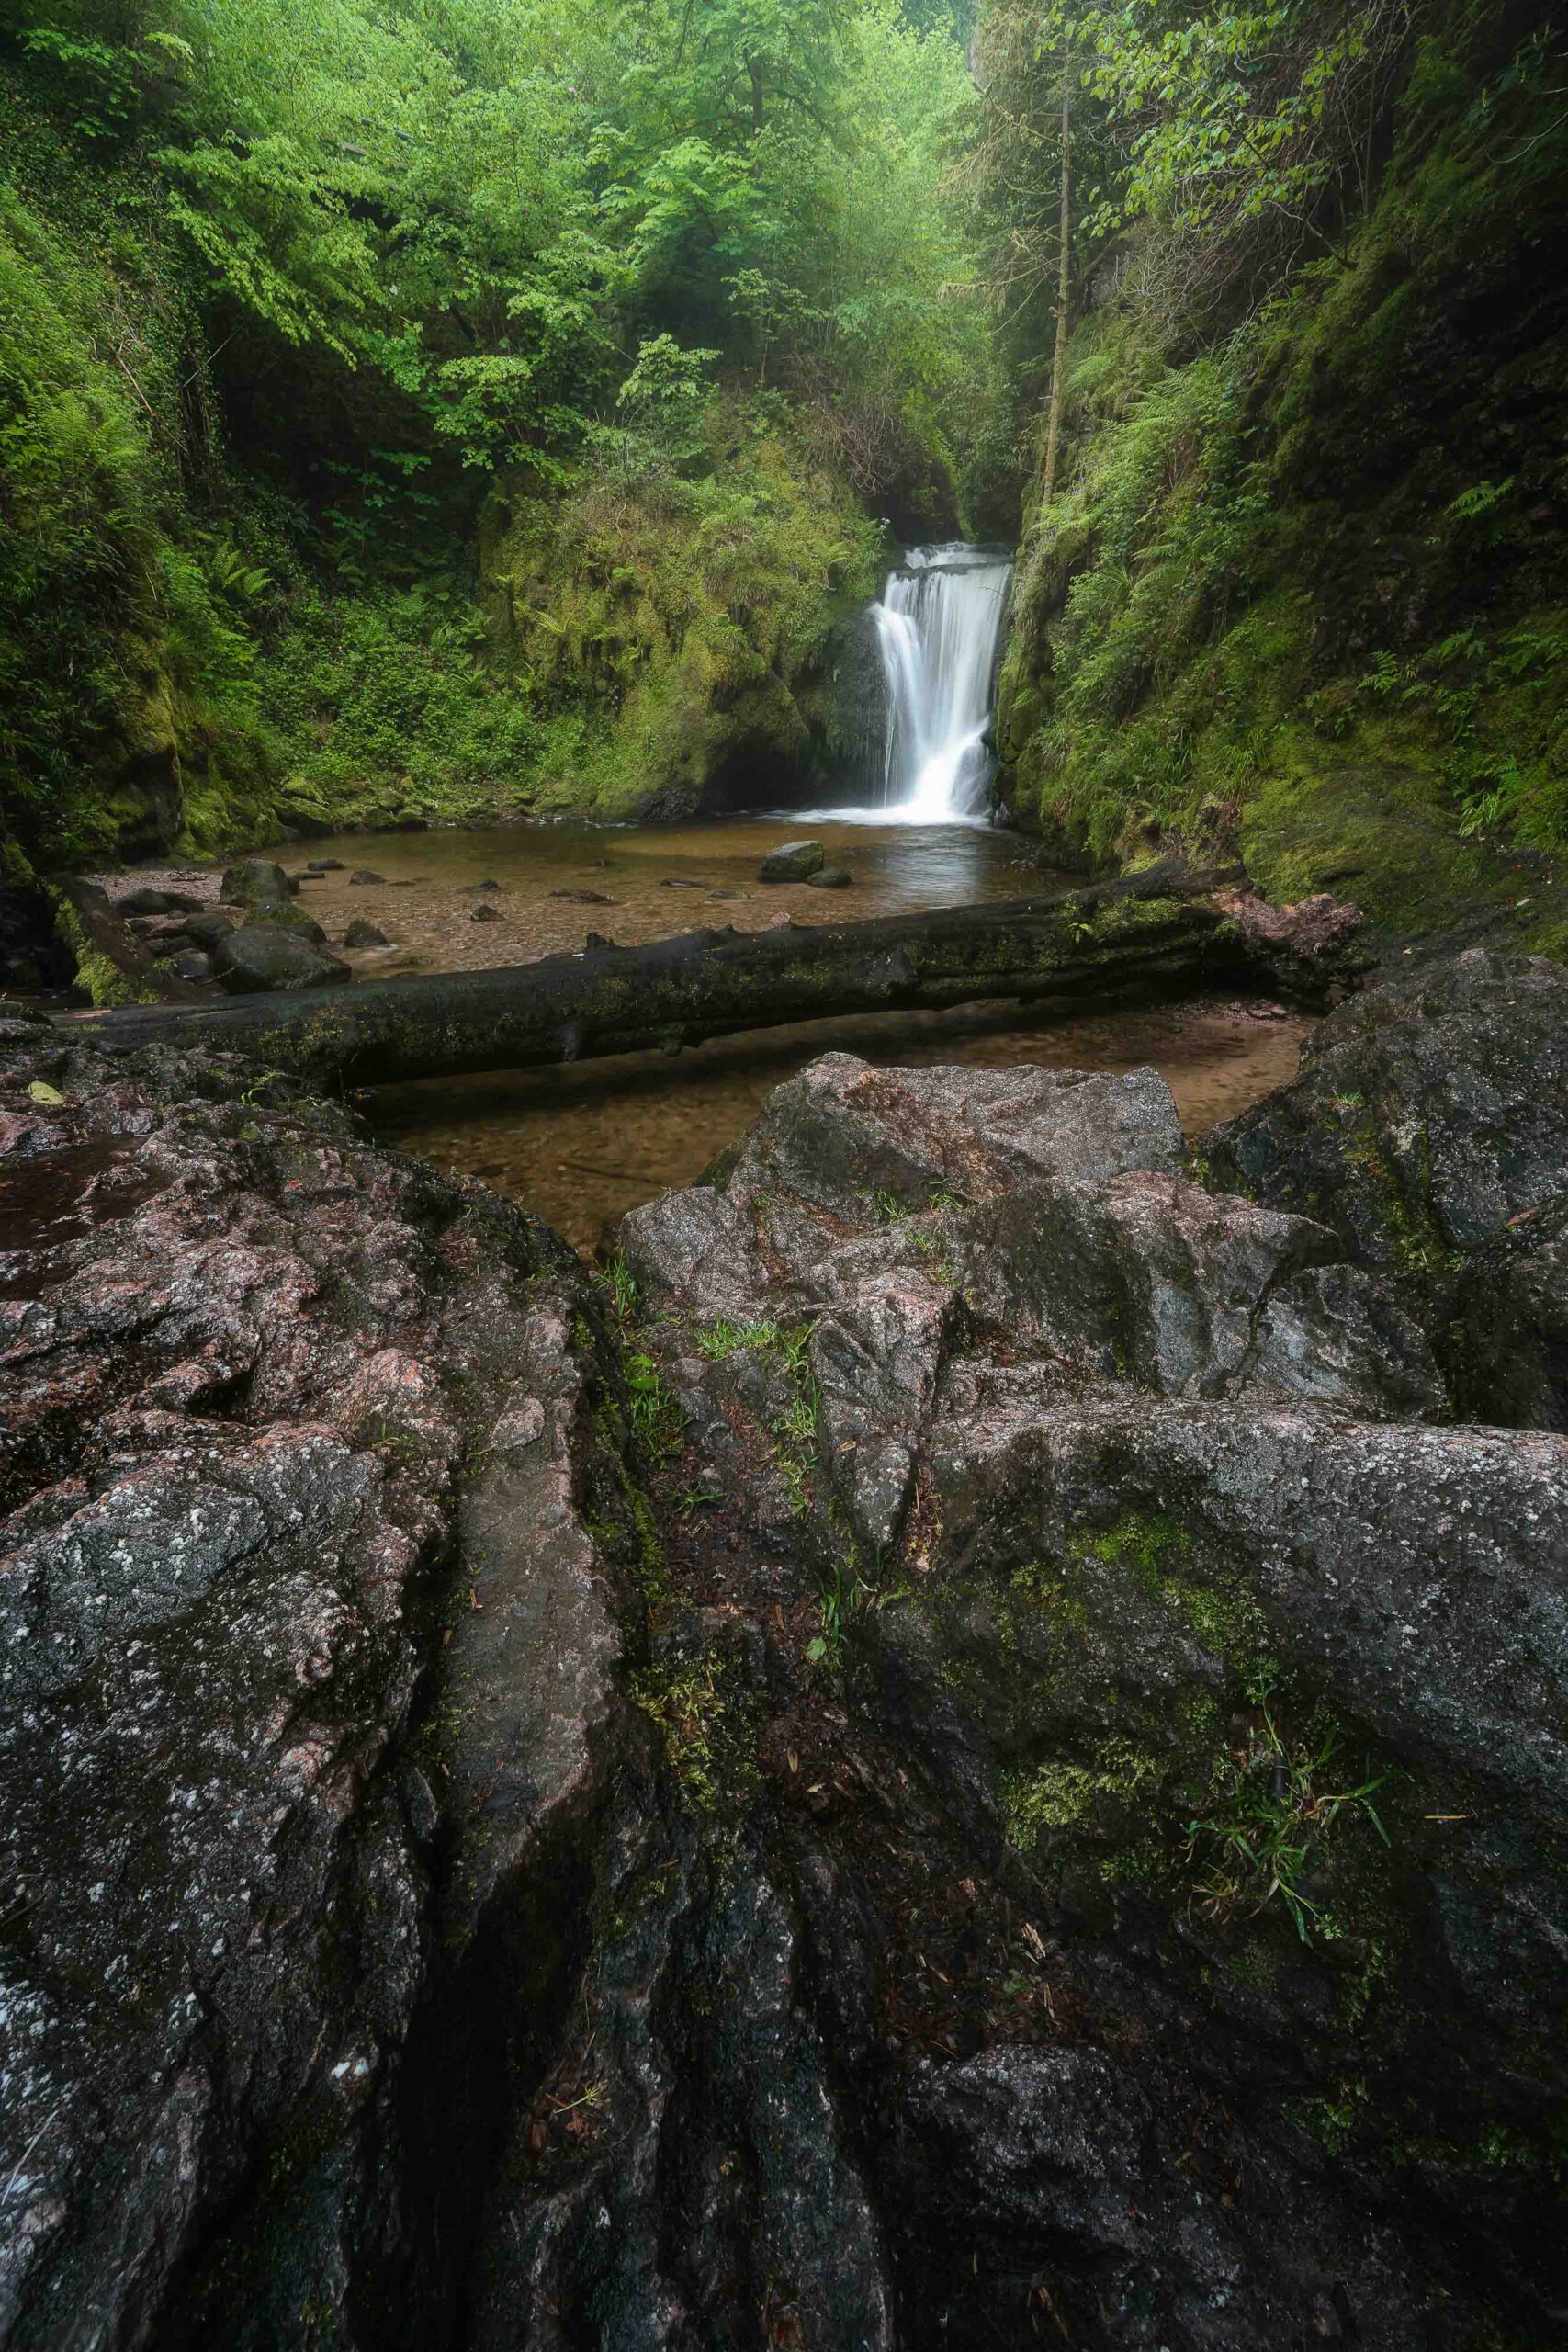
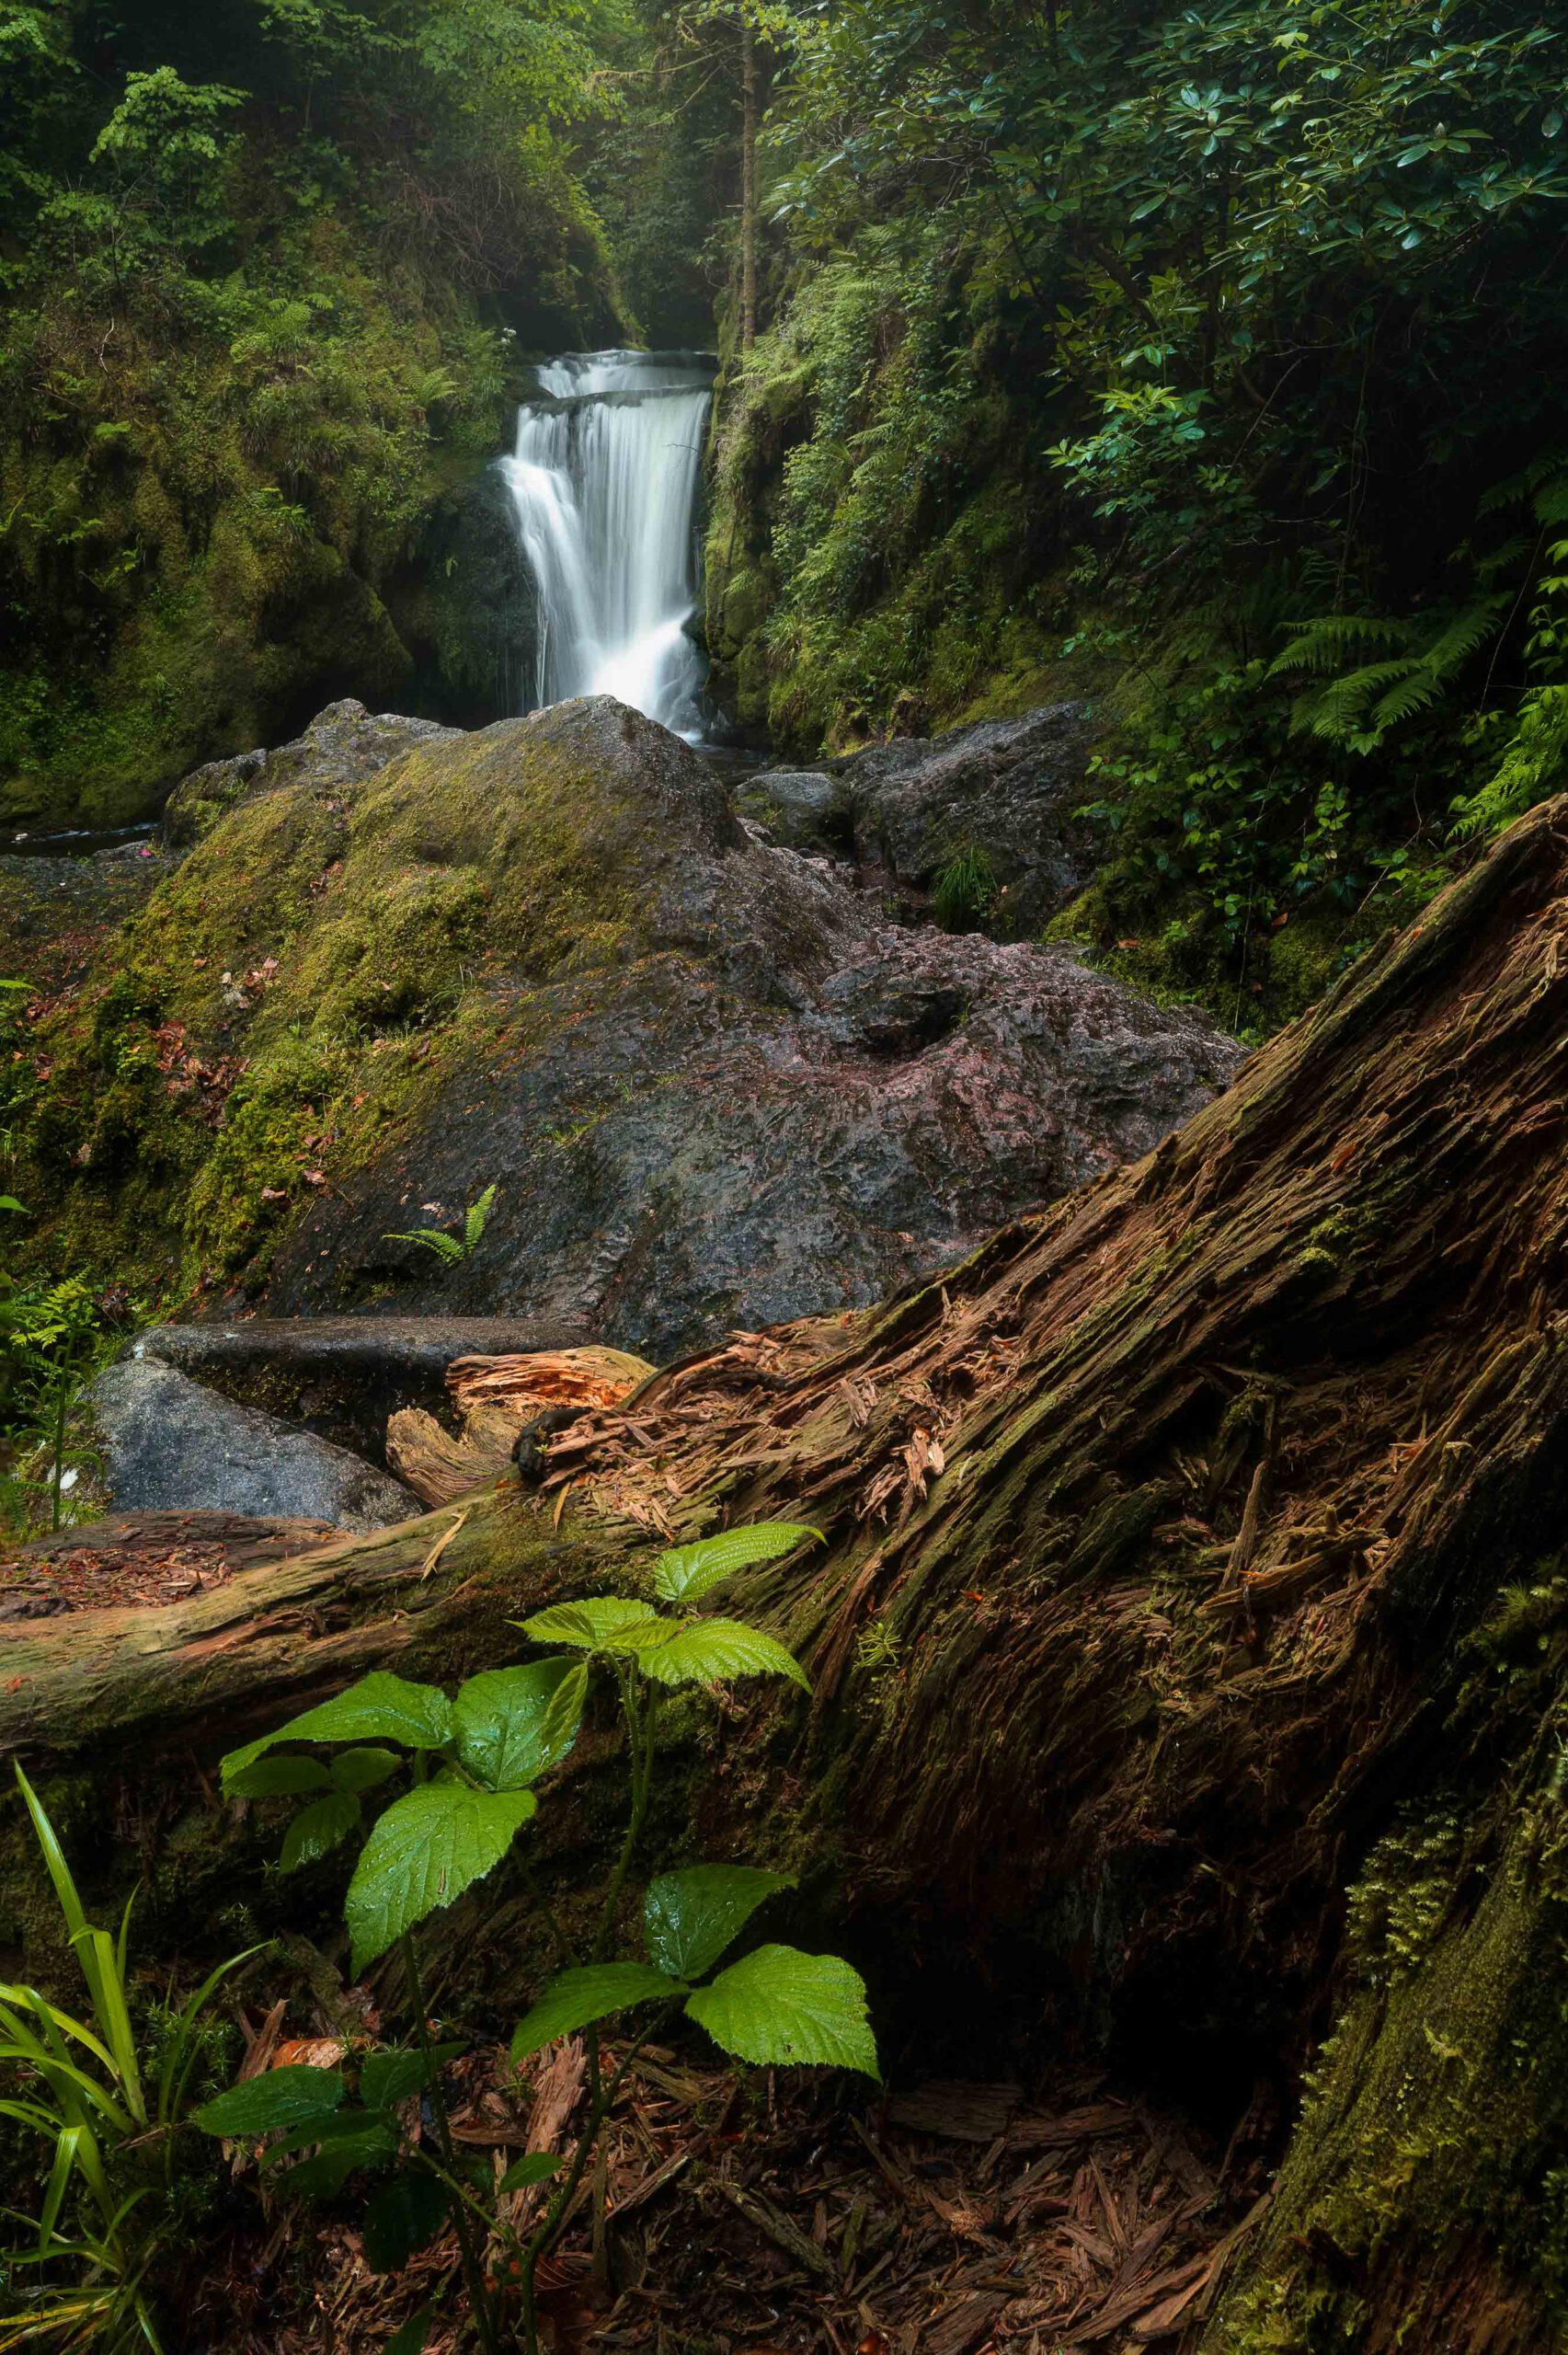
A medium exposure time—usually between 0.1 s and 1 s—is what I aim for most often when photographing waterfalls, especially the medium-sized ones in the Black Forest. For my taste, this is the sweet spot between smooth water and still-visible texture. The exact exposure time depends a bit on the distance to the waterfall and the focal length I’ve chosen. If I’m closer to the waterfall or zooming in further, I might use a slightly longer exposure; if I’m farther away or shooting with a wider angle, I might use a slightly shorter one. This is because when the waterfall appears “smaller” in the photo, the water needs more time to travel a greater distance (i.e., the number of pixels on the sensor). If we’re closer, even a distance of just a few centimeters traveled by the water can mean it covers more than half the sensor in pixels.
I rarely use extremely long exposure times—such as over 5 seconds—but I know there are many photographers who love that silky-smooth, artistically rendered look of water. This effect simplifies an image, makes it appear calmer, and is therefore also suitable for more minimalist, clearly structured waterfall photos. For these long exposure times, use a neutral density filter if necessary and set the ISO as low as possible.
Otherwise, in waterfall photography, ISO and aperture are just means to an end for me—they’re simply tools I use to achieve the desired shutter speed. If I need ISO 400, I use it. If everything is in focus at f/11, then I just use f/11.
Waterfall photography can get pretty wet. Rocks, deadwood, water, plants—all of these reflect the bright light coming from above, causing you to lose contrast and color very quickly. That’s why, in most cases, a circular polarizing filter (*) is essential for waterfall photography. This removes the stray light from reflective surfaces, allowing you to restore the true colors of the subject. You can see the effect immediately in your camera’s Live View and, if needed, adjust the amount of reflection to your liking.
For long exposure times, you’ll also need an ND filter. This generally reduces the amount of light entering your camera, allowing for a longer exposure time. If you’re serious about waterfall photography, I recommend getting a high-quality filter set (*) consisting of 2–3 neutral density filters and a circular polarizing filter. First, they’ll last you a long time; second, high-quality filters don’t distort color reproduction but preserve accurate colors, even in dense gray conditions. When purchasing, make sure to buy the filter size that fits your largest lens, and for smaller lenses, use more affordable step-up rings (*) to work with.
Additional filters, such as dust filters or similar, are not necessary. You can easily recreate these effects in Lightroom, Photoshop, or Luminar Neo with just a few clicks. In my opinion, that’s money you could put to better use elsewhere.
Other important gadgets for waterfall photography are tripod (*), microfiber wipes (*) and maybe a rain coverfor camera and lens, if you want to get really close.
If you would like to try or buy Luminar Neo yourself, you can use the code ‘Sphoto10´ to save an additional 10% on Luminar Neo!
Click here for Luminar Neo (*)
In addition to your equipment, the use of filters, and the right settings to achieve the desired result, there is, of course, one more thing you should definitely keep in mind when it comes to waterfall photography: the weather.
In general, it’s best to shoot in haze, fog, light rain, or under thick cloud cover. This ensures even lighting across the scene, avoiding harsh highlights or deep shadows. Plus, in this kind of weather, you can spend the whole day photographing waterfalls.
Once the sun comes into play, things get more difficult. So, especially as a beginner, I’d recommend avoiding this situation at first. However, with the help of smartphone apps like Photo-Pills and its Live View feature, you can plan exactly what you want to do. If you want the sun in the frame, I recommend scouting the location in advance and deciding on a composition, then using your smartphone to find out the time of year and time of day when the sun is in the right position and marking that on your calendar. When a sunny day comes along, it’s best to be there. Use a closed aperture for a sun star and, if necessary, use a bracketed exposure (HRD), and you’ll be good to go. Keep in mind, though, that the vegetation changes over the course of the year.
You should also check the weather forecast for wind, especially if there’s a lot of greenery around your waterfall. If it’s too windy, it’s generally best to avoid the forest. But even a light breeze can make things extremely difficult, since the leaves are constantly moving. You may need to take several shots, which you can then composite in Photoshop. Use short exposure times for the leaves and long ones for the water. When composing the shot, make sure to keep these elements well separated; otherwise, you’ll have a really hard time during post-processing!
When composing a shot, use layers (foreground, middle ground, background), leading lines, or natural frames. Trees that run across the frame can disrupt the composition; be sure to integrate them harmoniously into the shot so that they don’t draw the viewer’s eye away from the subject. Capture the viewer’s interest with an engaging foreground and guide their gaze toward the main subject: the waterfall.
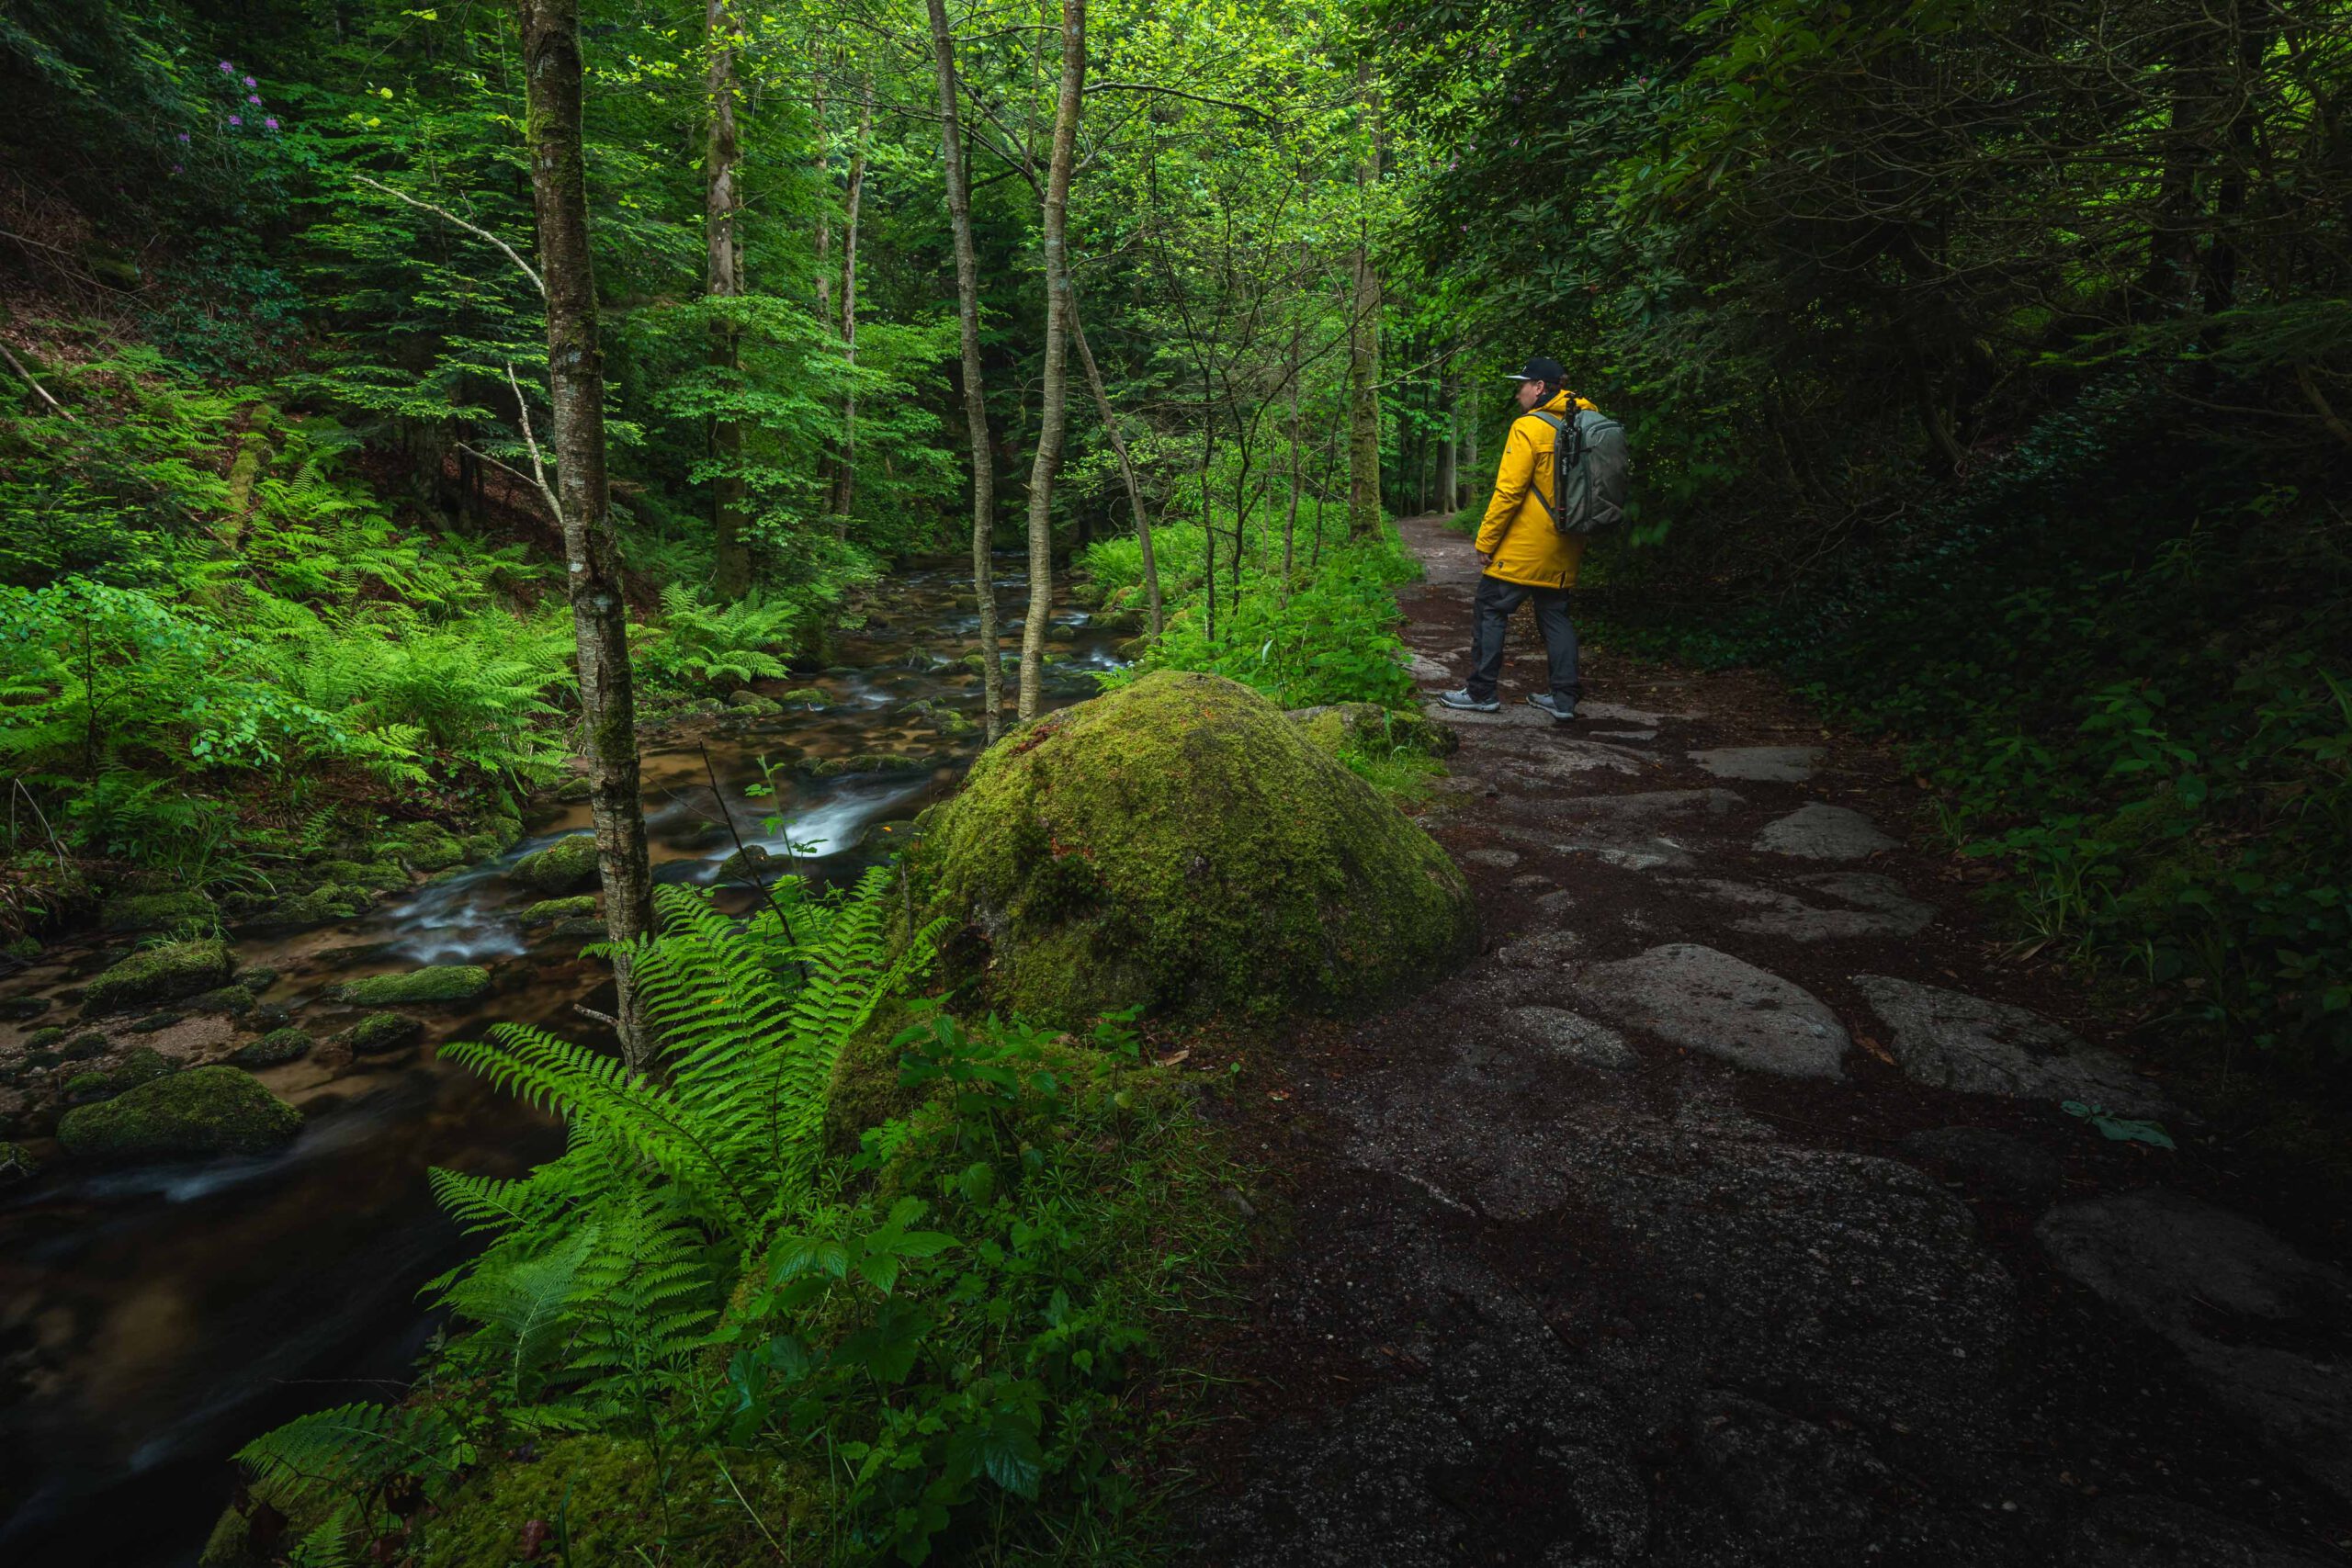
The Black Forest offers small and large waterfalls at almost every turn, from south to north. Enough to keep you thoroughly occupied with waterfall photography for quite some time. Its dense, almost dark vegetation blocks out the sun for long stretches, so that good conditions for waterfall photography can actually be found almost daily and throughout the entire year. If conditions aren’t right at one spot, you can usually reach another waterfall within 30 minutes. So even as a beginner, you can quickly correct many misjudgments. Even smaller streams on the steep slopes of the Black Forest frequently offer beautiful rapids where you can experiment with shutter speed and composition. What other reasons make the Black Forest the perfect waterfall photography mecca? Feel free to share your thoughts in the comments!
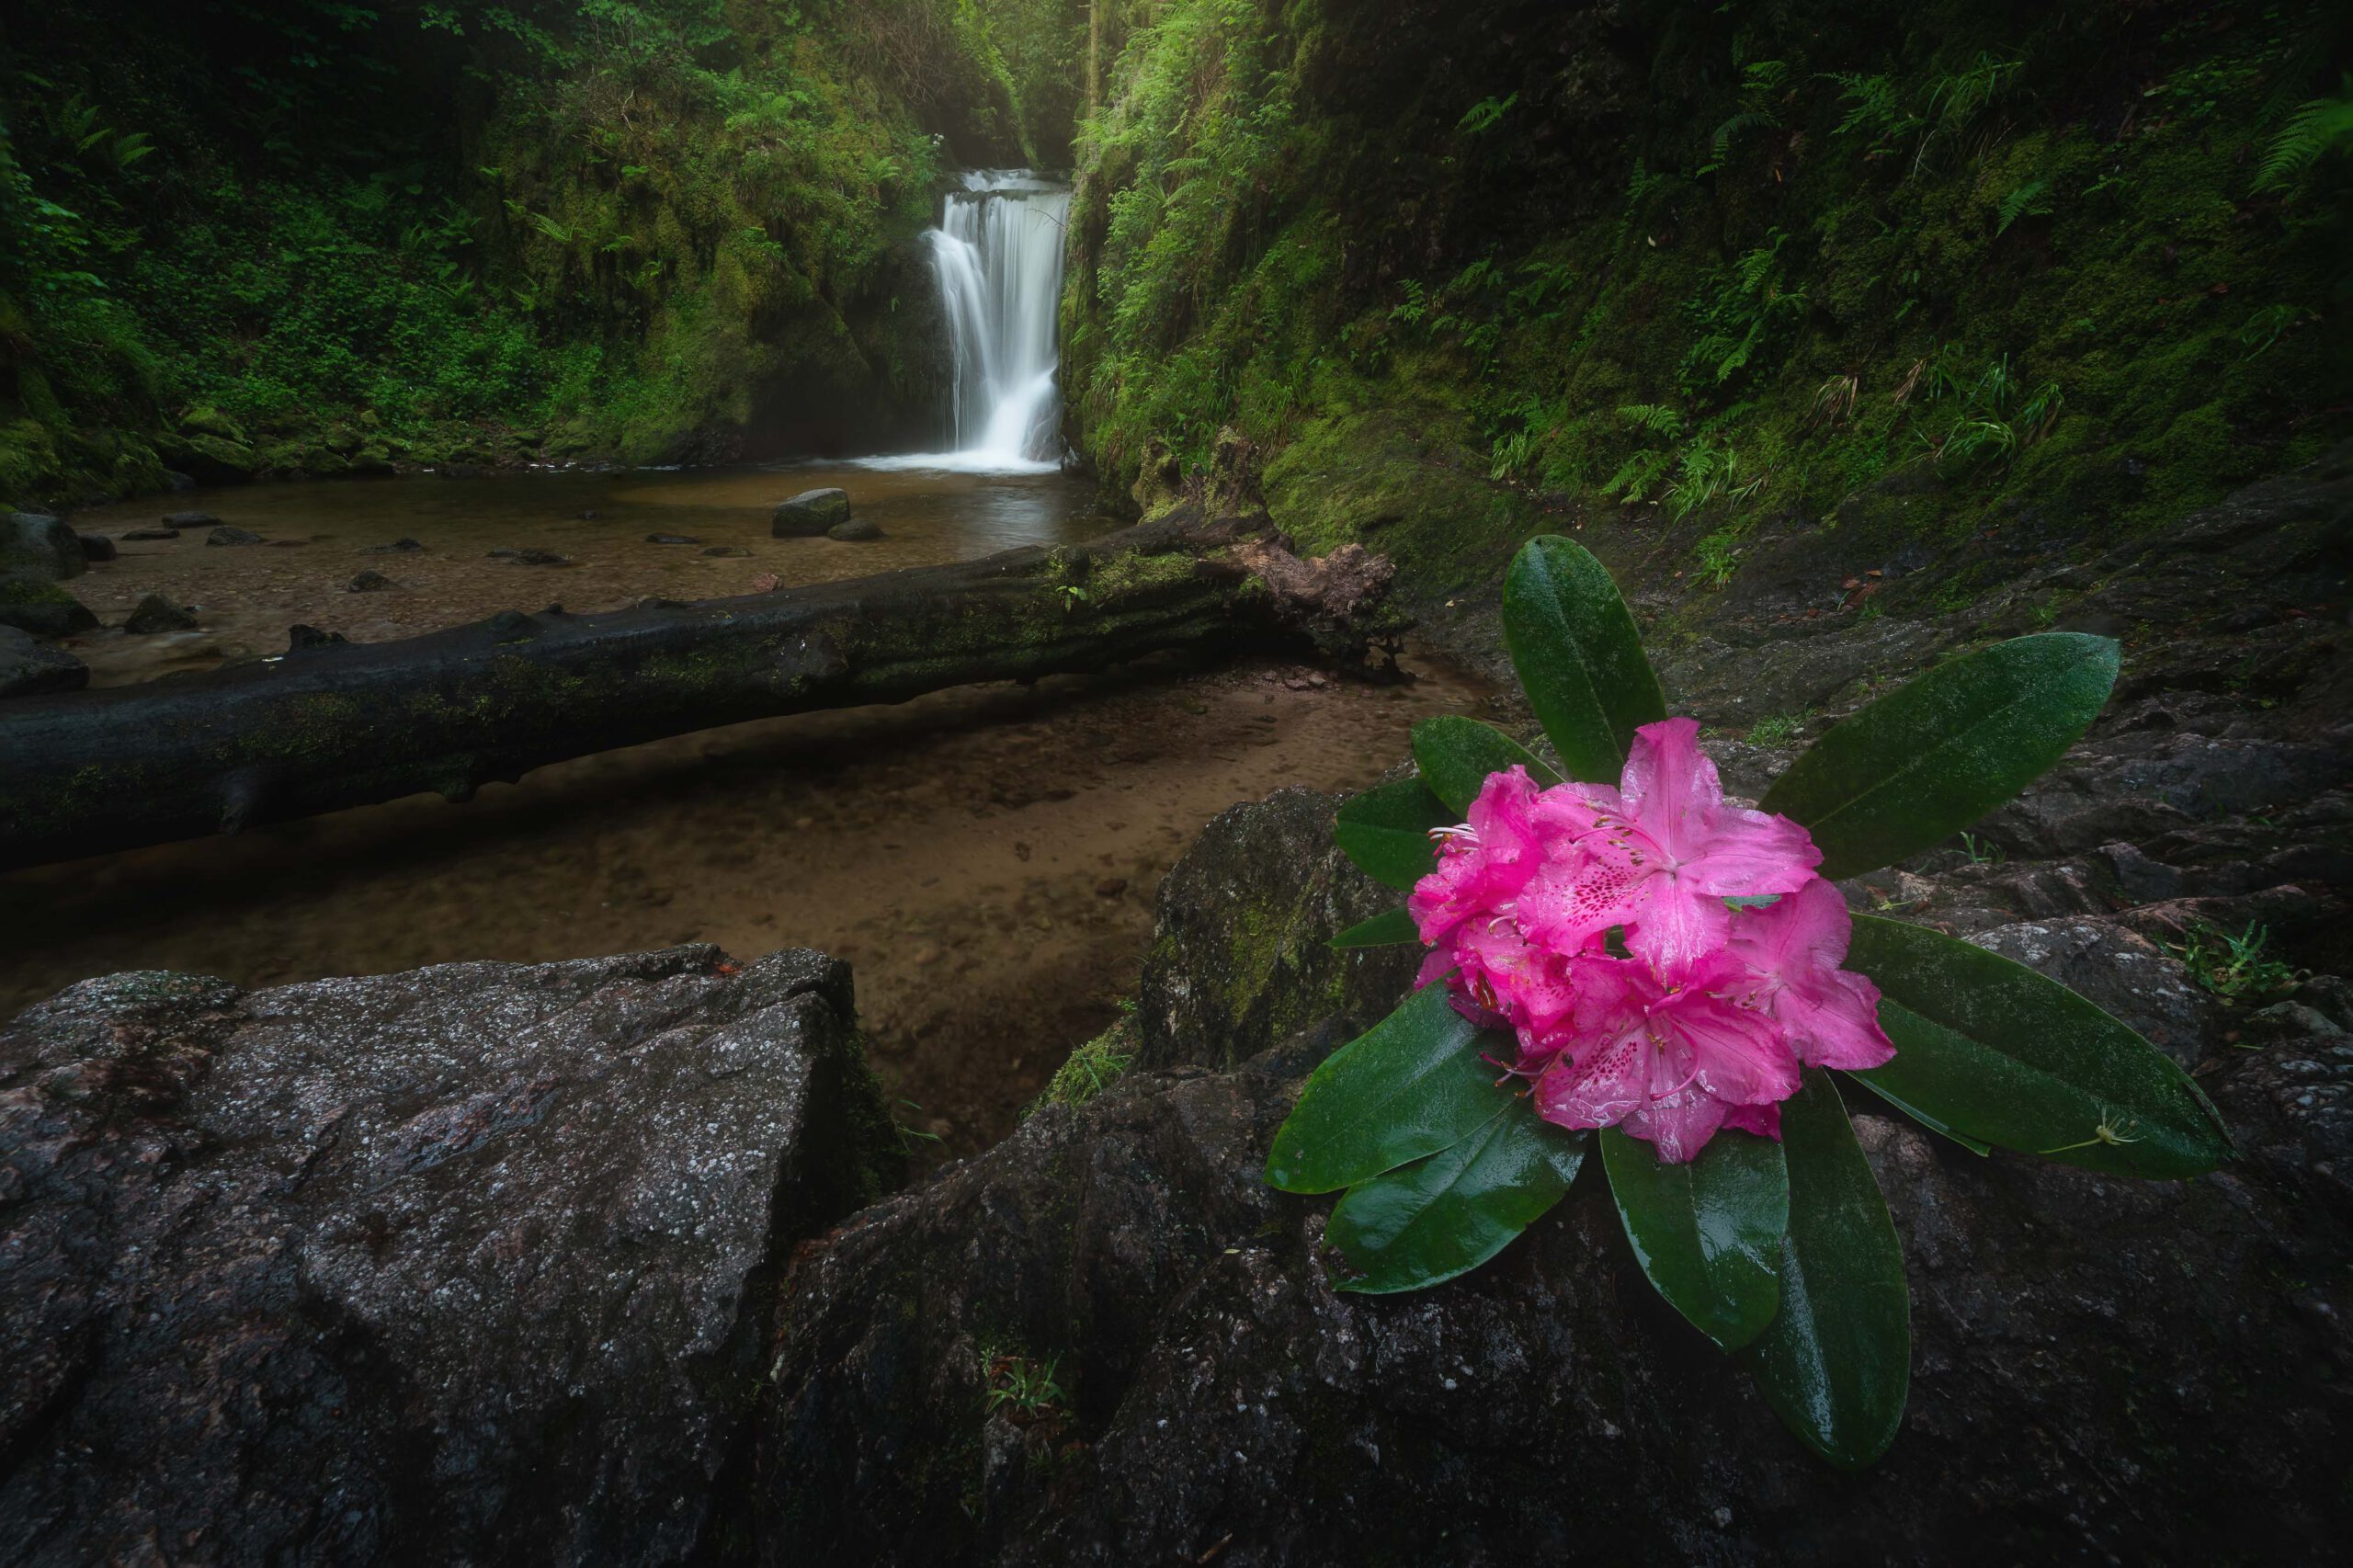
Unfortunately not. The last time 5 years ago (it’s been that long already!) at the Geroldsau Waterfall I went there to see the rhododendrons in bloom (and to take pictures of them), and there were still large clumps hanging over the waterfall and to the side of it. I was hoping that the rhododendrons might have spread further over the past few years, allowing me to position an entire shrub—or at least individual flowers—close to the camera as a foreground element, with the Geroldsauer Waterfall, with its nearly 6‑meter drop, in the background as a secondary subject. I knew where such spots might be because five years ago I found smaller shrubs in the ideal positions. But unfortunately, they must have met their end.
But when I refused to let it get me down and tried out a few nice compositions, I suddenly spotted a flower floating in the water. Using the extended leg of my tripod, I fished the flower out of the water and placed it decoratively on a rock near the waterfall. That’s how I ended up with at least one “consolation photo” of a rhododendron flower at the Geroldsau Waterfall. You can find more about this below in the vlog of this morning.
The exposure time is key: use a short exposure time to capture the power of the water, and medium to long exposure times for calmer to smooth water. Aperture and ISO are means to an end: for everything in focus, use a smaller aperture; for a blurred foreground, use a larger aperture; keep the ISO low, but only as low as necessary to achieve the desired exposure time.
Tripod, microfiber cloths, and a rain cover if needed. When it comes to filters, one thing is clear: a circular polarizing filter is a must. For longer exposure times, it’s a good idea to have ND filters of various densities on hand.
It’s clear: the weather. Fog, haze, clouds, and even light rain can help you capture great photos of waterfalls throughout the day. If you want to include the sun in your shot—for example, in backlight—it’s best to scout the waterfall in advance and use Photo-Pills Live-View to plan when and during which season the sun will be in the desired position. But also keep in mind the vegetation, which is denser in summer than in winter.
So, as you can see, you don’t need much for waterfall photography: a camera, a lens, a polarizing filter, and a tripod are the essentials. And your camera and lens don’t have to be the newest, the most expensive, or the fastest. If you want to try your hand at waterfall photography, definitely consider the Black Forest. From Triberg, through Allerheiligen, to Geroldsau and Gertelbach, there are many—almost countless—opportunities for waterfall photography.
The Geroldsauer Waterfall in the Black Forest is famous for its spectacular rhododendron blooms. But what do you do when the blooms are a letdown? In this video, I’ll take you on a landscape photography tour of the Black Forest and show you how to make the most of the location despite challenging conditions.
Feel free to share: