With the help of timelapse recordings, movements that occur over a longer period of time are shown in an accelerated manner. In most cases, individual shots are taken at a certain interval and then played back as a video with a frame rate of, for example, 25 frames per second. This then results in a time lapse. In this way, processes such as the movement of shadows due to the position of the sun can be clearly visualised.
With a frame rate of 25 frames per second (fps), you need 100 frames to have a video sequence of 4 seconds. With 500 pictures you get 20 seconds of video material.
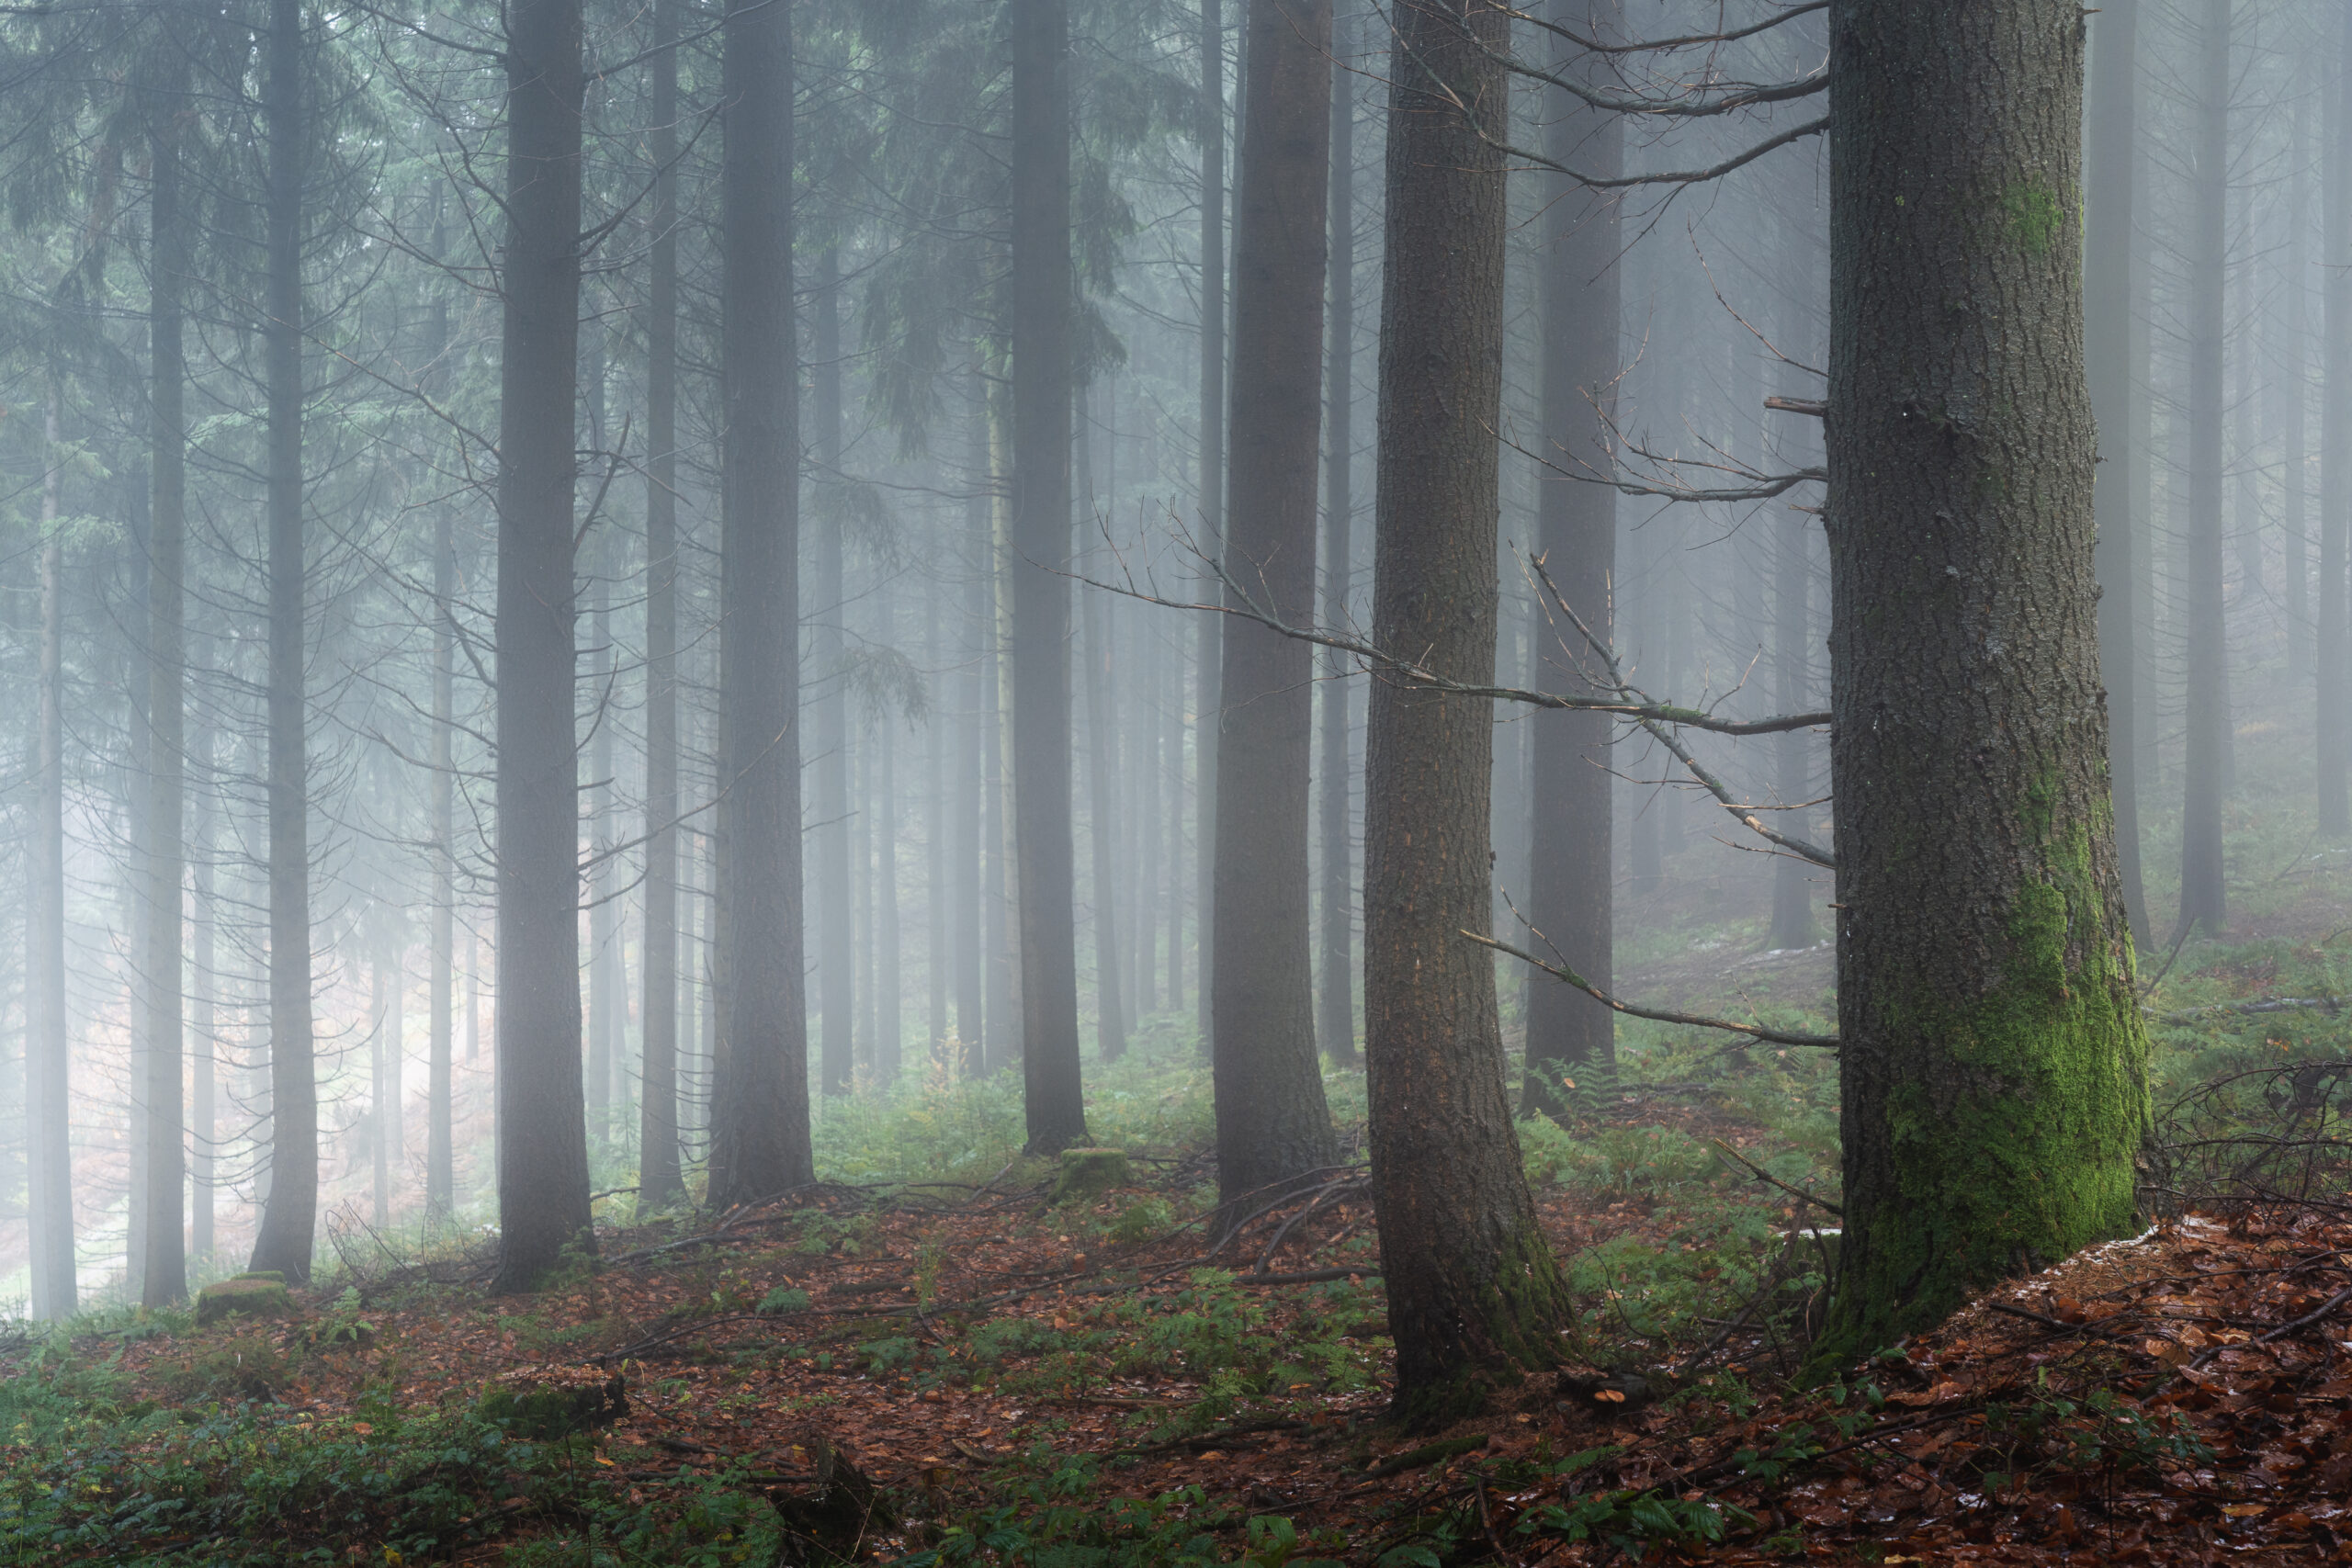
When planning timelapse recordings, the weather is the most relevant factor for me. A look at the most popular weather apps shows me, for example, whether I should expect rain showers. Weather maps can also be used to predict interesting cloud structures or cloud movements in general. If I plan to capture the colours of a morning or evening red, I like to plan this with the Viewfindr app by weather photographer Bastian Werner. The app’s fog forecast is also best-in-class, I would say.
In general, however, you should not limit yourself to the few weather events in the Viewfindr app for timelapse recordings. In a timelapse recording, all slow movements can be displayed quickly and thus be very interesting.
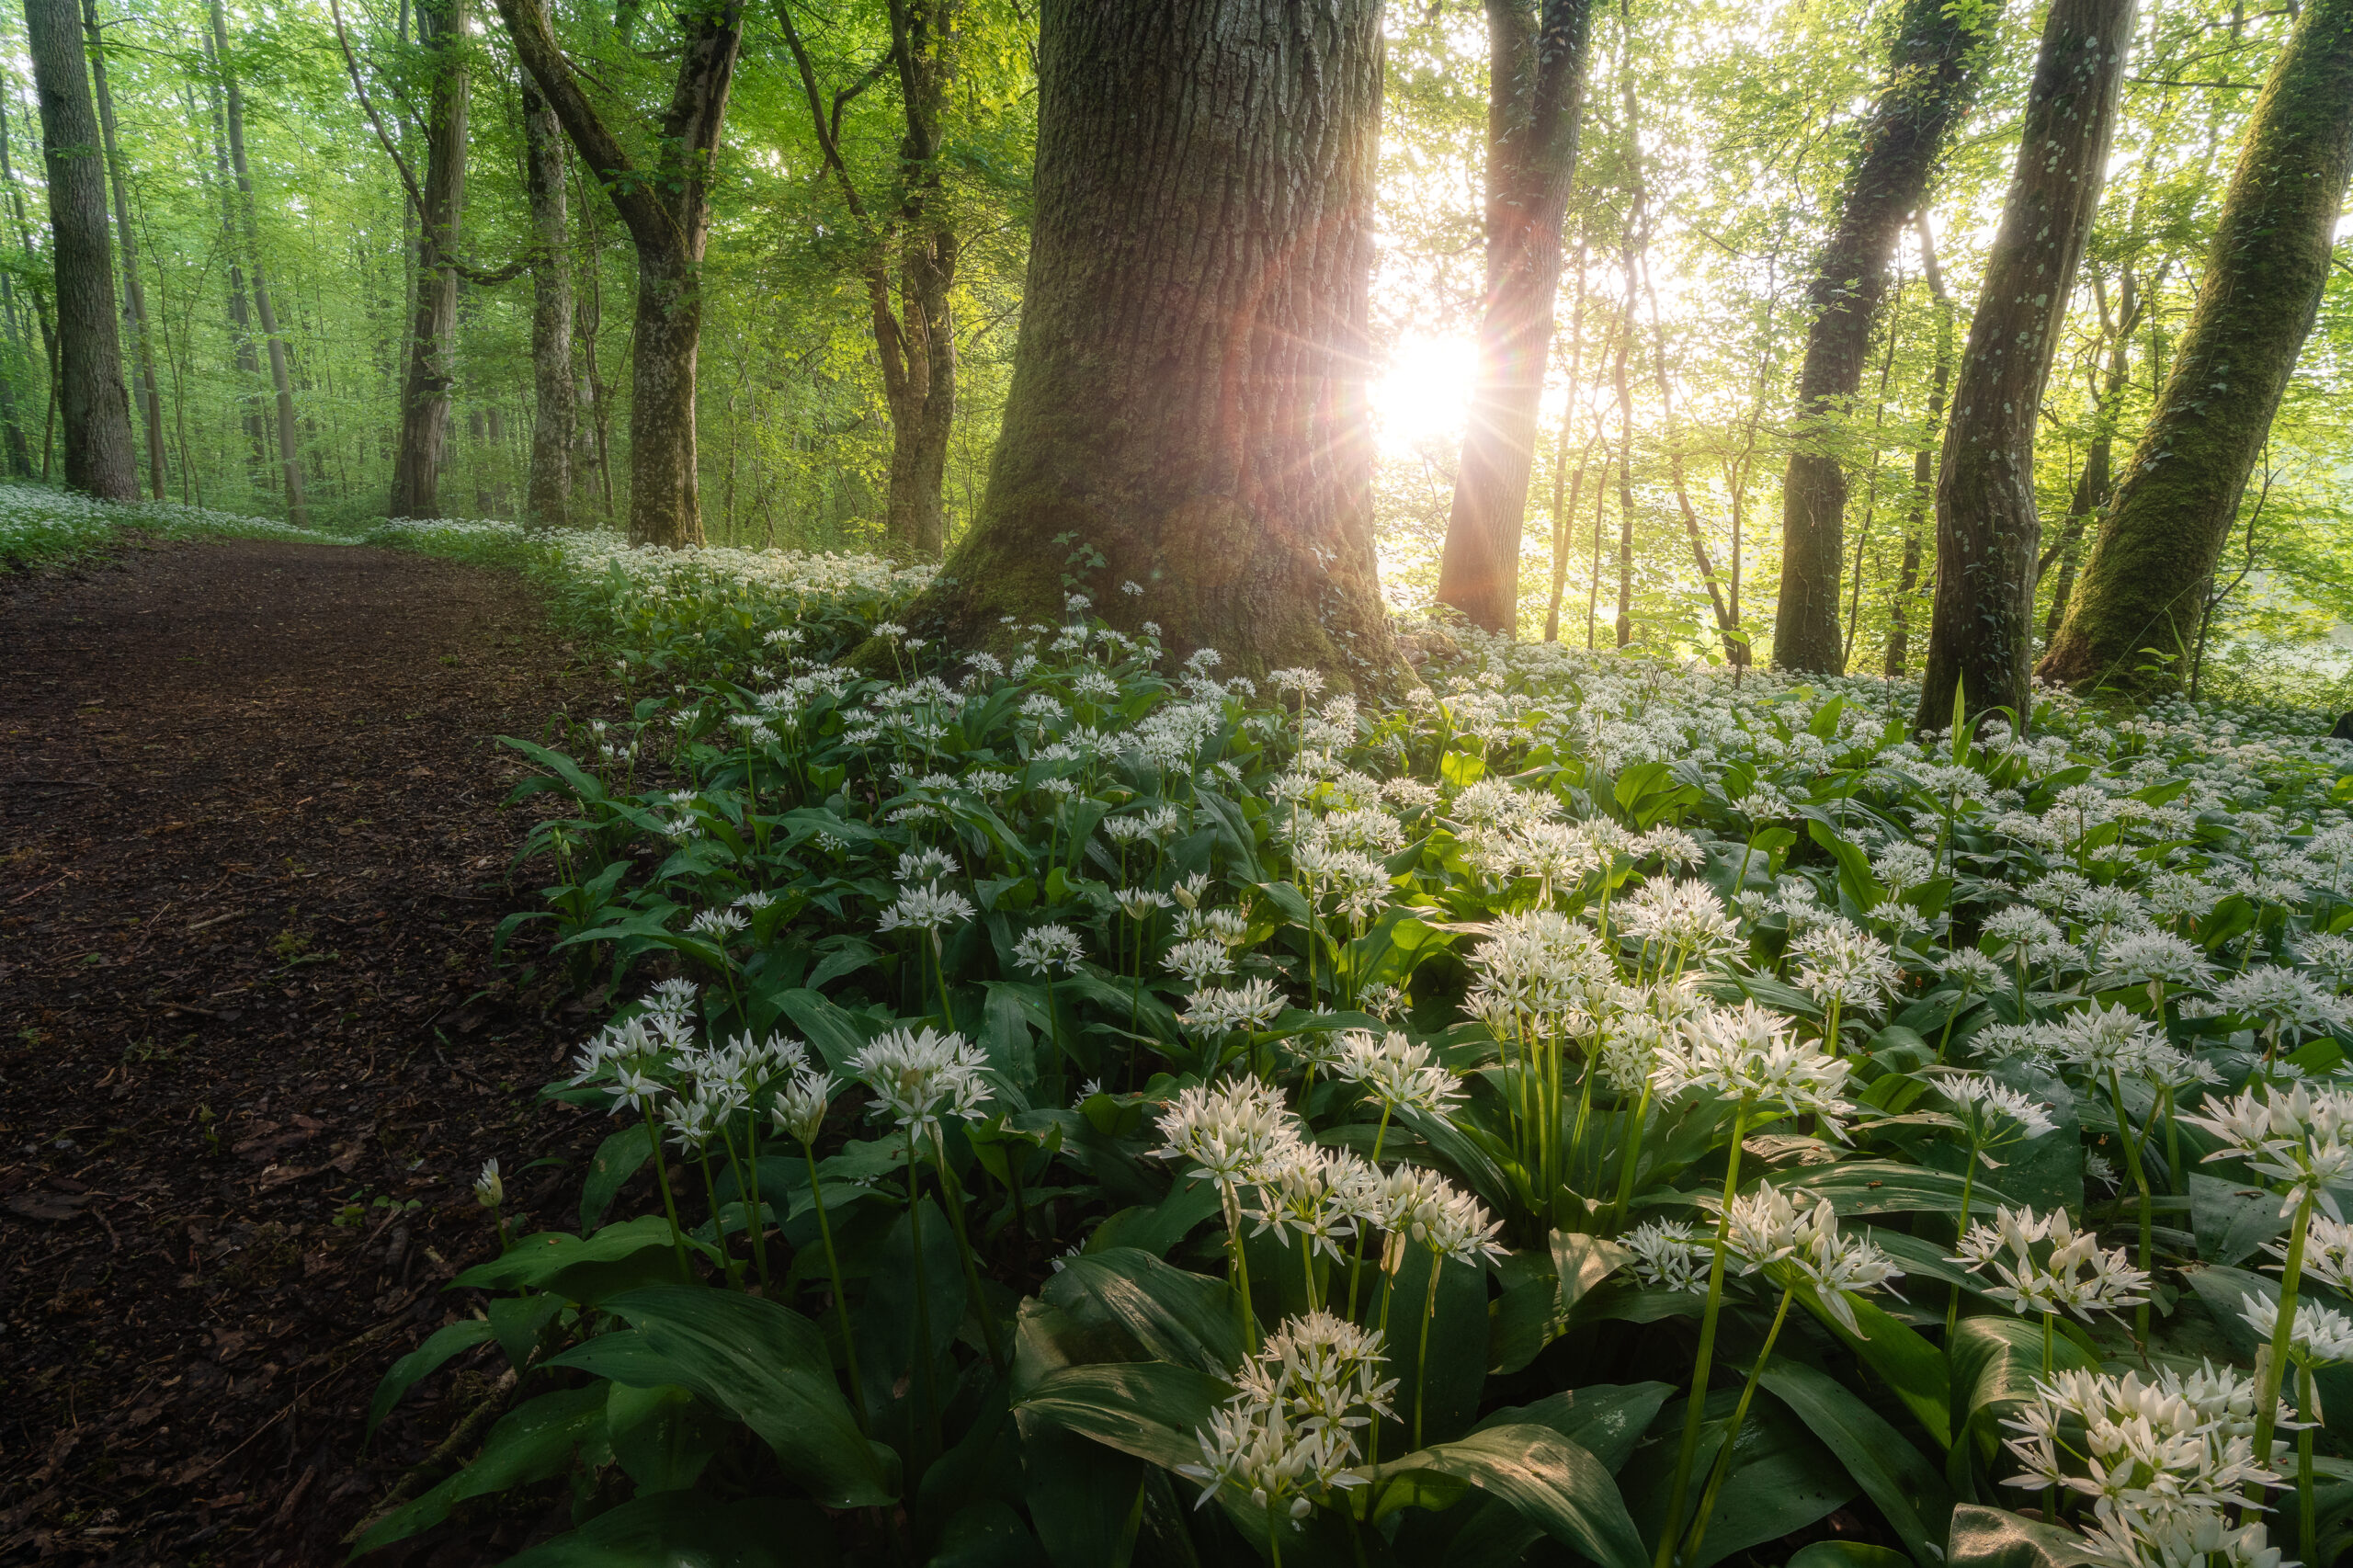
Of course, there are no limits to creativity in timelapse photography. When choosing a motif, you should always bear in mind that very slow movements can be made visible, while other movements are accelerated. To get you started, here is a small list of suitable motifs that you can try out:
When planning and preparing timelapse recordings, you should think about your location in advance. It is best to choose a location where no one can run in front of the camera. Also bear in mind that movements that happen directly in front of the camera can lead to them not being recognisable or visible at all in the shot due to the longer exposure time. Movements in the distance are all the better for it.
If, for example, a car drives past in front of your camera with an exposure time of, say, 2 seconds, you will end up with a video that shows a picture of hundreds of stripes of the car. This can be seen as flickering in the video. But you want to avoid that. But if the car drives by in the distance, you will end up with several shots of the car moving through the frame. This movement will be visible in the video.
So it is quite helpful to have some distance to the movements you want to record. Especially when it comes to fast movements.
Another tip is also to select the image section of the composition and then tend to zoom out a little. Select a slightly larger section of the image. For the video format, the pictures are usually cropped a little, and you may also have a little more movement in the picture than if you choose the cropping too narrow. This has saved my shot a few times. For example, once or twice I almost didn’t have the most interesting clouds in the picture if I had used the original focal length.
You may also want to make sure you are sheltered from the wind and rain, should this be an issue from a weather perspective.
Basically, only a few things are necessary for recording a timelapse. Basically, you need a camera with which you can take a picture at regular intervals and a firm stand. The easiest way to achieve this is with a tripod.
It doesn’t really matter what kind of camera you use. Theoretically, a mobile phone is enough for now. Ideally, the camera has an integrated intervalometer, or it is possible to connect an external intervalometer. Otherwise, you would have to trigger each individual shot manually, for example via an external shutter release, so that you don’t shake the camera.
For those who have been involved with timelapse for a while, the LRTimelapse PRO Timer is a household name. It is the absolute best intervalometer with which you can also manage complete day-night transitions. With the settings in the camera alone, a transition from the blue hour to shortly after sunrise is usually the maximum possible.
As soon as you have made your first test shots, you will notice that it is better for the video if the exposure time is at least 50% of the shooting interval. The movements are somewhat blurred, but this is more pleasant to watch in the video itself. The movements appear less “jerky” and softer. In the example of moving clouds, an interval of 5 or 6 seconds is often used, which means a minimum exposure time of 2.5–3 seconds. Especially during the day, this cannot be achieved without a grey filter.
With changing light conditions, e.g. sunrise, it is of course not always possible to keep the same exposure time constant. Compromises have to be made here. See the on-location video below.
This and all other shots of this post you can request under “Prints” as an art print for your wall at home directly from me.
It is generally a good idea to use manual focus for timelapse recordings. Especially in difficult lighting conditions, it can happen that the autofocus is off once and you would have unusable images within the video clip. So focus manually. Take a test shot and if it fits, don’t change it.
If the lighting conditions change little or not at all over the duration of your shot, then it is advisable to operate the camera in manual mode. Select the aperture, ISO and exposure time and let the shot run. As already mentioned, the exposure time should ideally be at 50% of the shooting interval, as the movement becomes blurrier and therefore smoother and more fluid in the video.
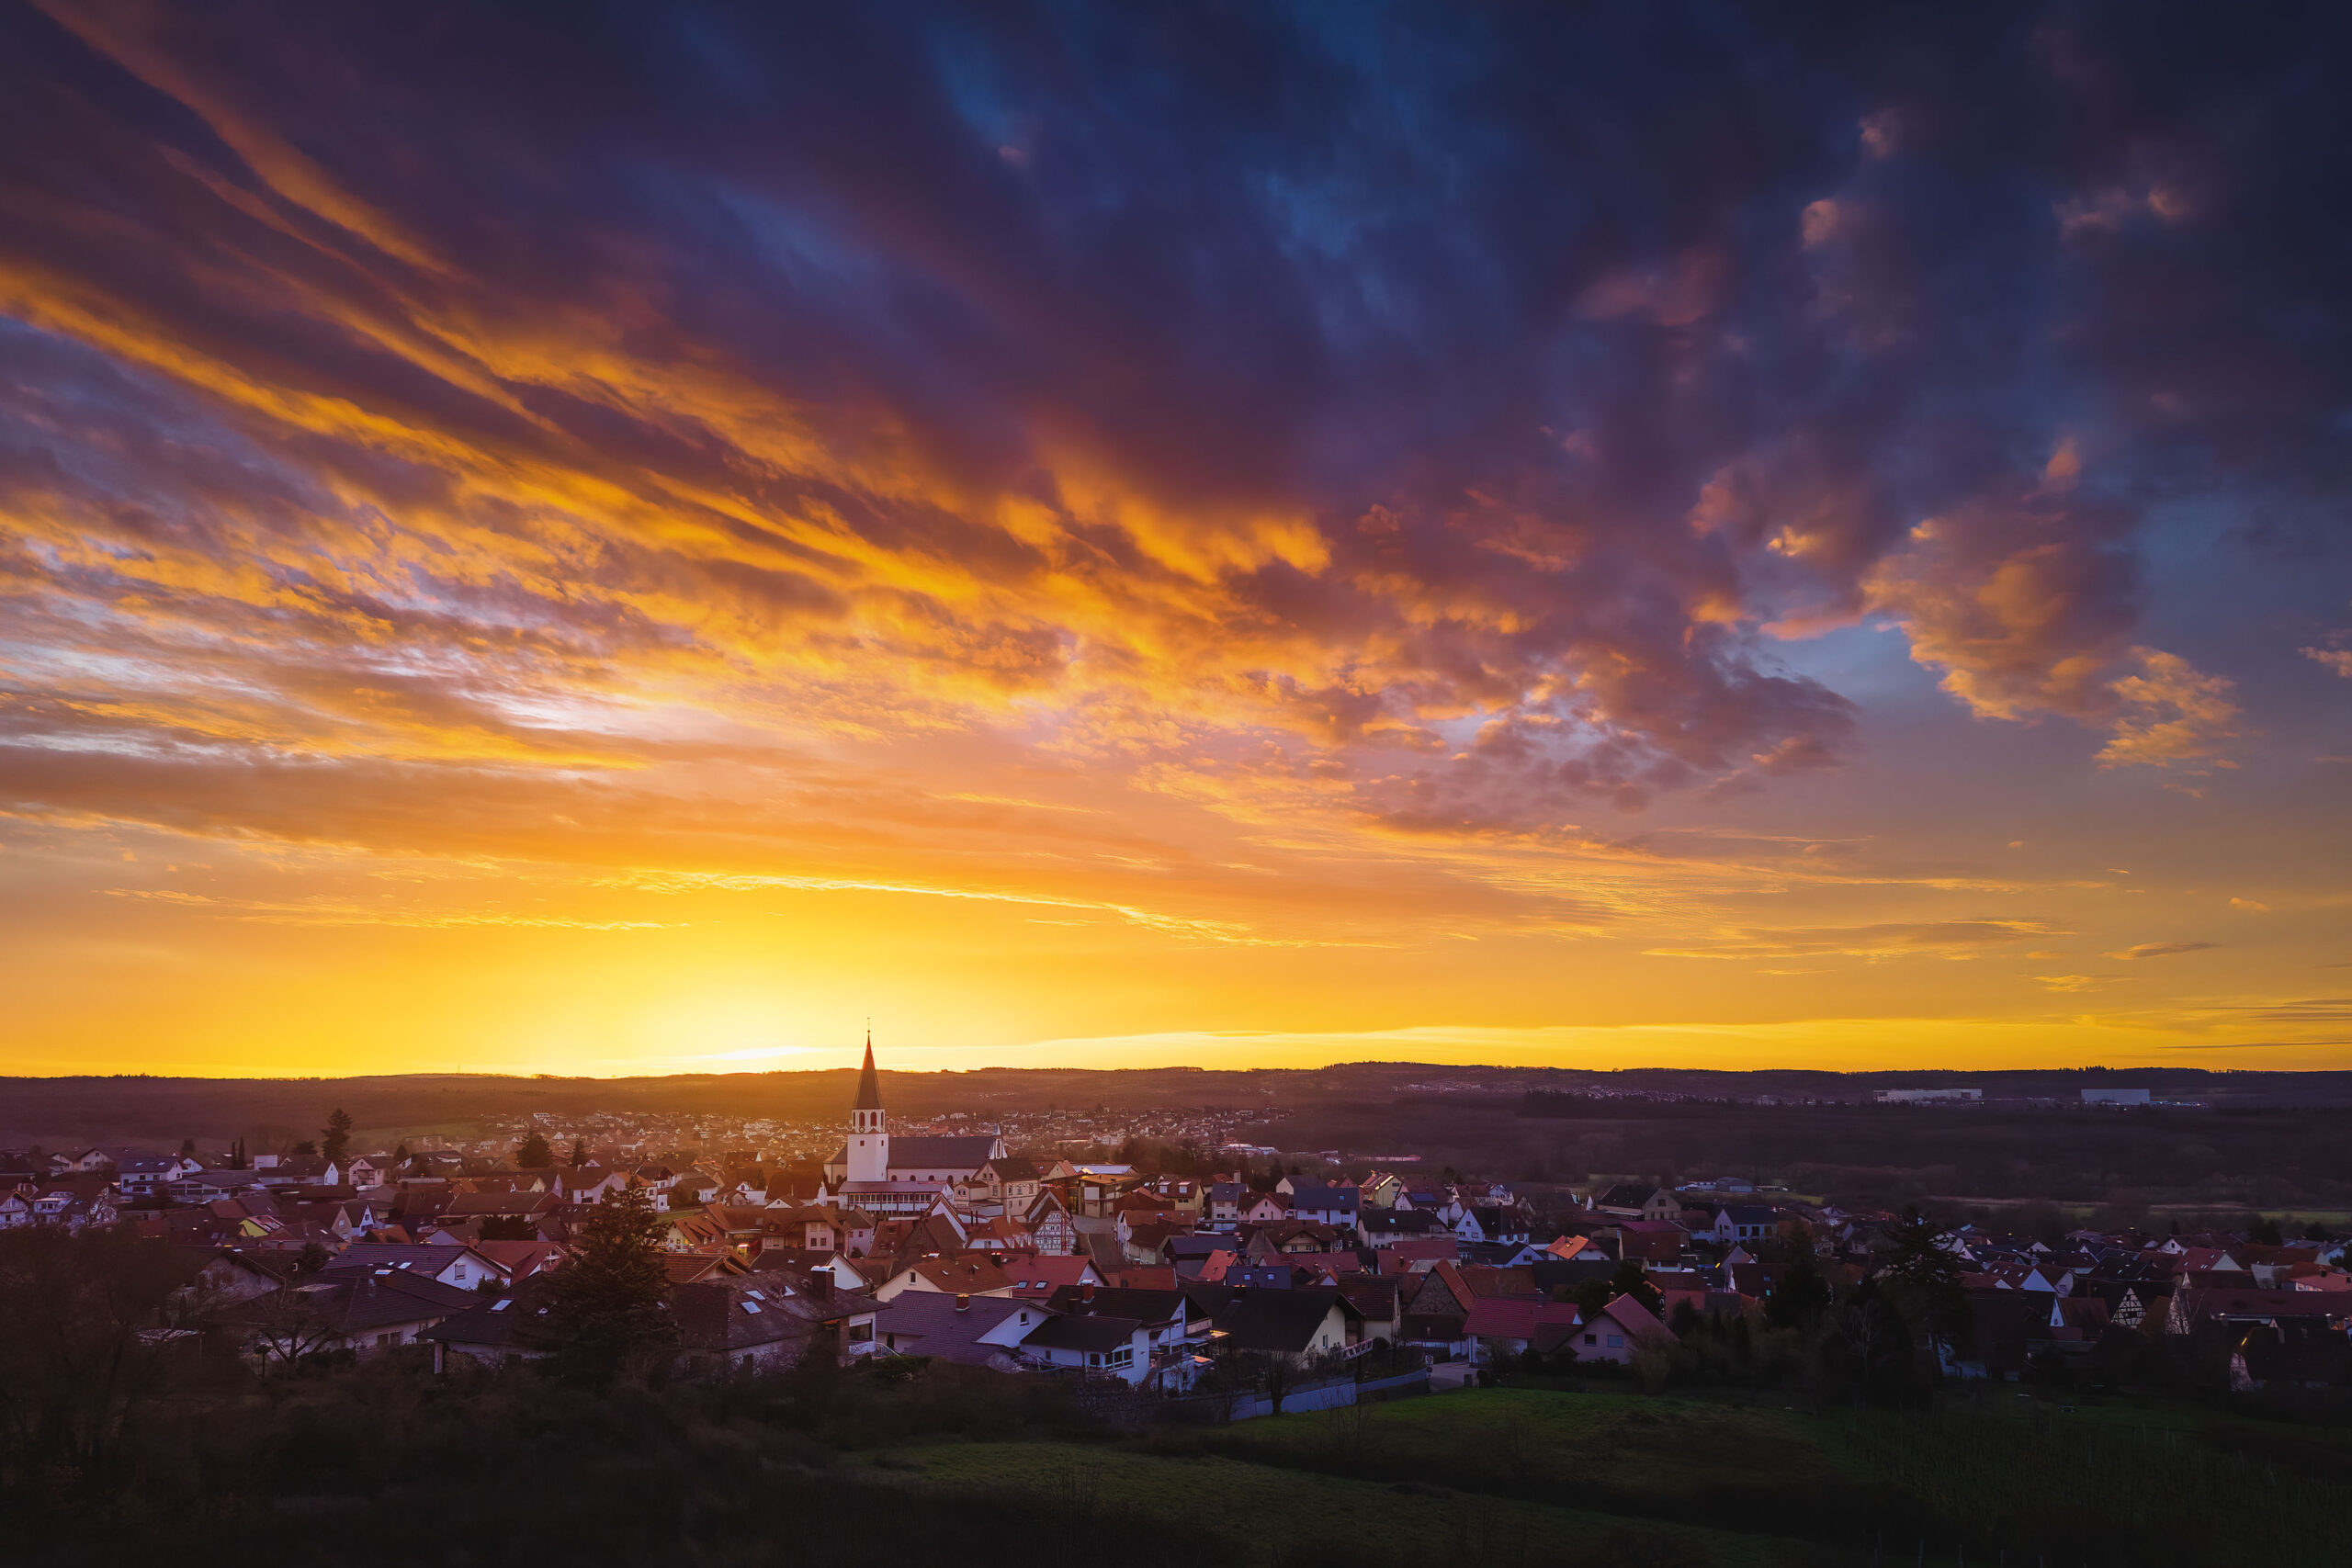
In a changing light situation, for example sunset, I still select A mode, i.e. aperture priority. The exposure time is then adjusted by the camera. When choosing the ISO and your starting exposure time, you only have to leave enough play. If you start with a 2‑second exposure time before sunset, the camera cannot compensate for a 5‑second interval. As soon as it gets darker, it needs a longer exposure time, which is simply no longer possible. So start, even if it may not be as beautiful on the finished video, with a higher ISO and an exposure time of perhaps 1/200 sec. If you are photographing into the day, then start, for example, with the longest possible exposure time.
ISO Auto is not recommended, by the way. The ISO automatic always wants to realise a short exposure time and likes to go into the high ISO ranges.
With an intervalometer like the LRTimelapse Pro Timer mentioned above, it is possible to control all parameters in the optimal range. If you want to photograph from the dark of night into the day, you can’t get around such a solution.
The aperture for timelapse shots should be somewhere between 5.6 and 8, maximum aperture 11. An aperture that is too closed can lead to unsightly flickering. Choose the aperture carefully so that you have enough sharpness in your pictures.
One question remains. Which recording interval should I set? There are a few clues, but even in this area a little experience is helpful. With time, however, you learn to judge whether the clouds are moving very quickly or not. The faster, the shorter the interval should be. If you are not quite sure, choose a shorter interval.
Here are some clues:
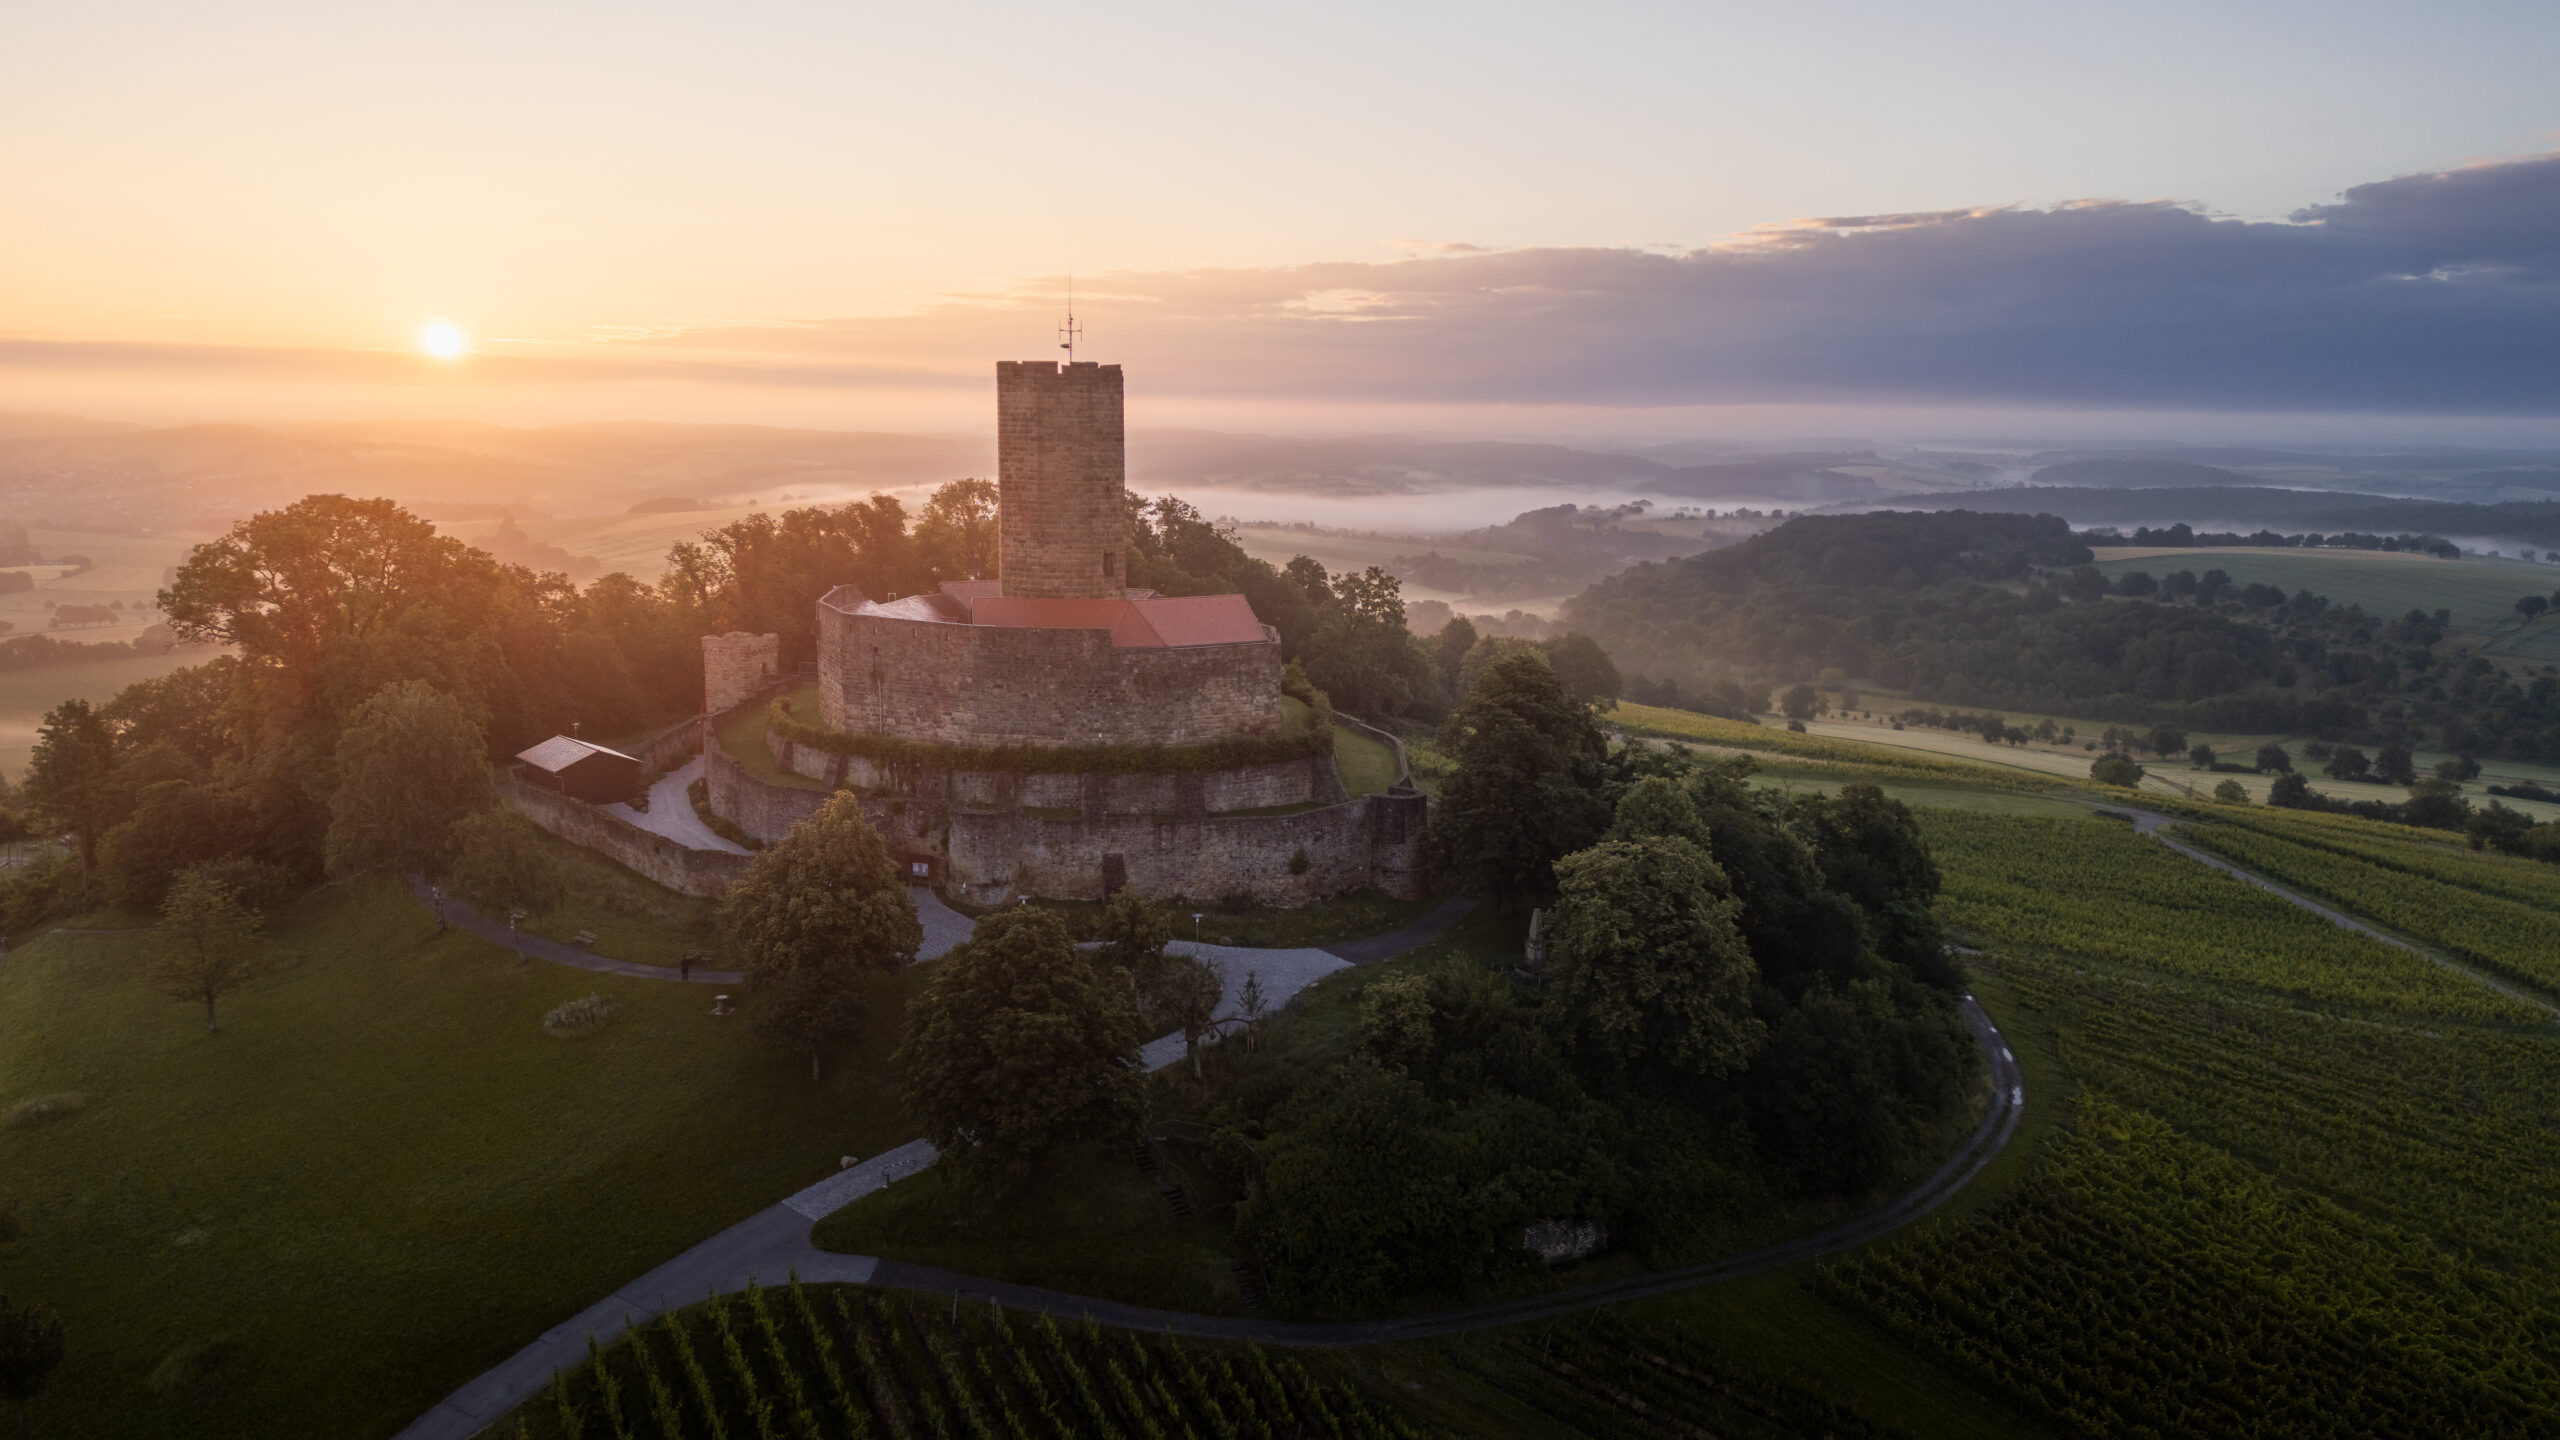
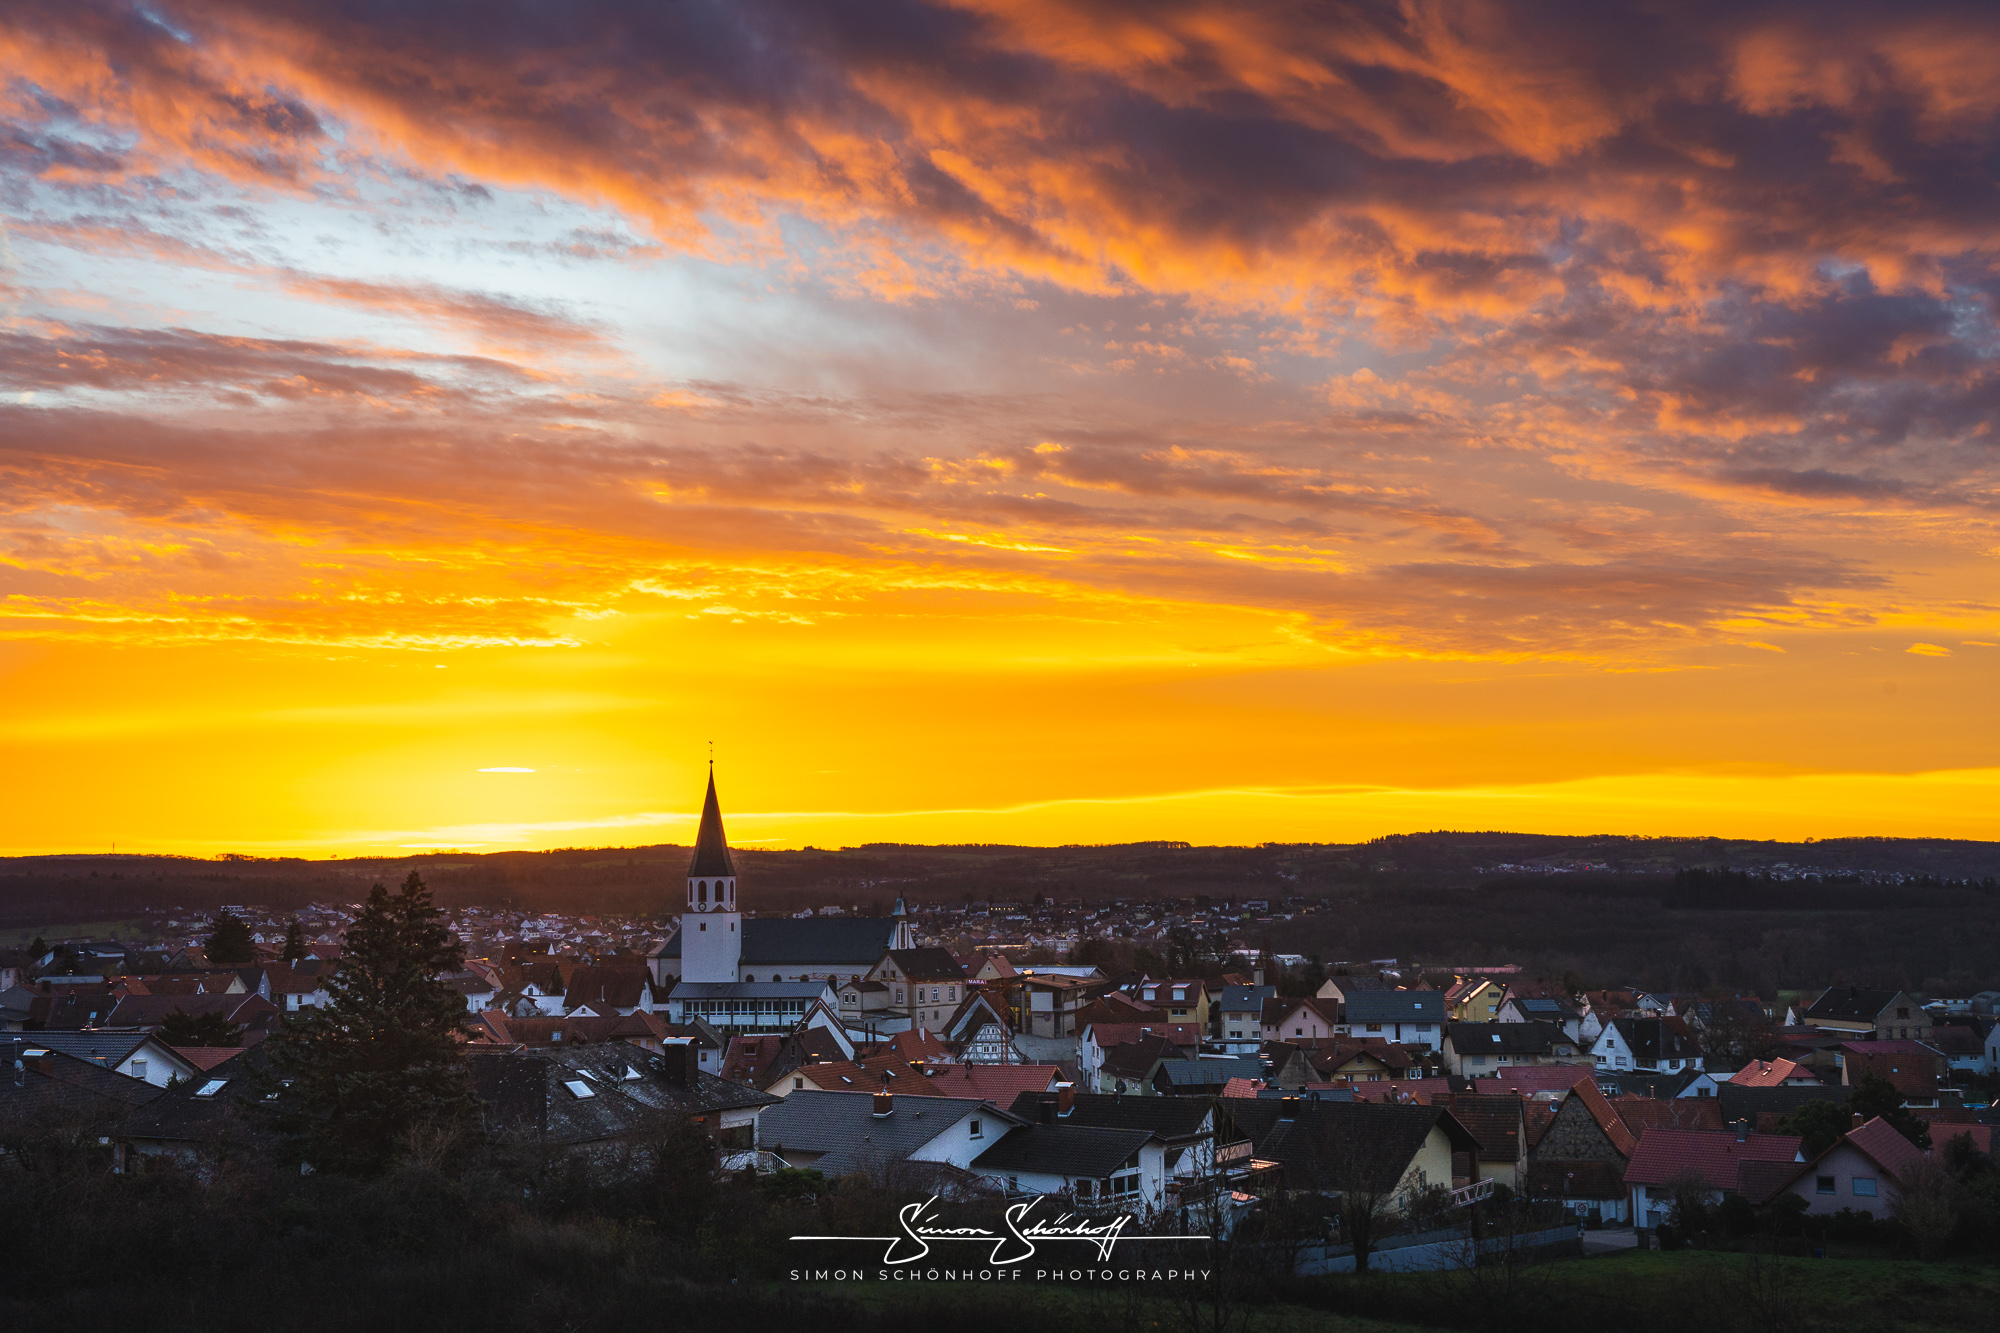
Since I was shooting directly into the sun, I wanted to avoid an additional optical element and decided against a gray filter. Therefore I had to close the aperture quite wide (f/11) to have an exposure time greater than 50% of the interval when I started shooting. I had chosen the interval at 5 seconds, because the clouds passed by quite fast. Of course, the exposure time reduced significantly until sunrise. Shortly before sunrise it was already at 1/15 sec. With the aperture closed, I also wanted to nuance the sun star at sunrise a bit more clearly. Whether now aperture 9 or 8 and ISO 100 would have been better, about it can be argued. In the end, however, it does not play a particularly large role.

Software for creating timelapse videos is plentiful. That’s where Google comes in handy. I usually do a pretty rough edit in Lightroom for all images synchronously, export the images as JPG and drag them into DaVinci Resolve to have a look at the result and export it as a video clip if necessary. This is, as I said, only very rough and should there have been any flickering, this method comes up against its limits quite quickly.
The software LRTimelapse by Gunter Wegner helps here. With LRTimelapse it is possible to edit single photos (keyframes) in RAW format in Adobe Lightroom and then automatically apply them to the whole sequence. With the help of the keyframes, parameters can also be set adjusted to the changing light conditions in the images, which achieves a much better final result. After exporting the photos from Lightroom, LRTimelapse creates high quality videos up to resolutions of 8K (and more!).
You can find the info here: GWegner
Here I have put together another short “on location” video with the finished timelapse at the end. Feel free to have a look. I’m happy about “thumbs up”, comments and of course if you subscribe to my channel. In the future I will certainly record more and more such videos.
I bought a used Sony ZV-E10 for shooting timelapse footage. In a first competition I let it compete against the Sony a7 III. You can see how it did in the following video.