The good thing in advance: every focal length is suitable for landscapephotography! So it doesn’t really matter which focal length you start with to capture landscapes. Nevertheless, each focal length range has its advantages. A wide angle is a must at the seaside, the standard zoom range is advantageous in the forest and the telephoto zoom range can be used to create monumental shots in the mountains. But always remember: creativity in photography knows no limits and special shots are created precisely when you break away from the “standard”. That’s why in this blog post I don’t tell you which focal length to use where, but explain the effect you achieve in the picture with the different focal lengths.
If you ask photographers about a typical focal length range for landscape photography, probably over 90% will argue for the 16–35 mm range. And it is indeed the case that a 16–35 mm lens is an absolute workhorse
in landscape photography.
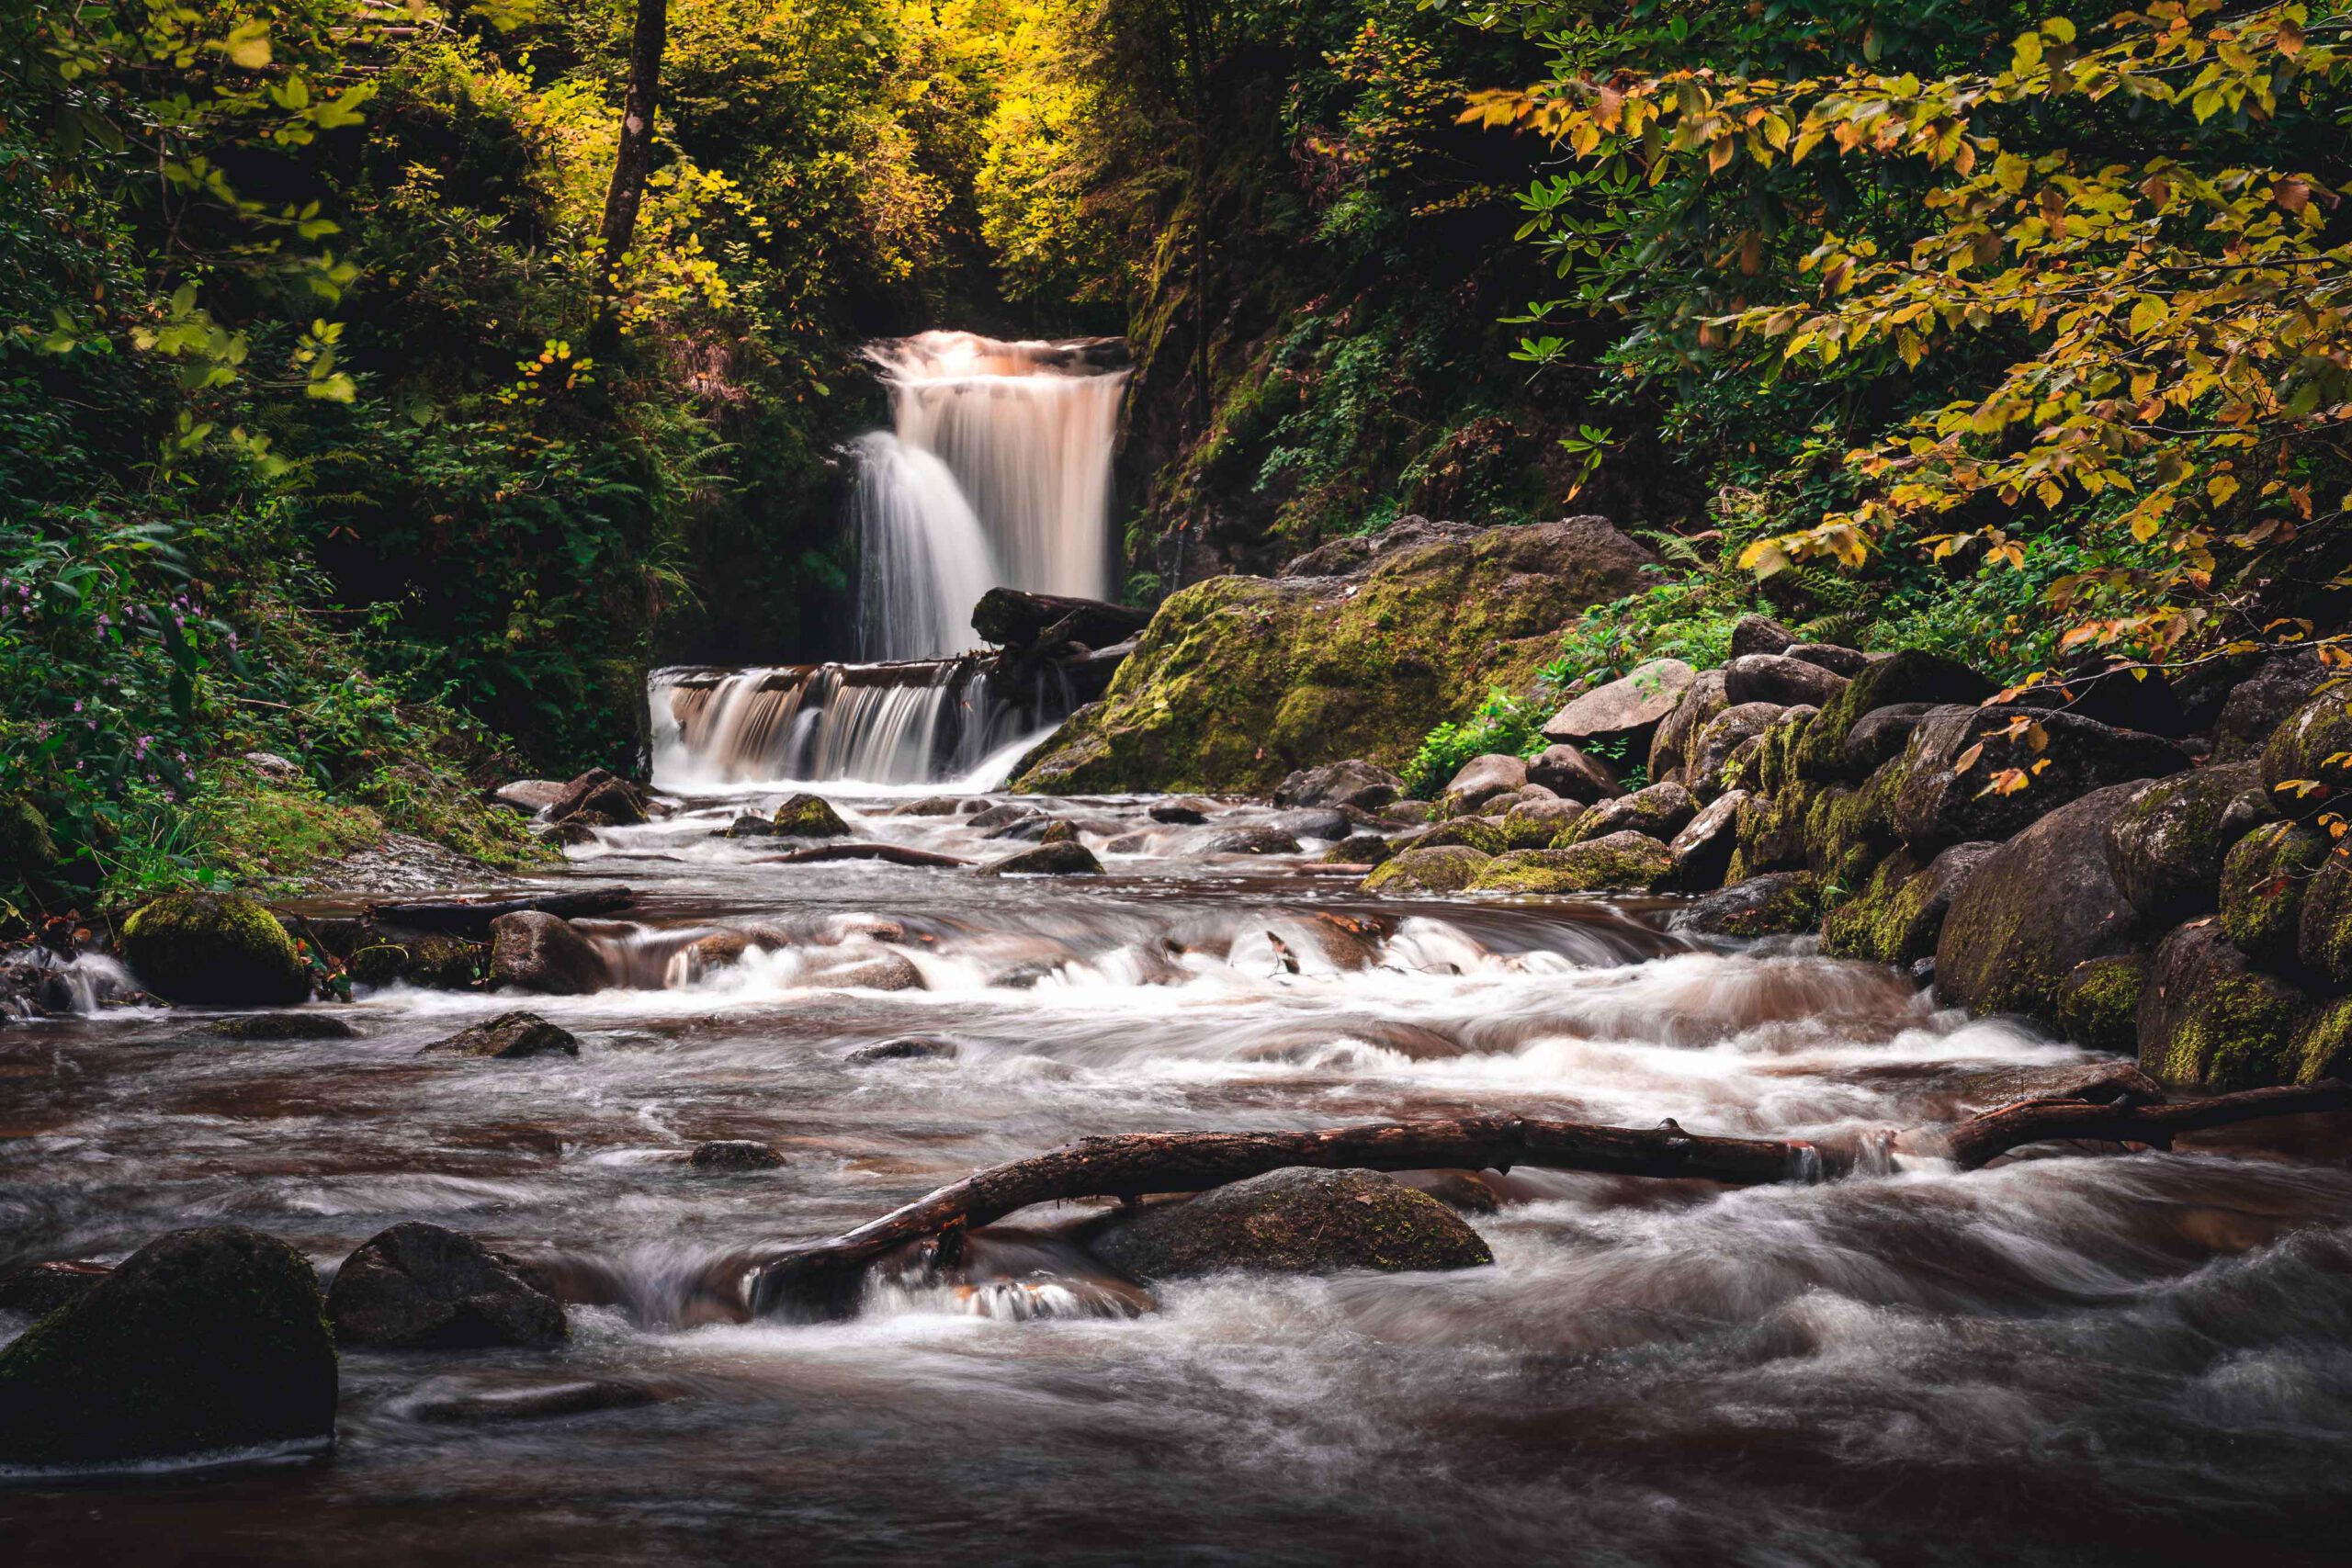
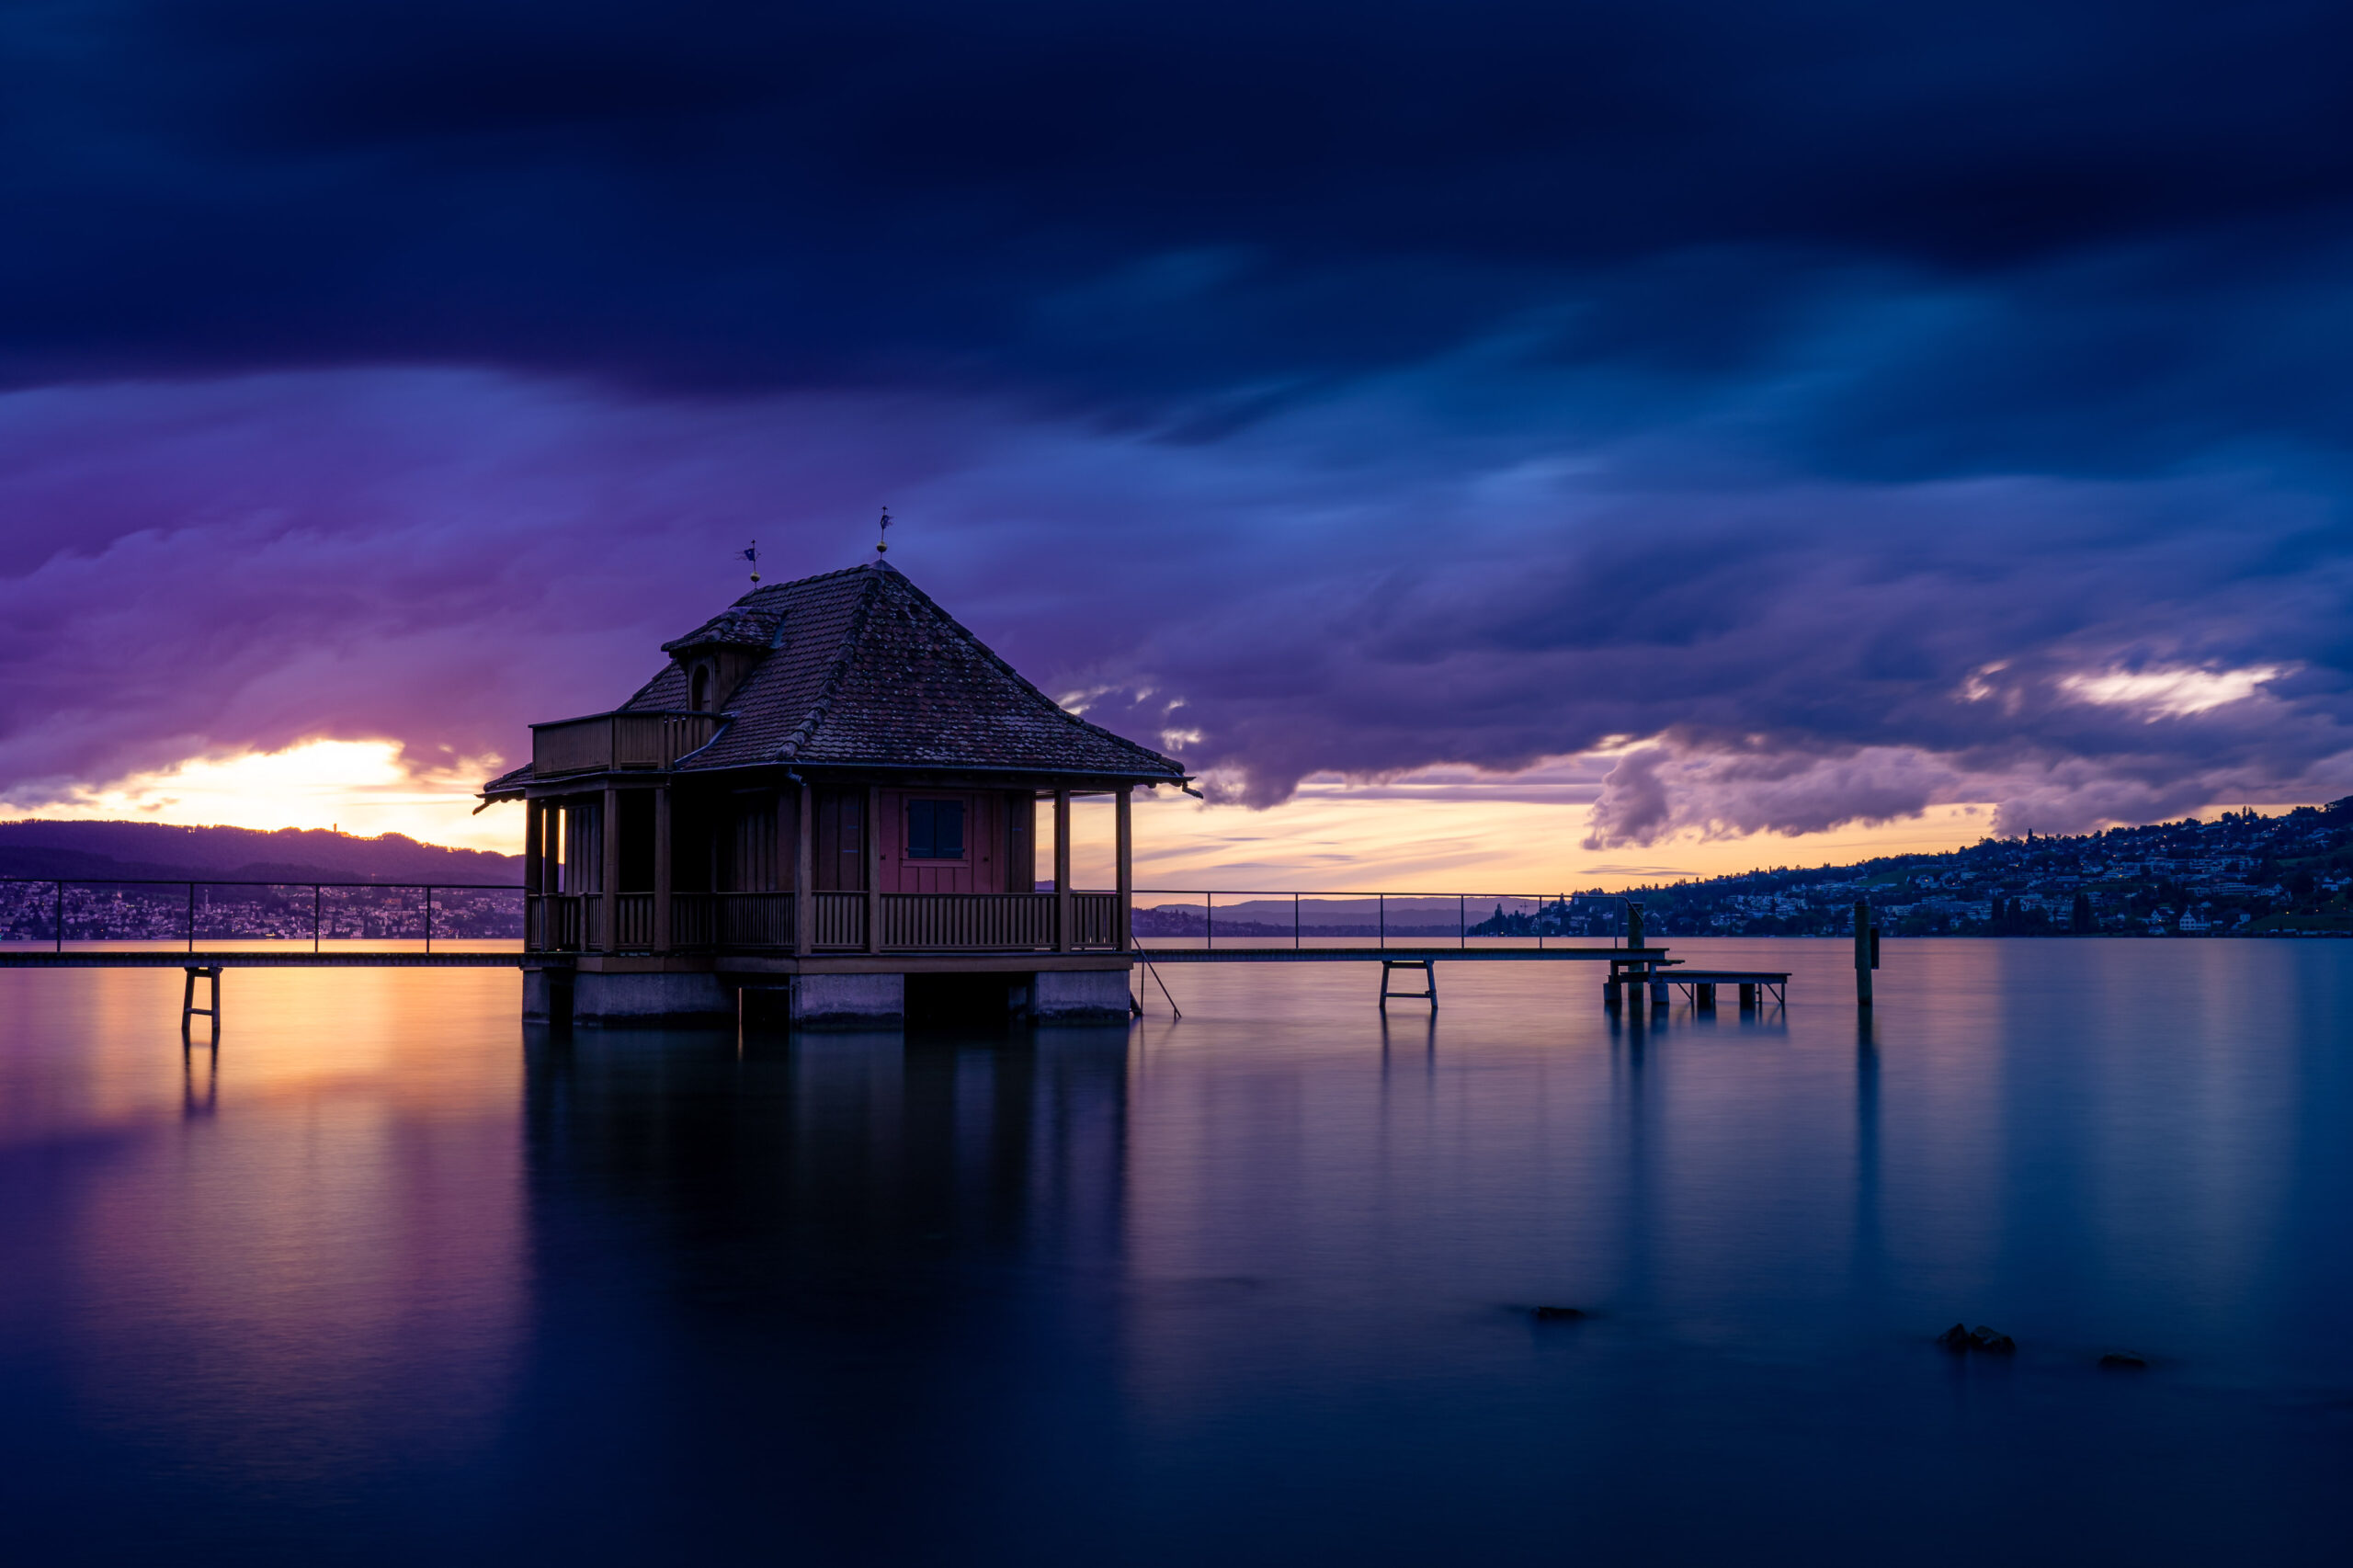
With the focal length range of less than 35 mm, these lenses are one of the most wide-angle lenses. They have a reputation for being excellent for landscape photography, as they are wonderful for capturing vast landscapes. With the correct use, you can capture the impression of the size and vastness of a landscape for the viewer.
The distortion that occurs with wide-angle shots can also create interesting perspectives and effects. For example, if you position the camera vertically and place a mountain peak at the upper edge, it is “pulled up”, i.e. distorted in perspective, which makes the peak appear larger.
Another characteristic of wide-angle lenses is that objects positioned close to the camera appear much larger than those positioned further away. With the right use, this can create a balance between, for example, a flower in the foreground and a mountain in the background.
Shooting with wide-angle lenses allows the viewer to achieve shots where he or she has the feeling of being in the middle of the action. However, the correct use of wide-angle lenses is a difficult undertaking, especially for beginners in photography.
Since wide-angle lenses have the property of making distant objects appear smaller than they actually are, a common mistake when using wide-angle lenses is not being close enough. The mountain that one was so amazed by on site does not look monumental in the picture at home, nor does it cause the viewer to marvel.
Many beginners stand in the wilderness and are overcome with feelings about the wonderful nature around them, get the camera with the wide angle and photograph the scene with everything as they are experiencing it. The result is a picture with a “heap of nature” and yet somehow nothing.
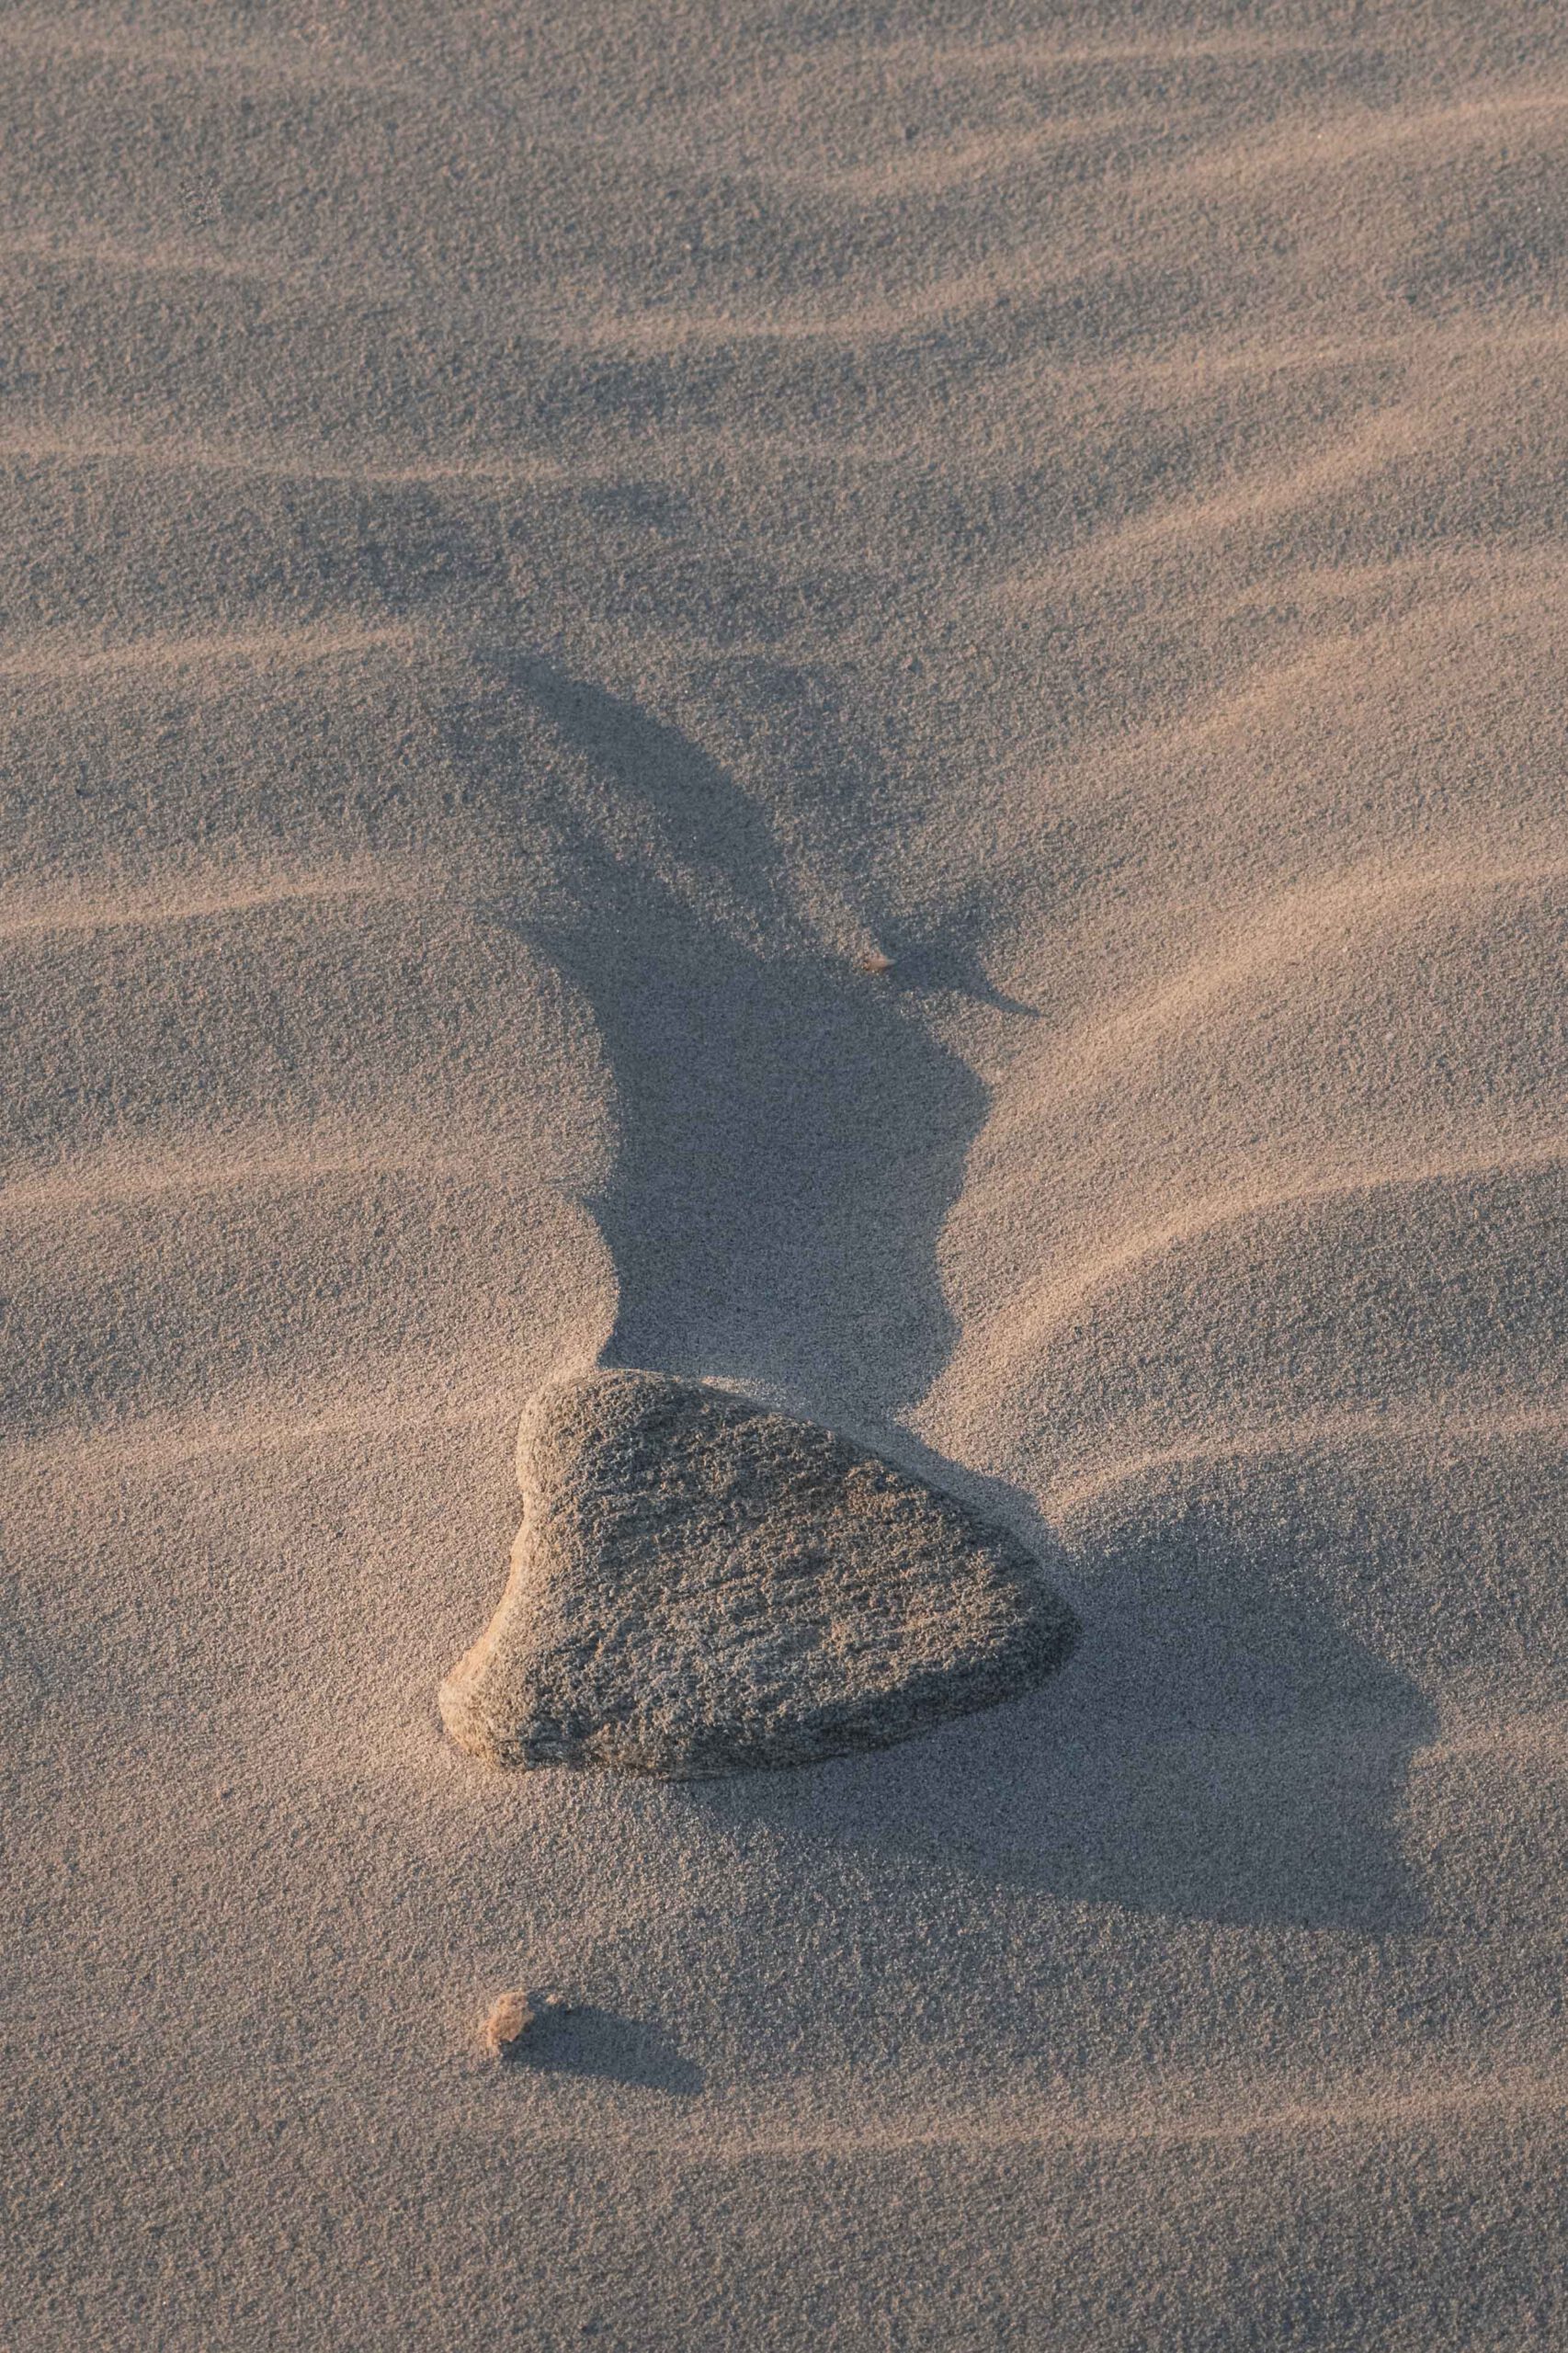
Especially when using wide-angle lenses, it is necessary to think in layers. Try to find a subject that is large enough that it does not become too small even with a wide-angle lens (a lighthouse, a mountain, a large tree, and even if it is just the dramatic sky on the beach, this works). Then find a suitable foreground, e.g. interesting patterns in the sand, special stones, grasses, roots, etc. and get close. Maybe a little closer? Be aware: this foreground will be the star of the show! It is not just a means to an end. It catches the viewer’s eye and the viewer in turn decides in a fraction of a second whether to continue looking at the picture or not.
Now try to combine foreground and background. Play with the height and tilt of the camera. If the camera is higher, the middle ground increases. If it is not interesting enough, try a lower position to reduce its size and visual weight.
But be careful: If there are trees or buildings in the picture, you may want to refrain from tilting the camera, as this leads to plunging lines. Unless you want to do this from a creative point of view.
One focal length range that receives less attention from many landscape photographers is the standard focal length range, although, as I mentioned at the beginning, it is also well suited for forest photography. Lenses in the standard focal length range are located between 35 mm and 70 mm. Often, however, the zoom lenses in this category have a bit more in store than just the standard range and start already in the wide-angle range of 24–70 mm or have even more reach into the telephoto range like my all-rounder, the Sony FE 4/24–105 mm.
The use of these lenses is an option if there is no particular foreground or if the distant subject in the background would become too small with a wide angle and you cannot get closer. In the standard focal length range, the optical phenomenon of distortion, but also the illusion of compression (we will go into this later with the telephoto ranges) is practically non-existent or compensated for.
If we think of the beginner from above, in the midst of the breathtaking nature that surrounds him, he would be well advised to pick out a few interesting areas with a standard lens and photograph them rather than cramming everything into one picture. He would probably have some interesting pictures afterwards instead of a featureless photo with a bunch of something.
We can make good use of the characteristic of the standard focal length range to emphasise details in the landscape or to focus on certain elements in the picture. From these focal lengths onwards, it also becomes increasingly impossible to get everything in the picture in focus from foreground to background without focus stacking. This is why you should deliberately shoot a foreground out-of-focus if this is possible in order to create depth in the image.
Due to their low distortion, they are also well suited for creating panoramic shots.
Even though in the standard focal length range the angle of view is already somewhat narrower and thus simplifying a scene is easier, you should still make sure that you eliminate disturbing picture elements in the composition and fill the picture in a meaningful way. As always, everything that is present in the picture should also serve the picture. The subject and negative space should be in visual balance and as much depth as possible should also be created in the picture.
This is why you should also think in terms of foreground, middle ground and background when photographing landscapes in the standard focal length range, whereby the foreground is given much less importance than in a wide-angle shot and the main subject is often part of the middle ground. Exceptions are of course always possible.
You should also be aware that there are landscapes where wide-angle lenses simply don’t work. Every landscape photographer should know that. Personally, for example, I have hardly seen a picture from Tuscany that was taken with a wide-angle lens and that even comes close to doing justice to the landscape with its rolling hills. For such cases, the standard focal length and telephoto range are almost indispensable in landscape photography.
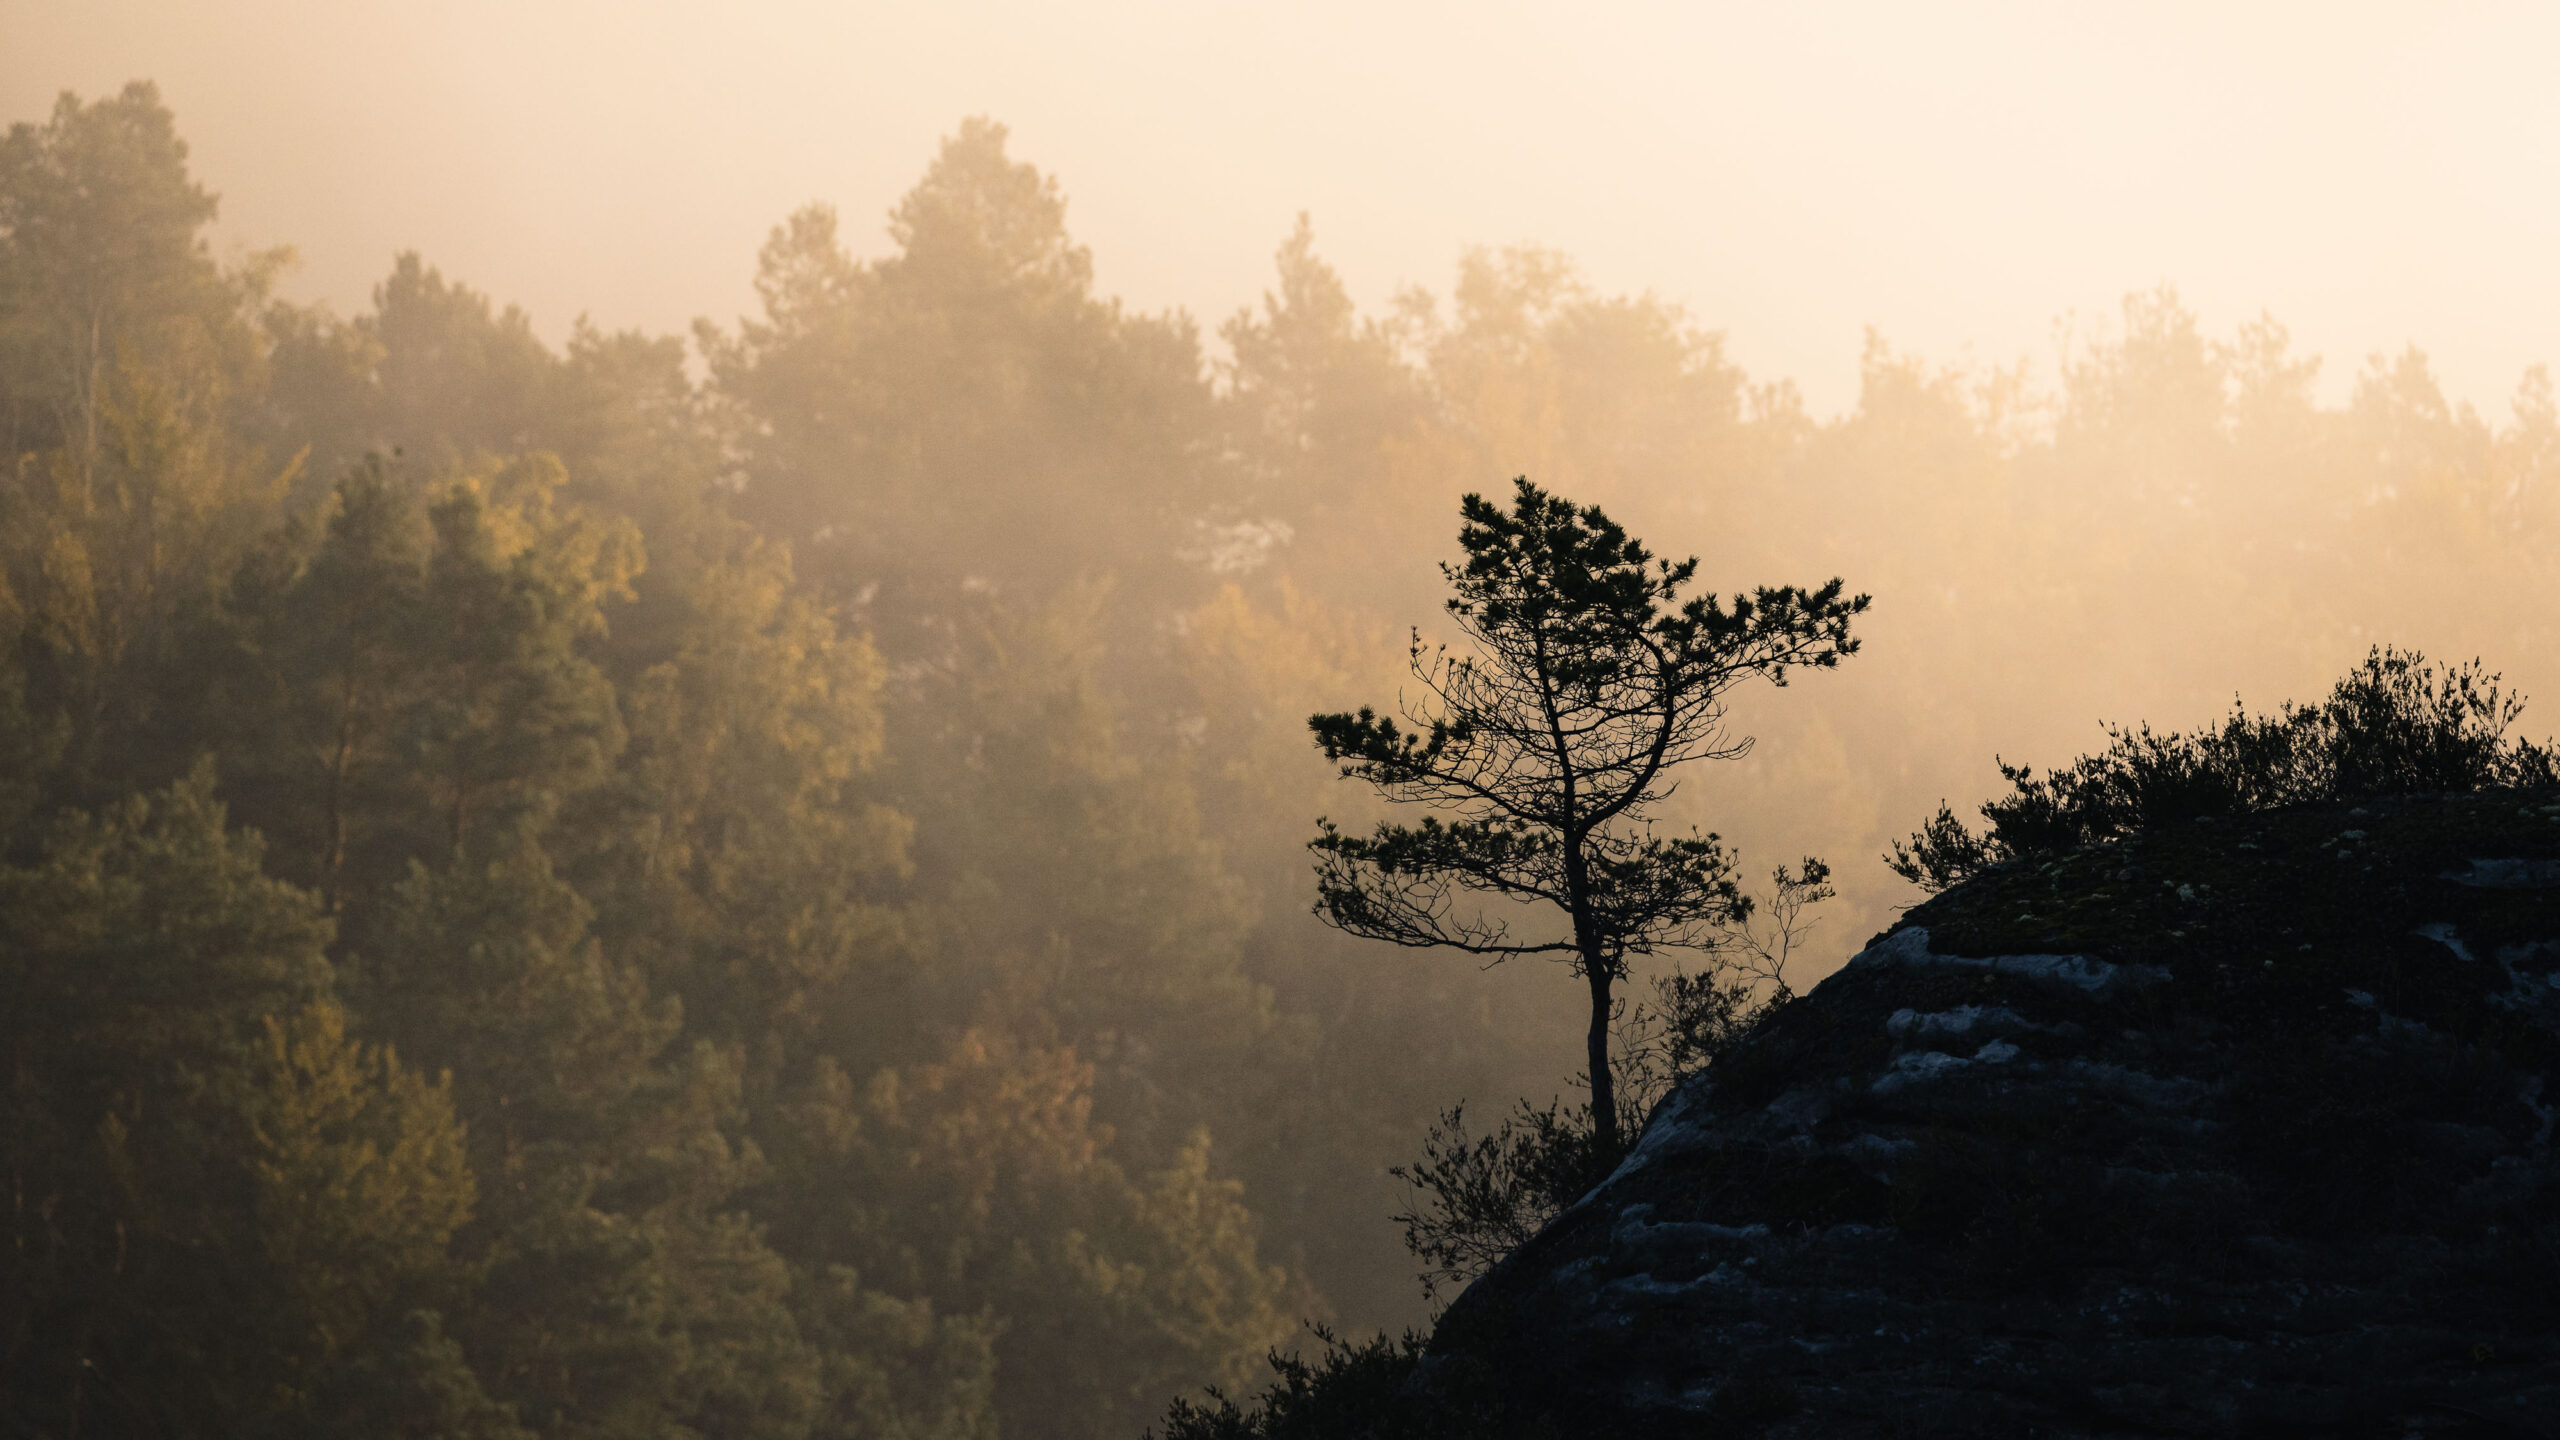
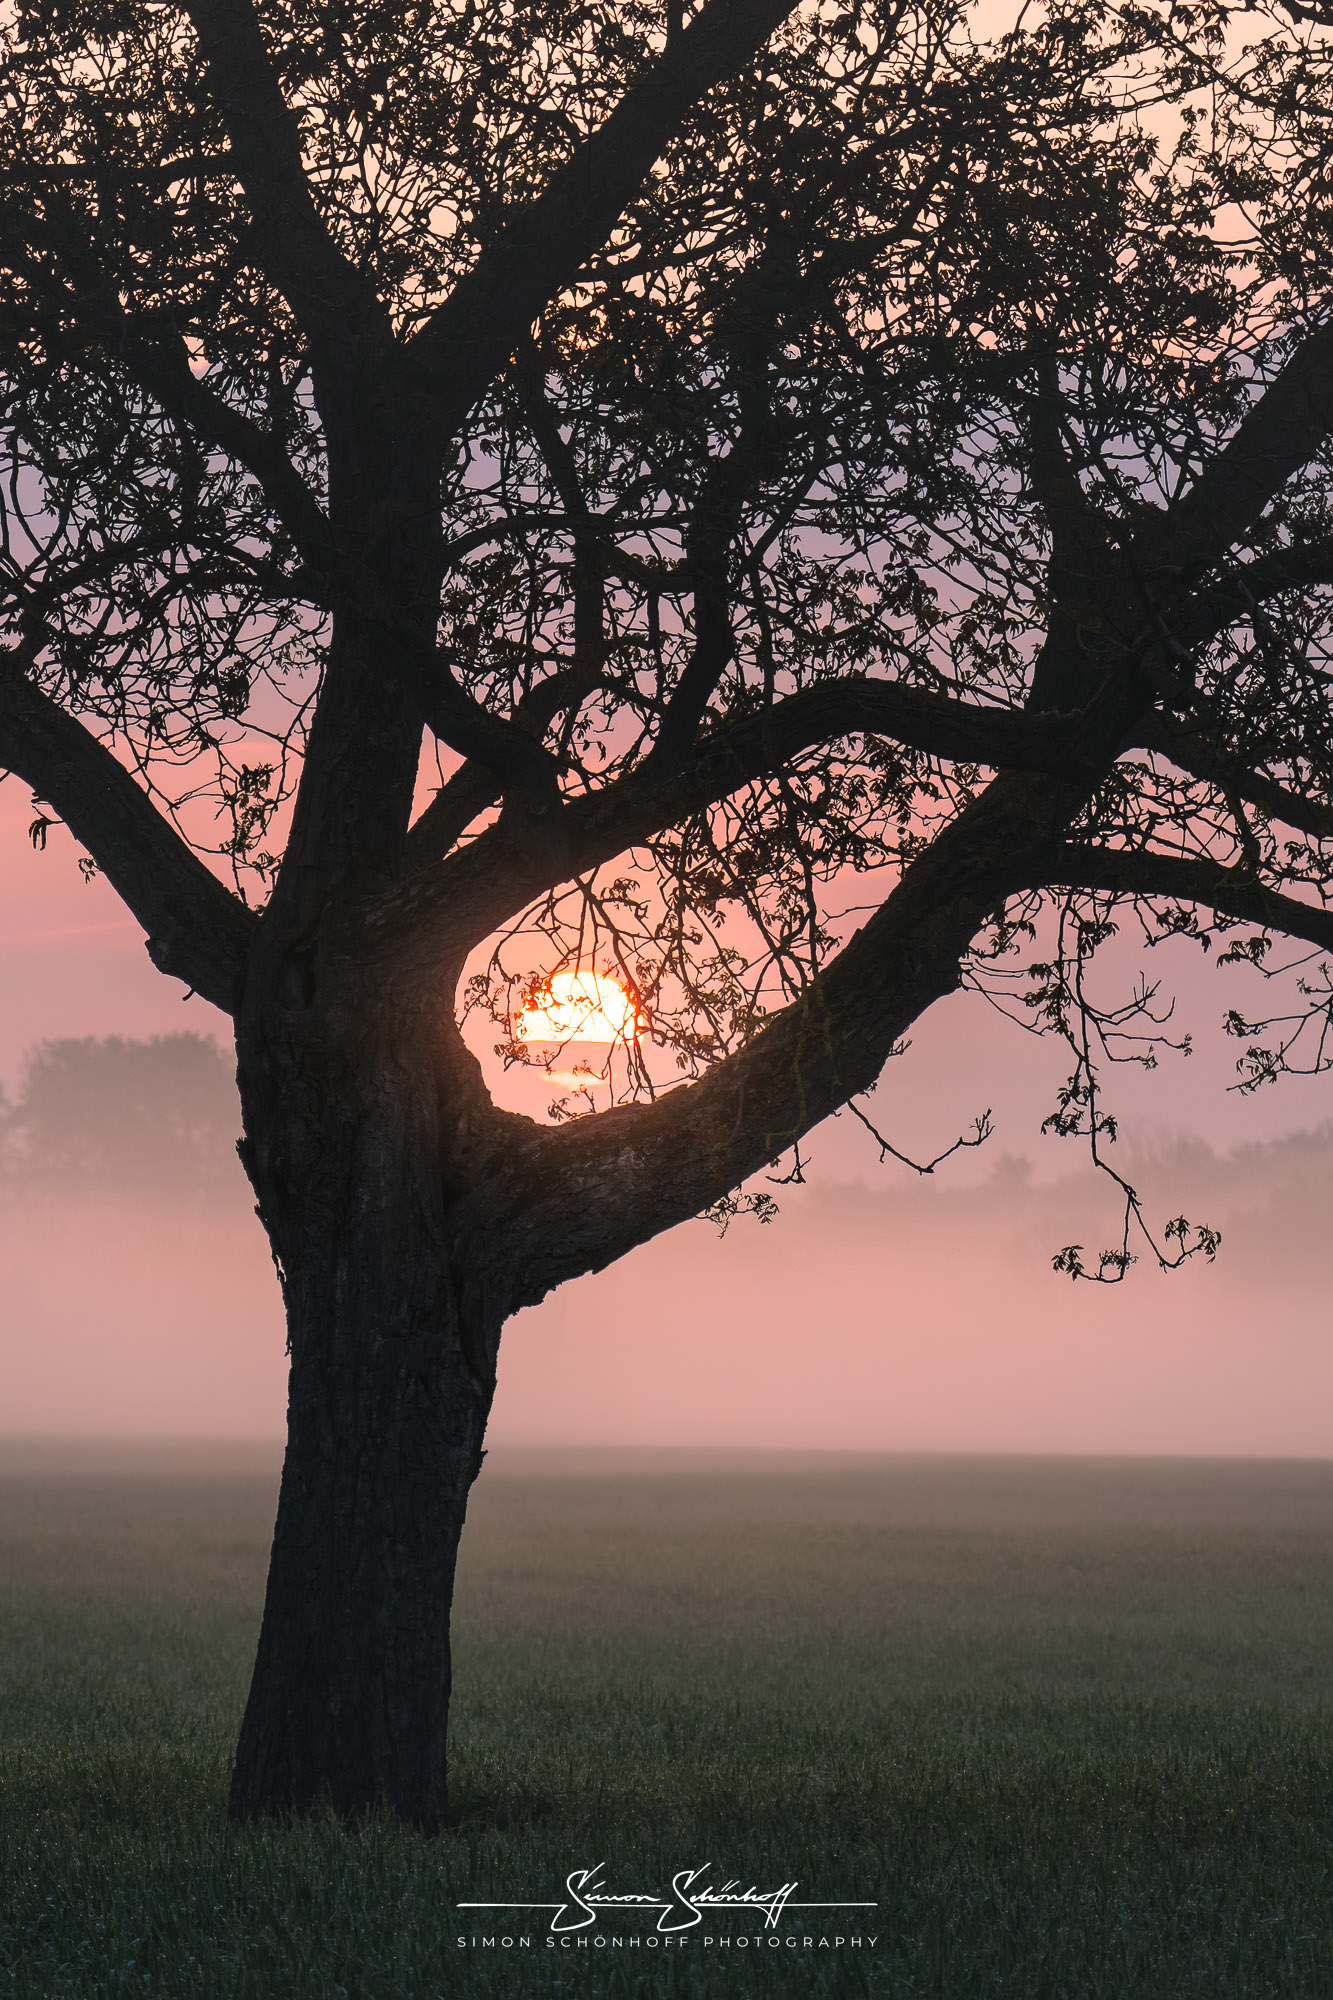
Telephoto lenses have a focal length of more than 70 mm, for example a 70–200 mm, and even though in my early days as a landscape photographer I was often told that the telephoto range was supposedly less suitable for landscape photography, my 100–400 mm is now one of my most frequently used lenses. And not out of laziness, because it allows me to zoom in closer on distant subjects. No. Two characteristics of this focal length range play a special role in my landscape photography. Firstly, its narrow angle of view makes it easier to simplify complex scenes, and the optical illusion of compression makes it possible to create very special shots.
This and all other shots of this post you can request under “Prints” as an art print for your wall at home directly from me.
This compression makes a background appear to be closer to the subject in the foreground. This is only an optical illusion. The telephoto lens does not actually bring that background closer. In the mountains, this feature is a great way to capture a subject such as a hiker in the foreground in front of a massive rock face. Since only a small section of the rock face is visible, it appears huge and monumental.
The narrower angle of view is also wonderfully suited to more minimalist and intimate shots. The small details in the landscape can sometimes complement the big views and in some cases may well outshine them. So with the telephoto lens in your camera bag, you should definitely start to sharpen your eye for it.
The use of telephoto lenses makes it almost impossible to think in terms of foreground, middle ground and background. Often you pick a detail out of nature and by positioning the camera you get the background. Quite simple. Nevertheless, you should make sure that the background and the subject do not interfere with each other. This can be achieved when taking photographs, for example, by separating the same colours or tonal values.
In addition, you should keep an eye on the exposure time. When photographing by hand, you should choose a sufficiently short exposure time for such a long focal length. The 1 sec/focal length rule helps here. This states that the exposure time should be shorter than 1 second divided by the focal length. So for 100 mm: 1 sec / 100 = 0.01 sec. Image stabilisation in modern cameras and lenses help to be able to choose longer exposure times.
Otherwise, fortunately, you can make quite few mistakes with the use of telephoto lenses. Nevertheless, there are some tips for dealing with the long focal lengths.
For many landscape photographers, the telephoto lens ekes out a shadowy existence in the camera backpack, yet you can make wonderful use of its properties.
Let’s take the example of a forest shot. Often I want to avoid having the sky shining through the canopy of leaves in the picture. The bright areas of the picture take up too much of the viewer’s attention for some scenes. If I now use a longer focal length and go back a few metres, I can choose the same frame of my subject without having sky in the picture.
Another use should always be considered when the sky is not very dramatic and would be a boring spot in the photo anyway. Especially in the mountains, it is then possible to exclude the sky by condensing the scene and to give the viewer a feeling of grandeur. In addition, a telephoto lens, like the standard focal lengths, is wonderfully suitable for capturing small scenes, i.e. details in nature and also abstract motifs.
The choice of focal length is an important aspect of landscape photography. Wide-angle lenses are good for capturing wide landscapes, but you need much more training in using them to make a picture work. Standard lenses are versatile, especially today’s standard zooms with large focal length ranges of 20–70 mm or 24–105 mm make them incredibly flexible. But telephoto lenses are also excellent companions when it comes to scaling and condensing a scene, especially for more intimate and minimalistic shots. So it’s worth experimenting with different focal lengths. So familiarise yourself with the image effect of the respective focal length to achieve the effect you want in the picture.