Gear:
Sony a7IV
Sony FE 4/24–105 mm G
You can see the VLOG to the BLOG at the bottom of the page or you can reach it via this button:
The two shooting techniques discussed in this article are ETTR (Expose to the Right) and HDR (High Dynamic Range).
With ETTR, or exposure towards the right, you overexpose as much as possible without getting areas of maximum white. This allows you to use the maximum possible dynamic range of the camera sensor. With HDR, I extend this dynamic range of the camera sensor even further by including additional overexposed and underexposed images. Many cameras do this semi-automatically with HDR bracketing at the touch of a button.
Dark areas of an image have the characteristic that they contain all the information, but if they emit too little light and only a small amount of light ‘falls’ on the sensor, then this amount of light is not sufficient to mask the electronic noise of the photosensor. If I brighten these dark areas significantly in post-processing, I also amplify the noise in these areas of the image. Yes, even at ISO 100.
With ETTR, I expose as brightly as possible. (However, I must avoid creating maximum white, as this would result in a loss of image information at that point!) This allows more light to hit the sensor in the dark areas of the photo, which in turn better masks the noise. When brightening the image in image editing, I still have less noise. The overall image quality improves.
With HDR, I use the information from the overexposed image in the dark areas and the information in the bright areas from the underexposed image. The result is a higher dynamic range than the camera sensor can provide and less noise, resulting in higher image quality.
For both shooting techniques, it is advisable to use the camera’s exposure compensation to achieve the best results. The built-in histogram of modern digital cameras allows you to reliably check the exposure while shooting. If you want to use the ETTR technique, I turn the exposure compensation to the positive until the histogram shows a steep rise on the right-hand side. This signals overexposure and a possible maximum white that cannot be saved in image editing. I demonstrate the procedure in the video below. The histogram also clearly shows whether all the information in the image can be captured or whether you need to switch from ETTR to HDR technique. If the histogram peaks at the bottom and top, the dynamic range of the camera sensor is not sufficient and HDR technique must (should) be used.
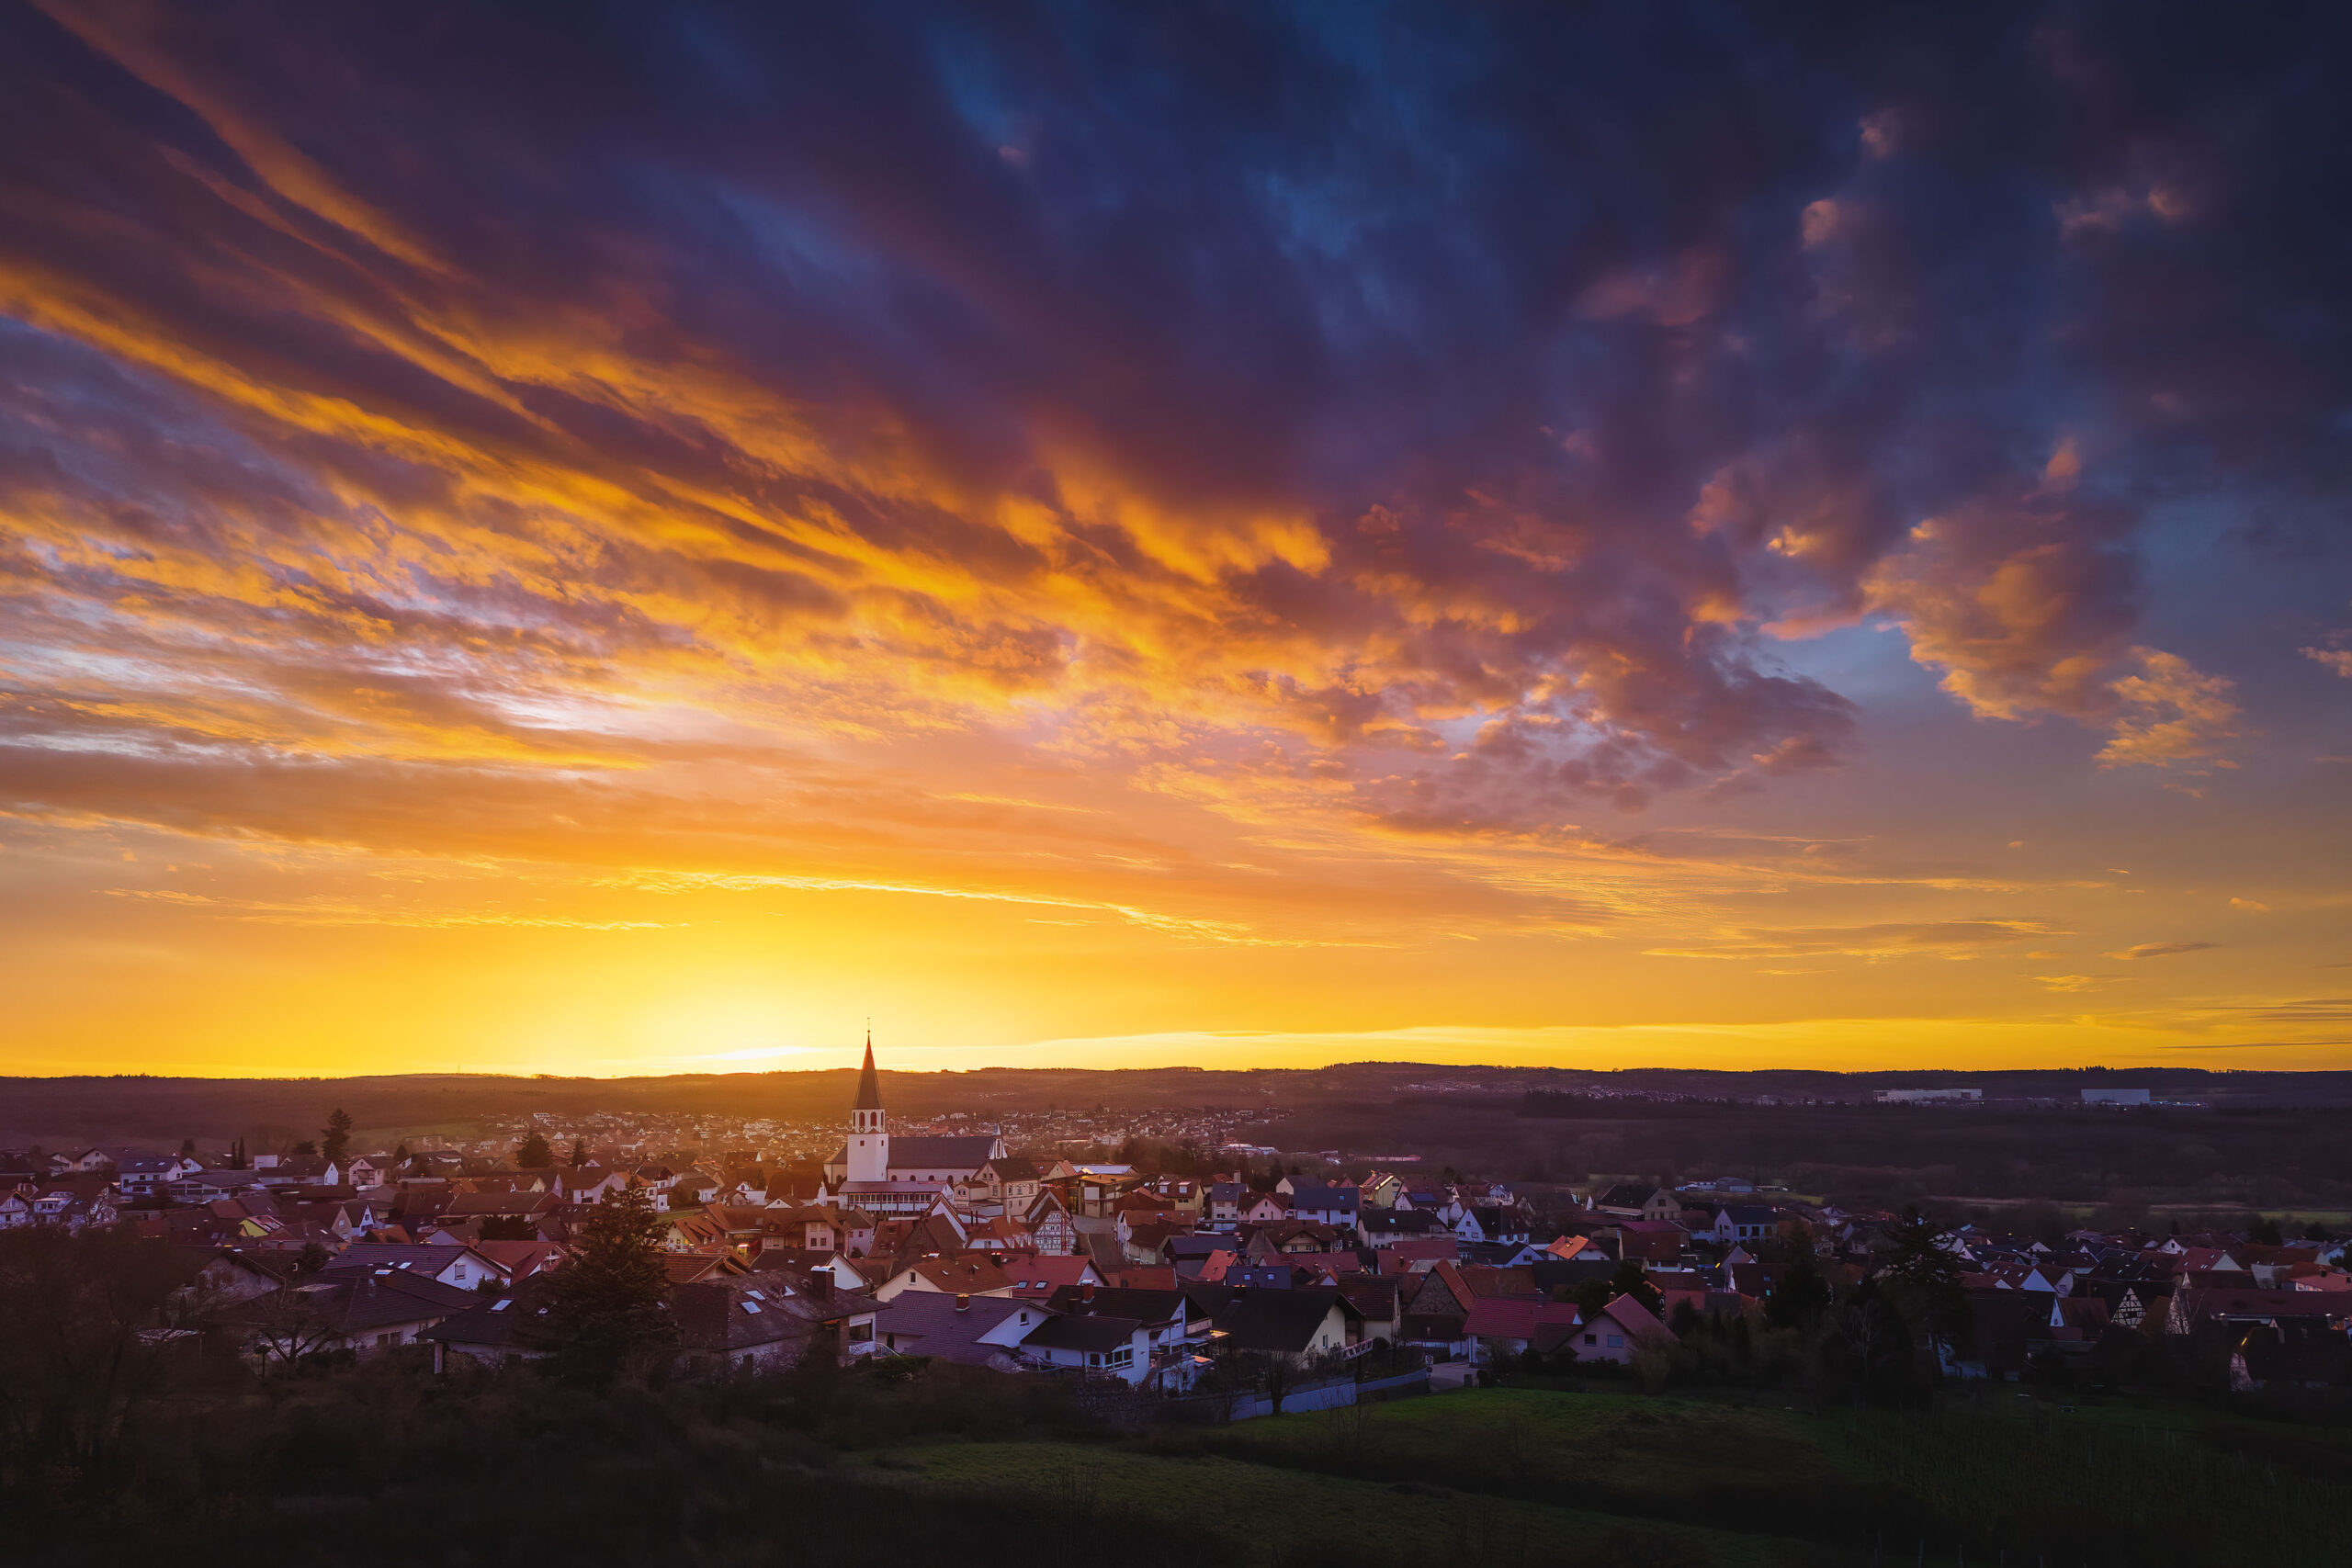
The histogram during shooting shows the entire channel and thus an average of the individual colour channels. In this case, it may happen that the exposure looks good and has not been overexposed too far to the right in ETTR. However, in the case of such an intense sunrise, for example, the red colour channel may clip, meaning that colour information is lost. It is therefore advisable to check the histograms of the individual colour channels after shooting and take corrective action if necessary. Even small, very bright but overexposed areas in the image can prevent the histogram from showing an accumulation on the right-hand side, as the area is simply too small in comparison to the overall image. The overexposure warning helps here.
When creating HDR bracketing shots, do not allow too much time to pass between shots. Otherwise, moving elements may cause ghosting, i.e. ghost effects in the image. You should also pay attention to colour breaks during intensive image processing!
Both techniques require a little practice, but are relatively quick to learn. Especially at the beginning, you should take the time to review the images you have just taken and look at the histograms of the individual channels. If the histogram is very spread out, it always makes sense to create an HDR, even if the images may not be needed in the end.
If you would like to try or buy Luminar Neo yourself, you can use the code ‘Sphoto10´ to save an additional 10% on Luminar Neo!
Click here for Luminar Neo (*)
For those who can’t quite picture everything while reading, I have illustrated the process during recording, the tricks to keep in mind and the differences using RAW recordings in the video. So be sure to take a look!
Feel free to share: