You can see the VLOG to the BLOG at the bottom of the page or you can reach it via this button:
Gear:
Sony a7IV
Sony FE 2.8/16–35 mm GM
Sony FE 4/24–105 mm G
Sony FE 100–400 mm GM
DJI Mini 3 Pro
The summer is simply sh… shitty for landscape photographers. It feels like the alarm clock goes off far too early. Even at a spot quite close to my home town, such as Steinsberg Castle in Sinsheim, you have to get up more or less in the middle of the night around the solstice in order to be there well before sunrise.
So I peel myself out of bed. Just don’t make any unnecessary noises now. If I wake my daughter now, my plan will be over before it has even begun. Somehow I manage to steal out of the house without waking my ladies, so I’m ready to go.
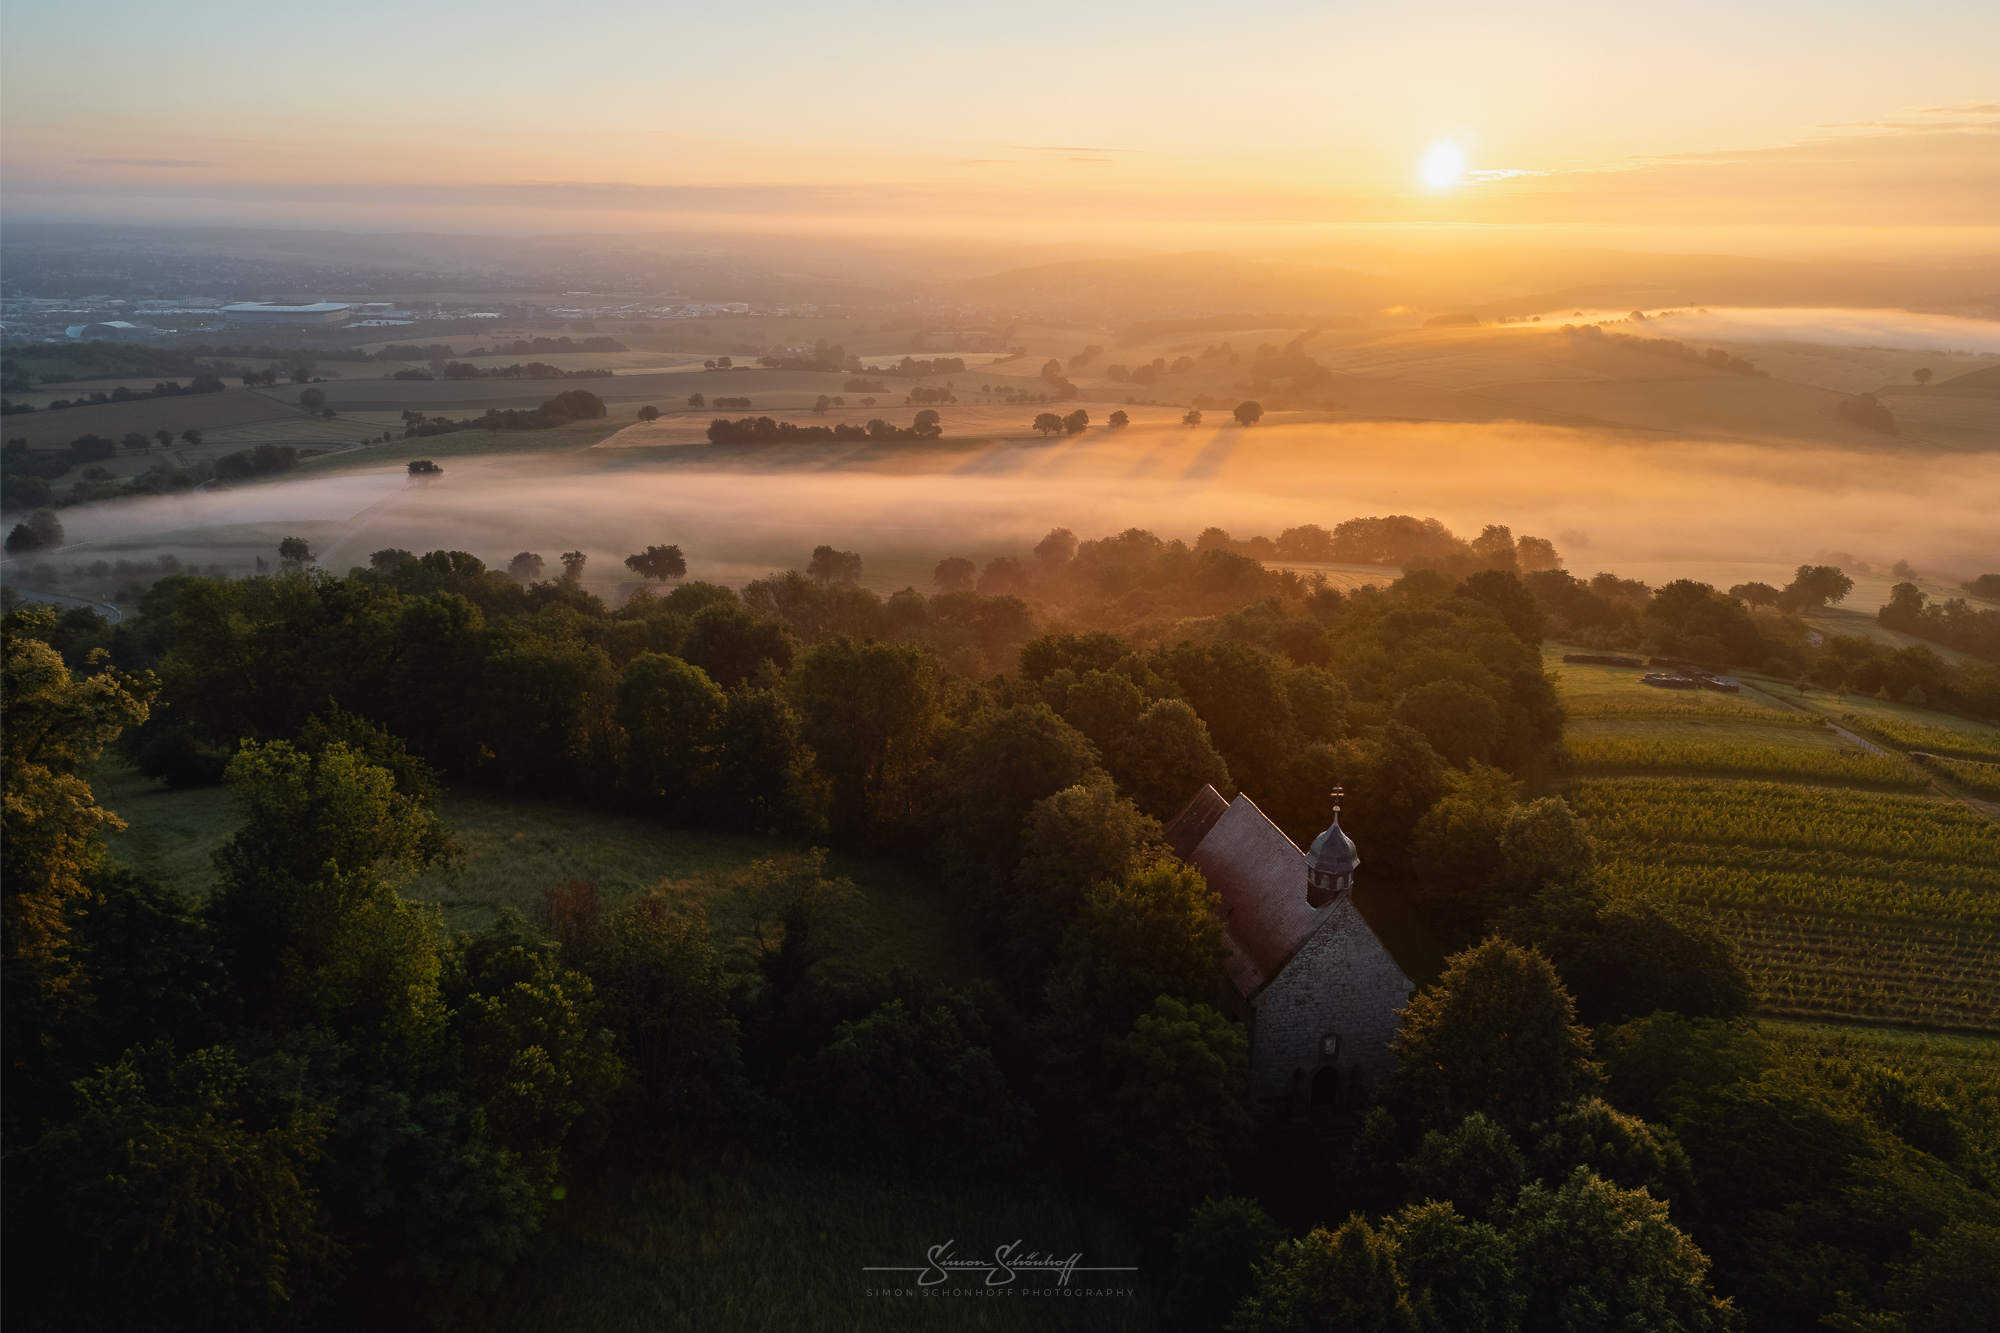
Even on the drive to Steinsberg Castle, I occasionally look up at the sky. The clouds are not bad. Maybe there’ll be some fog in the surrounding plains as well as the dawn. That would be brilliant. After a few minutes’ drive, I head for the parking lot. Some of the clouds are still there. Maybe it will work.
I look around for a suitable take-off and landing site for my drone. I quickly realize that if the sun doesn’t hurry up soon, the clouds will be too far above the castle and I won’t be able to get a picture of them. I launch the drone to have a look around and see where the sun will rise and so on.
Steinsberg Castle can be photographed from all directions. It is slightly elevated on a hill and can also be easily seen from a distance. It can be photographed from the surrounding villages and hills using the light to strong telephoto range, or from close up with a drone. Wide-angle shots from close to the ground are less suitable.
The village of Weiler is located towards the sunset, i.e. to the west. If you are disturbed by the presence of houses in the village in the pictures, you should concentrate on the sunrise. To the east, there are almost exclusively fields, meadows and small woods nearby. The castle itself does not have a particularly photogenic side, so anything is possible. Morning, evening, summer or winter doesn’t matter.
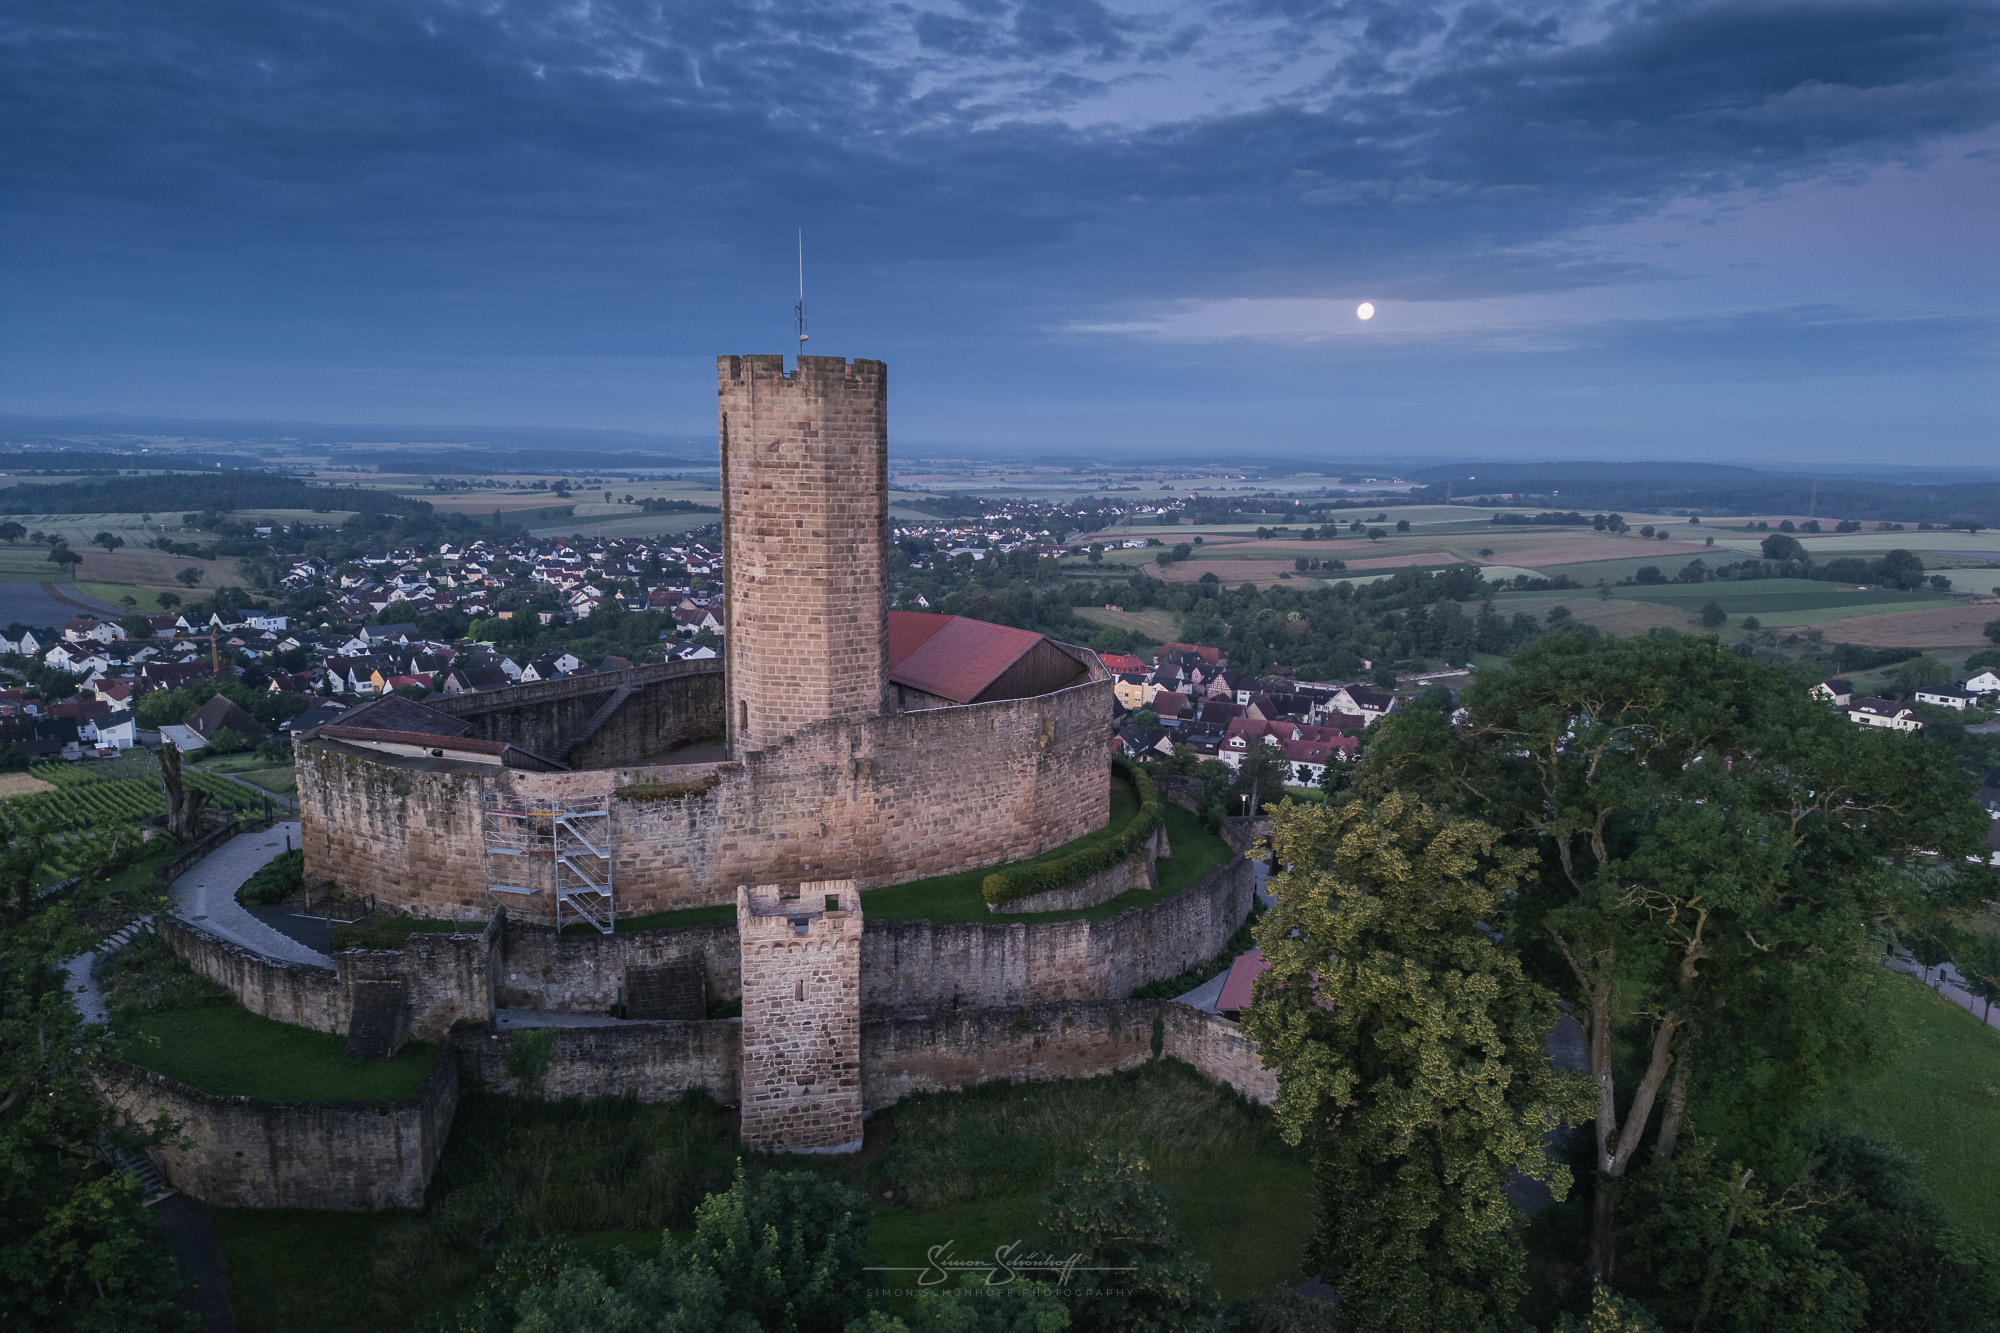
I flew a first round with my drone. For me, a reconnaissance flight like this not only serves to record the first video sequences and images, but also to look out for subjects, get my bearings and analyze the direction and effect of the light on the subject.
Die Vorteile der Drohne liegen also ganz klar auf der Hand. Ein ganz substanzieller ist, dass man deutlich schneller eine Umgebung erkunden kann, als man dies per Fuß könnte. Man kann also schnell von A nach B fliegen und schauen, ob das Licht in Richtung C oder D besser ist. Aber auch die geänderte Perspektive, von etwas weiter oben, oder manchmal auch Top-Down ermöglicht uns Fotos aufzunehmen, die wir so herkömmlich niemals aufnehmen könnten, was immer wieder für einen Aha-Effekt sorgen kann.
Nicht nur das Fliegen als solches macht also Spaß, sondern auf das Filmen und Fotografieren mit ihr. Und so manches Motiv habe ich schon durch sie entdeckt, die ich dann mit ihr, oder auch mit der Kamera noch aufgenommen habe.
Aber verglichen mit einer DSLM hat sie auch einige Nachteile. Allen voran der kleine Sensor. Man bekommt zwar mittlerweile fast die gleiche oder eine zumindest annähernd so große Pixelanzahl wie bei einer Kamera auf den Sensor, doch dadurch entsteht ein Problem: Das hohe Rauschen bei wenig Licht und der deutlich geringere Dynamikbereich. Aber für beides gibt es Lösungen. Es gibt nur bei der Aufnahme vor Ort schon ein paar Dinge zu beachten.
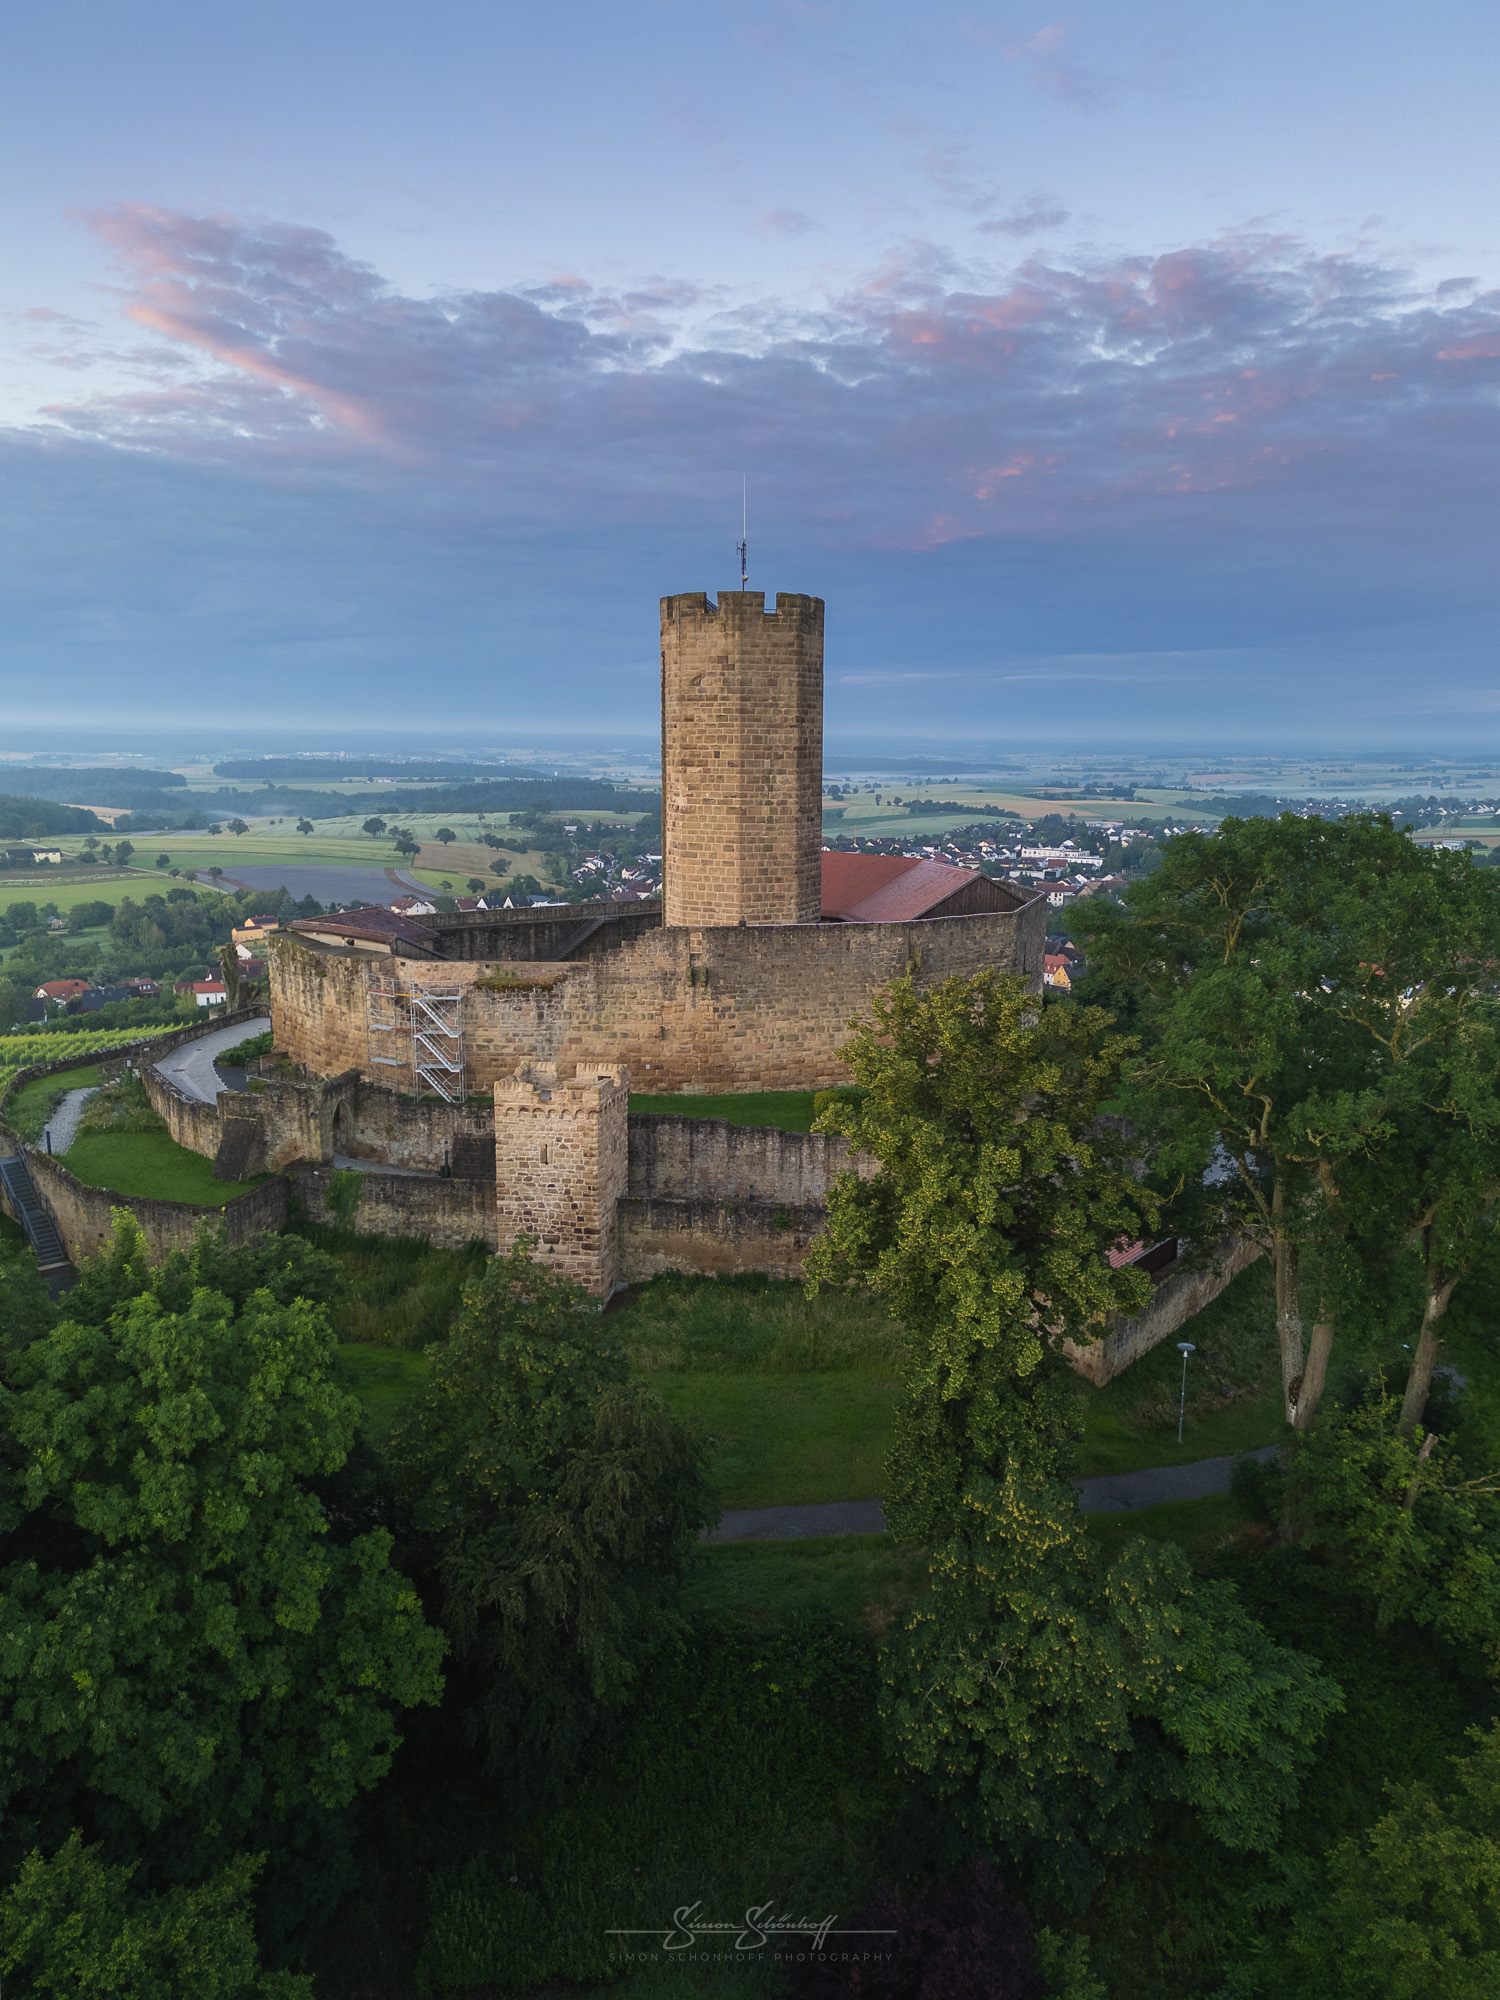
It is therefore important for you to analyze the scene on location and pay attention to the histogram. If you have a high tonal value spread, i.e. many bright and dark areas, then you cannot avoid an HDR shot, i.e. a series of exposures. This can usually be created with just one click. Make use of what you have available. If you can take 5 pictures at once, then go for it.
If you have a scene in low light, i.e. if you are flying into the twilight, you may have to deal with a higher ISO and significantly more noise. Here it helps to create a series of shots. As the noise of the sensor varies from shot to shot, Photoshop can remove the noise afterwards.
You can easily create HDRs in Lightroom. You can see exactly how to do this in the video below. To do this, select all the images in your exposure bracket, right-click on one of the images, go to “Merge photos” and select “HDR”. Alternatively, you can also use the shortcut Ctrl+H.
In the dialog that opens, you can also select the strength of the ghost effect removal. This is useful if you have image elements that have moved between the two shots. Once the HDR has been created, you can edit it as usual in Lightroom.
The procedure for taking a series of photos to reduce high levels of noise is slightly different. The best way to do this is to first make your basic settings in Lightroom and synchronize the settings for all photos in the series. Then select all the photos in the series, right-click on one of the images and select “Edit in…” and “Open as layers in Photoshop”. Make sure that the images are perfectly aligned. If not, go to “Edit” in Photoshop and select “Auto Align Layers”. Then convert the layers into a Smart Object. Via “Layers”, “Batch mode” you can then select “Average” and the noise should be significantly reduced.
If there is little noise either way, as in my pictures of Steinsberg Castle, then this method is superfluous. In this case, you can also use the “Denoise” method under “Details” in develop mode. This does a perfect job in most cases. With these methods, you can achieve sensational images at a very high quality level, even with drones with small sensors.
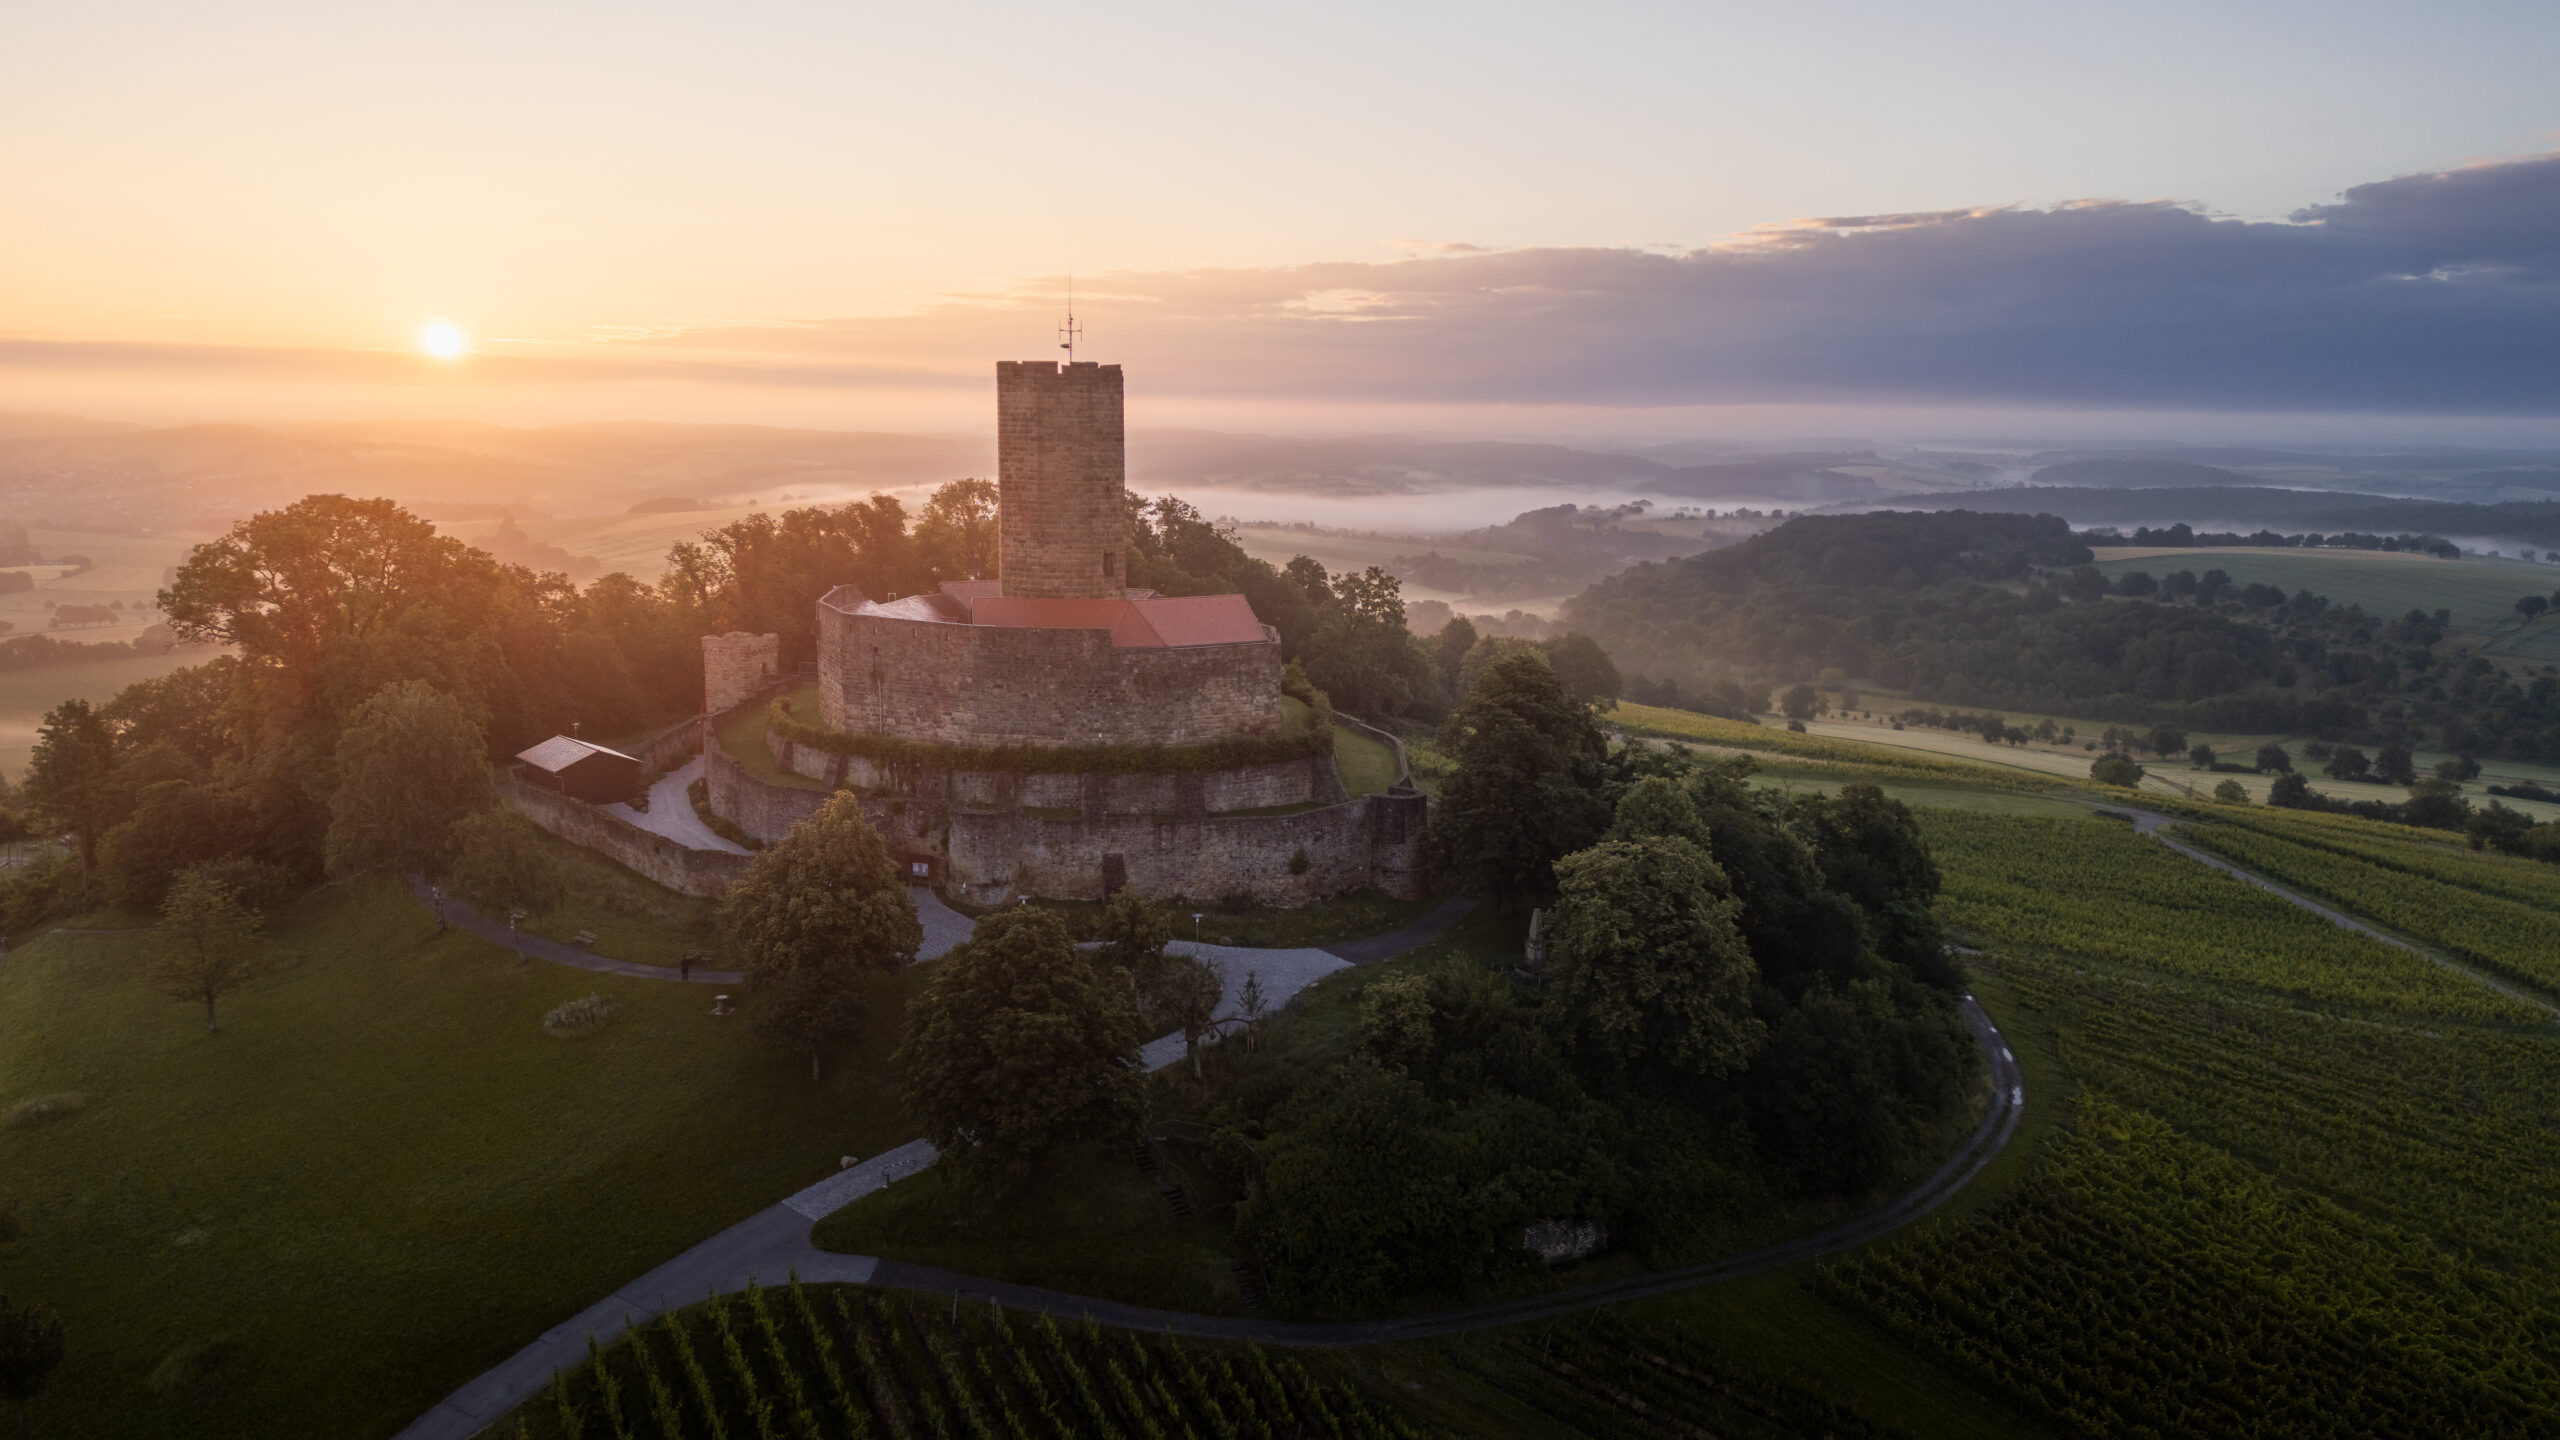
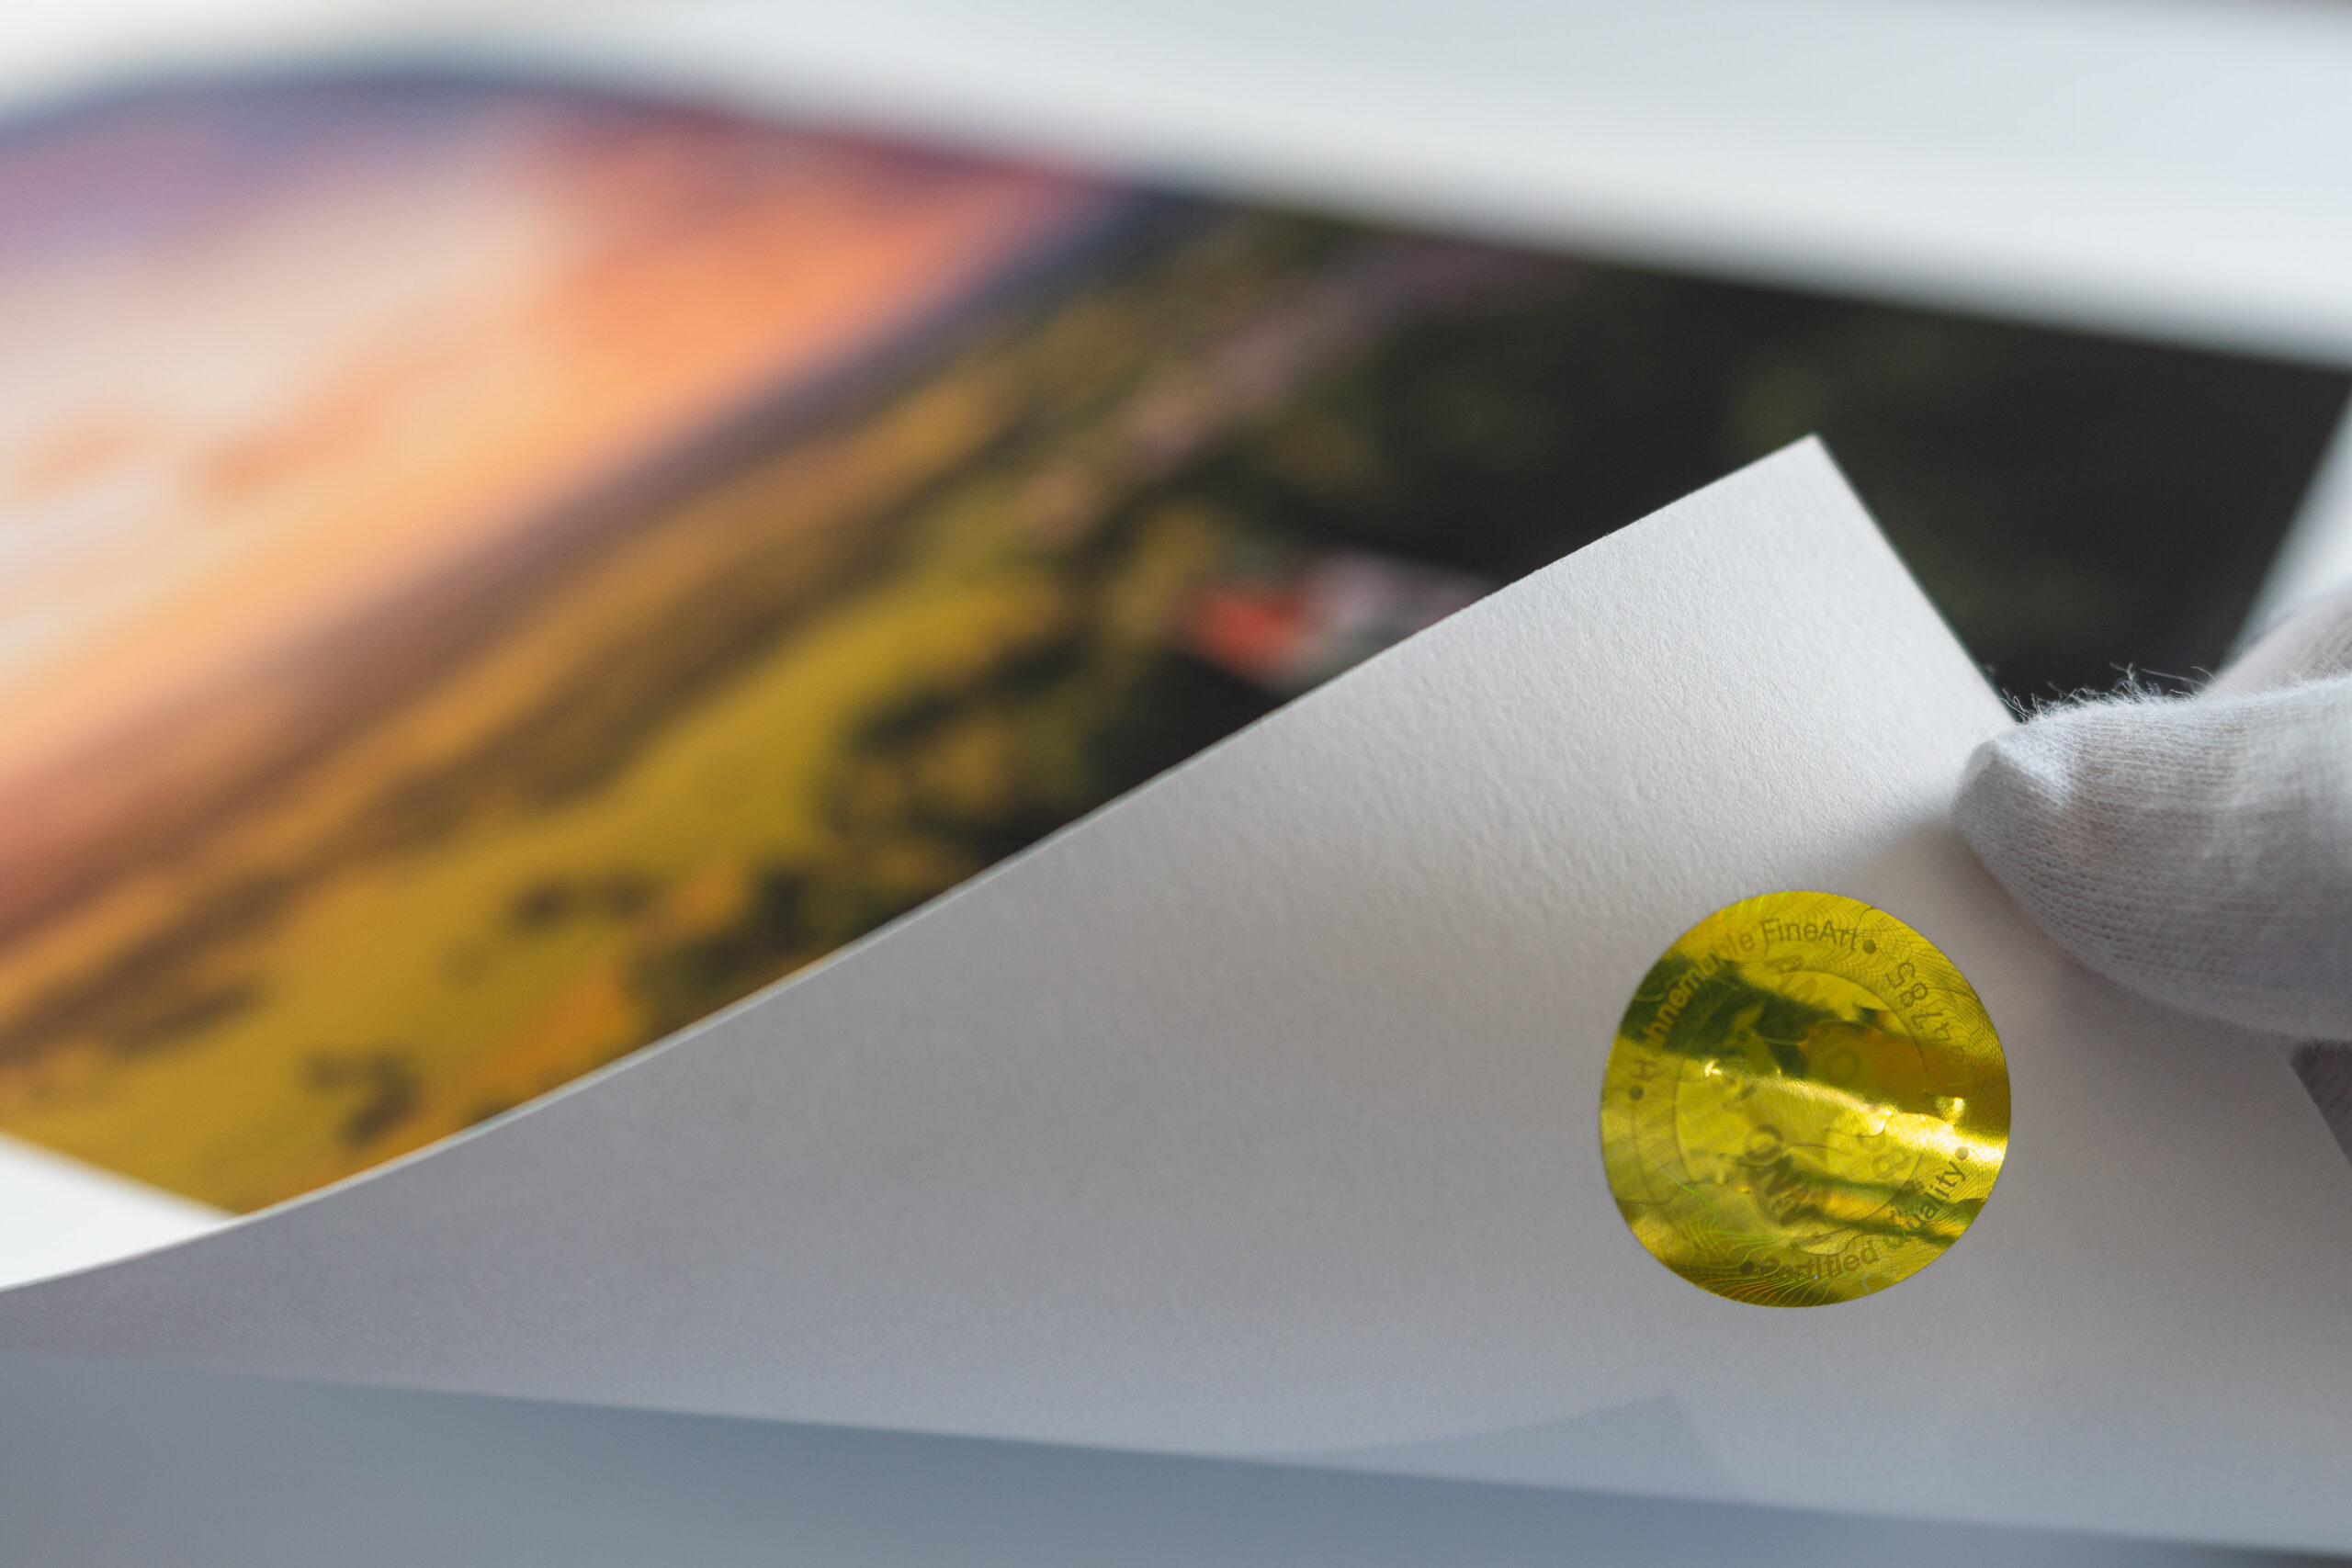
This and all other shots of this post you can request under “Prints” as an art print for your wall at home directly from me.
Today I have another little VLOG from my home region. More precisely from Steinsberg Castle near Sinsheim. This morning I had planned to take some beautiful drone shots at sunrise with surrounding fields of fog. In this video, you can find out whether I succeeded and what I look out for when shooting to get perfect drone shots!
Feel free to share: