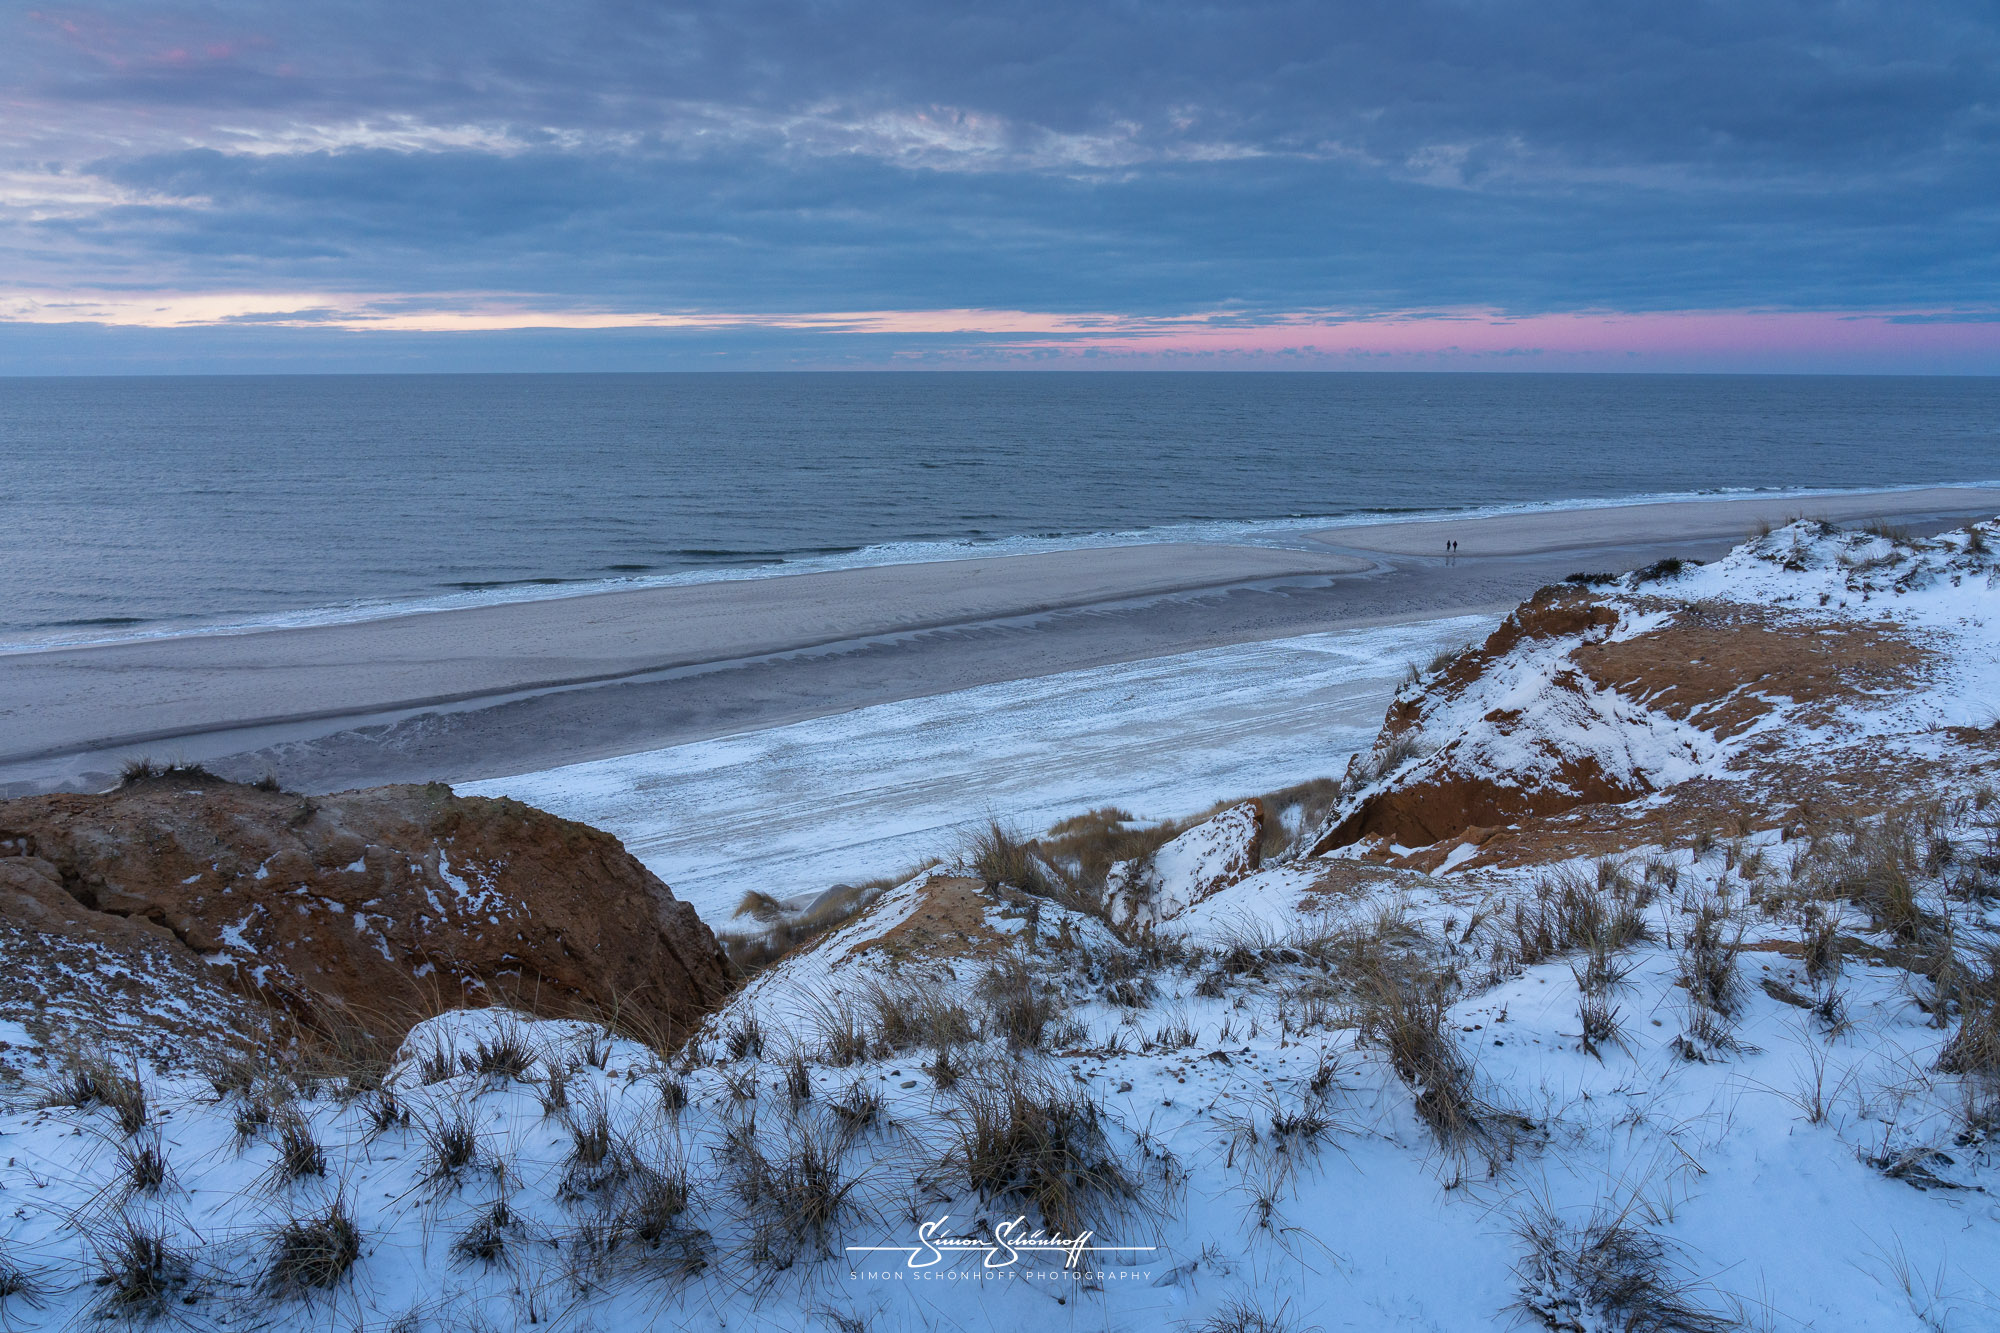
Gear:
Sony a7IV
Sony FE 2.8/16–35 mm GM
Sony FE 4/24–105 mm G
Sony FE 100–400 mm GM
You can see the VLOG to the BLOG at the bottom of the page or you can reach it via this button:
Now, don’t change anything about the composition of the image. It’s best to leave everything as it is and continue taking pictures. Just don’t be tempted. We already have a shot of the perfect sky for this picture, so we need another one when the city lights are on and the atmosphere of the place is right too.
In such cases, a second camera is really helpful, as it means you are not tempted to change anything in the main image, but still have the option of capturing other things around you.
About 20 minutes later, I had a nice shot of the houses with the street lights on. It should be possible to blend this in, right? Sure! It’s actually an easy exercise in Photoshop if you’ve taken everything into account on site. This technique even has a name: time blending. And unlike sky replacement, which has been on everyone’s lips for some time now, time blending is even an approved technique in many popular photo competitions.
You take a photo in one place, but capture individual elements at different times. This technique is particularly popular for landscape shots by the sea. In the foreground, you capture the beautiful movement of the water, in the middle ground a perfectly breaking wave, and in the background a stunning sky with birds flying by. Everything is combined using the time-blending method to create a perfect photographic moment. Waiting for such a moment would take years, and due to the different exposure times required, it might not even be possible to capture it in a single image.
With techniques like these, you naturally move away from simply taking pictures and towards fine art photography. A more artistic approach to photography, where the aim is not to depict reality, but to evoke an emotion. It’s about art.

This and all other shots of this post you can request under “Prints” as an art print for your wall at home directly from me.
Either you plan to take this kind of shot from the outset, in which case you know what you have to do, or it just happens. At the seaside, you take dozens of shots from one position to capture the movement of the water. Many of the pictures end up in the bin, but two, three, four, five or more may have a great element that can be combined to create a fantastic image.
I’ll be honest: in my case, it was observing the sky and my lucky personal intuition that the sunset would probably not get any stronger. So I tried to keep my fingers off the zoom ring and tripod screws so that, in the ‘worst’ case scenario, I could do some time blending. It paid off thanks to a bit of luck, but also to my experience.
Of course, you can fix a lot in Photoshop, but ideally you should position the camera and then not change anything else. Removing a filter when it gets darker is still possible. Adjusting the aperture, changing the ISO – all of that is possible, of course. But it’s better to wait a minute longer before taking the last shot and not move on too soon.
In some villages and towns, buildings can benefit from the last reflected light of the sun shortly after sunset. A red sunset may not appear until minutes later. Street lighting usually comes on even later. You can combine all of this, and it is still 100% your work and does not consist of 30% of another photographer’s sky.

The nice thing about creating time-blending shots is that you have plenty of time to chat. That’s how I got to know a nice photographer from Leiden, who gave me a few tips for motifs for the evening. So I decided to go on a photo walk in Leiden during the blue hour and into the night. And what can I say, it was worth the effort. I took some really great pictures that evening.
Many other Dutch people joined us throughout the evening and took photos with their mobile phones alongside me. Almost everyone spoke to me. And everyone was thrilled that I was pursuing my hobby here and taking such great photos, which already looked fantastic on the camera display.
Leiden is definitely worth a visit for a photo walk. Feel free to browse the gallery below for some inspiration!

A lot of time went into a shot at Galgewater in Leiden. A time blend that shows the location over a period of perhaps as much as 30 minutes. I had significantly less time for the other pictures, but I still managed to take some beautiful shots in Leiden in the Netherlands. How could it be otherwise in such a beautiful place?
This time, the video is less about the location and the shots themselves and more about editing in Photoshop. I’ll show you ways to put together a time-blending shot. Plus, there’s a nice slideshow at the end.
Feel free to share: