You can see the VLOG to the BLOG at the bottom of the page or you can reach it via this button:
Gear:
Sony a7IV
Sony FE 2.8/16–35 mm GM
Sony FE 4/24–105 mm G
To understand how the circular polarising filter works, it helps to take a closer look at the physics of light. Without getting too theoretical, simply put: light particles fly from the light source, hit an object and are reflected by it and hit the eye or the camera’s photo sensor. Depending on how much or which light particles are reflected, objects appear brighter or darker and of course with their specific colour. The light particles do not fly out in a constant straight line, but oscillate in waves. This oscillation is not always in the same direction, but goes up and down for one particle and perhaps slightly right and left for another — in all directions.
Reflections on surfaces such as water, metal, glass or even foliage polarise light, i.e. it now oscillates more strongly in one direction. These reflections can cause colours to appear paler. With the circular polarising filter, I can now block light that oscillates in a certain direction that doesn’t suit me. This means that I only allow one direction of oscillation. By turning the polarisation direction correctly, I can reduce reflections in nature and landscape photography, optimise colours and increase contrasts.
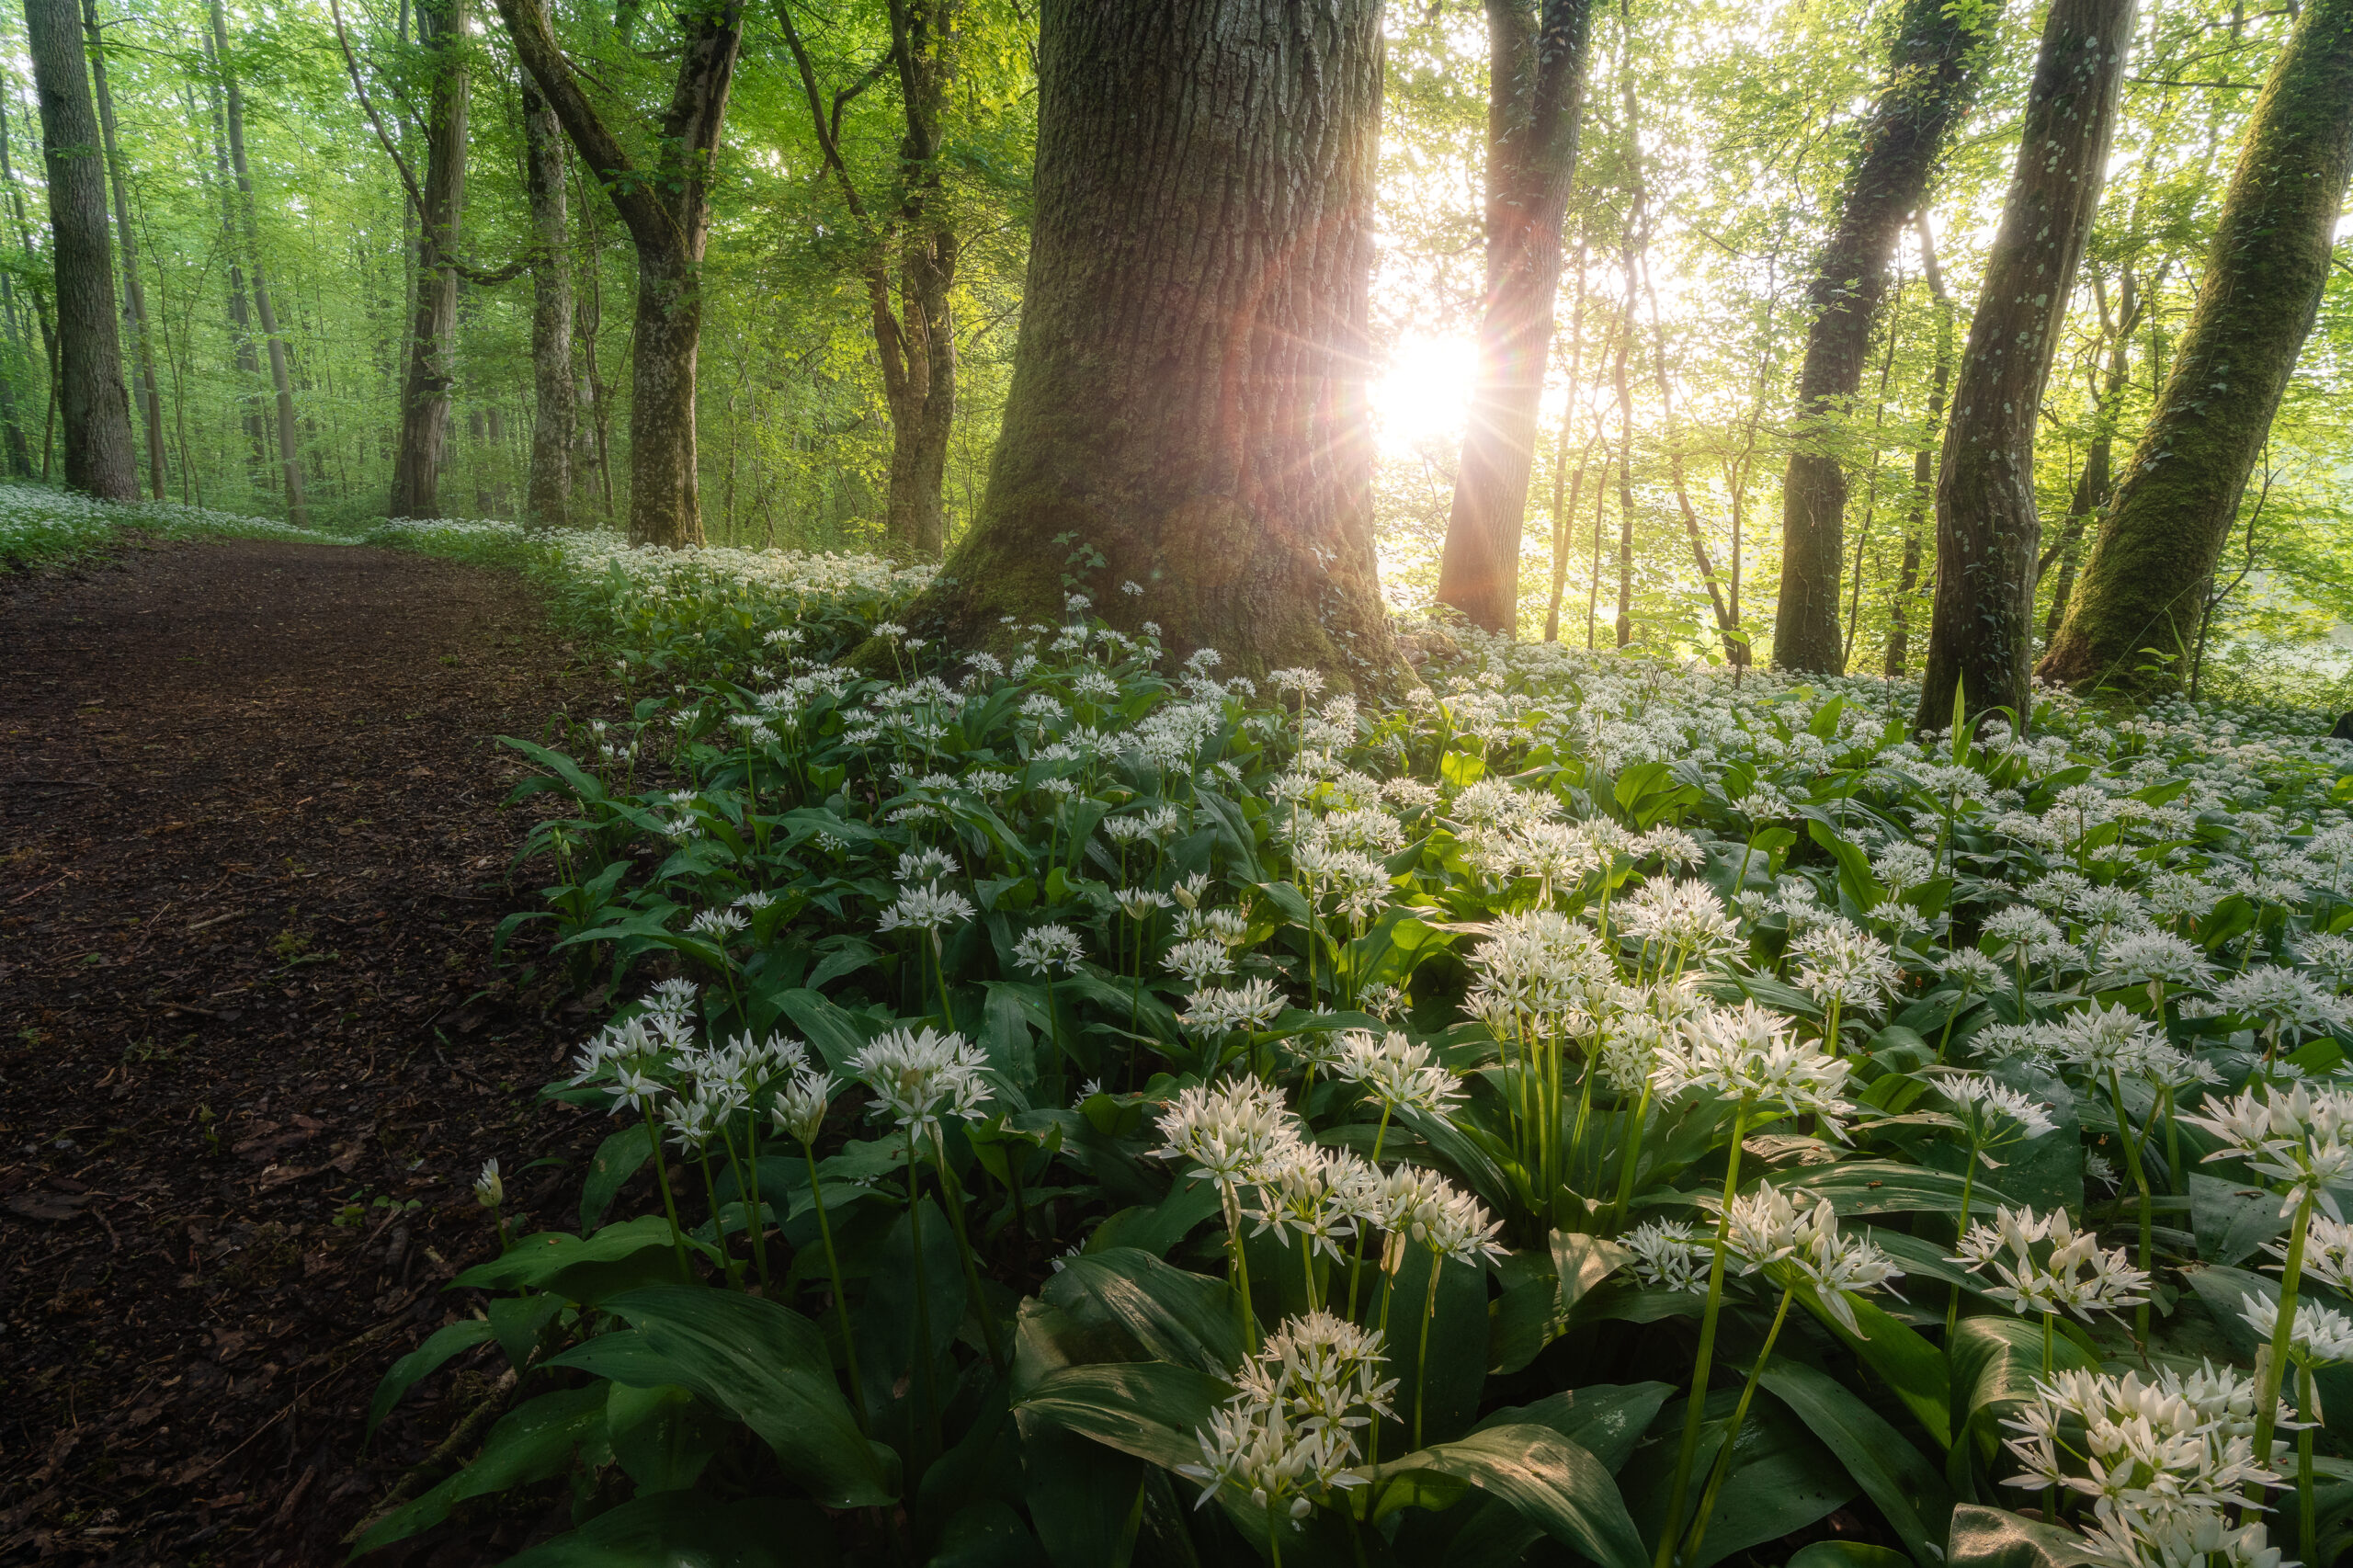
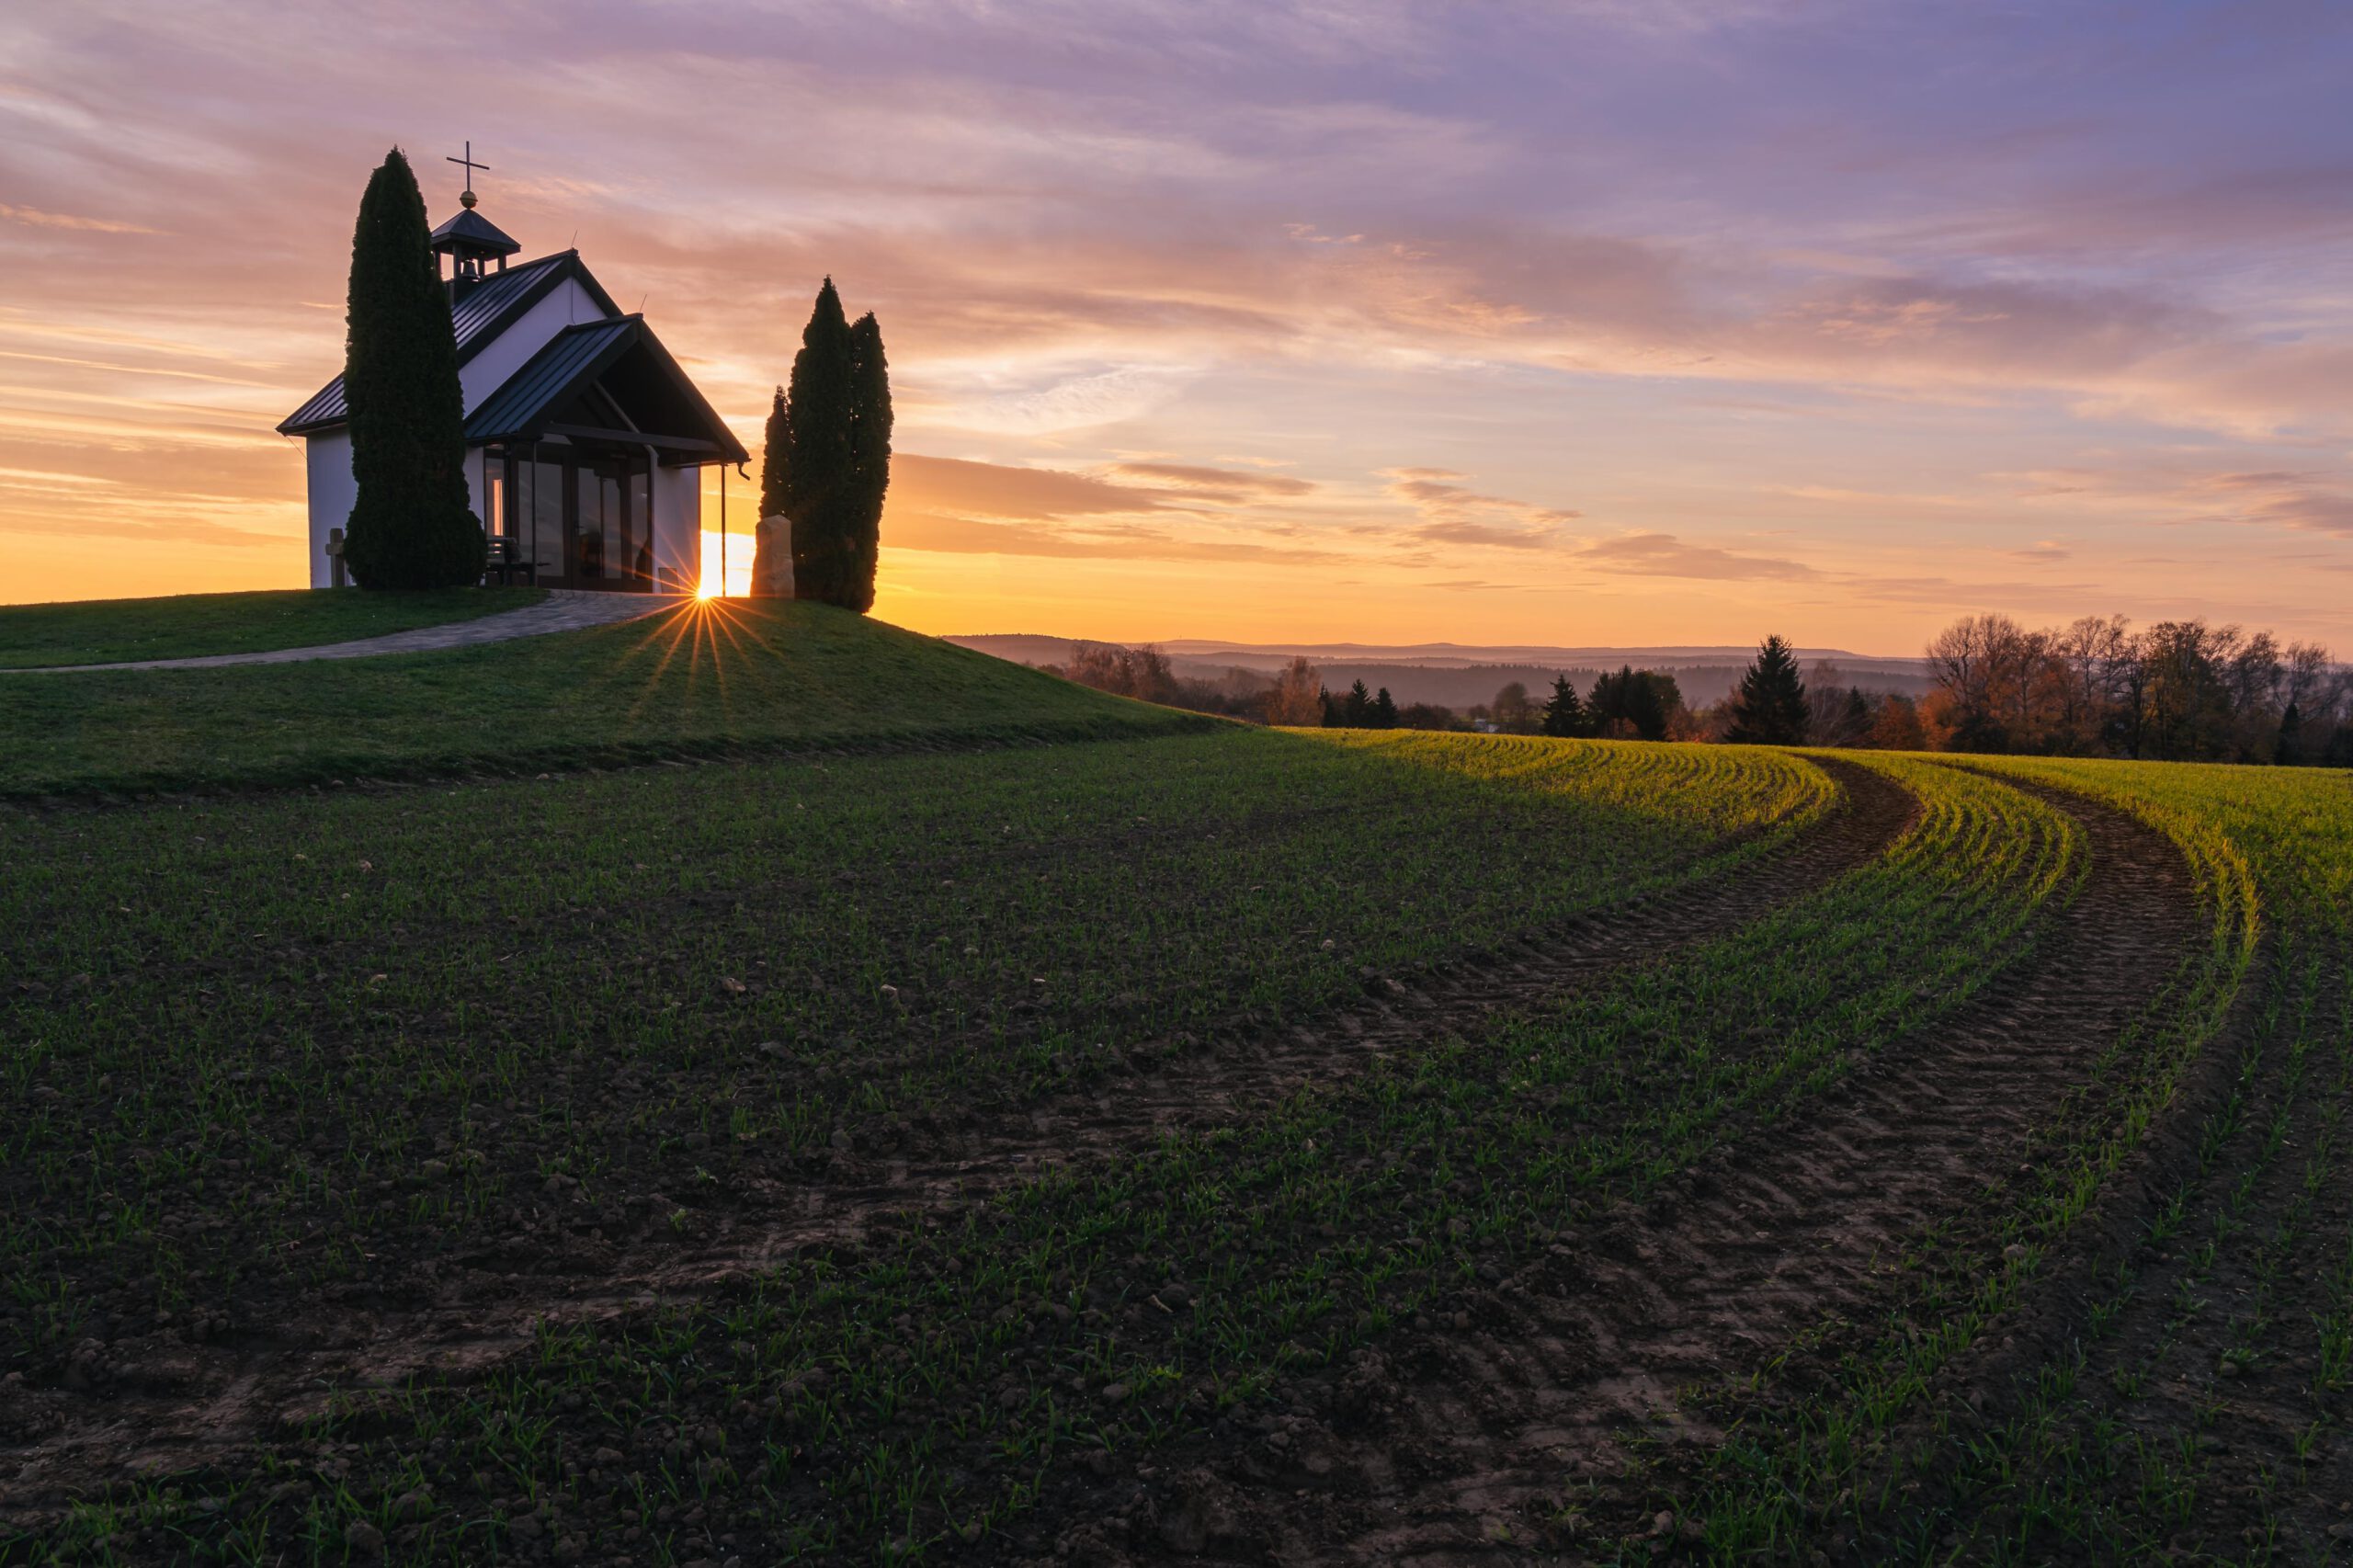
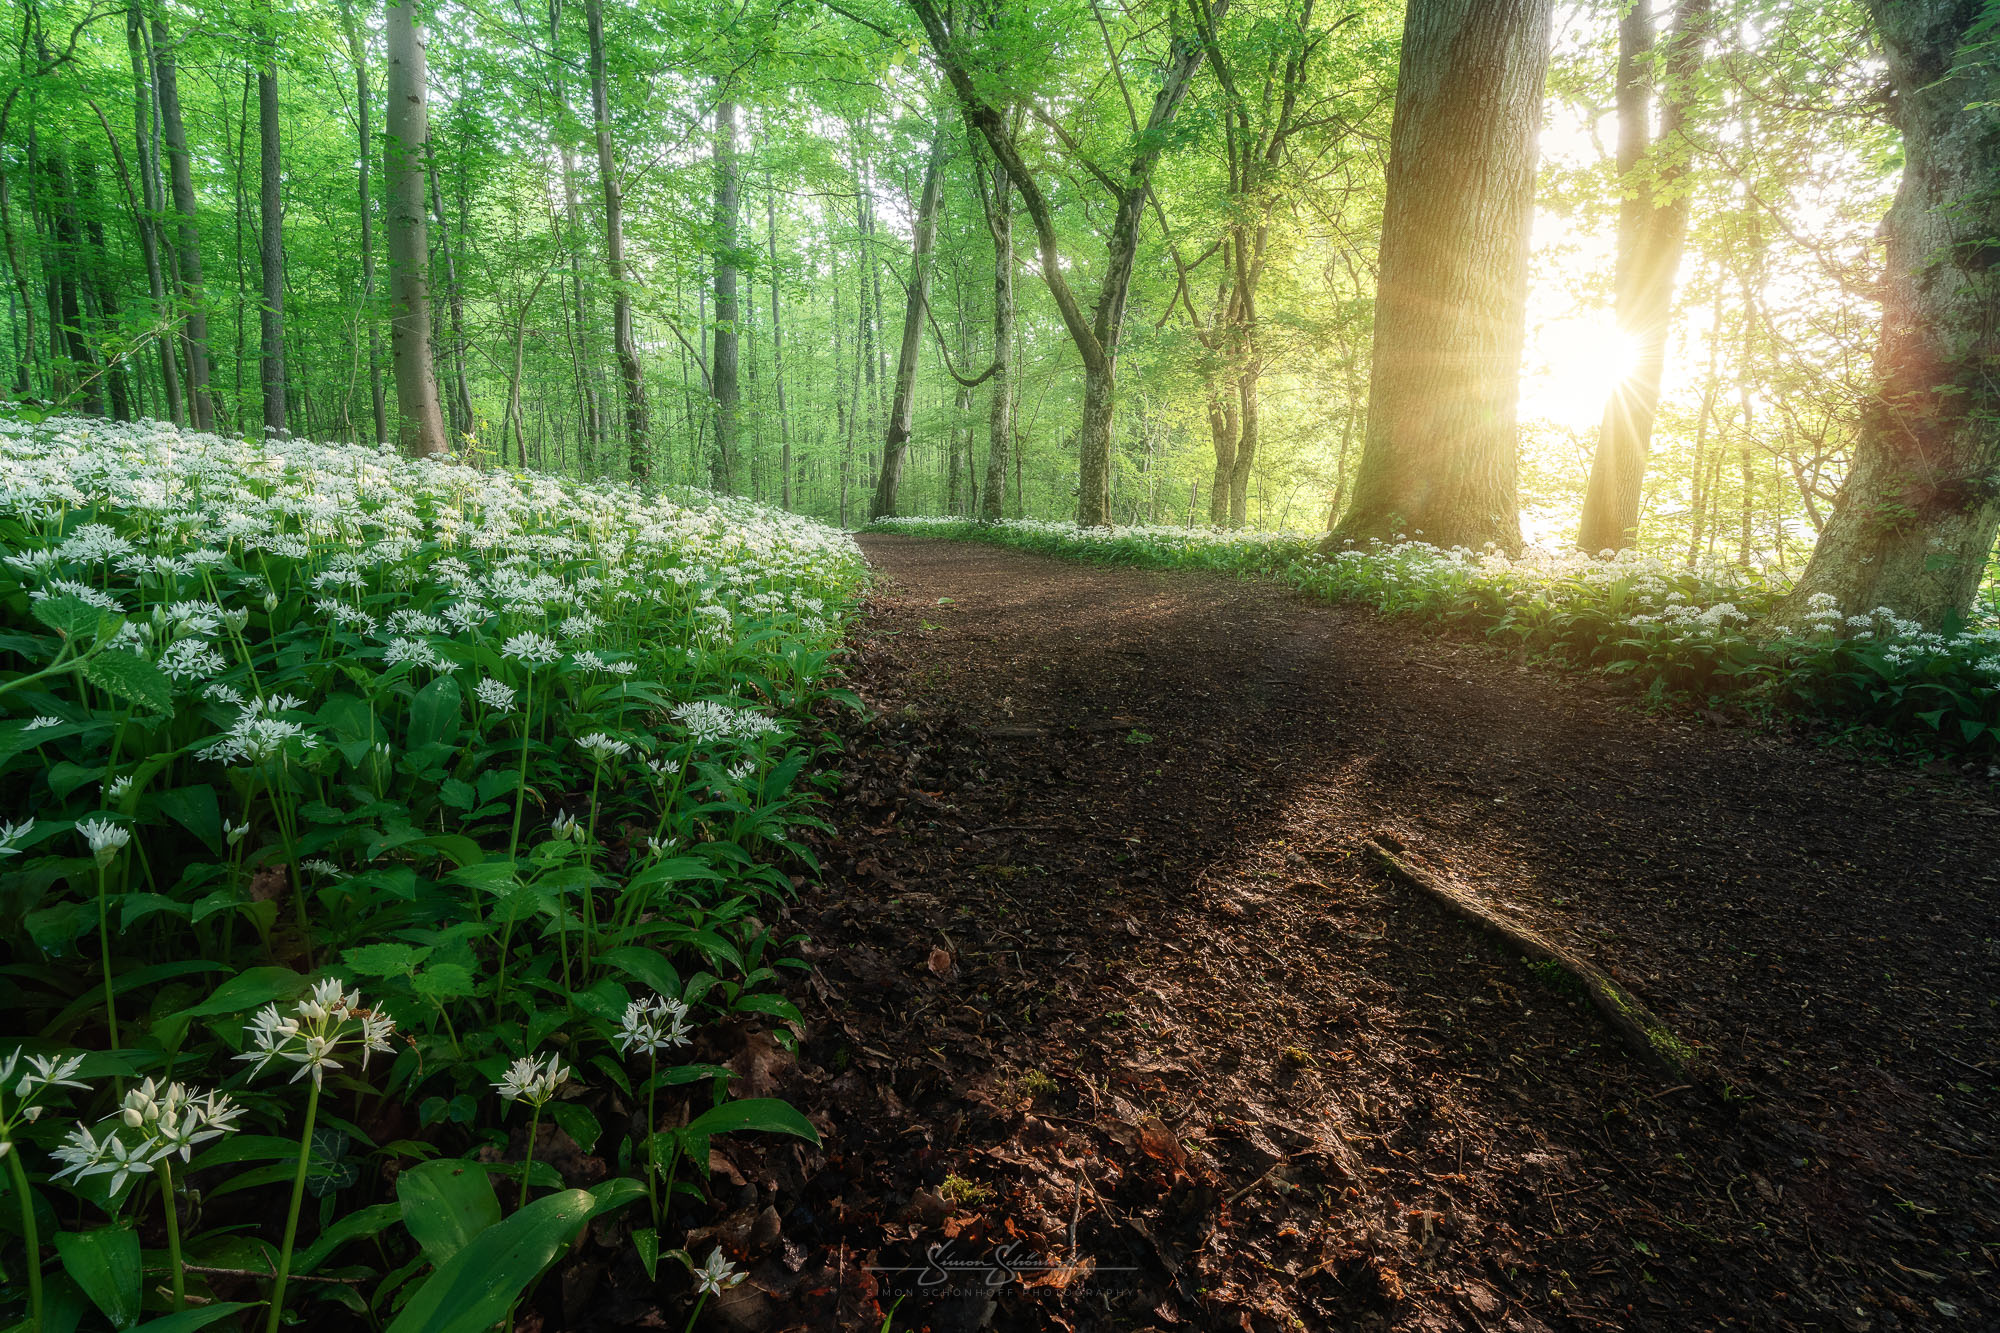
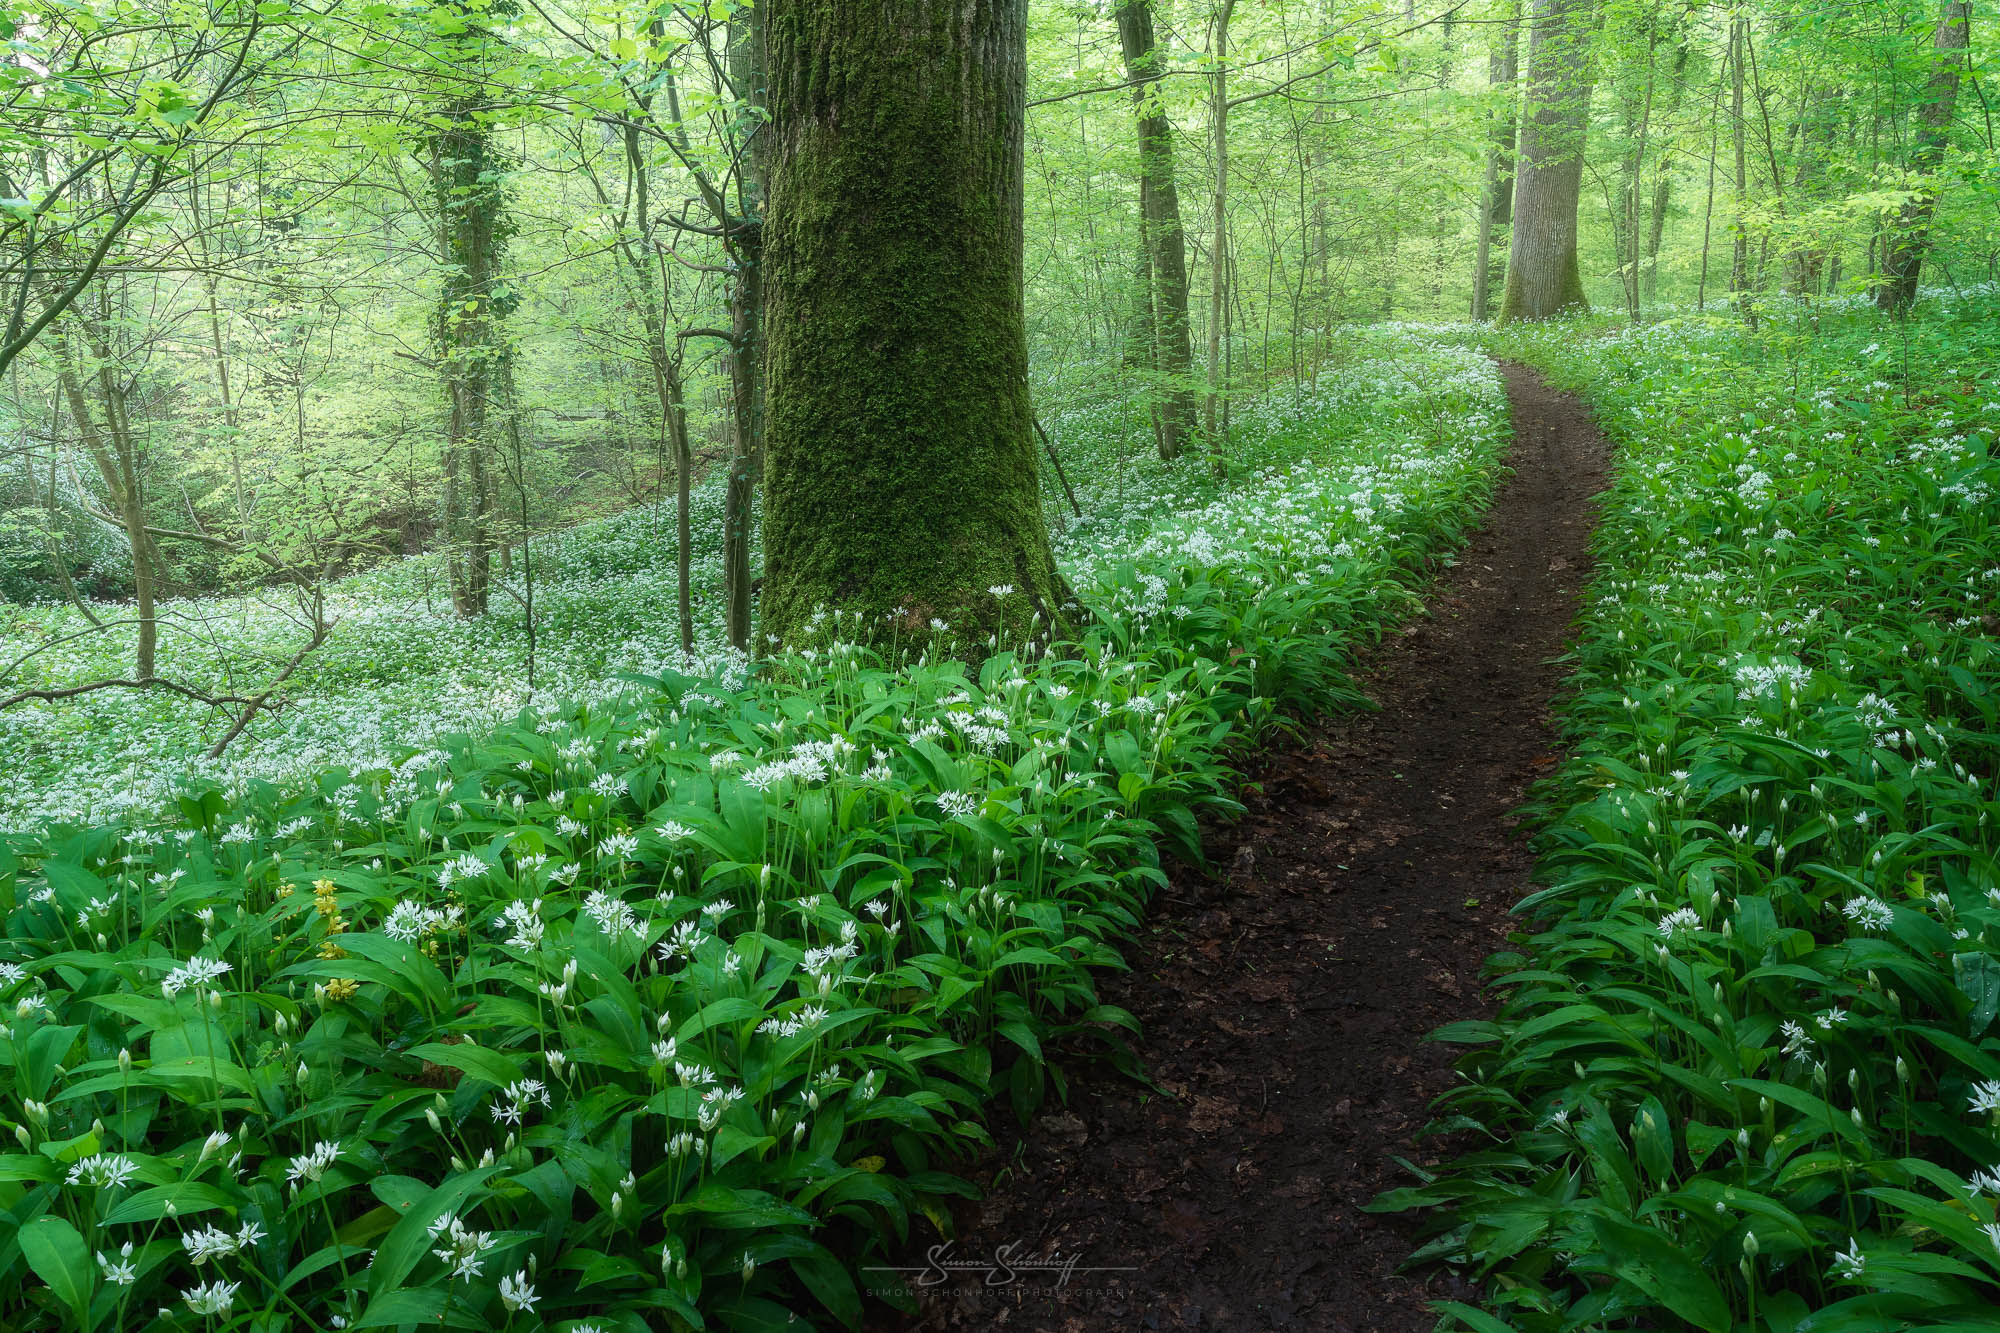
In the forest, the stronger green that you can get with the polarising filter clearly shows how this filter makes the colours stronger. In the blue of a sky with white clouds, you can best recognise the increased contrast created by the polarising filter. By increasing such contrasts, the polarising filter is also a good aid in black and white photography. Unwanted reflections in shop windows can also be filtered out or even the reflections of a lake, should these be unintentional, can be minimised. In portrait photography, it helps to remove reflections from spectacle lenses. The areas of application are therefore varied and extensive.
But the strength of the effect also varies. Firstly, it depends on how much you ‘turn it in’ and secondly, on the direction of the light in relation to the direction of the shot. The effect is strongest, for example, when the sun is 90° from your left or right. In backlighting, the effect is reduced and the additional glass between the sensor and the light source can even lead to problems.
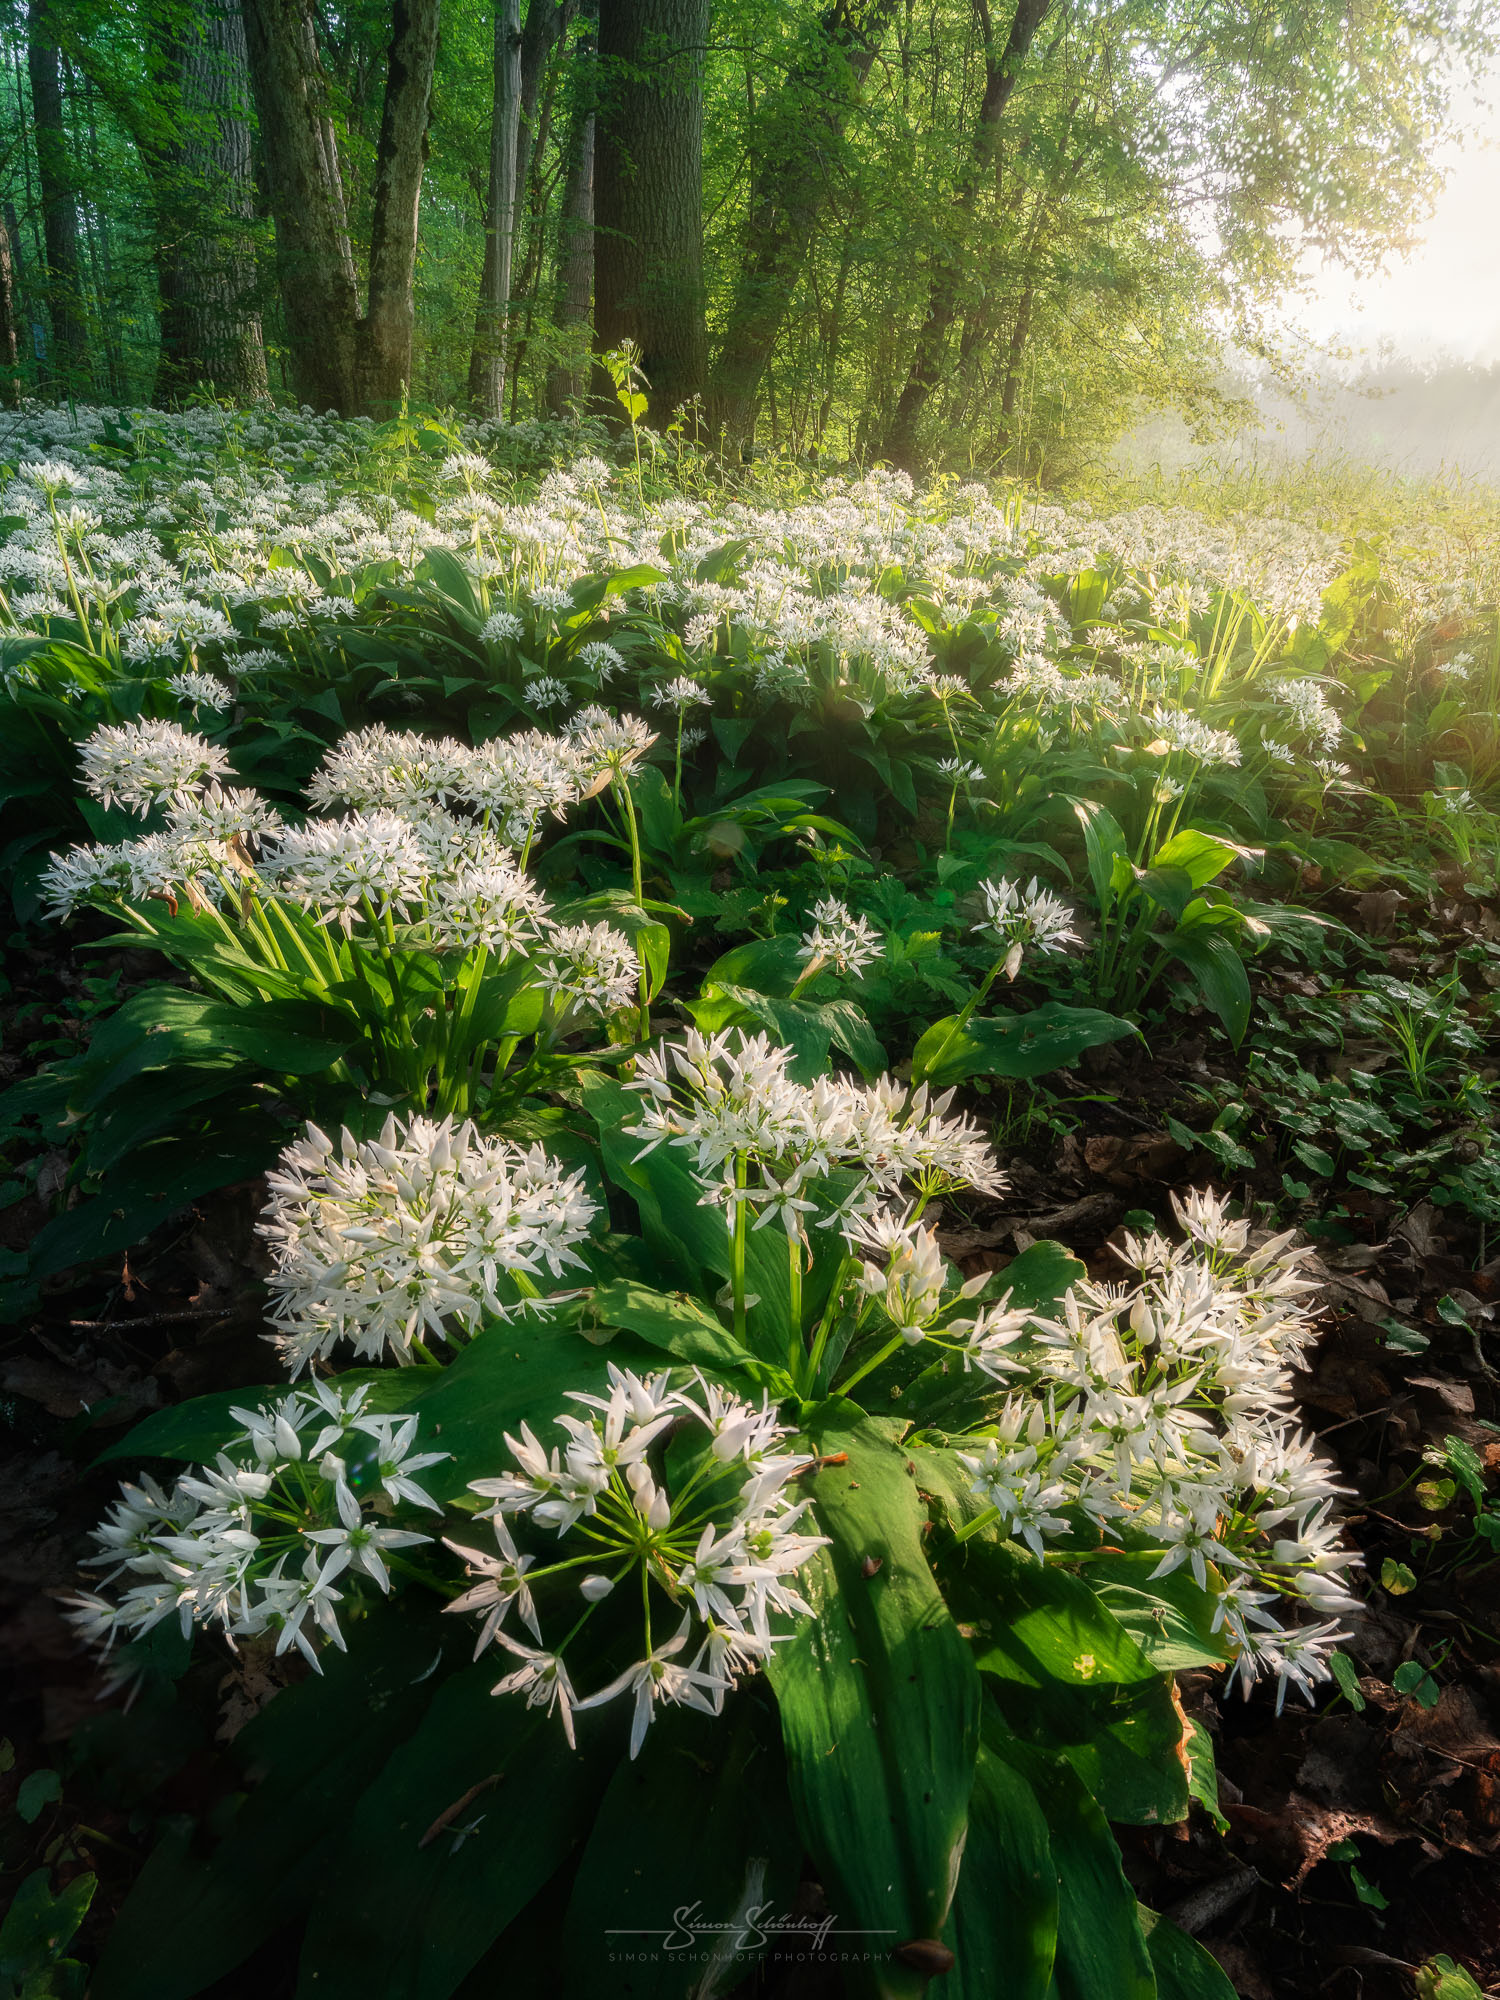
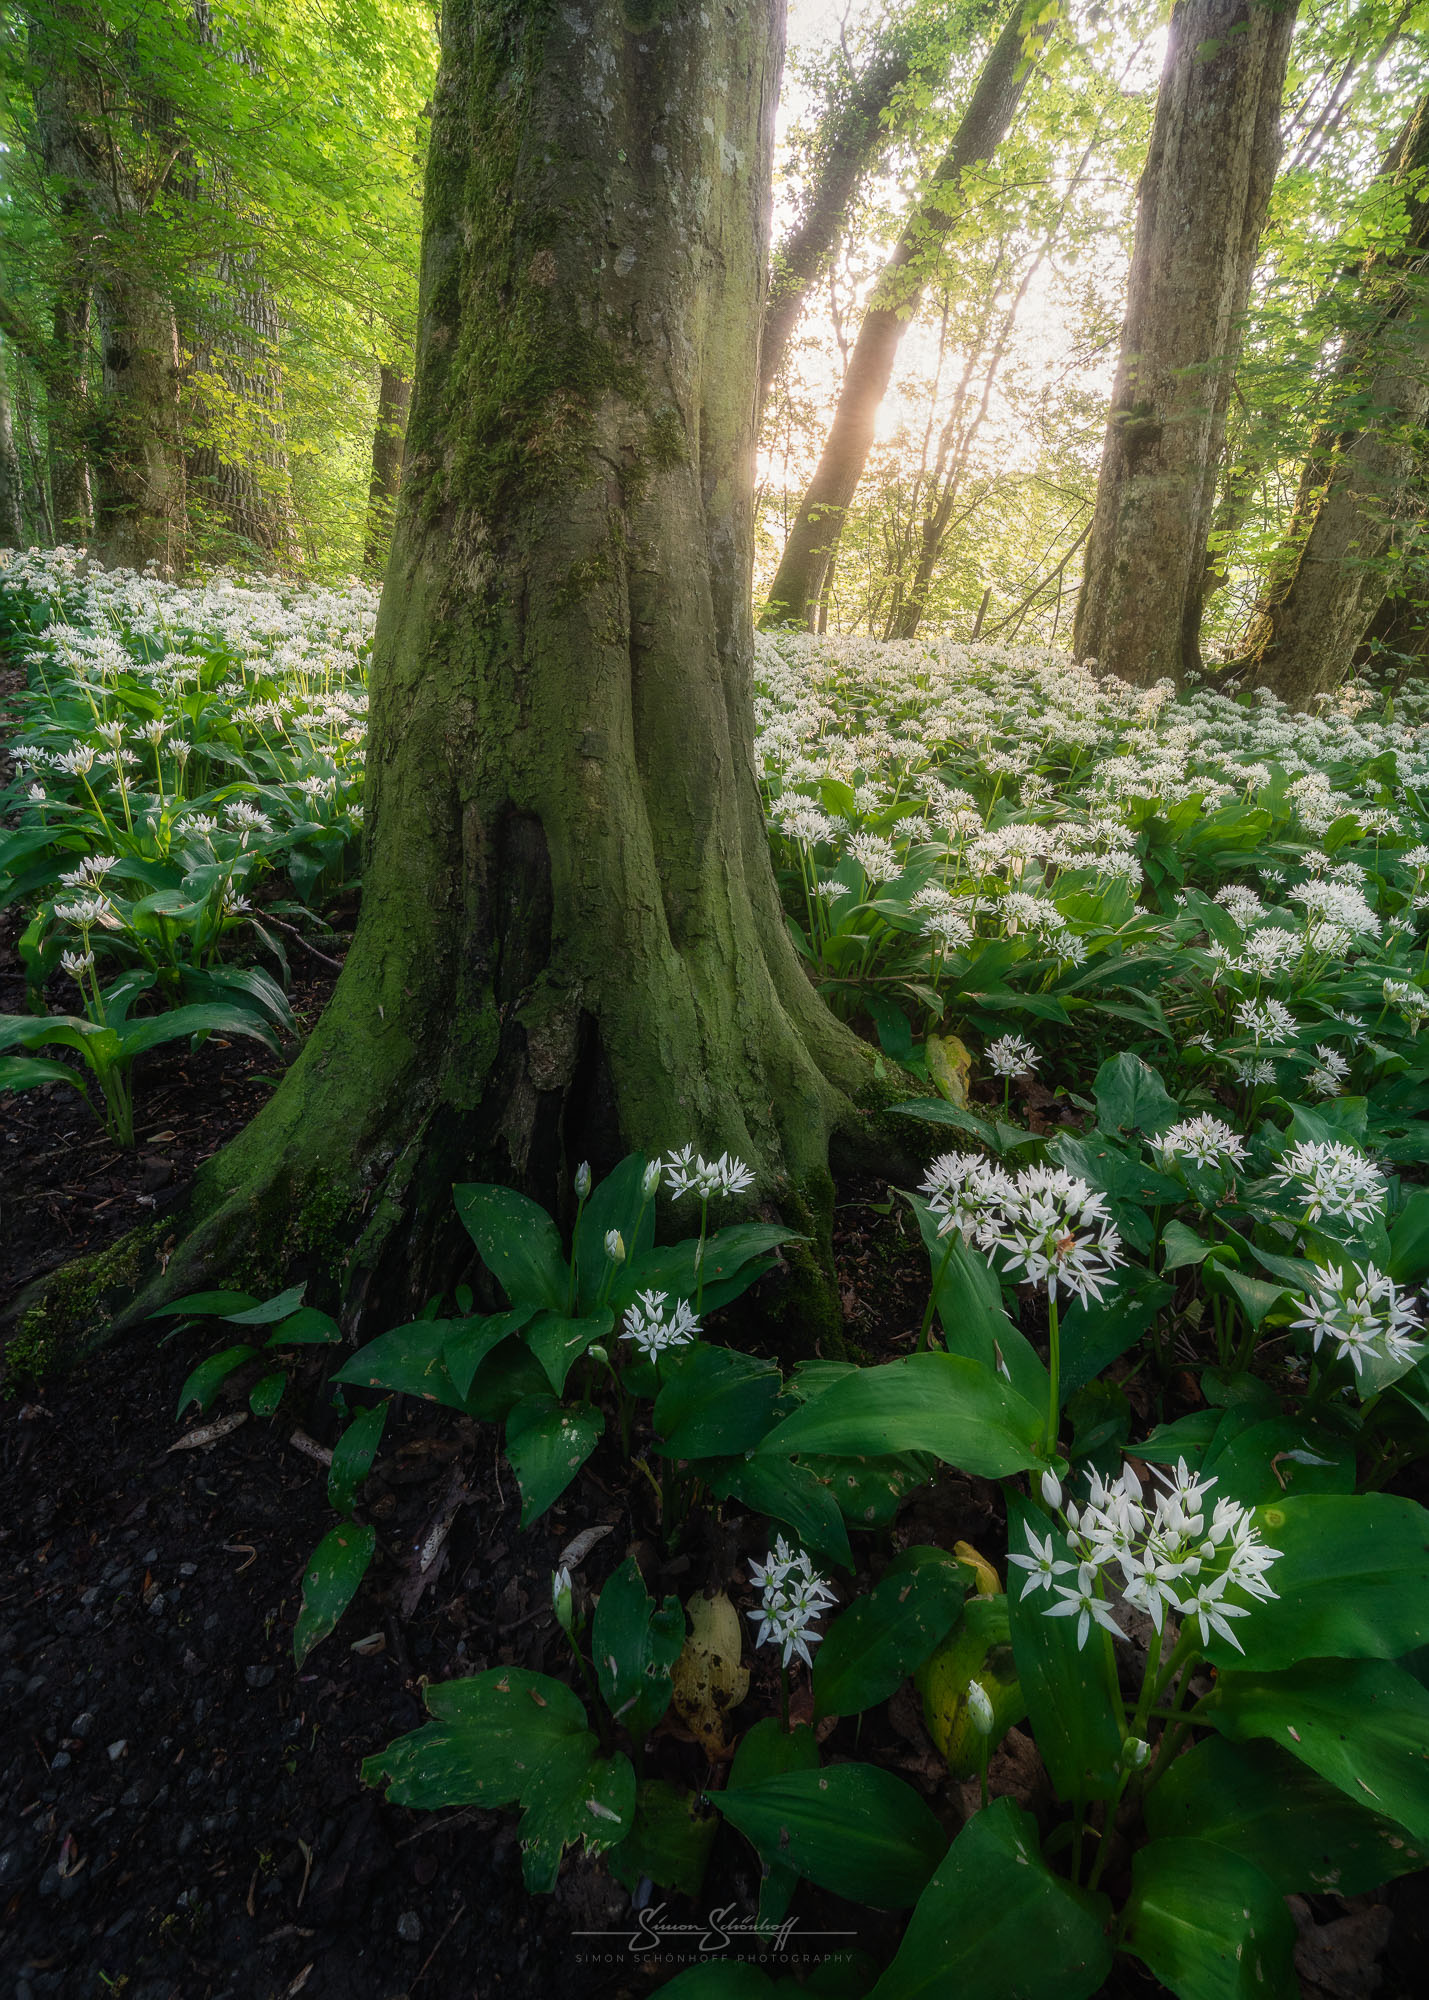
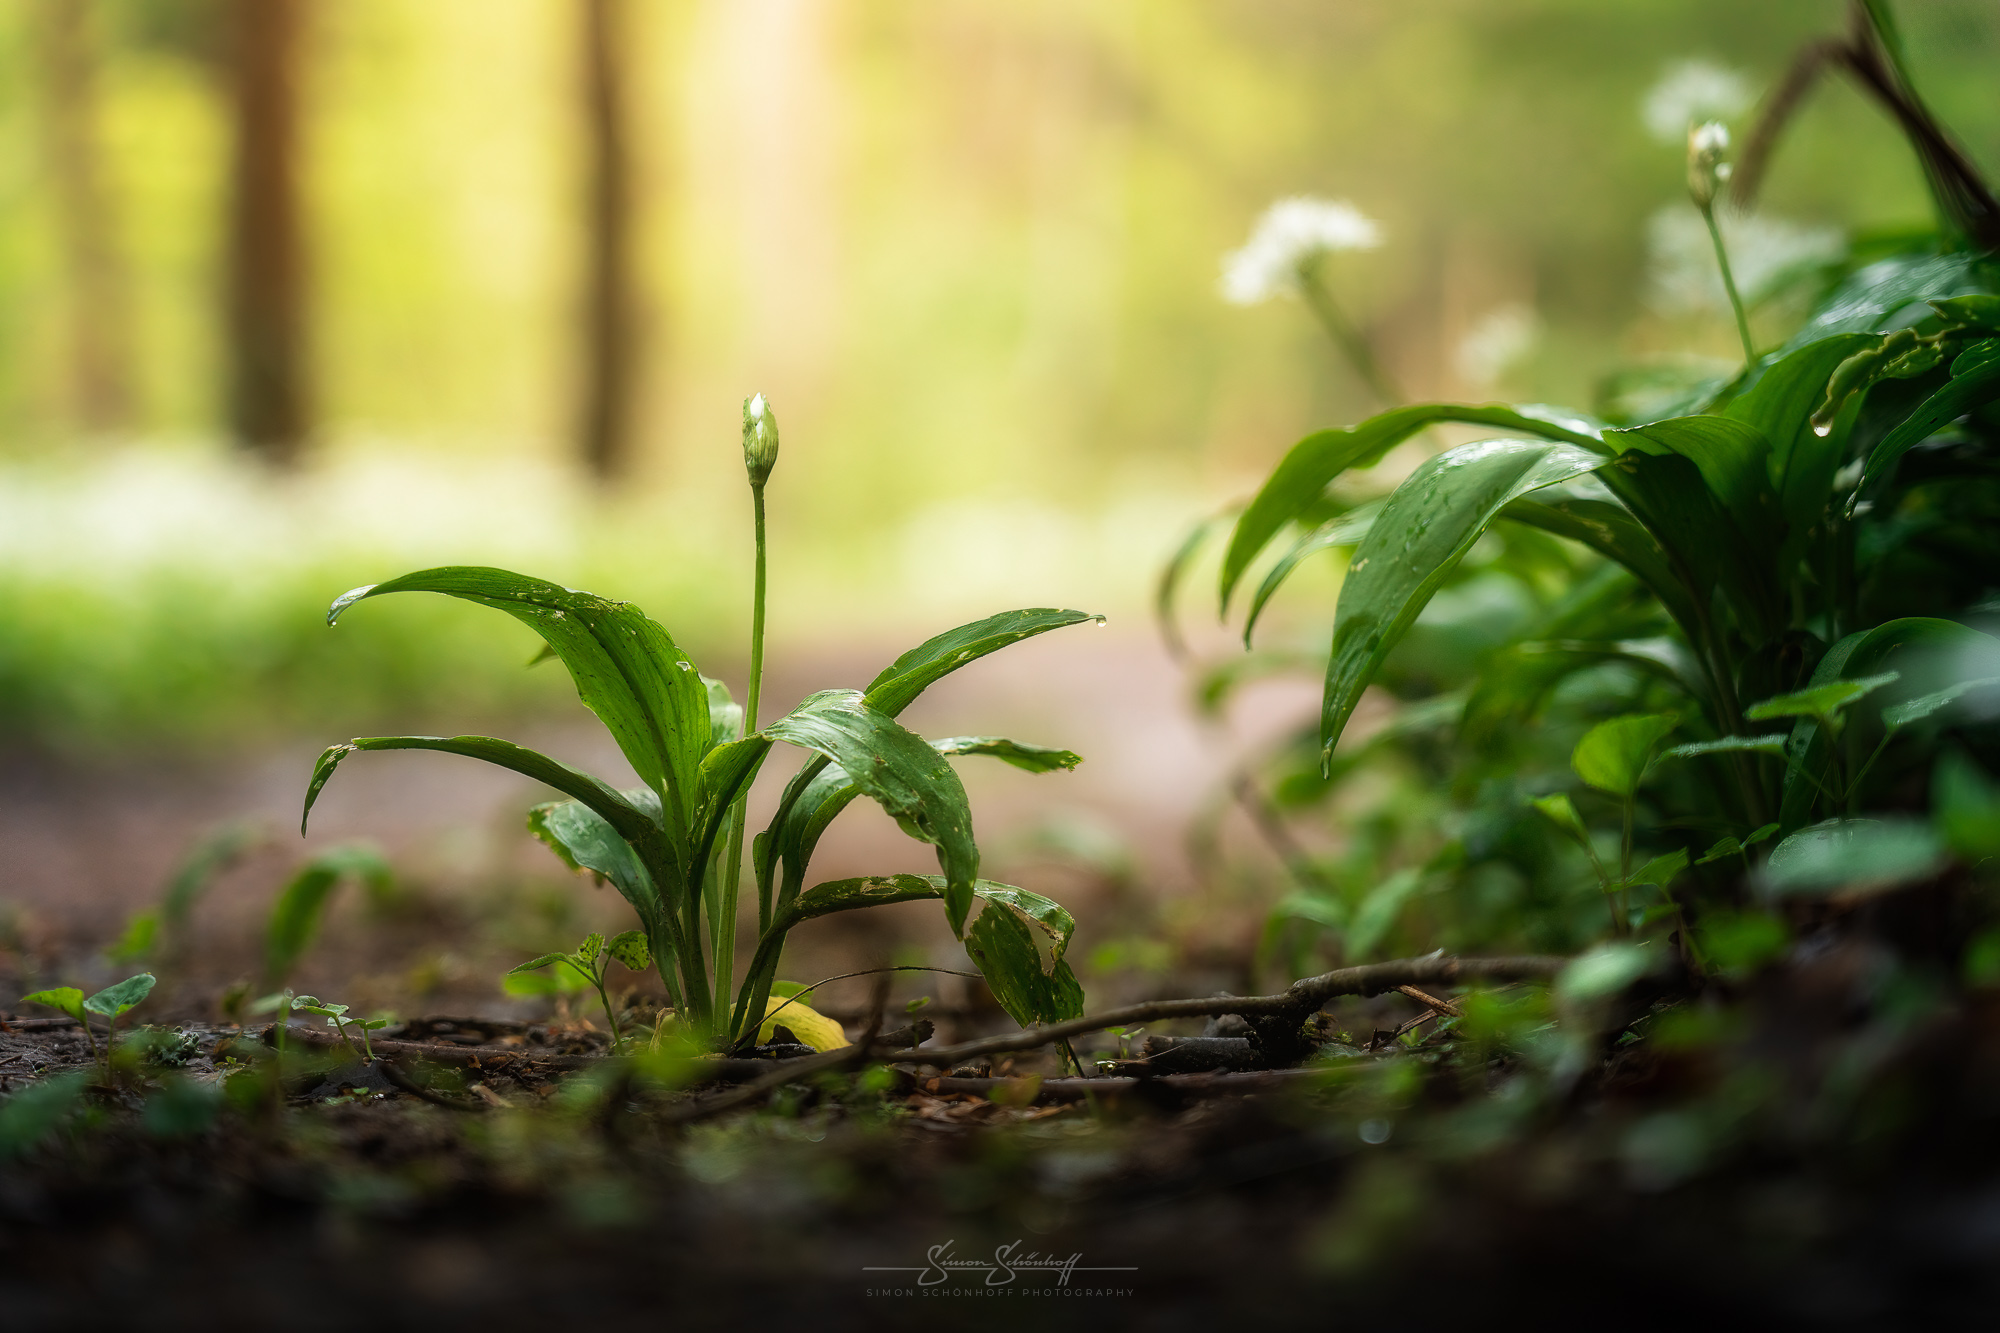
As I show in the video (below), even in direct backlighting the effect of the polarising filter on the leaves of the wild garlic is not insignificant. But you bring other problems into the picture. When using filters, you should generally be aware that you are introducing an additional layer of glass between the subject/light source and the camera sensor/lens. One more layer in which light can refract, thereby reducing sharpness, changing colours, weakening contrasts, reflecting light or creating chromatic aberrations. So either take both shots on location, or check very carefully whether it’s worth using the lens and won’t ‘ruin’ anything in the image.
There is no doubt that filters are great tools, but you should definitely not buy cheap filters. Especially not if you normally use high-quality lenses and good cameras. Otherwise you’ll end up buying twice. (Voluntary advertising:) I myself use filters from the brand NiSi(*) and I am very satisfied with them. Also the filters from Kase(*) I have already tested once and are in no way inferior to my filters. The colour rendition is perfect and I have only been able to see effects like the one in the video in the most extreme lighting situations. But I’m sure no other filter manufacturer will do better.
In general, I would therefore advise using filters! But only if they can contribute something to the final result. So the polarising filter is definitely not an all-purpose filter. You have to use it consciously and question its use critically from time to time, then you won’t go wrong.
Before buying, you should consider which is, or will be, your largest lens in terms of filter diameter. With inexpensive adapter rings, you can then adapt the filters to all smaller lenses. For me it’s the 82 mm of my Sony FE 2.8/16–35 mm GM(*).
What you should also bear in mind is that a little light is lost when you screw on the polarising filter, so you will have to expose one or two stops longer or increase the ISO a little, depending on the situation. If the exposure time is not critical, use this for optimum quality; if the exposure time is critical (e.g. due to moving leaves), then increase the ISO. New denoising tools in image processing can help if the noise is too intrusive for your taste.
You should also be careful with blue skies and extremely wide-angle shots. Here the angle to the sun is so different depending on the corner of the picture that the effect within the picture varies greatly. However, this problem can also be solved with a few tricks in image editing.
This and all other shots of this post you can request under “Prints” as an art print for your wall at home directly from me.
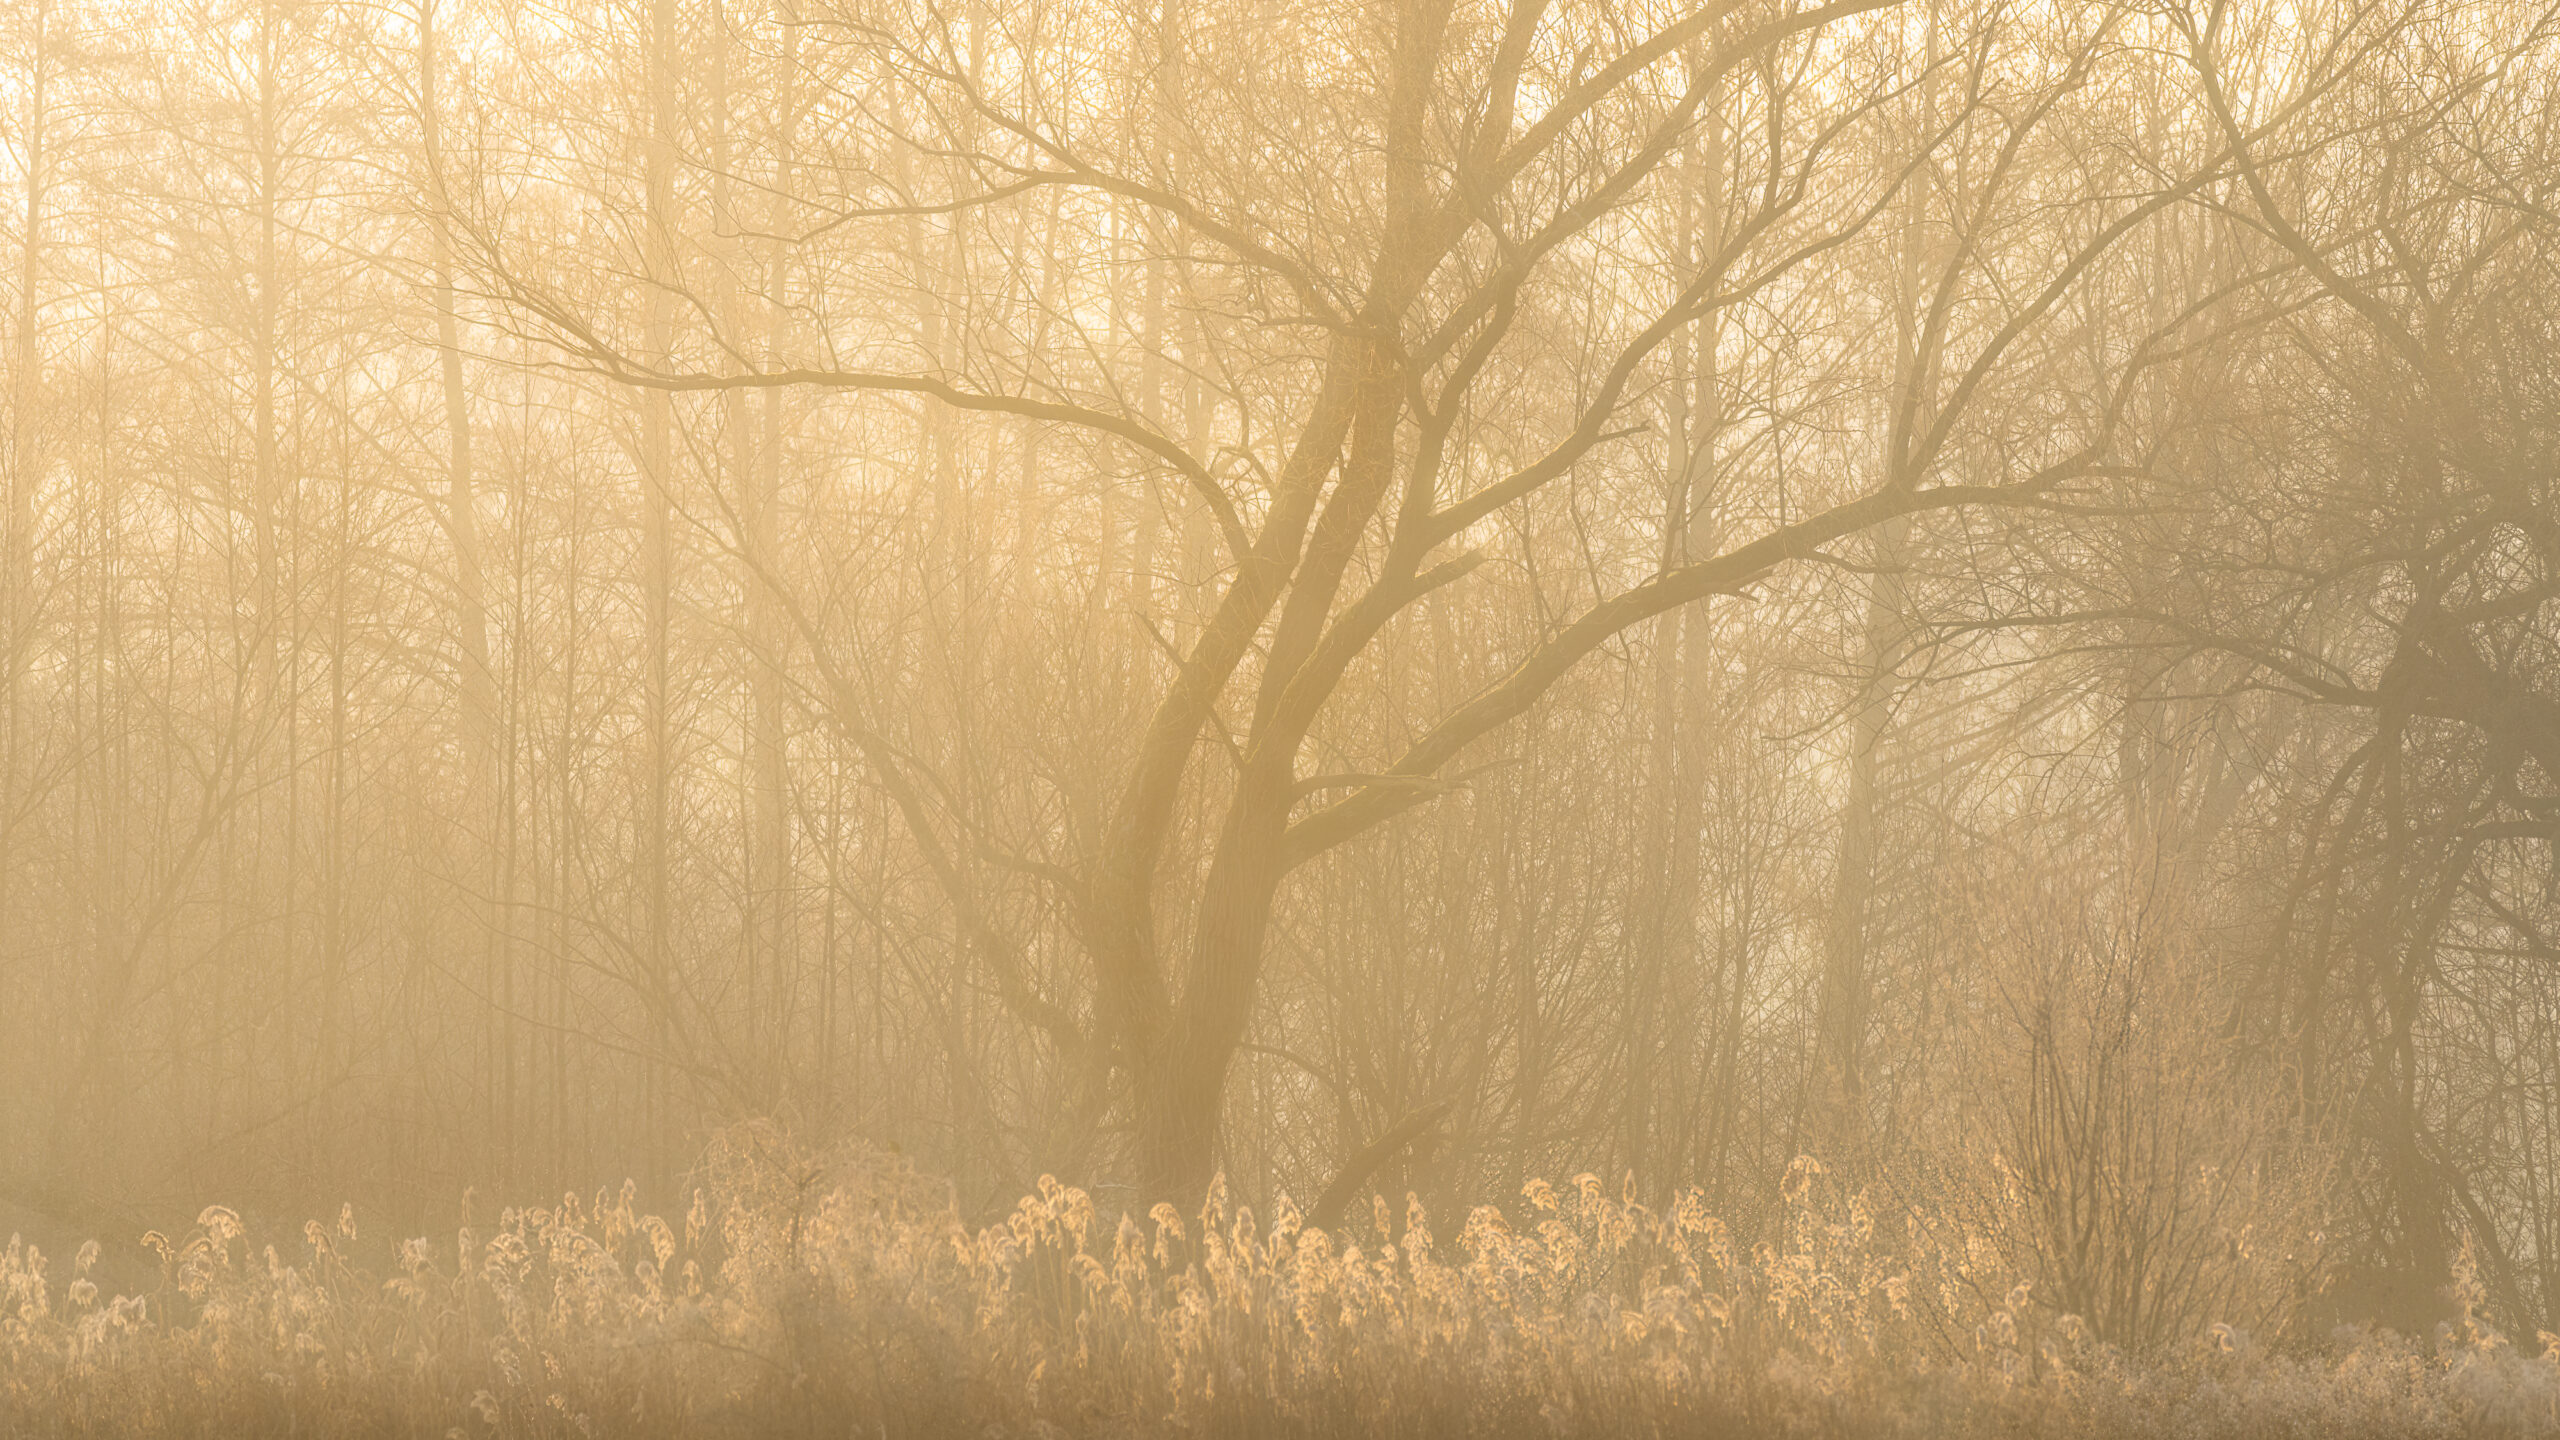
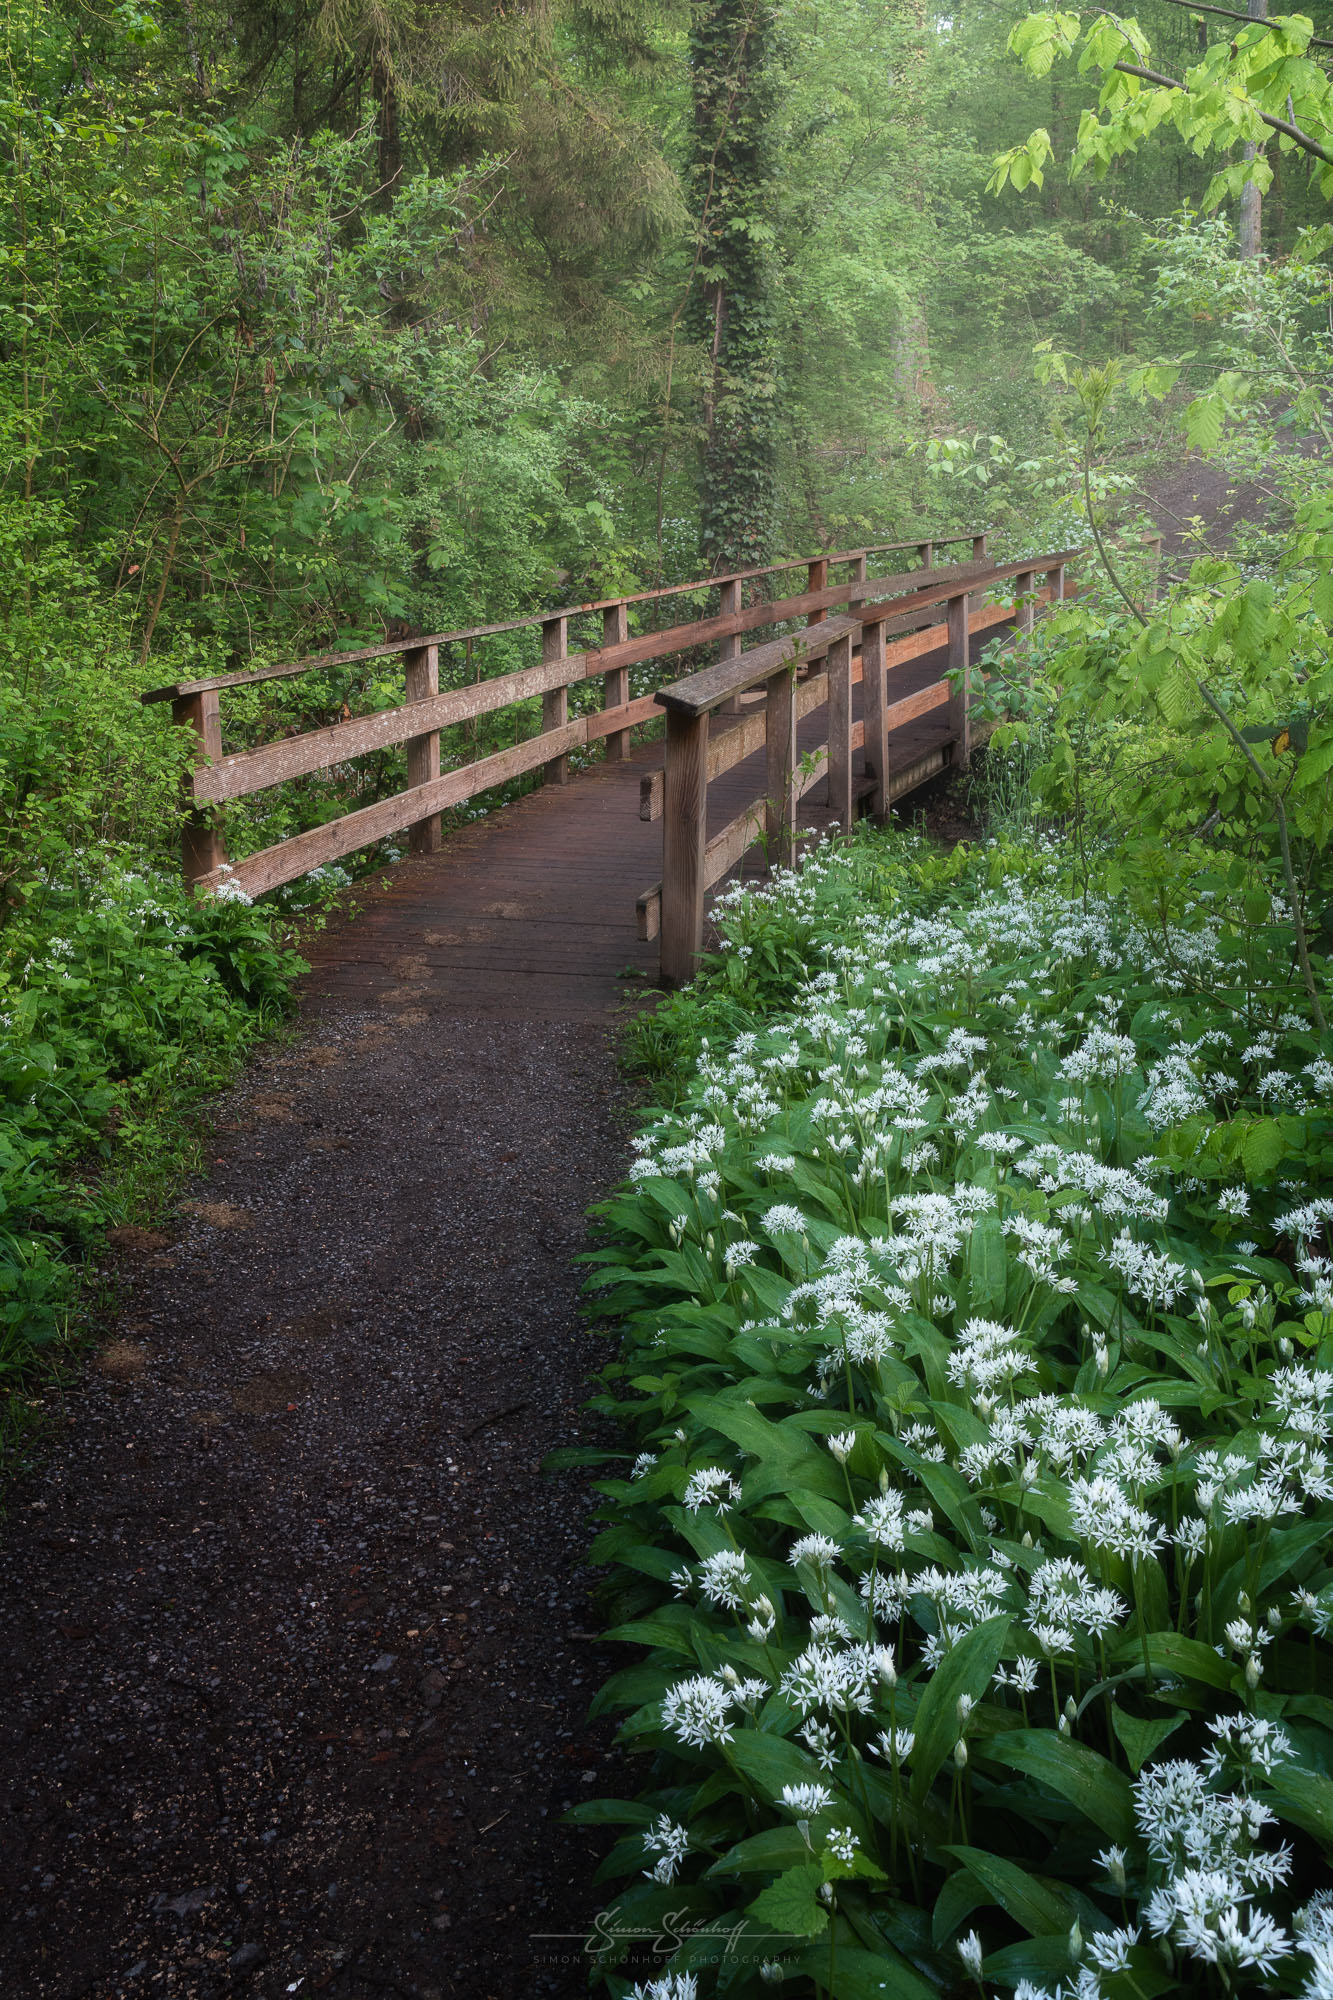
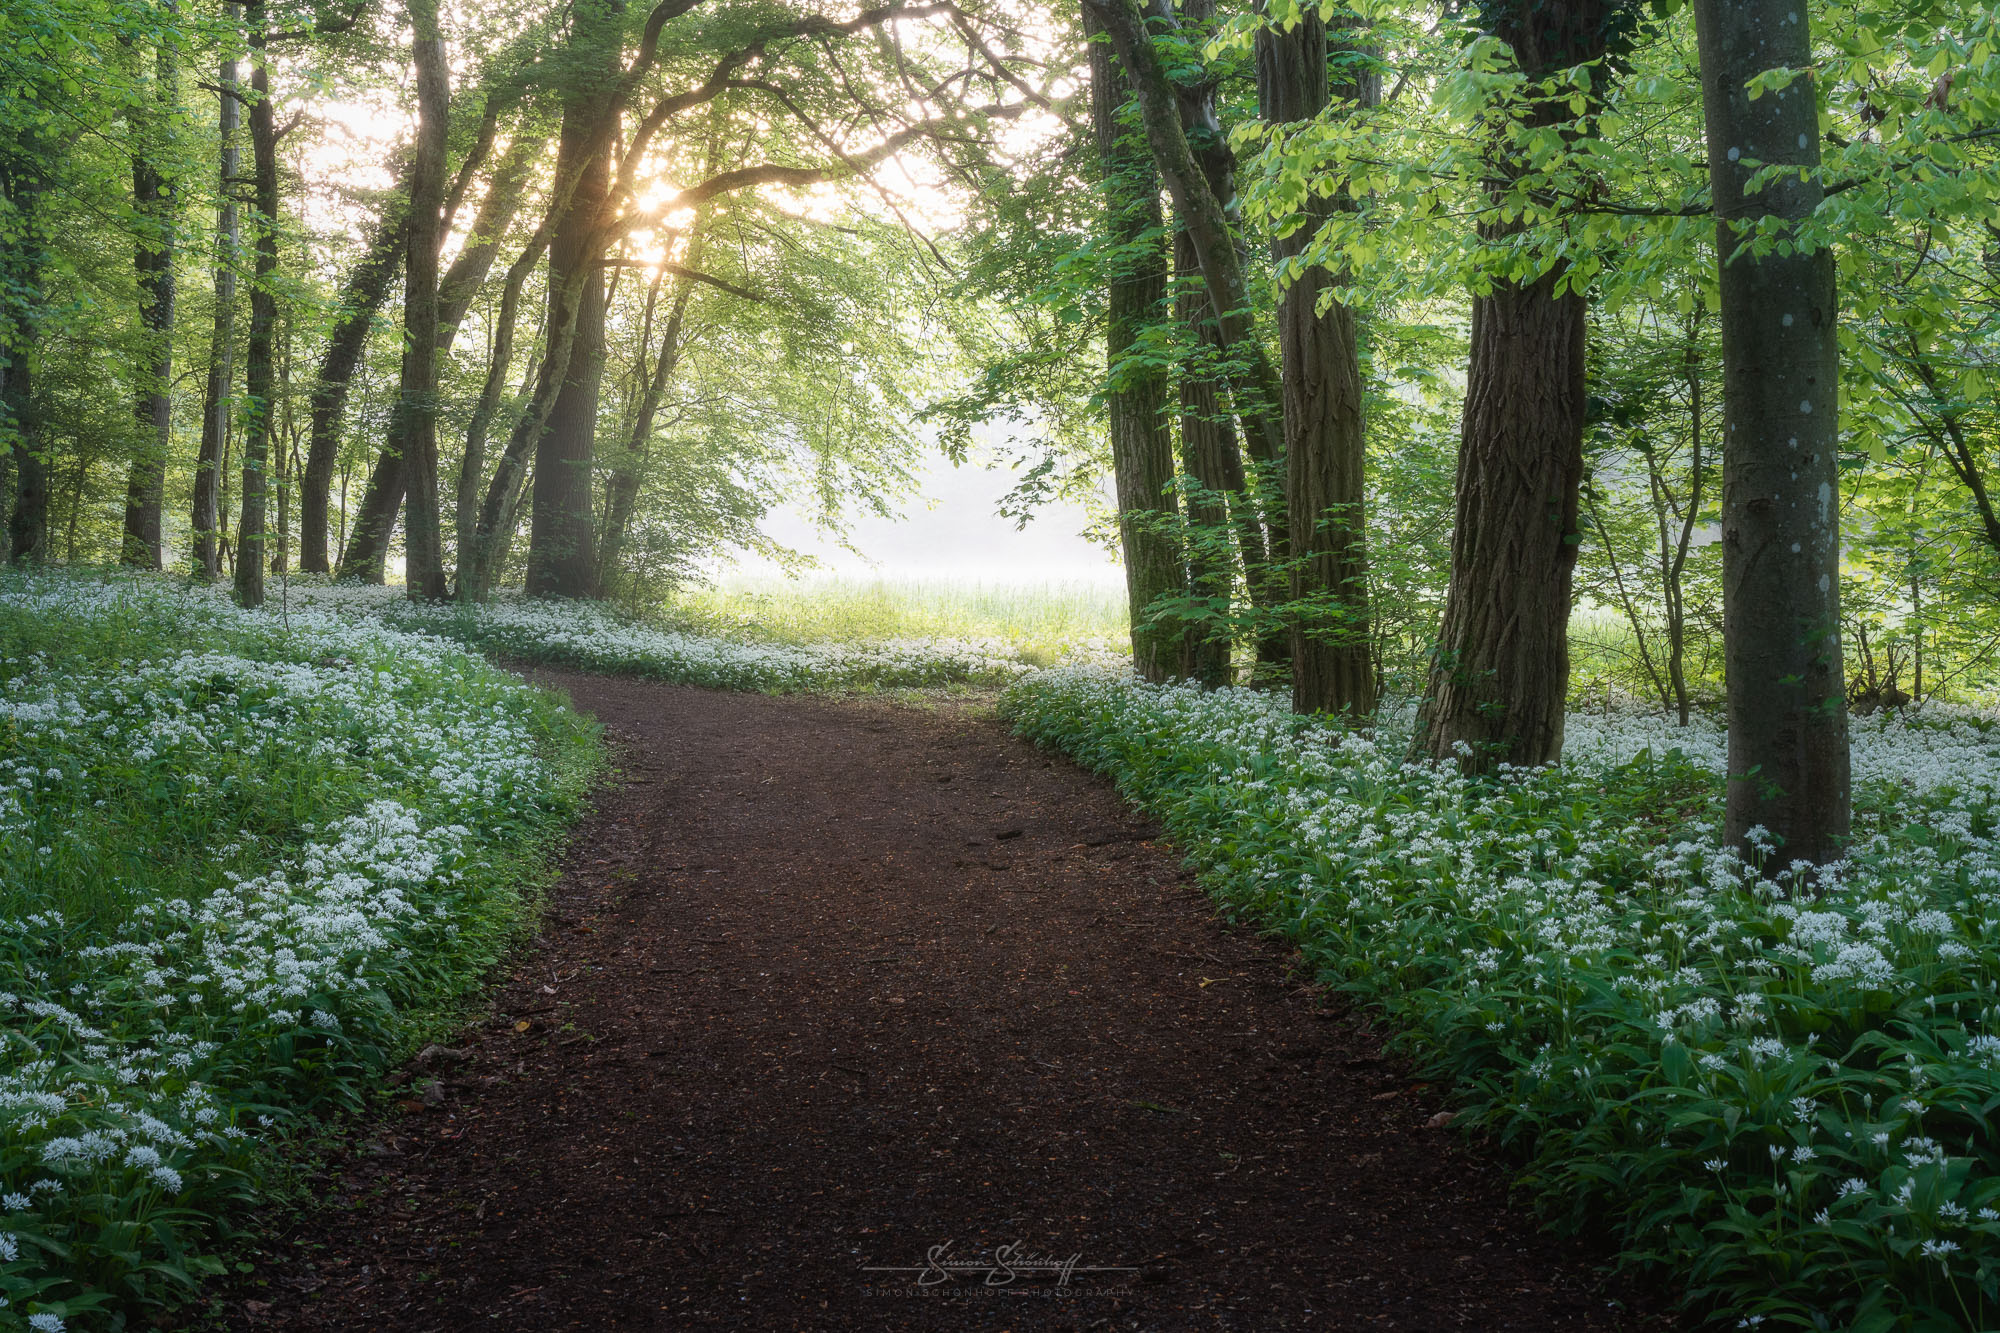
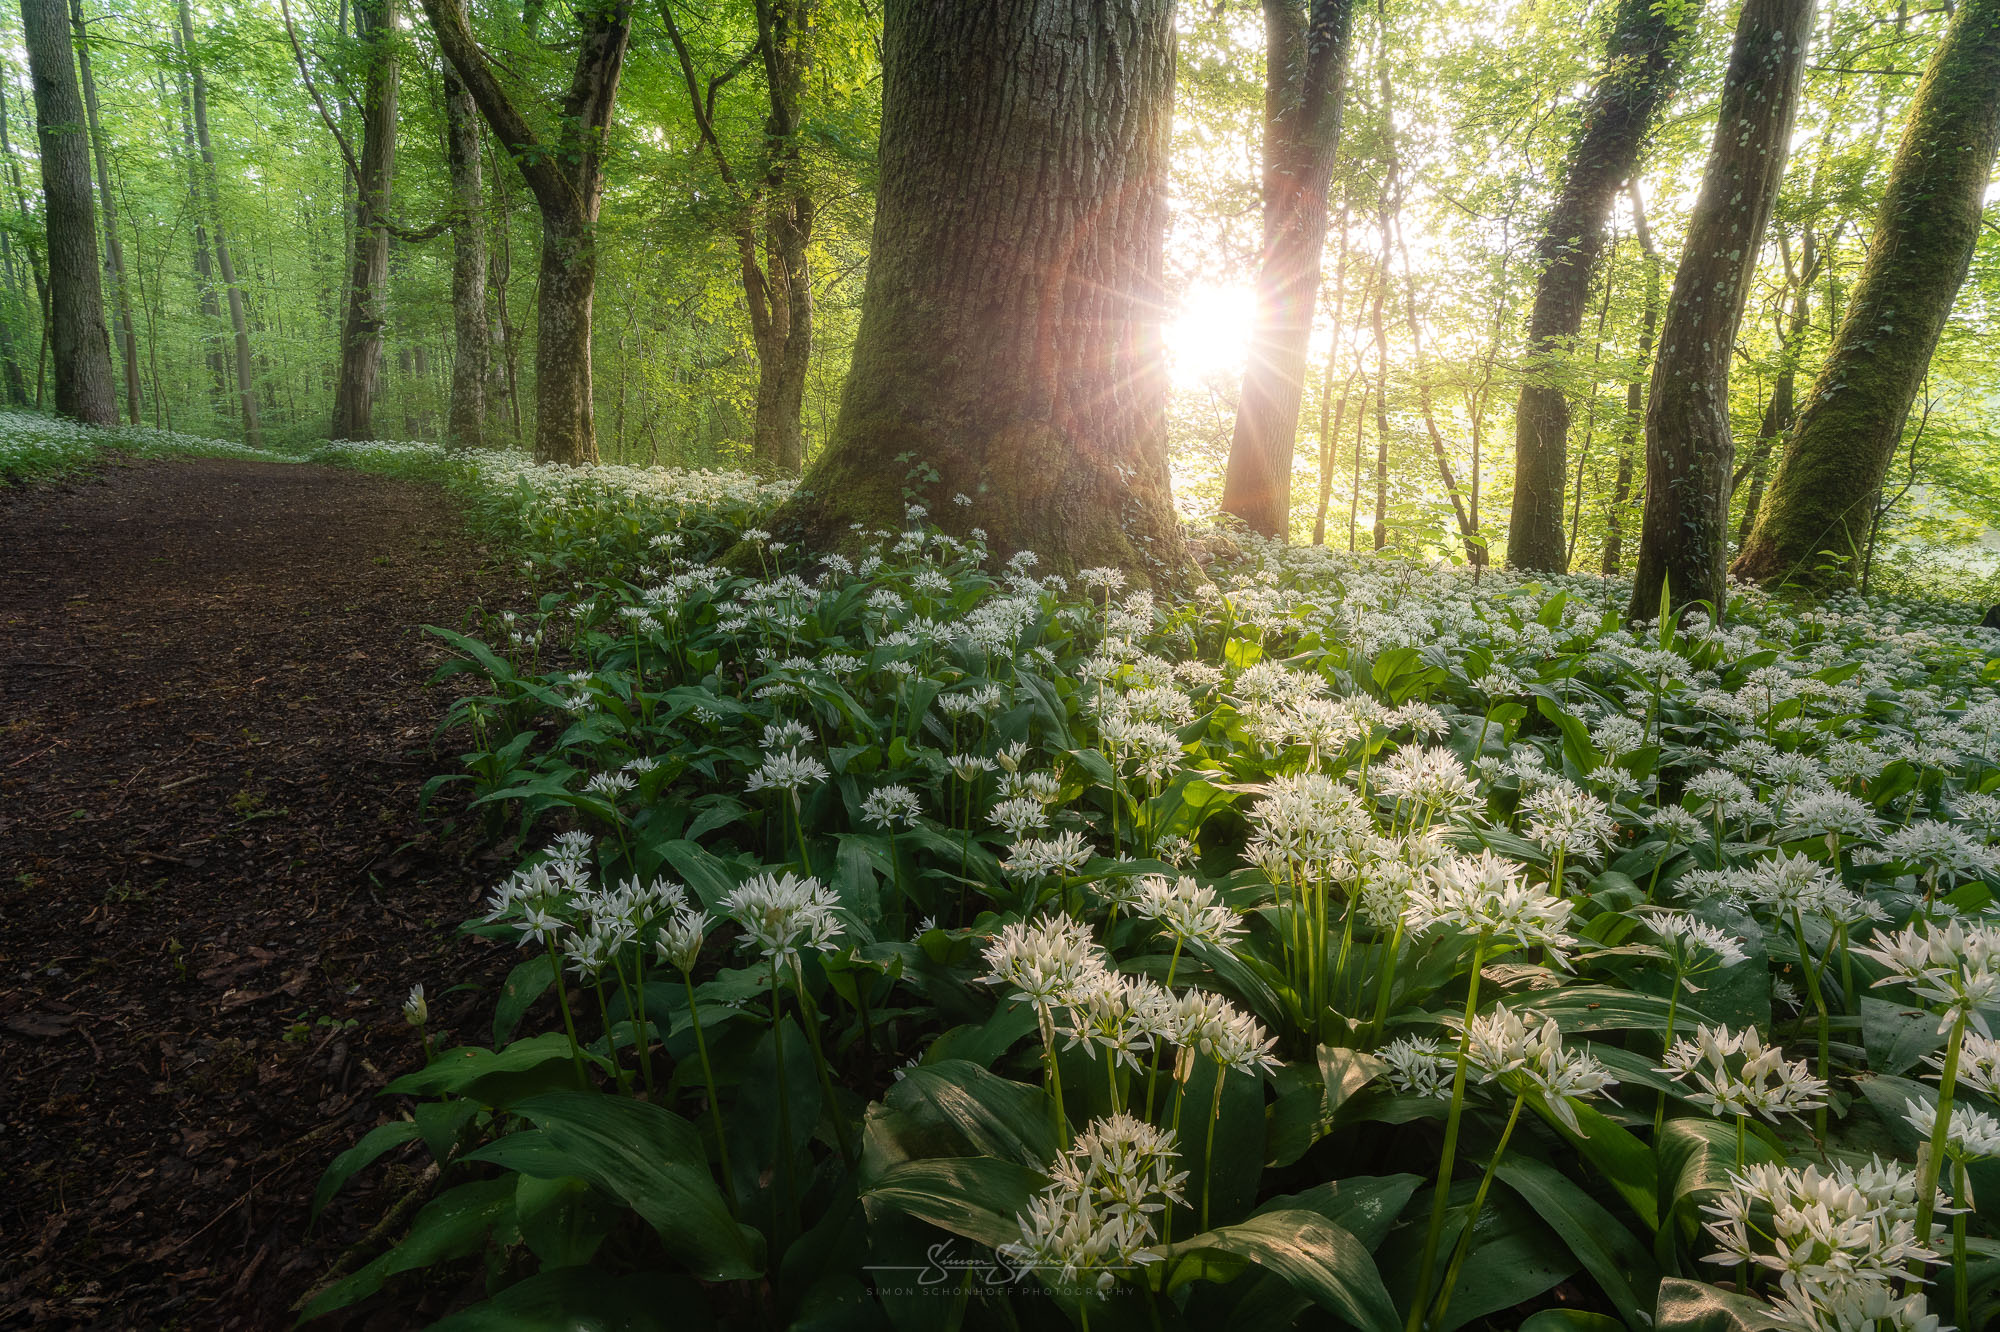
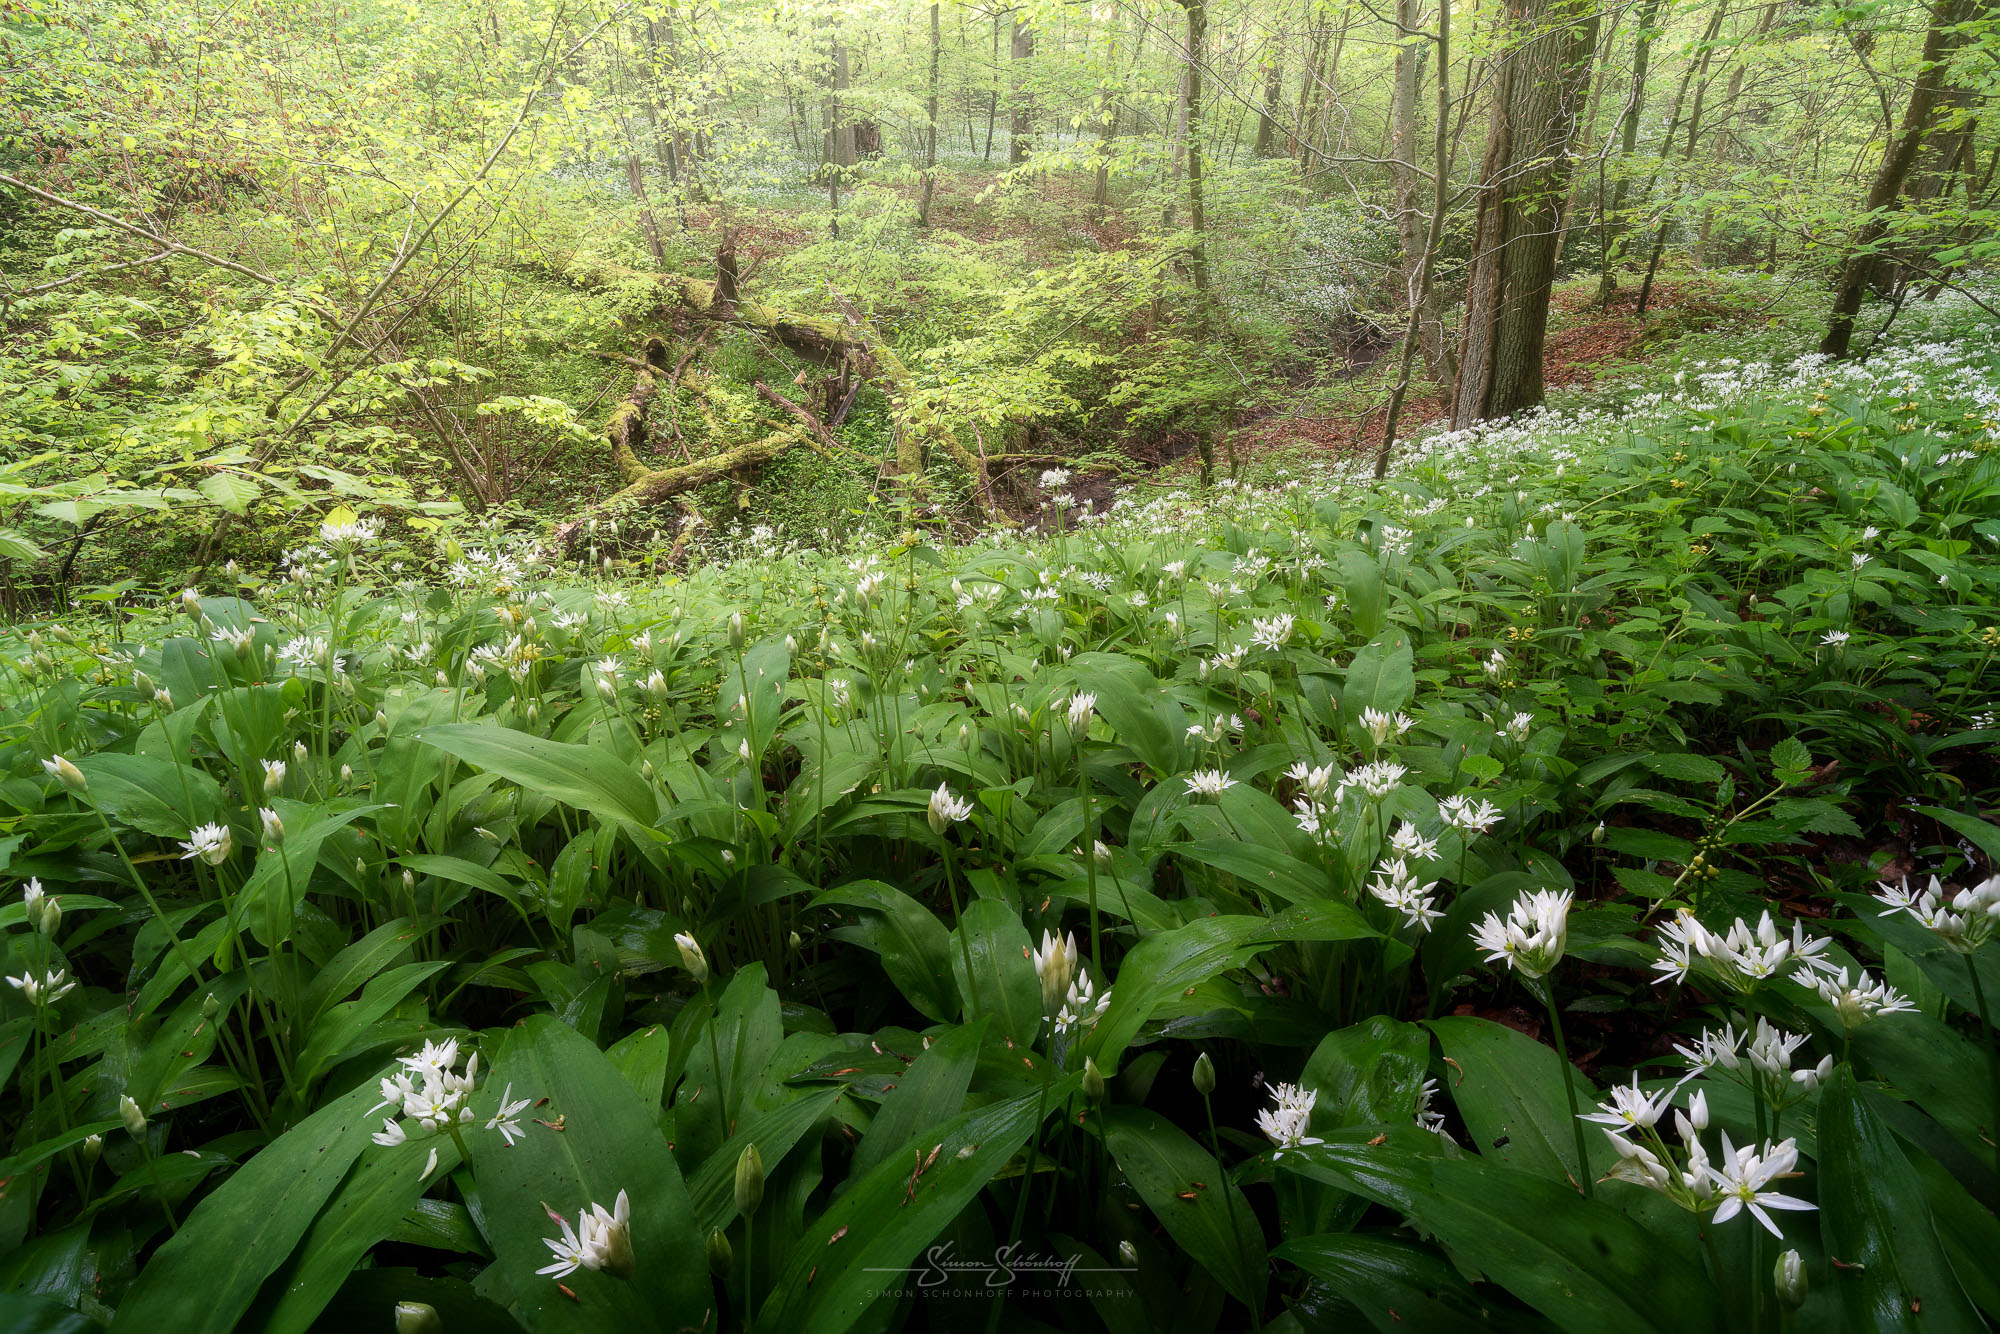
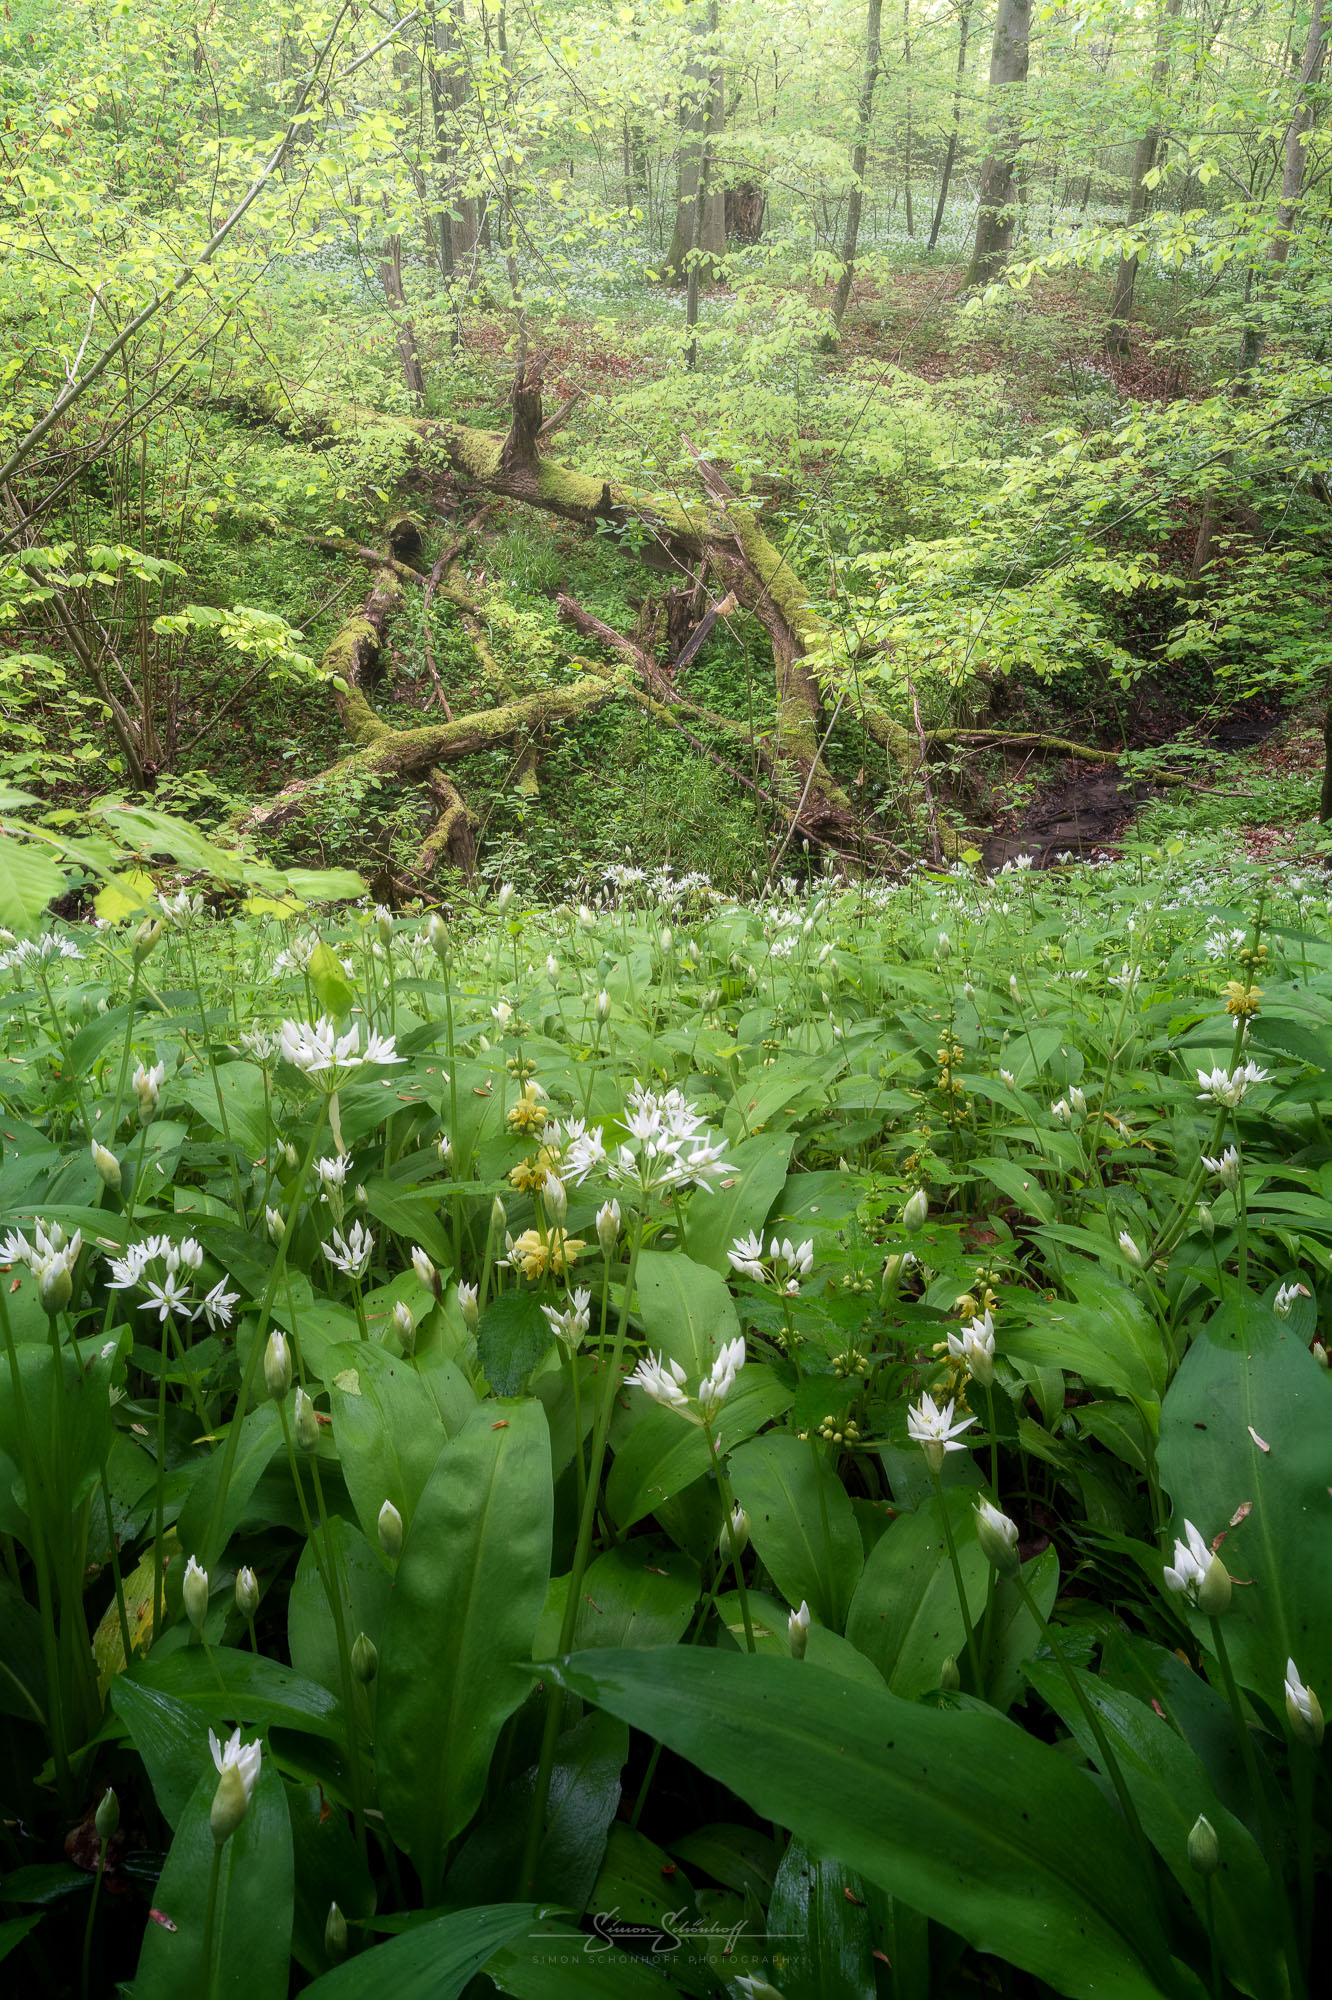
The polarising filter is therefore an ‘effect filter’. Theoretically, you don’t have to use it at all. It also depends a little on your own photographic style and the final image effect you want to achieve. Since the effect can be enormous in diffuse light in the forest, as you can see in the video, I would always recommend trying it out in damp forests. If the effect is strong and desired, then you should use it. I usually test its use in the forest. In haze and fog, the polarising filter can also reduce the fog a little. If this is undesirable, leave it out as well.
The use of the filter is most critical in backlighting and, if in doubt, I would rather leave it out. If there is time, perhaps take both pictures, with and without the filter. If you take photos in the morning and evening but not quite in the golden hour, then a polarising filter can have an extremely strong influence, especially in the sky, if the image composition is aligned at approx. 90° to the side of the sun. Sometimes even too strong. So take the time to check the image on location.
If you want to see reflections on a lake, don’t use the filter. However, if you want to see reflections because an element of your foreground, e.g. protrudes into the lake, then use the polarising filter. The effect is enormous on slightly damp paths. Depending on what you want, you should either omit or add the polarising filter. If, for example, an evening glow is reflected on a damp tarmac path, I like to include this in the picture. However, if I want to include the dark tarmac in the picture because it only reflects the boring blue of a sky, then I use the polarising filter to make it less reflective.
Be aware of the effect of the polarising filter and be creative. Especially in the forest, I always check its use and decide on the spot what I want. In fog, I usually leave it out, but I usually use it when the leaves are damp.
In my eyes, it is the filter that is most worthwhile and is used most frequently. This is followed by ND filters for long exposures, for example.

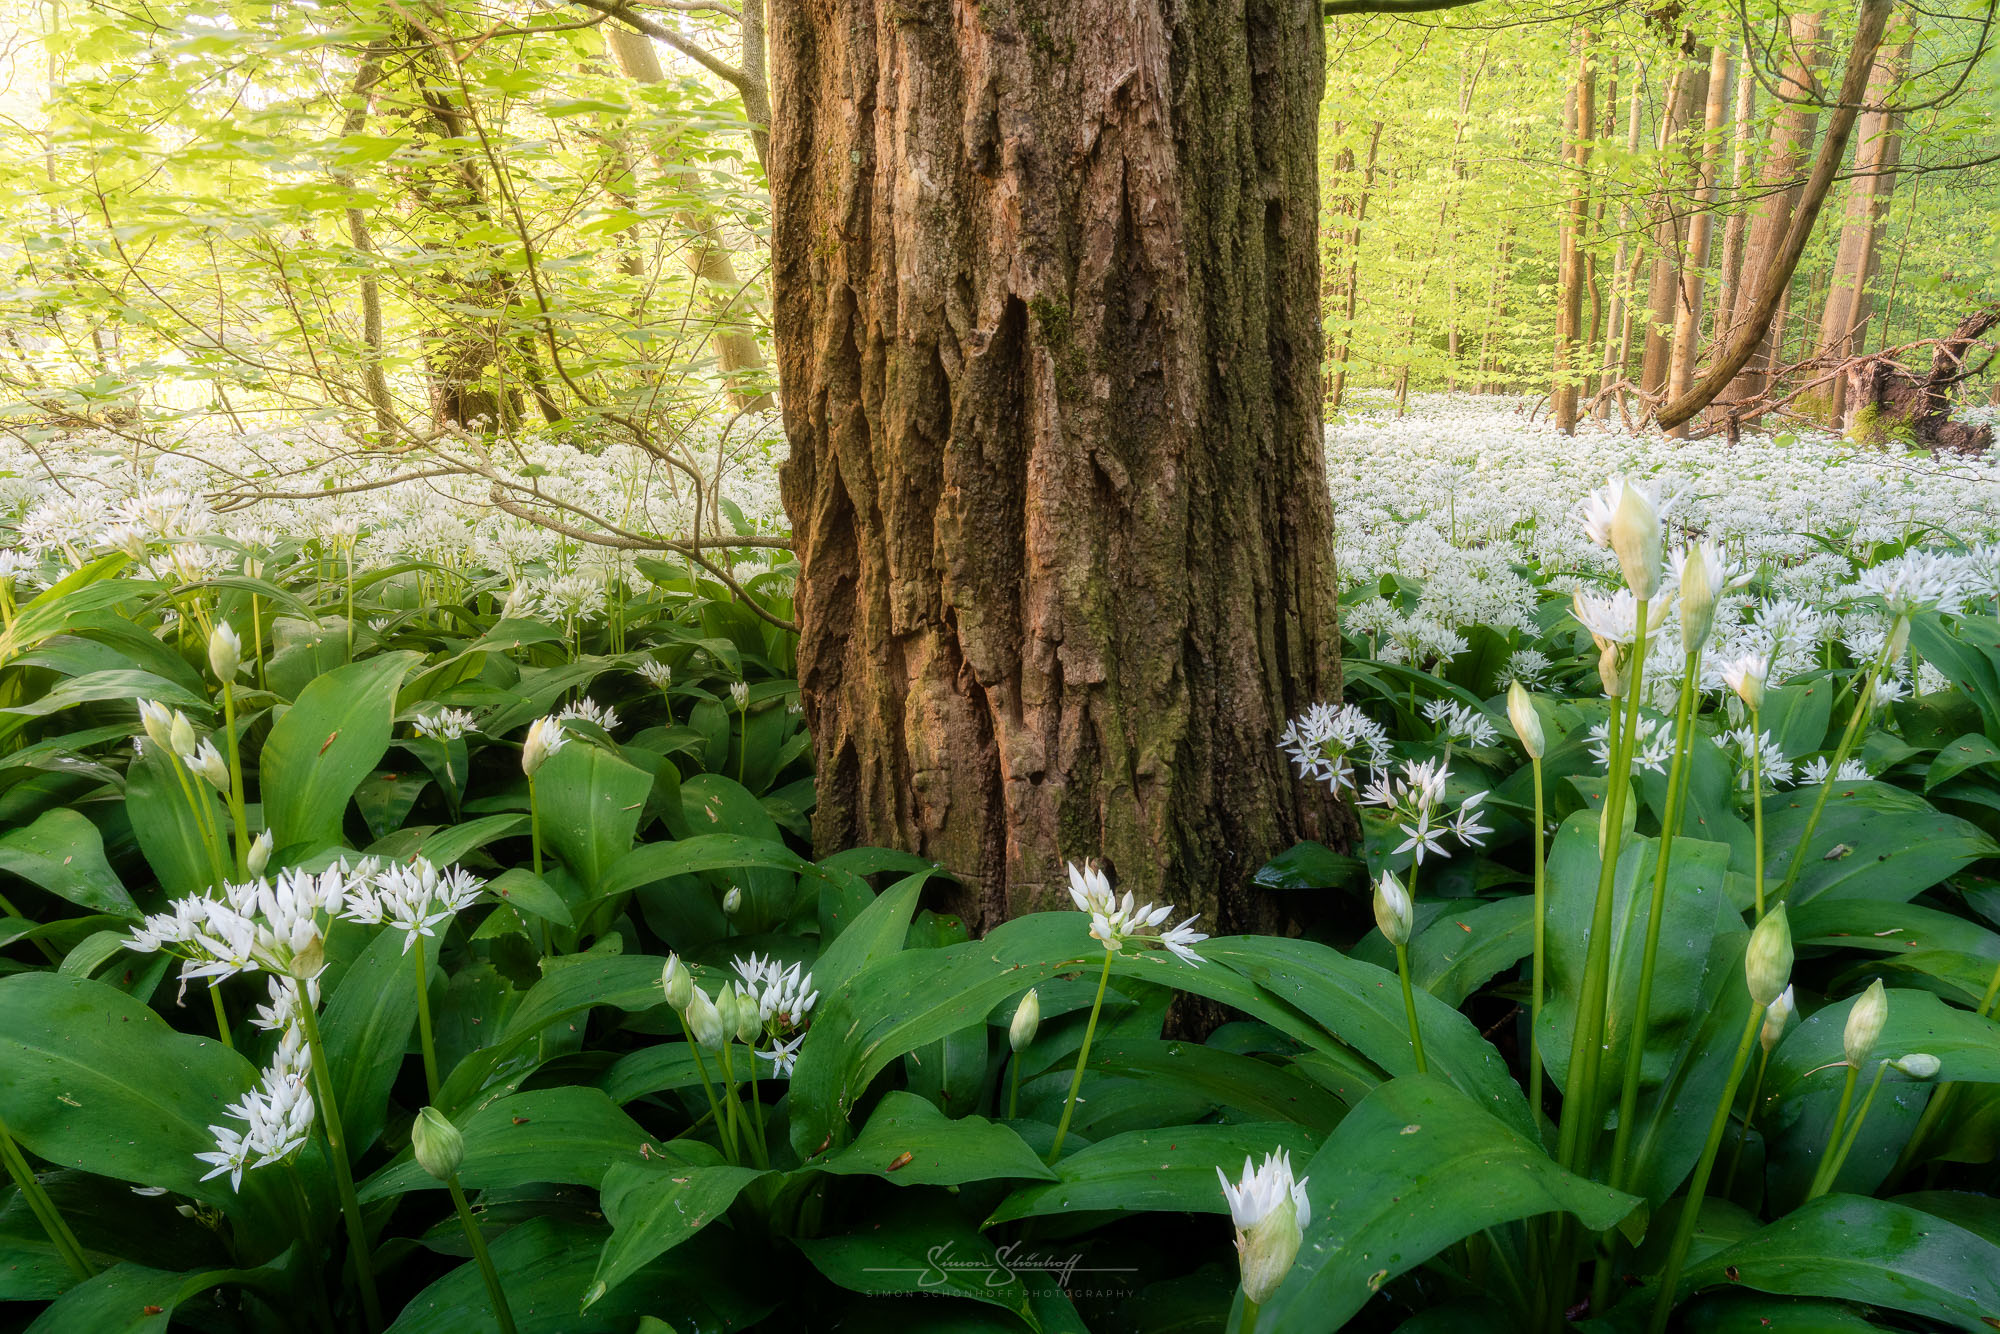
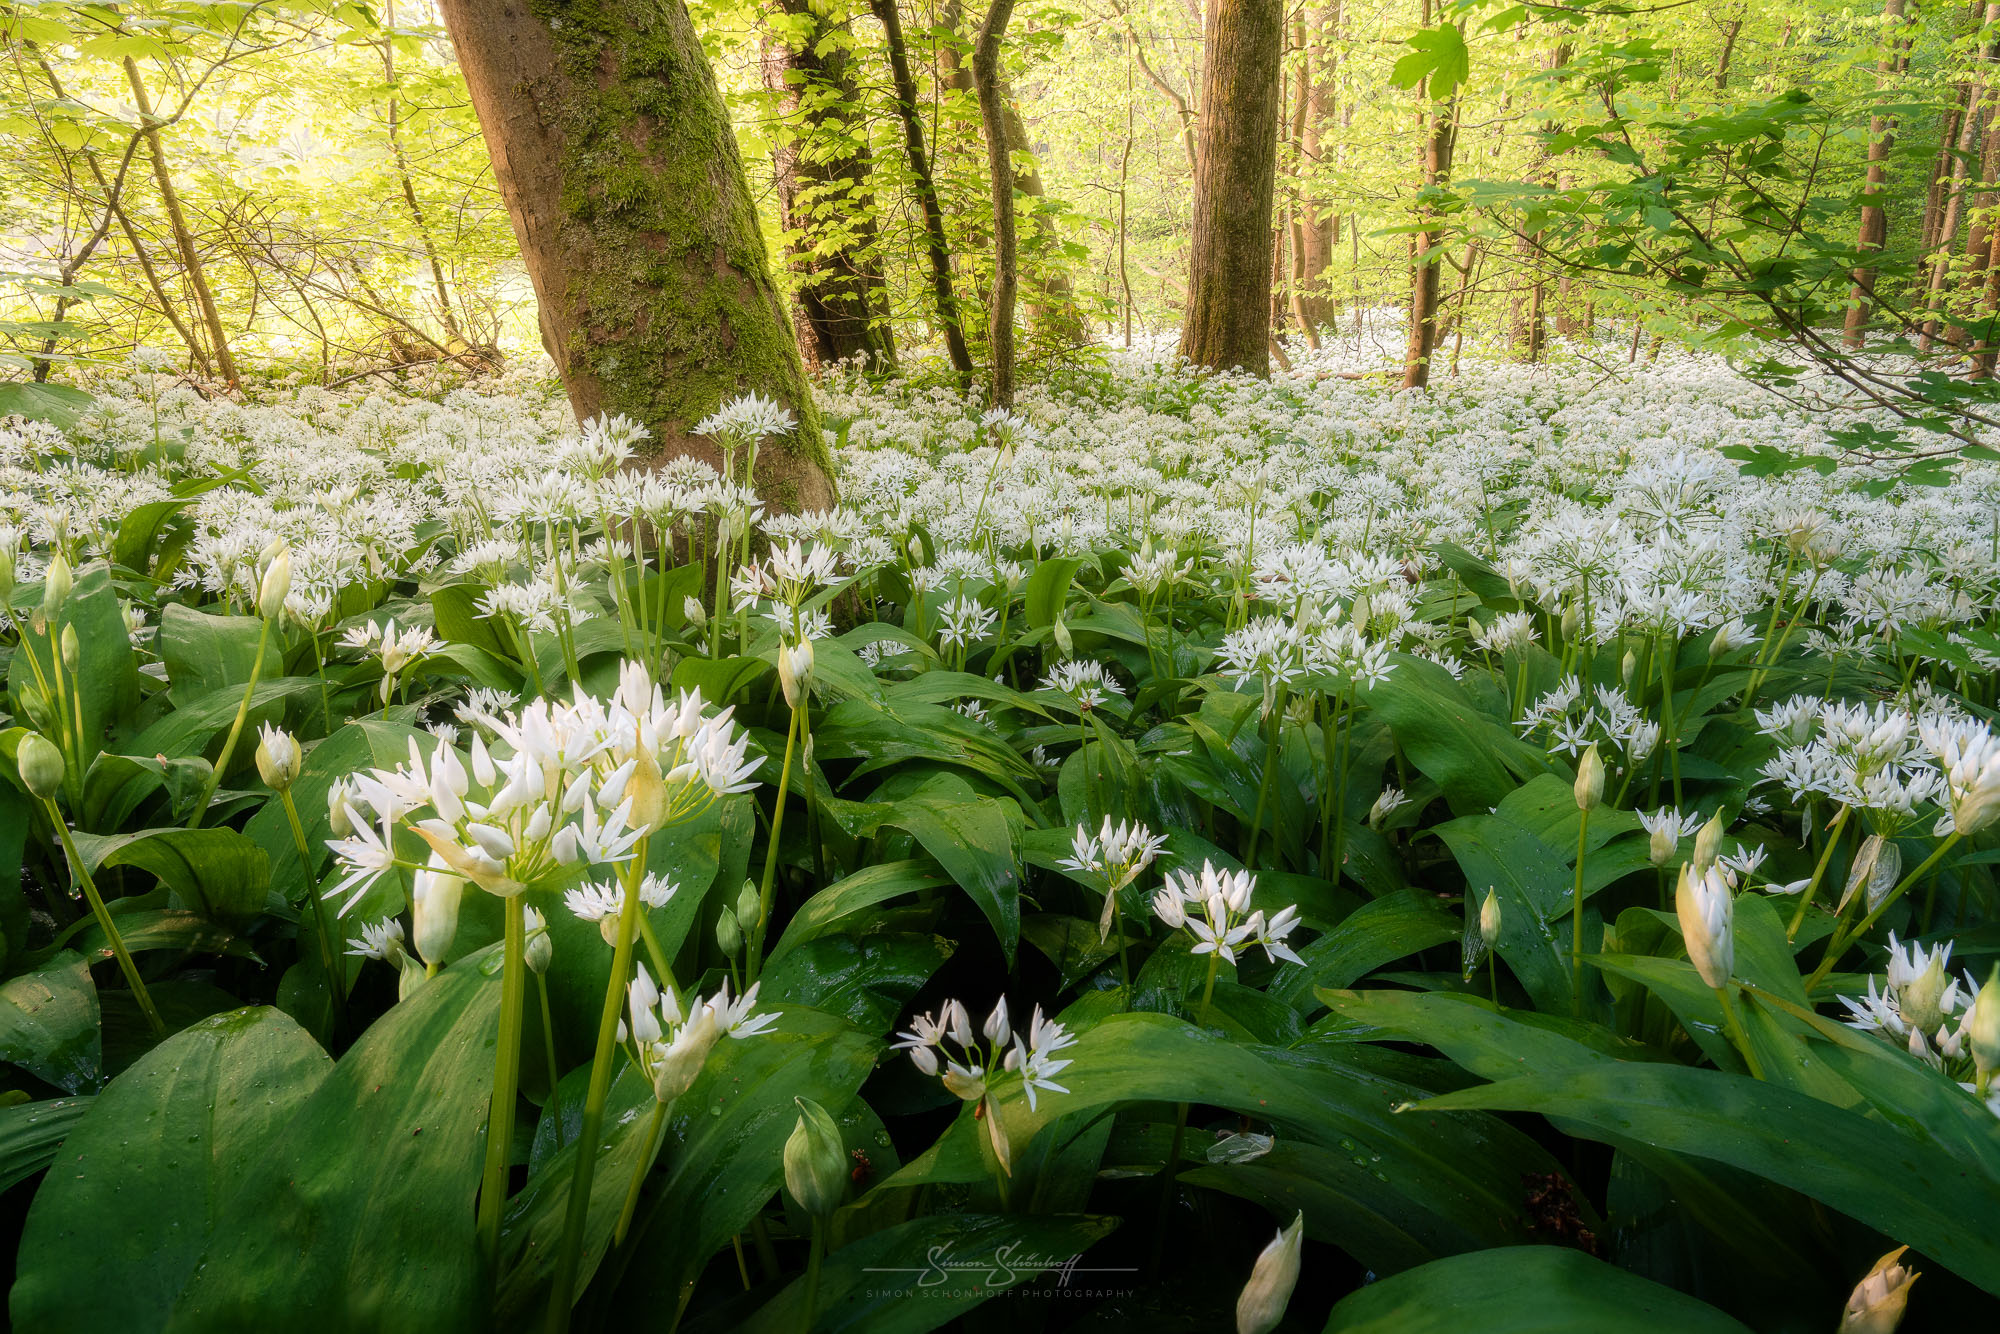
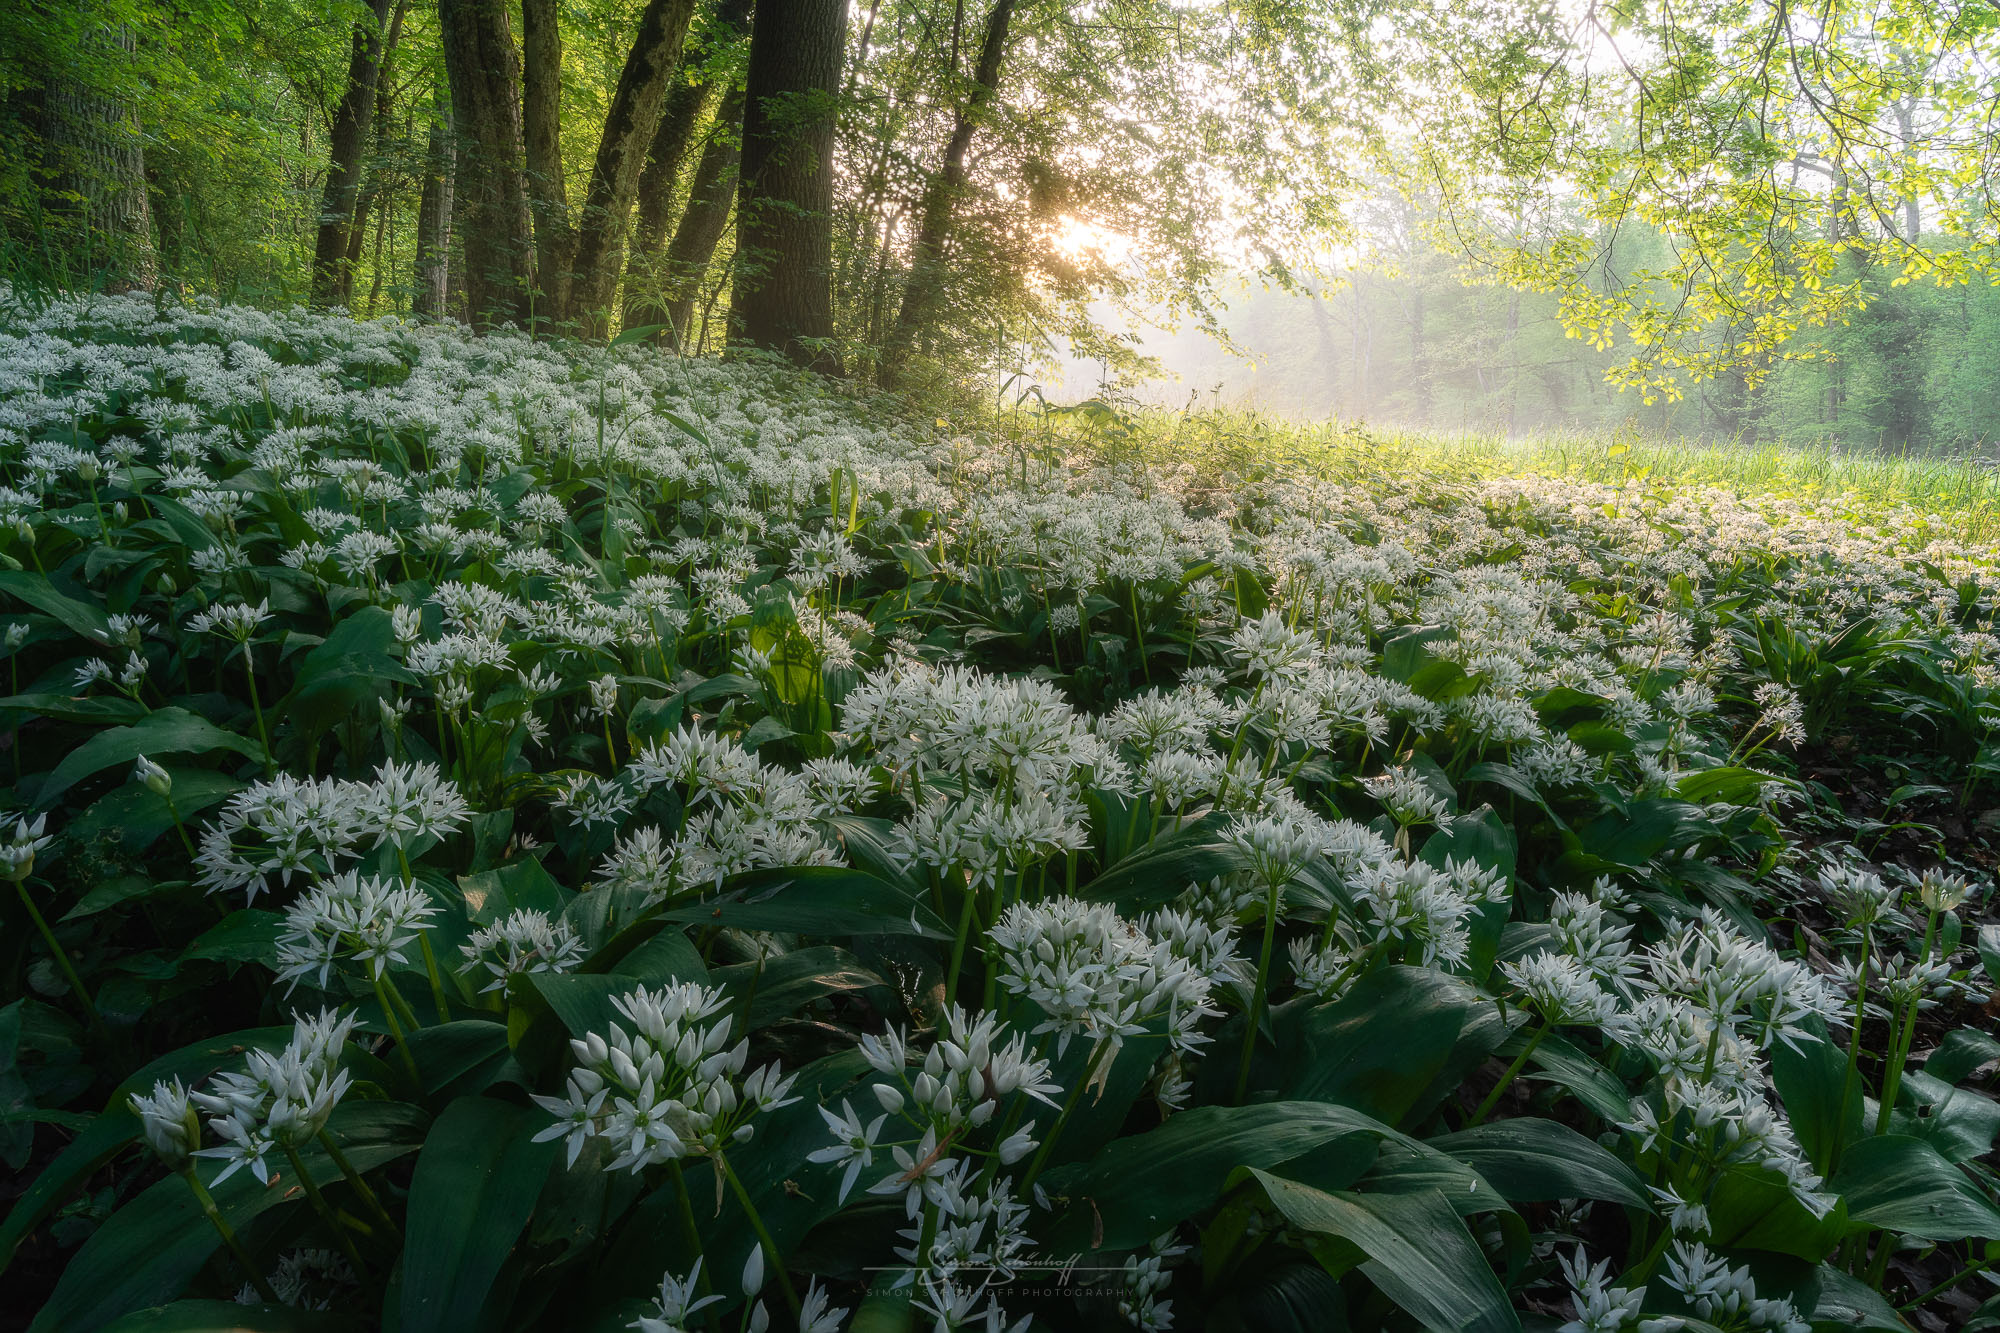
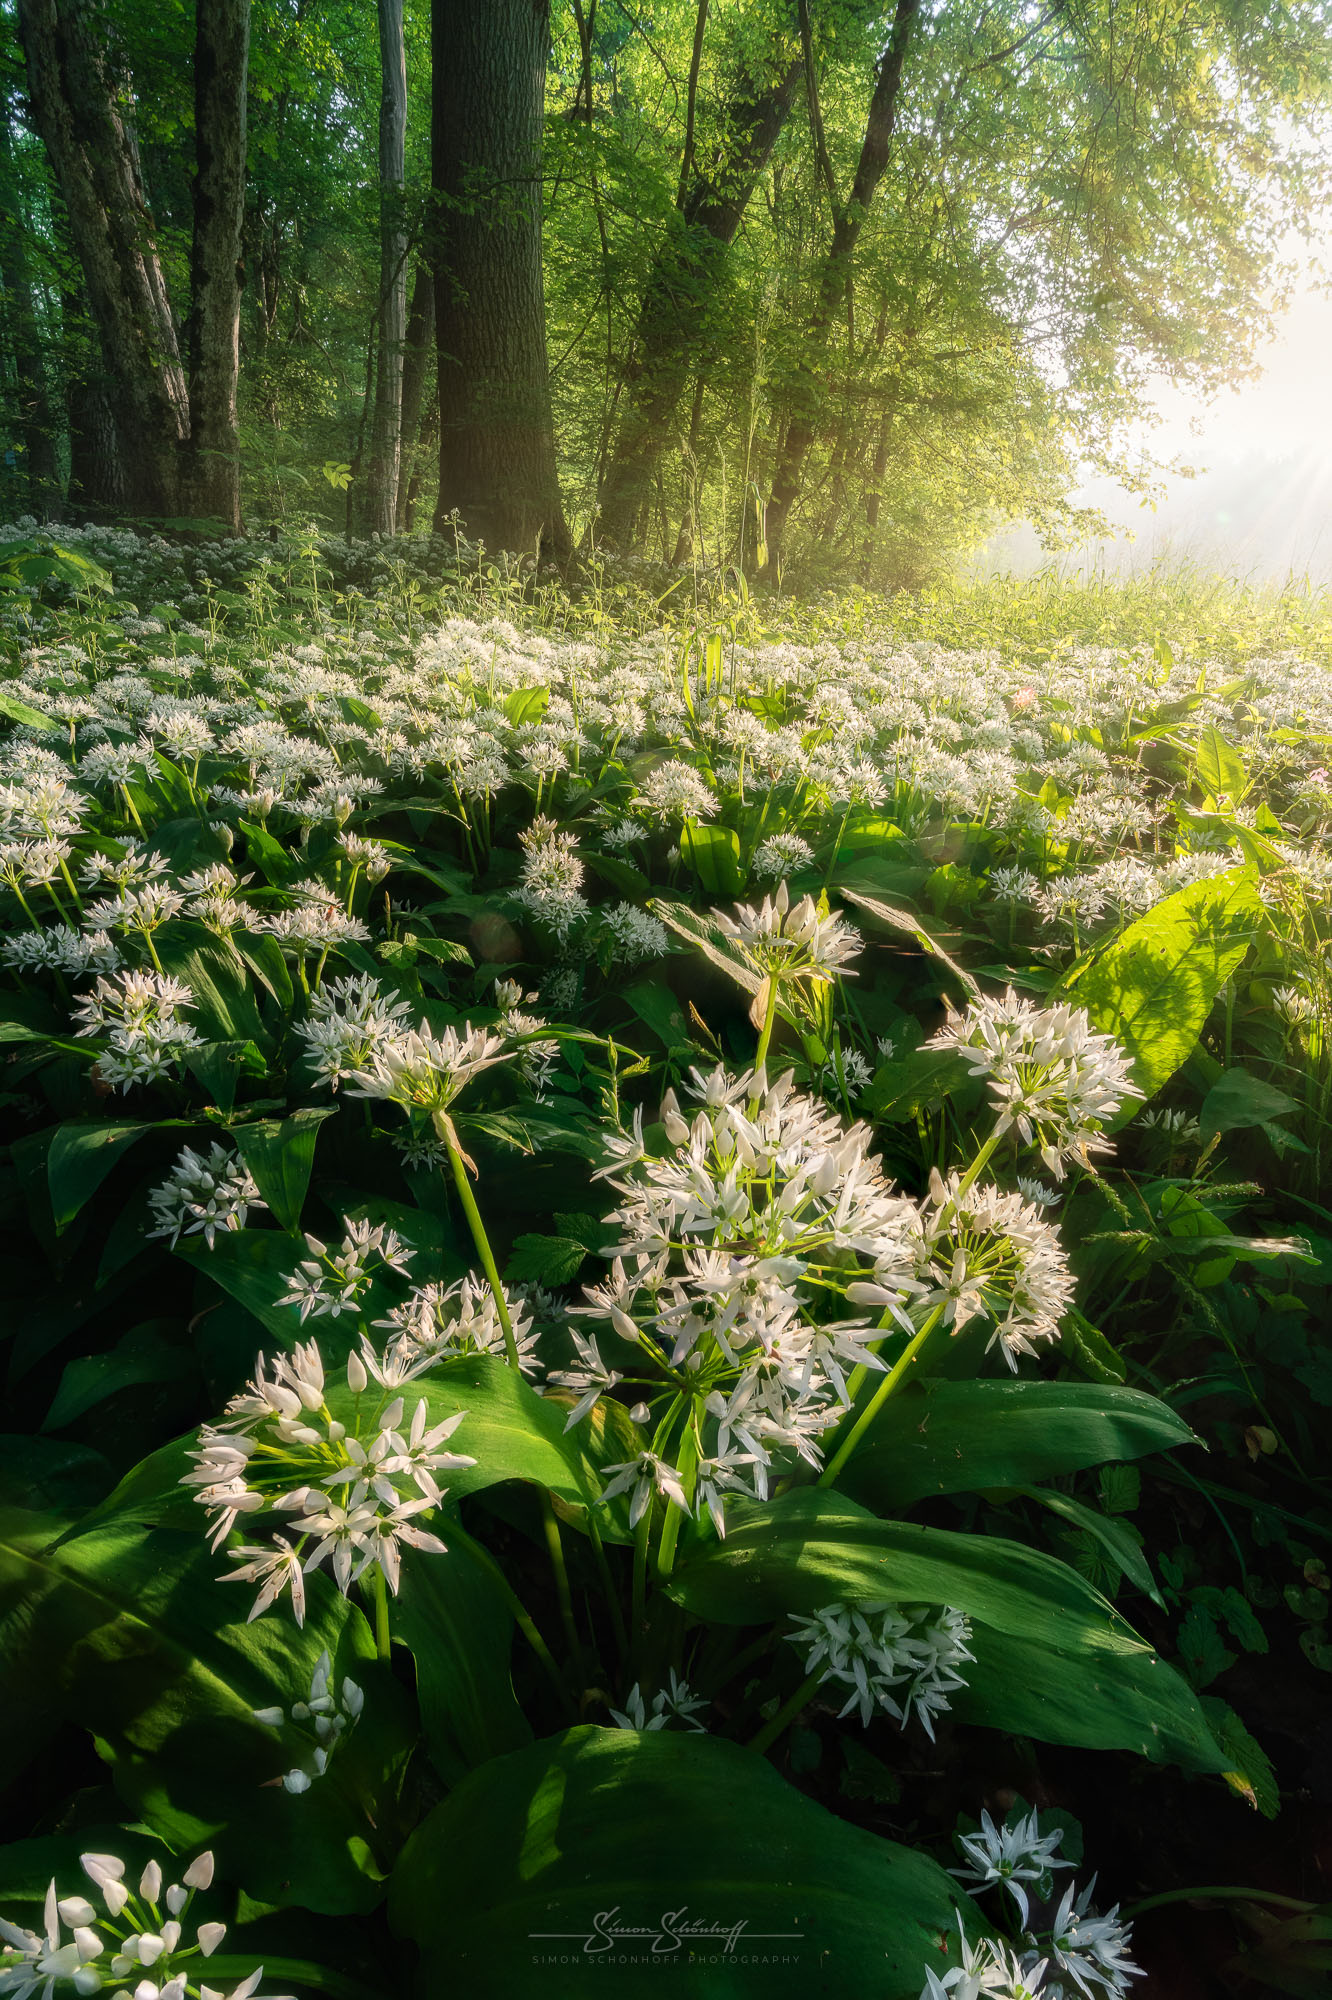
The wild garlic is in full bloom. That’s why I’m visiting it again today, even if the conditions aren’t quite perfect. Nevertheless, I took some wonderful pictures, especially with the help of my polarising filter. But take a look for yourself, here are all the pictures from the VLOG.
Today I’m heading into the forest again, because the wild garlic is now in full bloom. The conditions aren’t quite as perfect as last time, so I brought the polarising filter with me to help. You can see in the video whether it produces excellent pictures and whether the polarising filter helps!
Feel free to share:
