You can see the VLOG to the BLOG at the bottom of the page or you can reach it via this button:
Gear:
Sony a7IV
Sony FE 2.8/16–35 mm GM
Sony FE 4/24–105 mm G
Sony FE 100–400 mm GM
DJI Mini 3 Pro
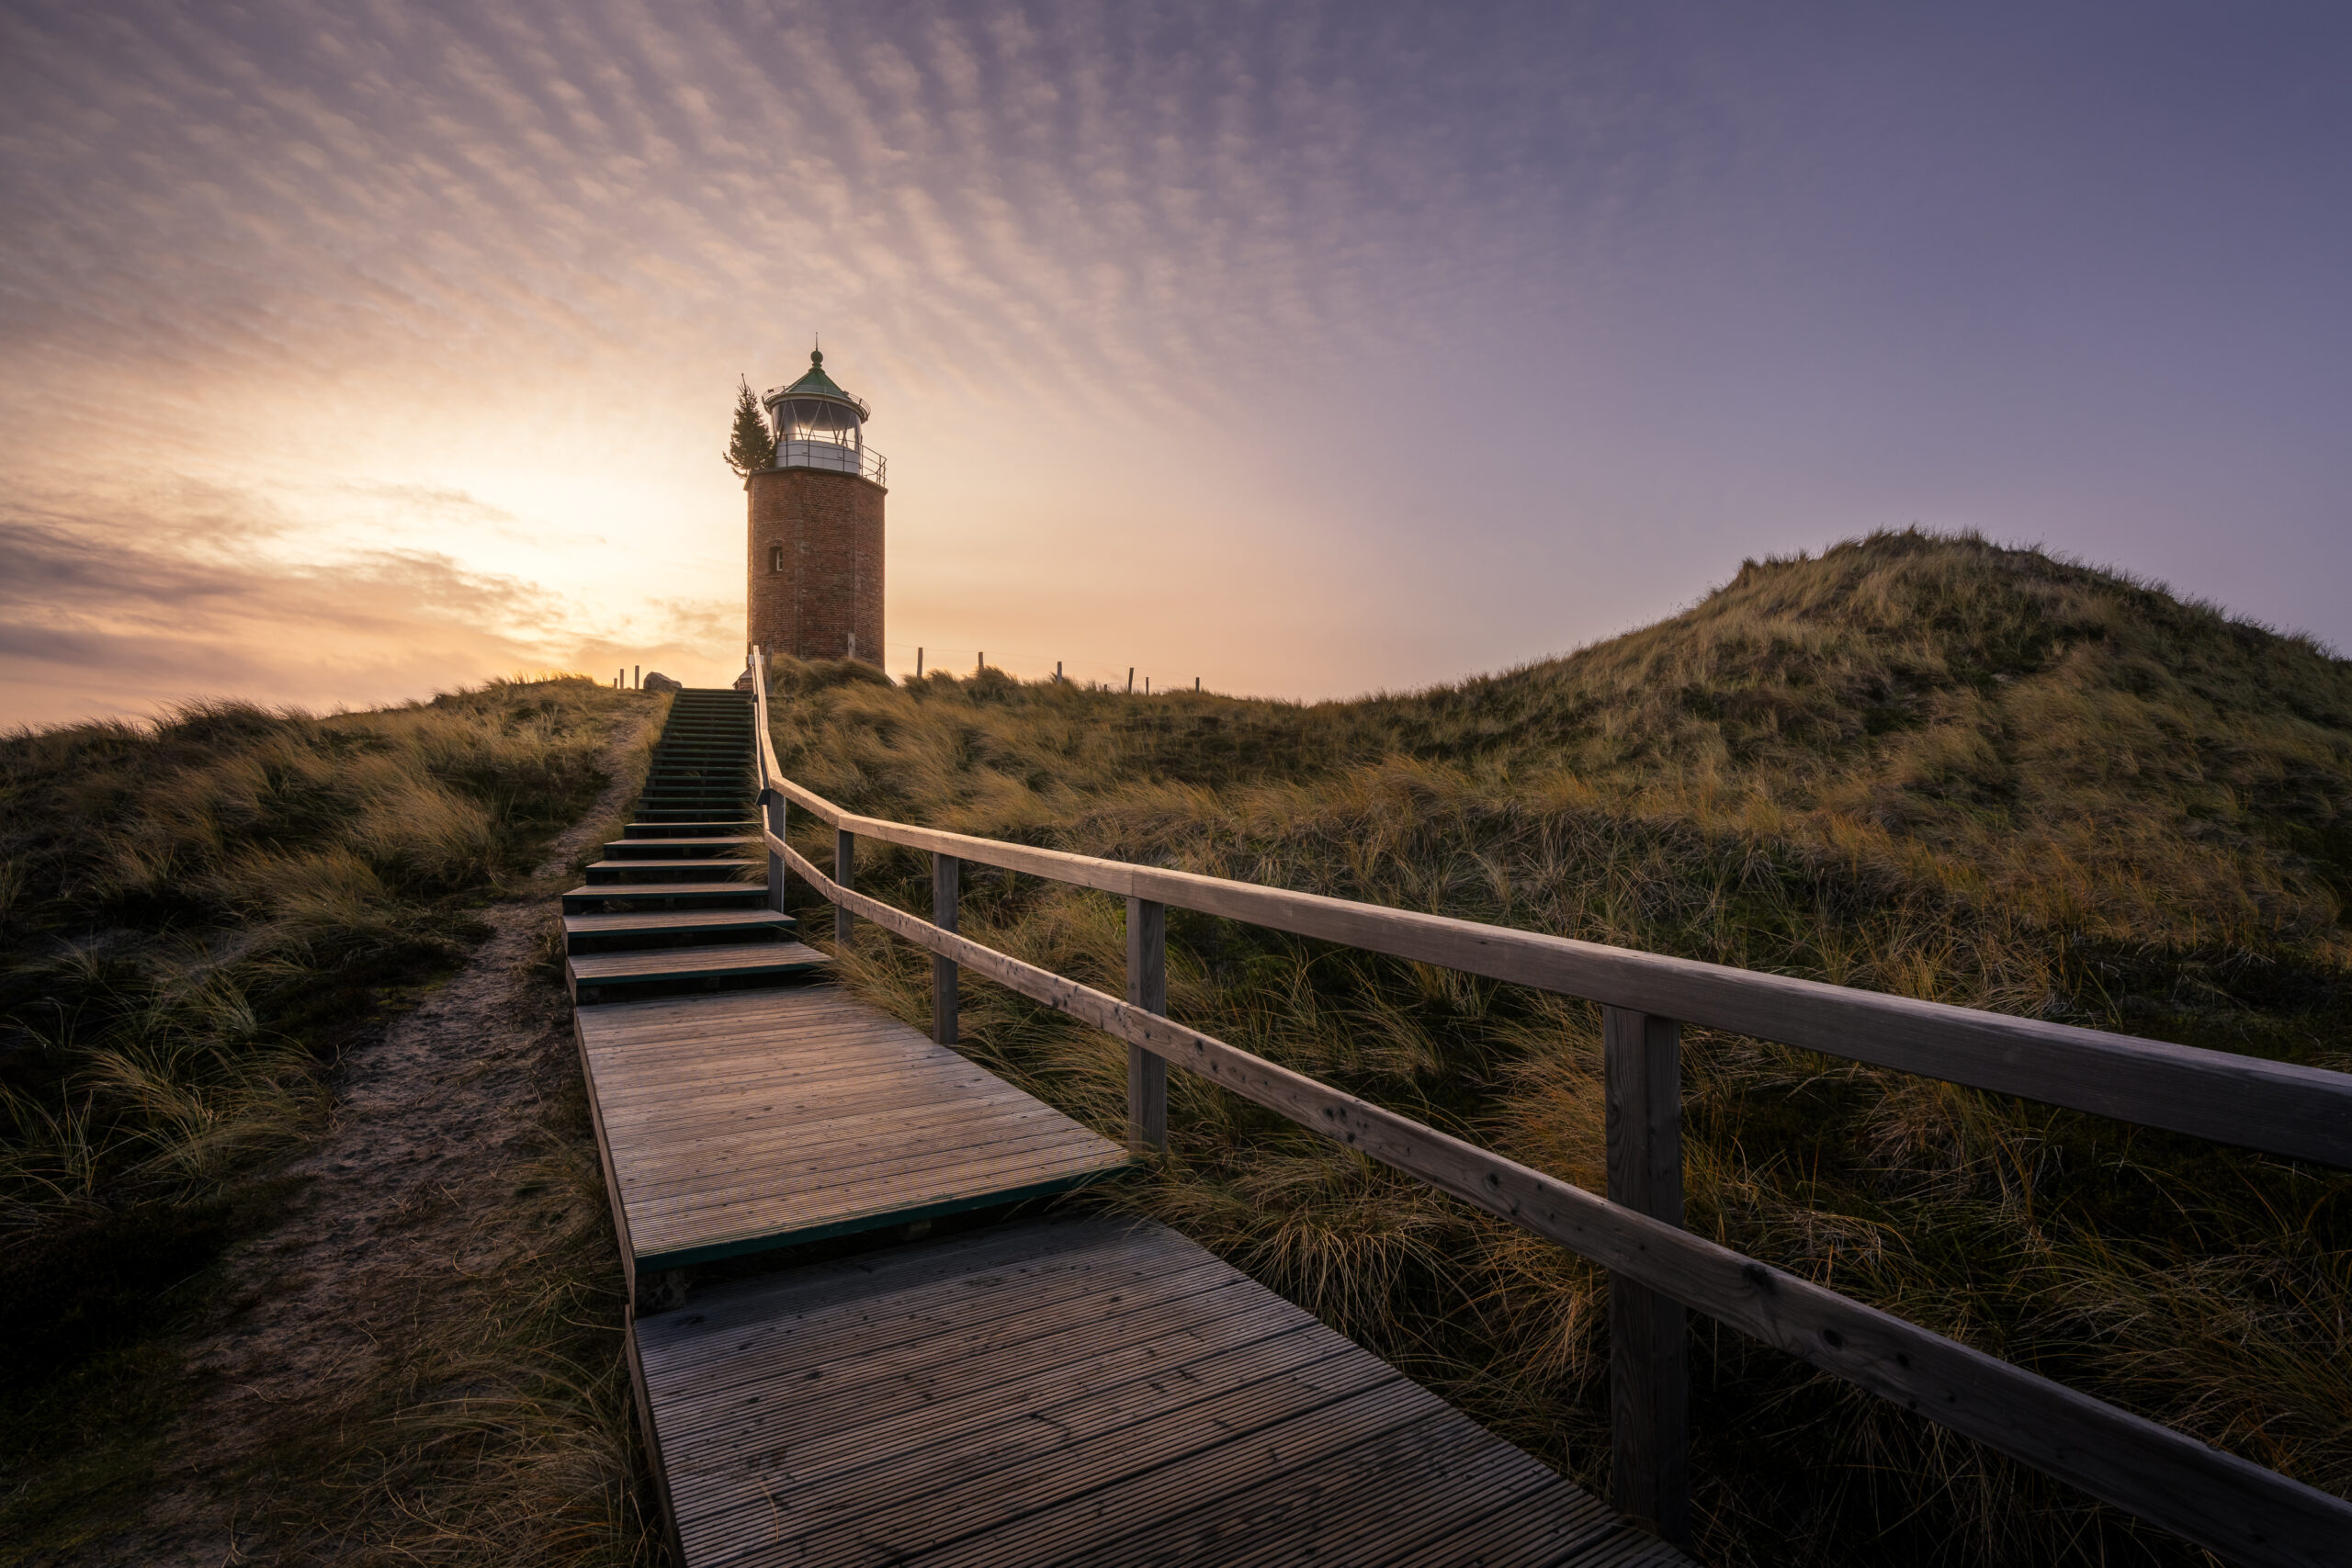
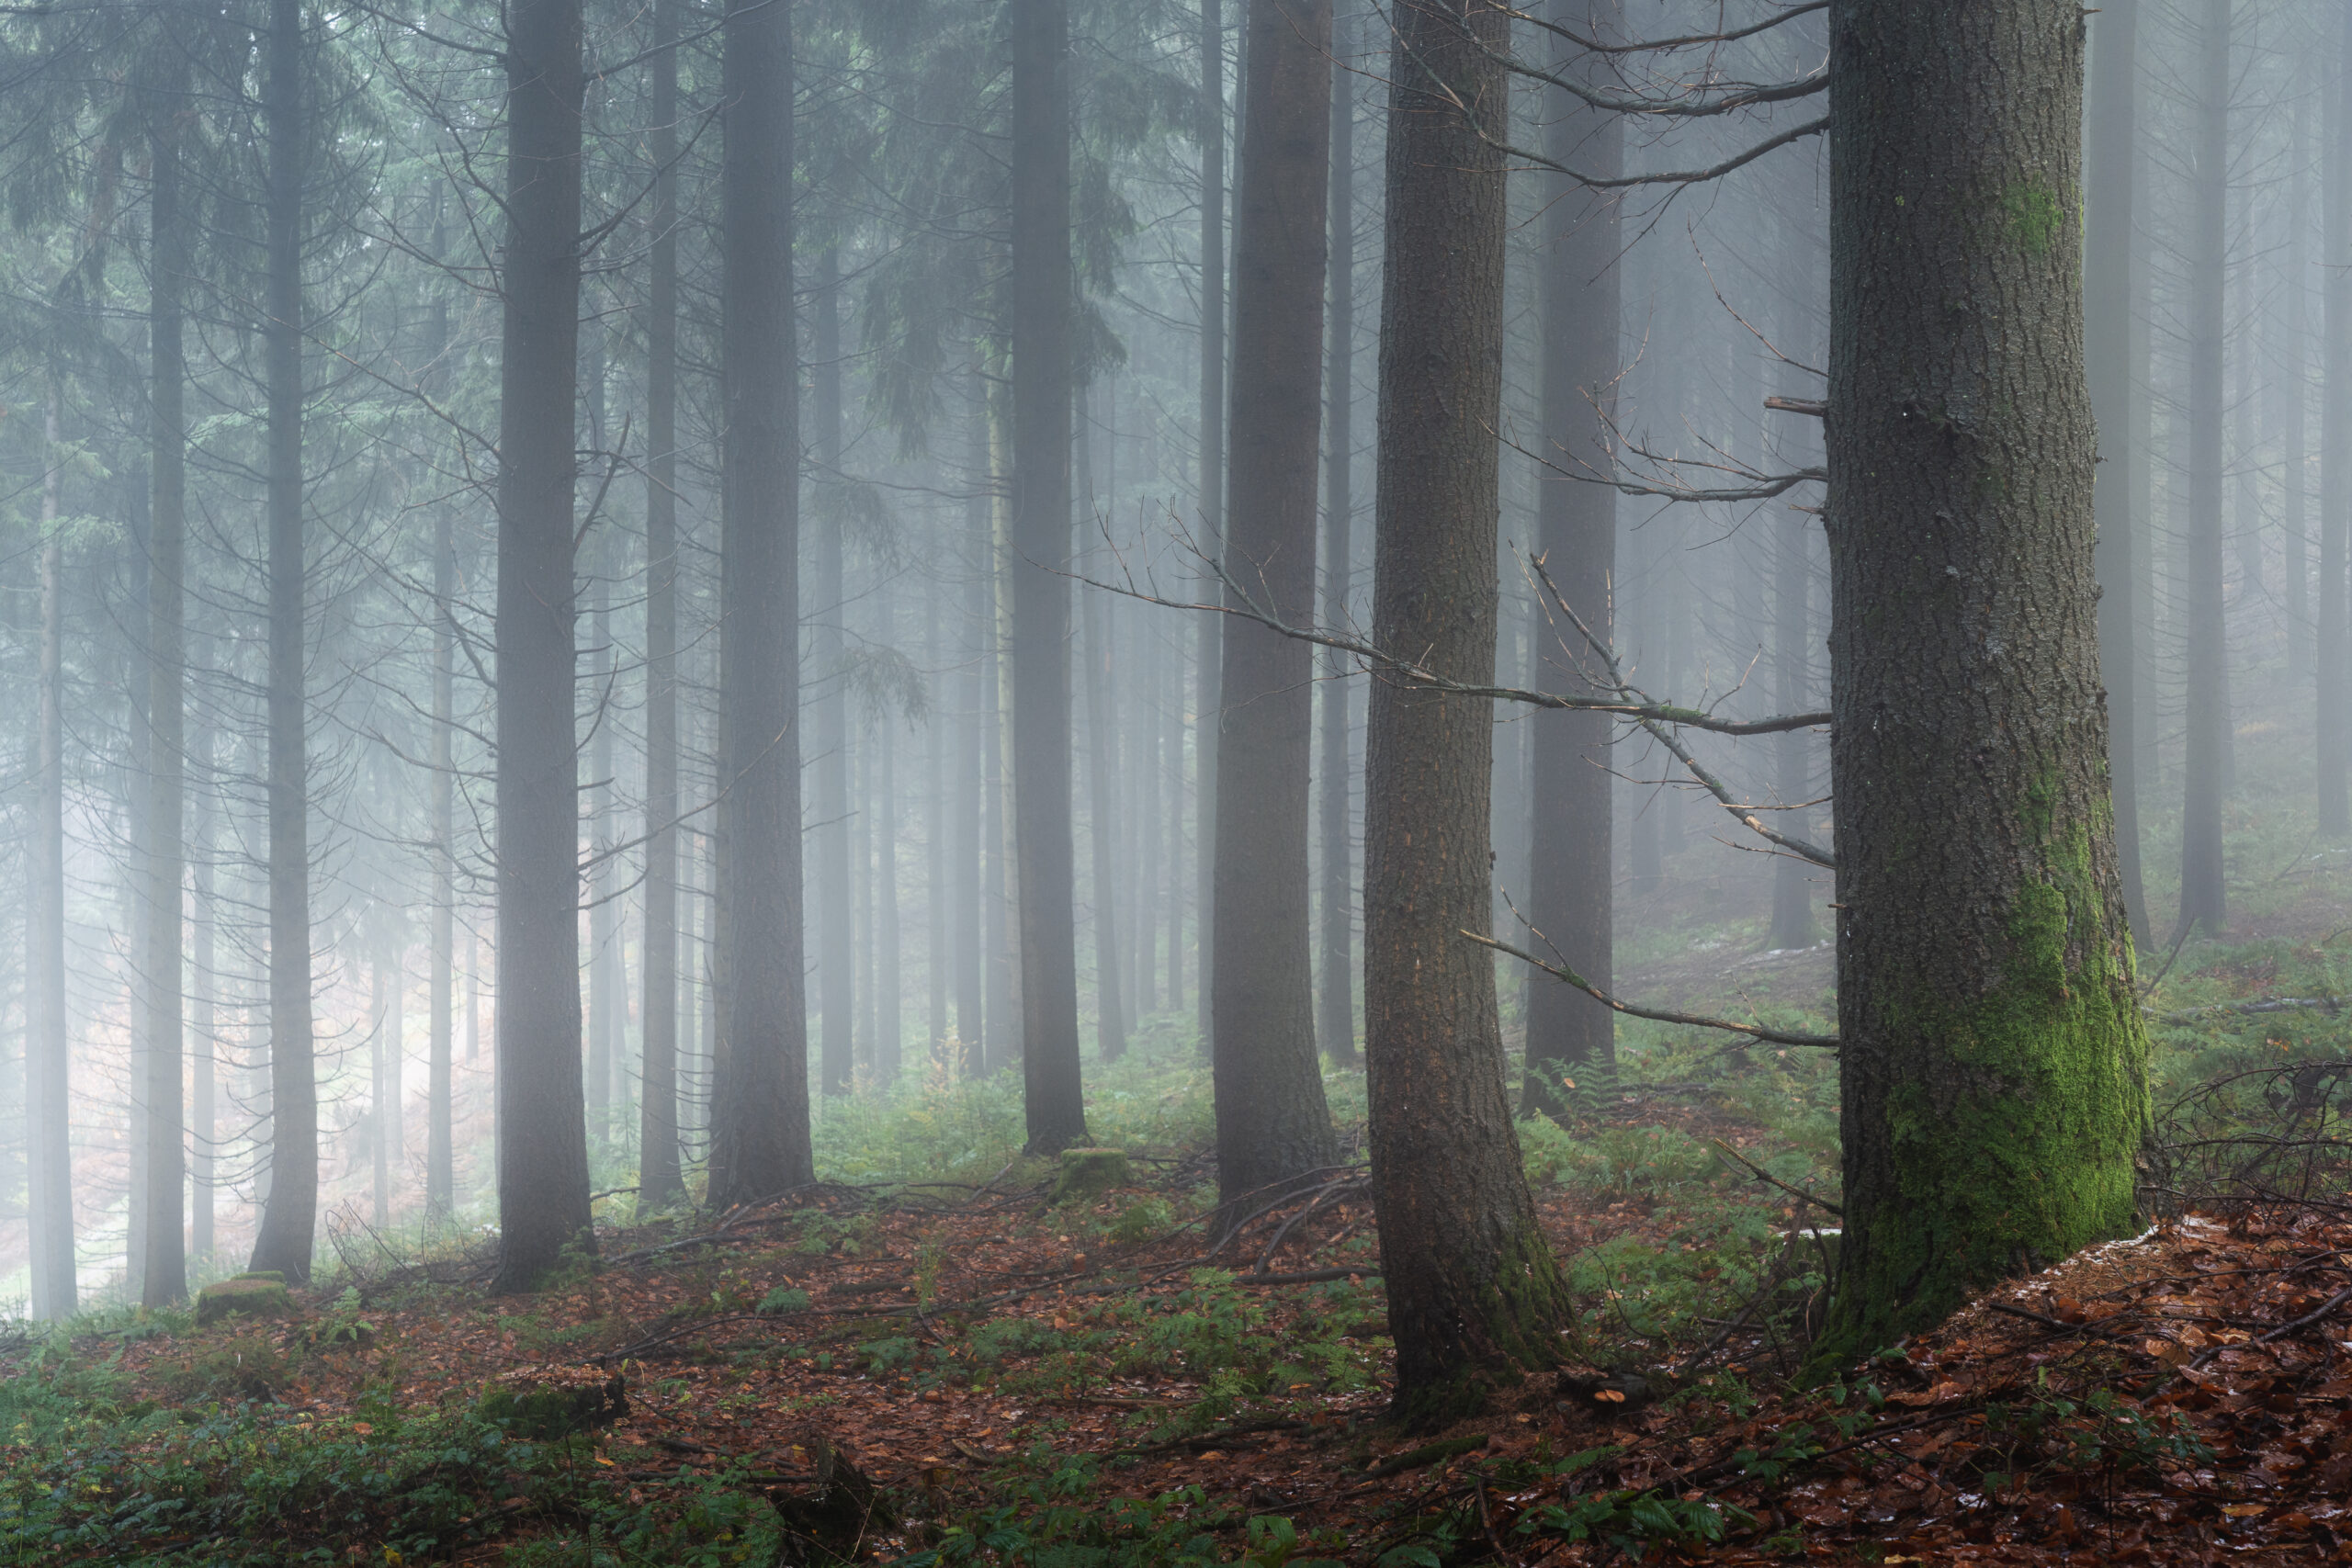
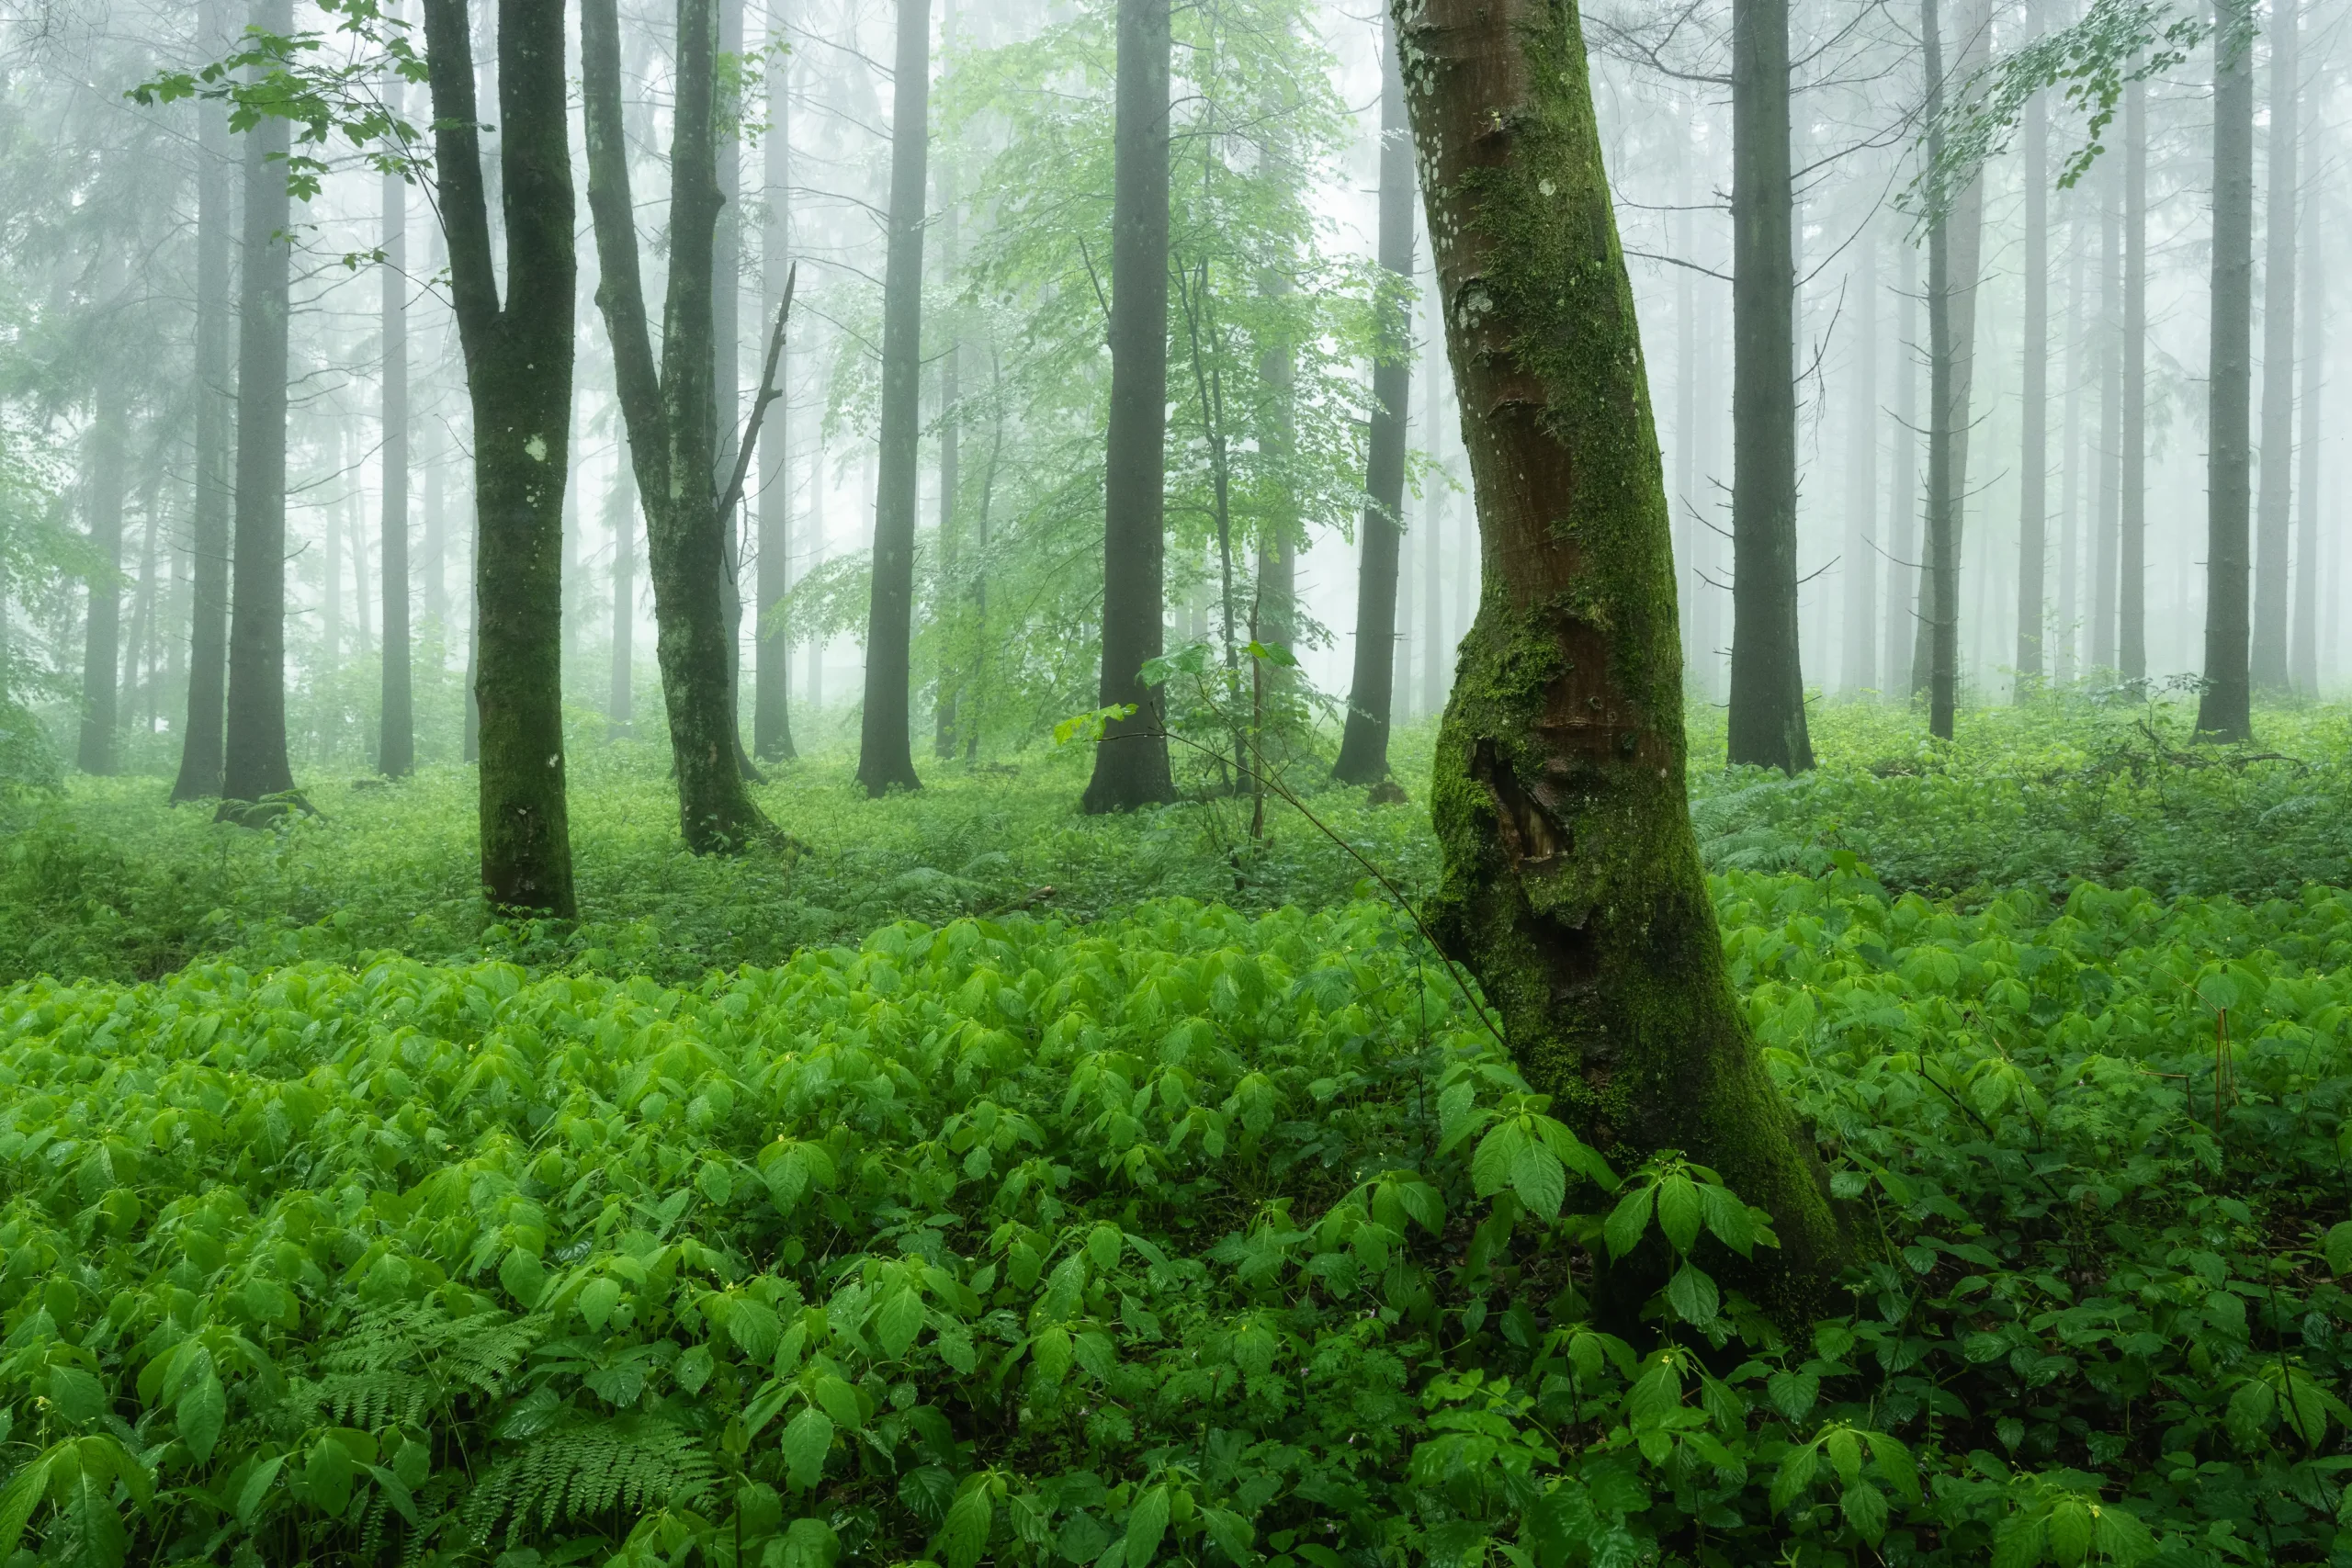
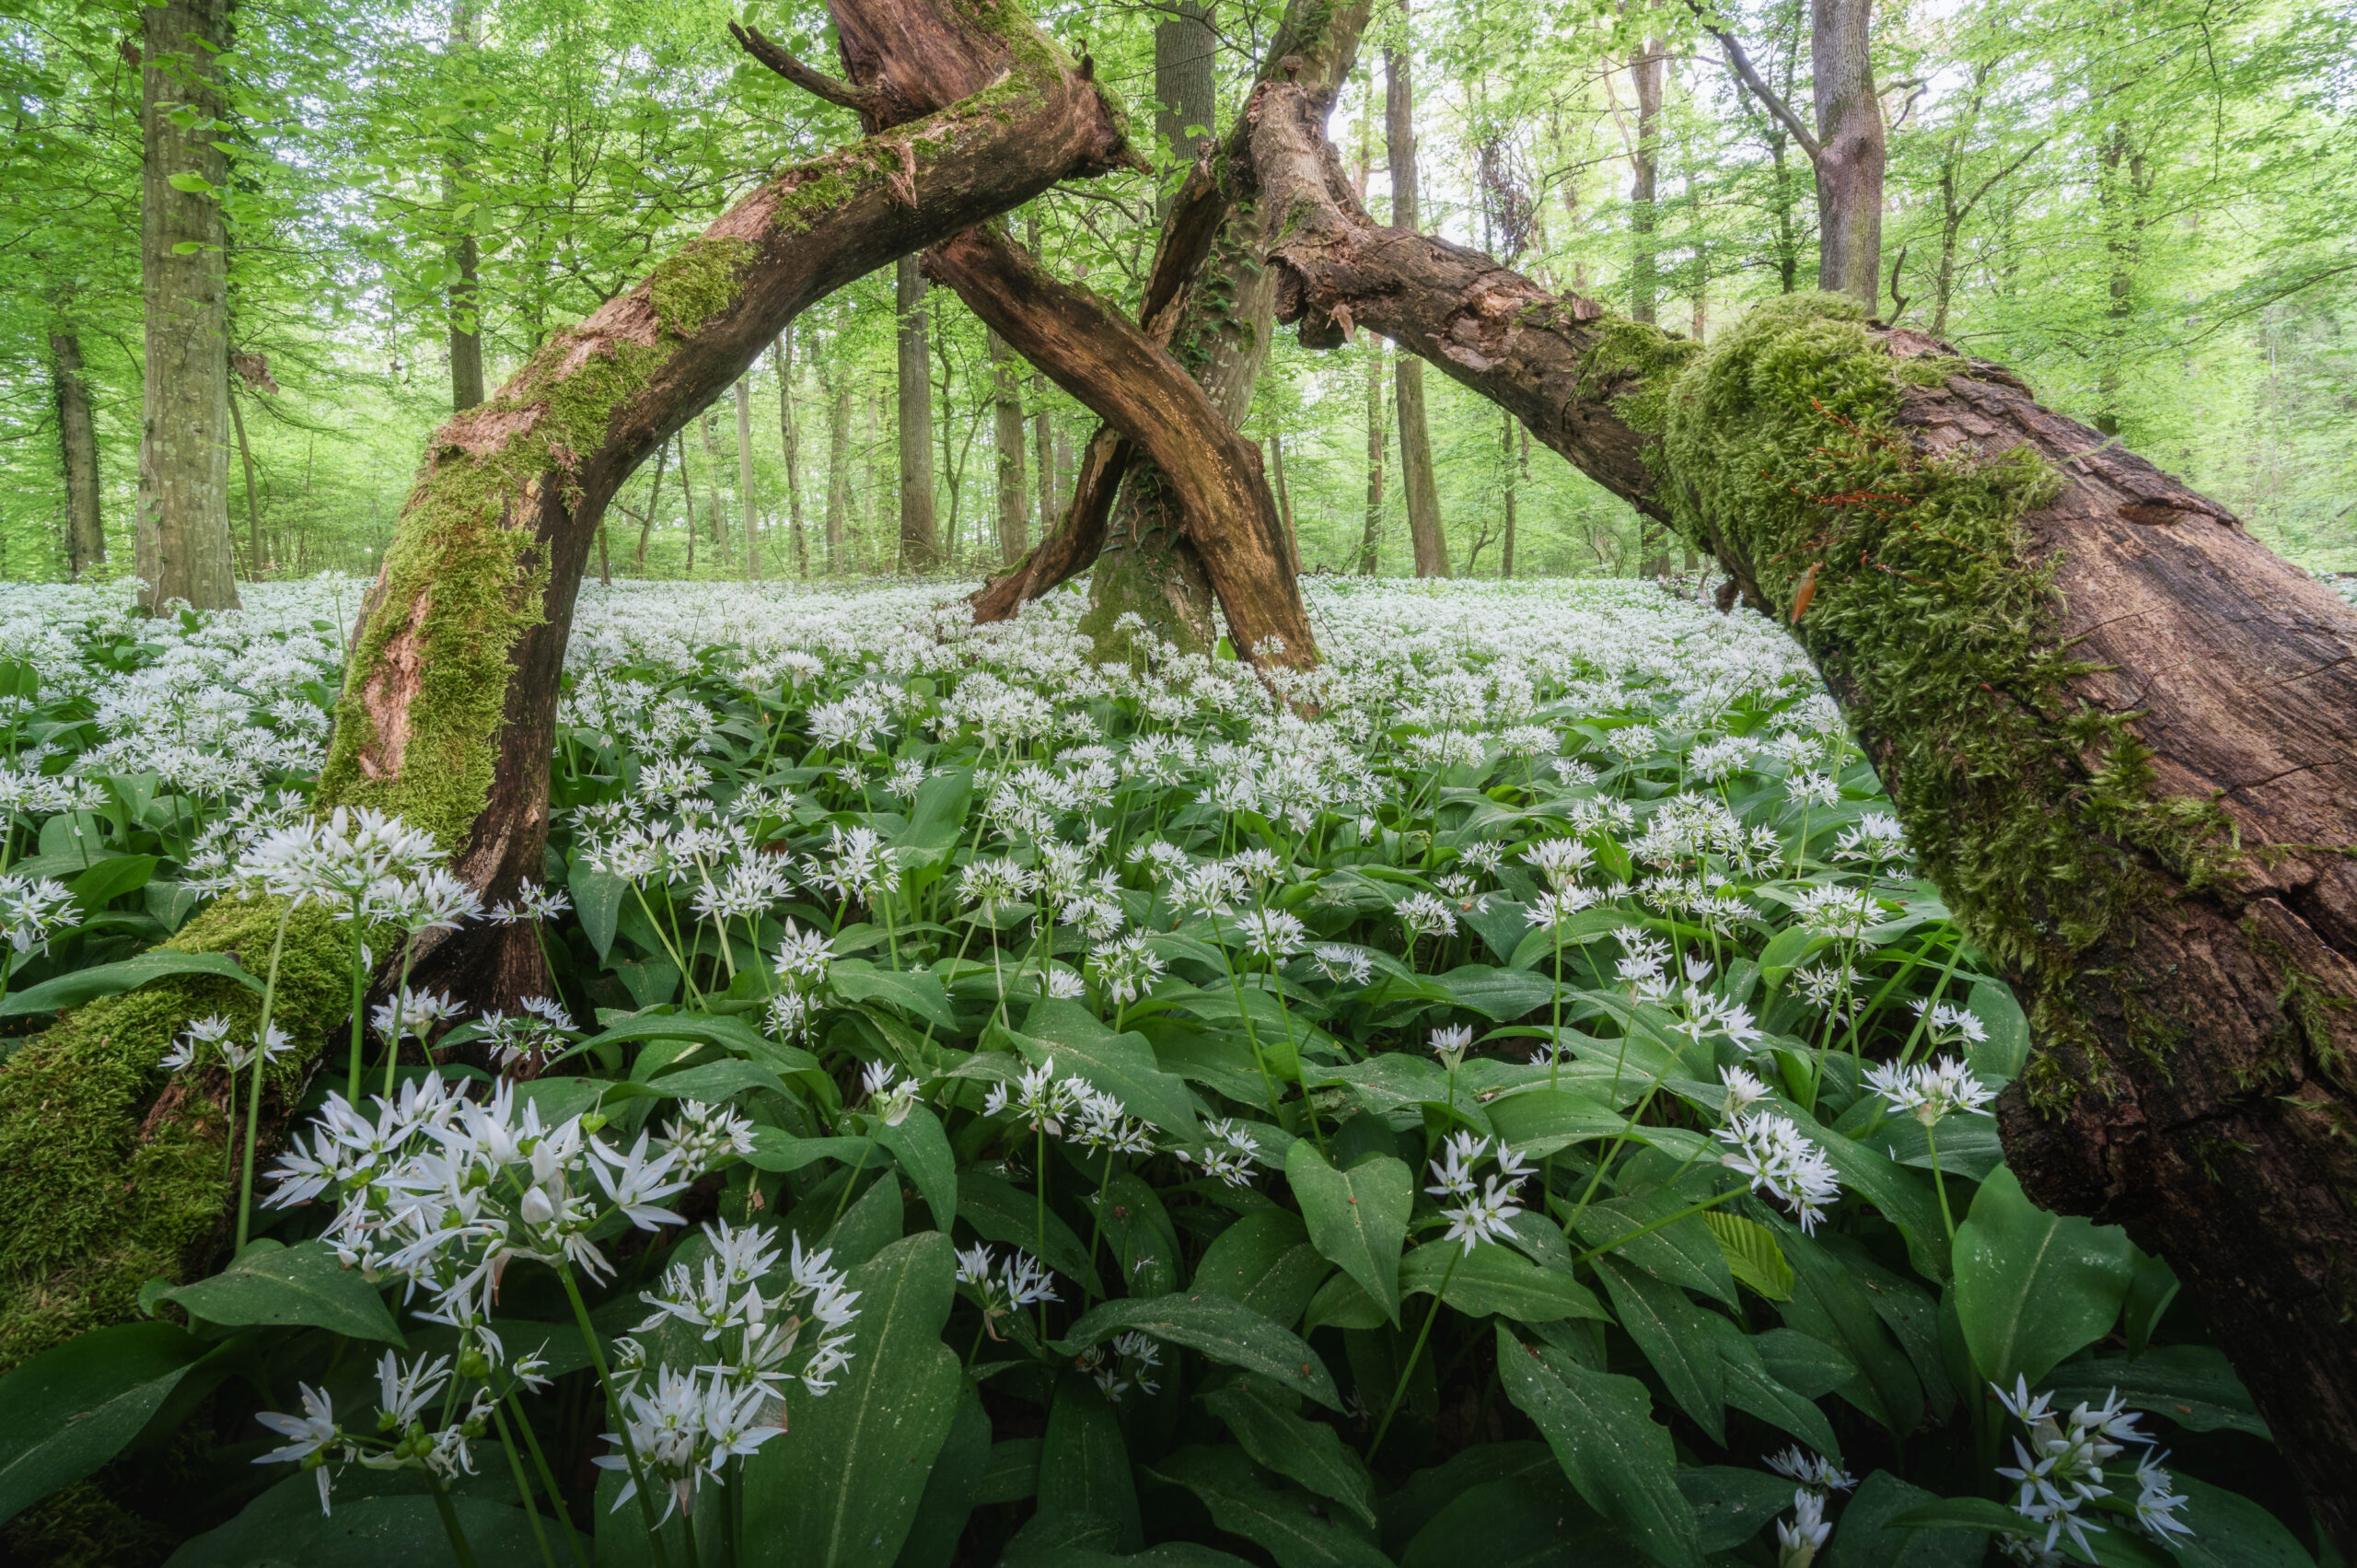
It works particularly well with strong contrasts and intense light, especially in forest and waterfall photography. In my opinion, it is also very effective there and usually suits the mood in the picture. But it can also be used in large landscapes to create a more dreamy mood in the picture. It also enhances mystical moods, which is why it is particularly suitable for fog images.
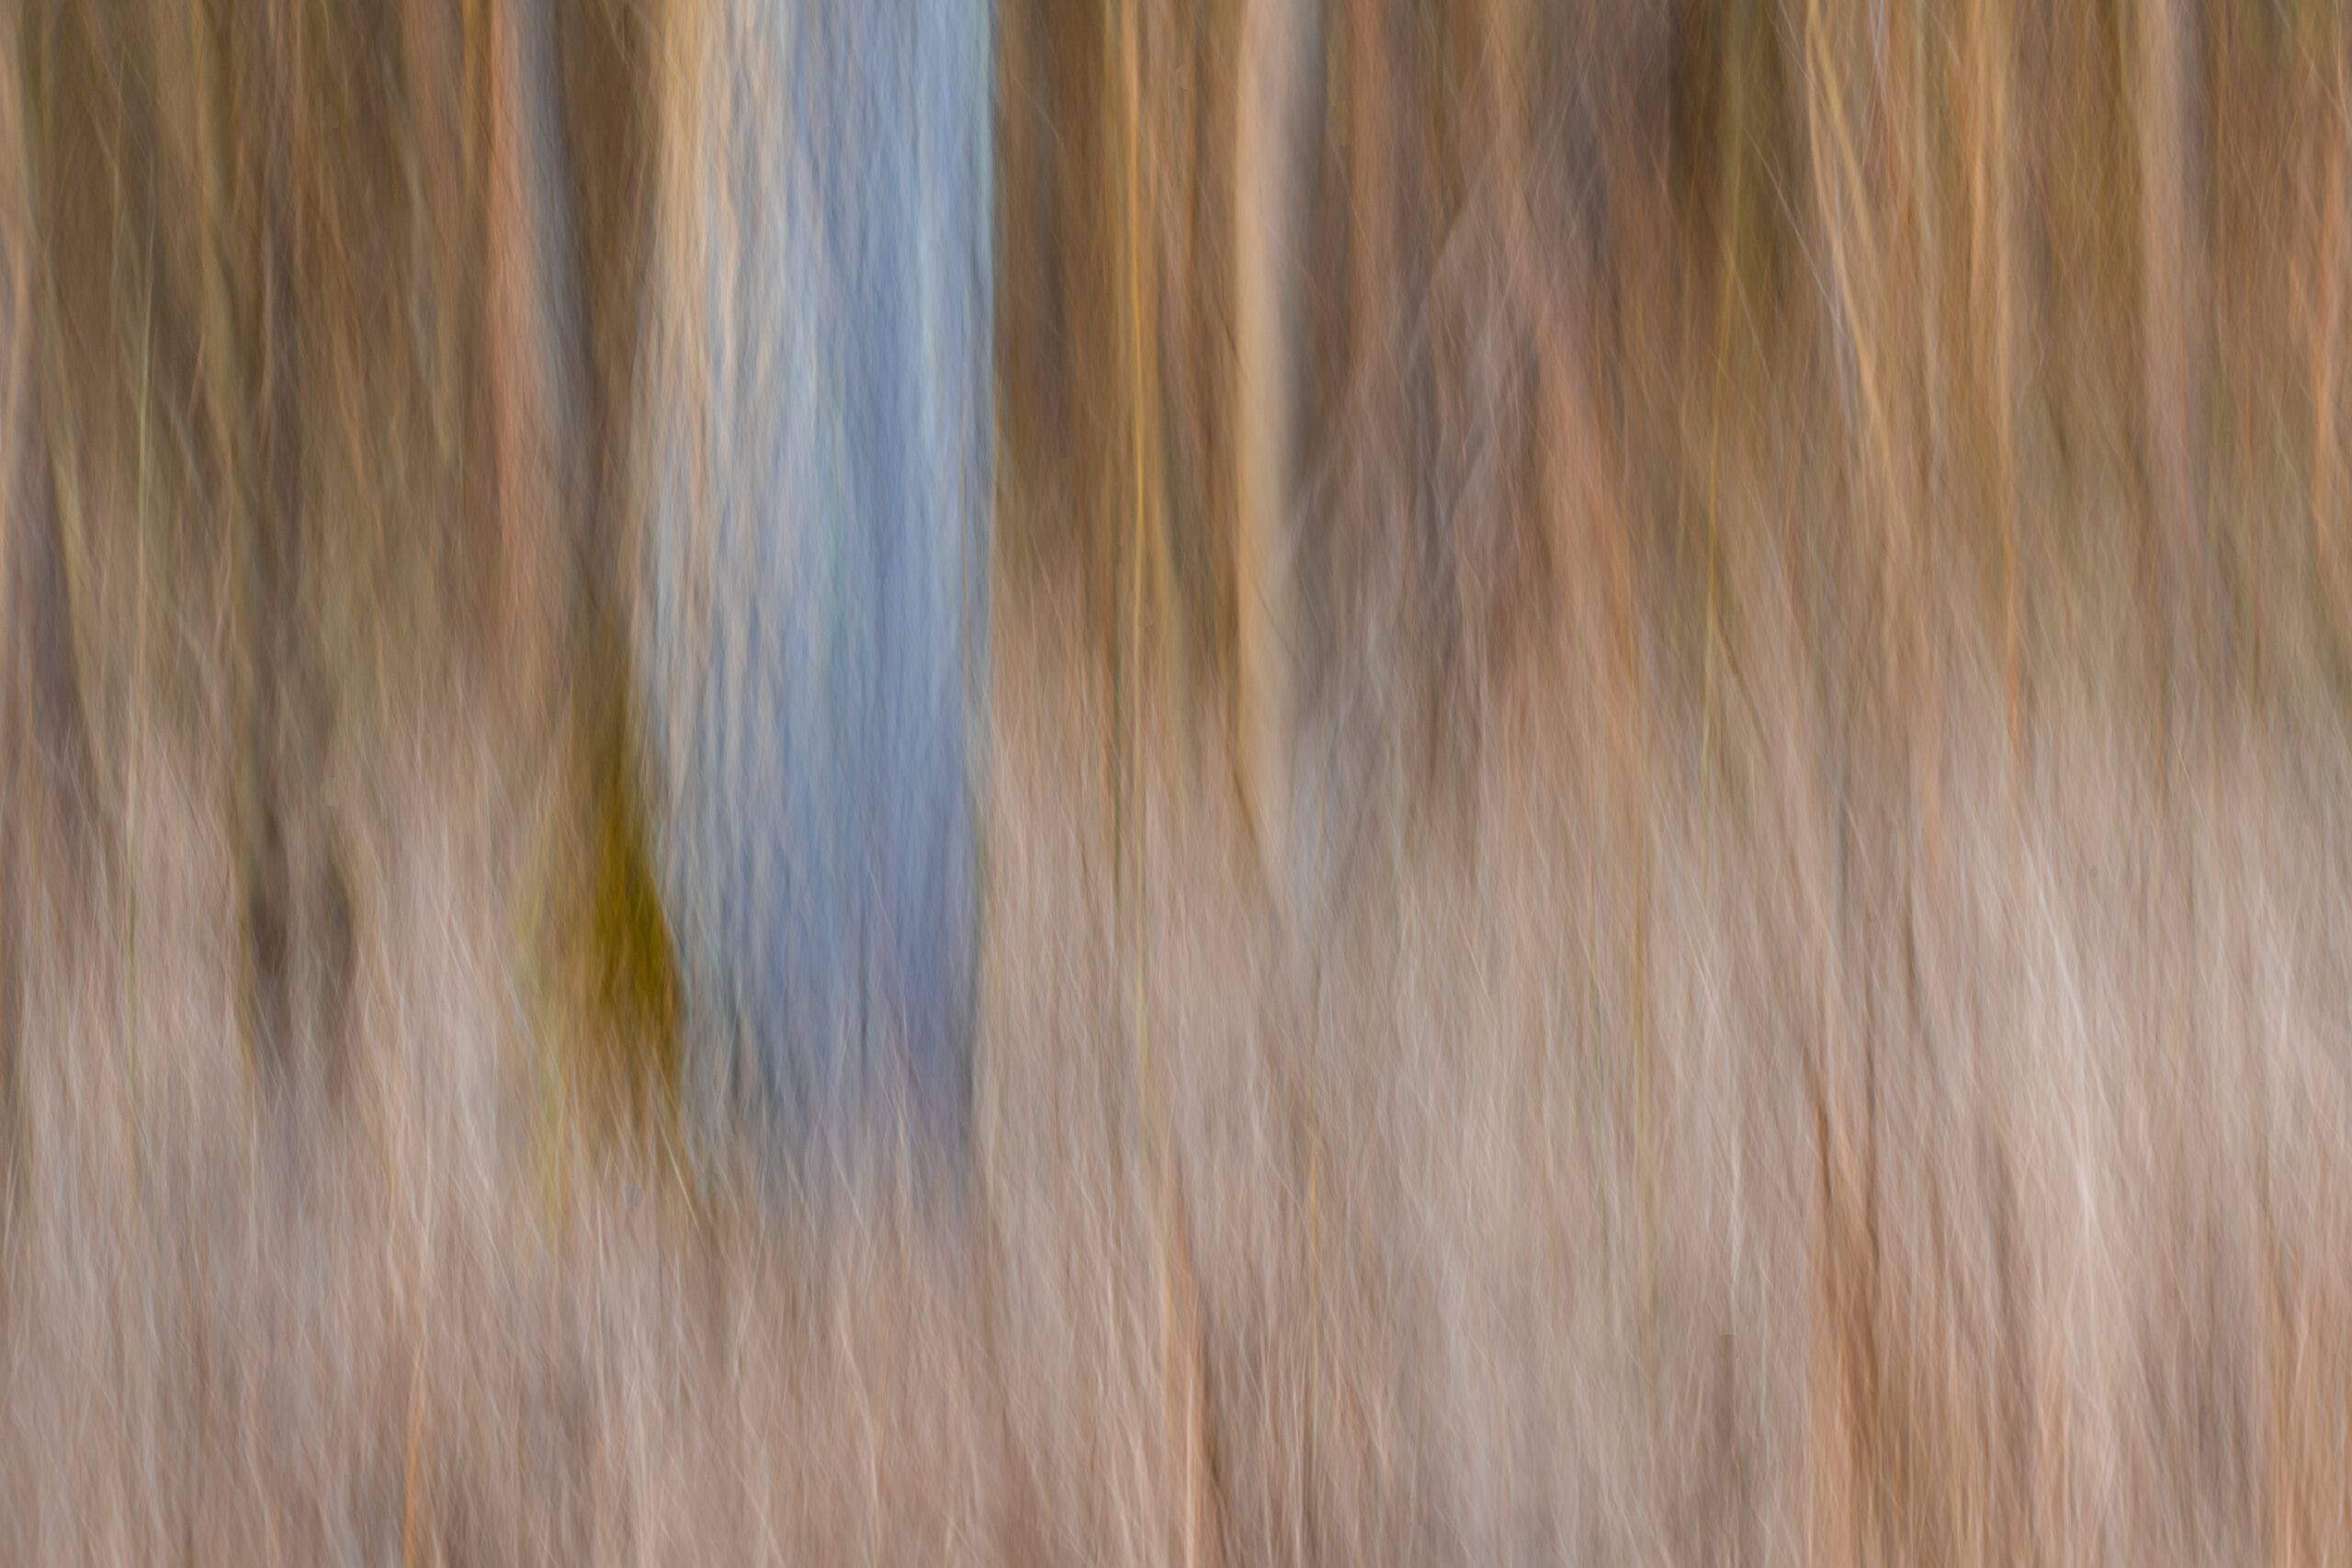
However, you should be careful, as the effect can quickly become too strong in the image. For me, if you can already see that the Orton effect is superimposed on the image, then it is already too much. Everyone has to decide for themselves and for each image where the limits lie. So feel free to leave the image “lying around” overnight and look at it again the next day. If it looks too artificial, then it may be too much of a good thing.
Of course, Michael Orton was less able to influence the strength of the effect in analog photography than we can today. As a result, his photographs are usually much more strongly executed with the Orton effect than we would perhaps consider aesthetically pleasing today. In the following, I will explain 6 methods of recreating the Orton effect. In the end, I always turn the effect down quite a bit, so that it still has a slight effect at best, but is not obtrusive. Of course, you have to decide for yourself how much the effect should influence your recording.
In the following, I will give you 6 methods on how you can quickly and easily apply the Orton effect to your pictures. The list is intended more as an aid to thought — a short summary. So be sure to watch the video below if the individual steps are not quite clear to you.
Method 1: In Lightroom: Create an area mask for the bright image areas (approx. 50–100) Set the filter with the following parameters
Method 2: In Photoshop with blur filter
Method 3: In Photoshop + Camera Raw filter:
Method 4: In Photoshop + “Negative Multiply”/“Multiply” blending methods:
Method 5: With Photoshop + Brightness/Contrast adjustment layer:
Method 6: With Photoshop + Soft Light blending method:
This and all other shots of this post you can request under “Prints” as an art print for your wall at home directly from me.
In my eyes, all 6 methods do what they are supposed to do. If I don’t see the need to edit an image in Photoshop any further, I use method 1 and the complete application in Lightroom. Method 2 is my quick’n’dirty go-to method, which can be adjusted quickly without much effort. It differs from Method 5 only in the Brightness/Contrast adjustment layer, which of course adds a little more “light glow”. If the fog is dense, method 2 is usually enough for me; if the sun shines through a little, I think method 5 is slightly better.
Method 3 is similarly effective and does what it should. However, the detour via Camera Raw is usually too cumbersome for me, which is why I rarely use it. Method 4 is probably the most “professional”. In my opinion, the effect is also one of the best achieved here. It is slightly more complicated than the other methods, but the effect is good. Method 6 is actually the “correct” method with regard to editing in the analog age, but you really have to be careful with the dark areas of the image, which become a little darker and, if necessary, adjust the brightness a little afterwards so that the end result fits.
I hope you were able to learn something and find one or more Orton effect methods for yourselves. Thanks for reading/watching and see you next time. Ciao.
In today’s video, I’ll give you a total of 6 methods on how you can quickly and easily apply the so-called Orton effect to your images using Lightroom or Photoshop. The Orton effect is a fairytale, painterly look that gives your images a little glow and softness. Mystical moods are enhanced, fog or haze appear a little stronger and more mysterious, structures in the water a little softer. Have fun watching!
Feel free to share:
One Response