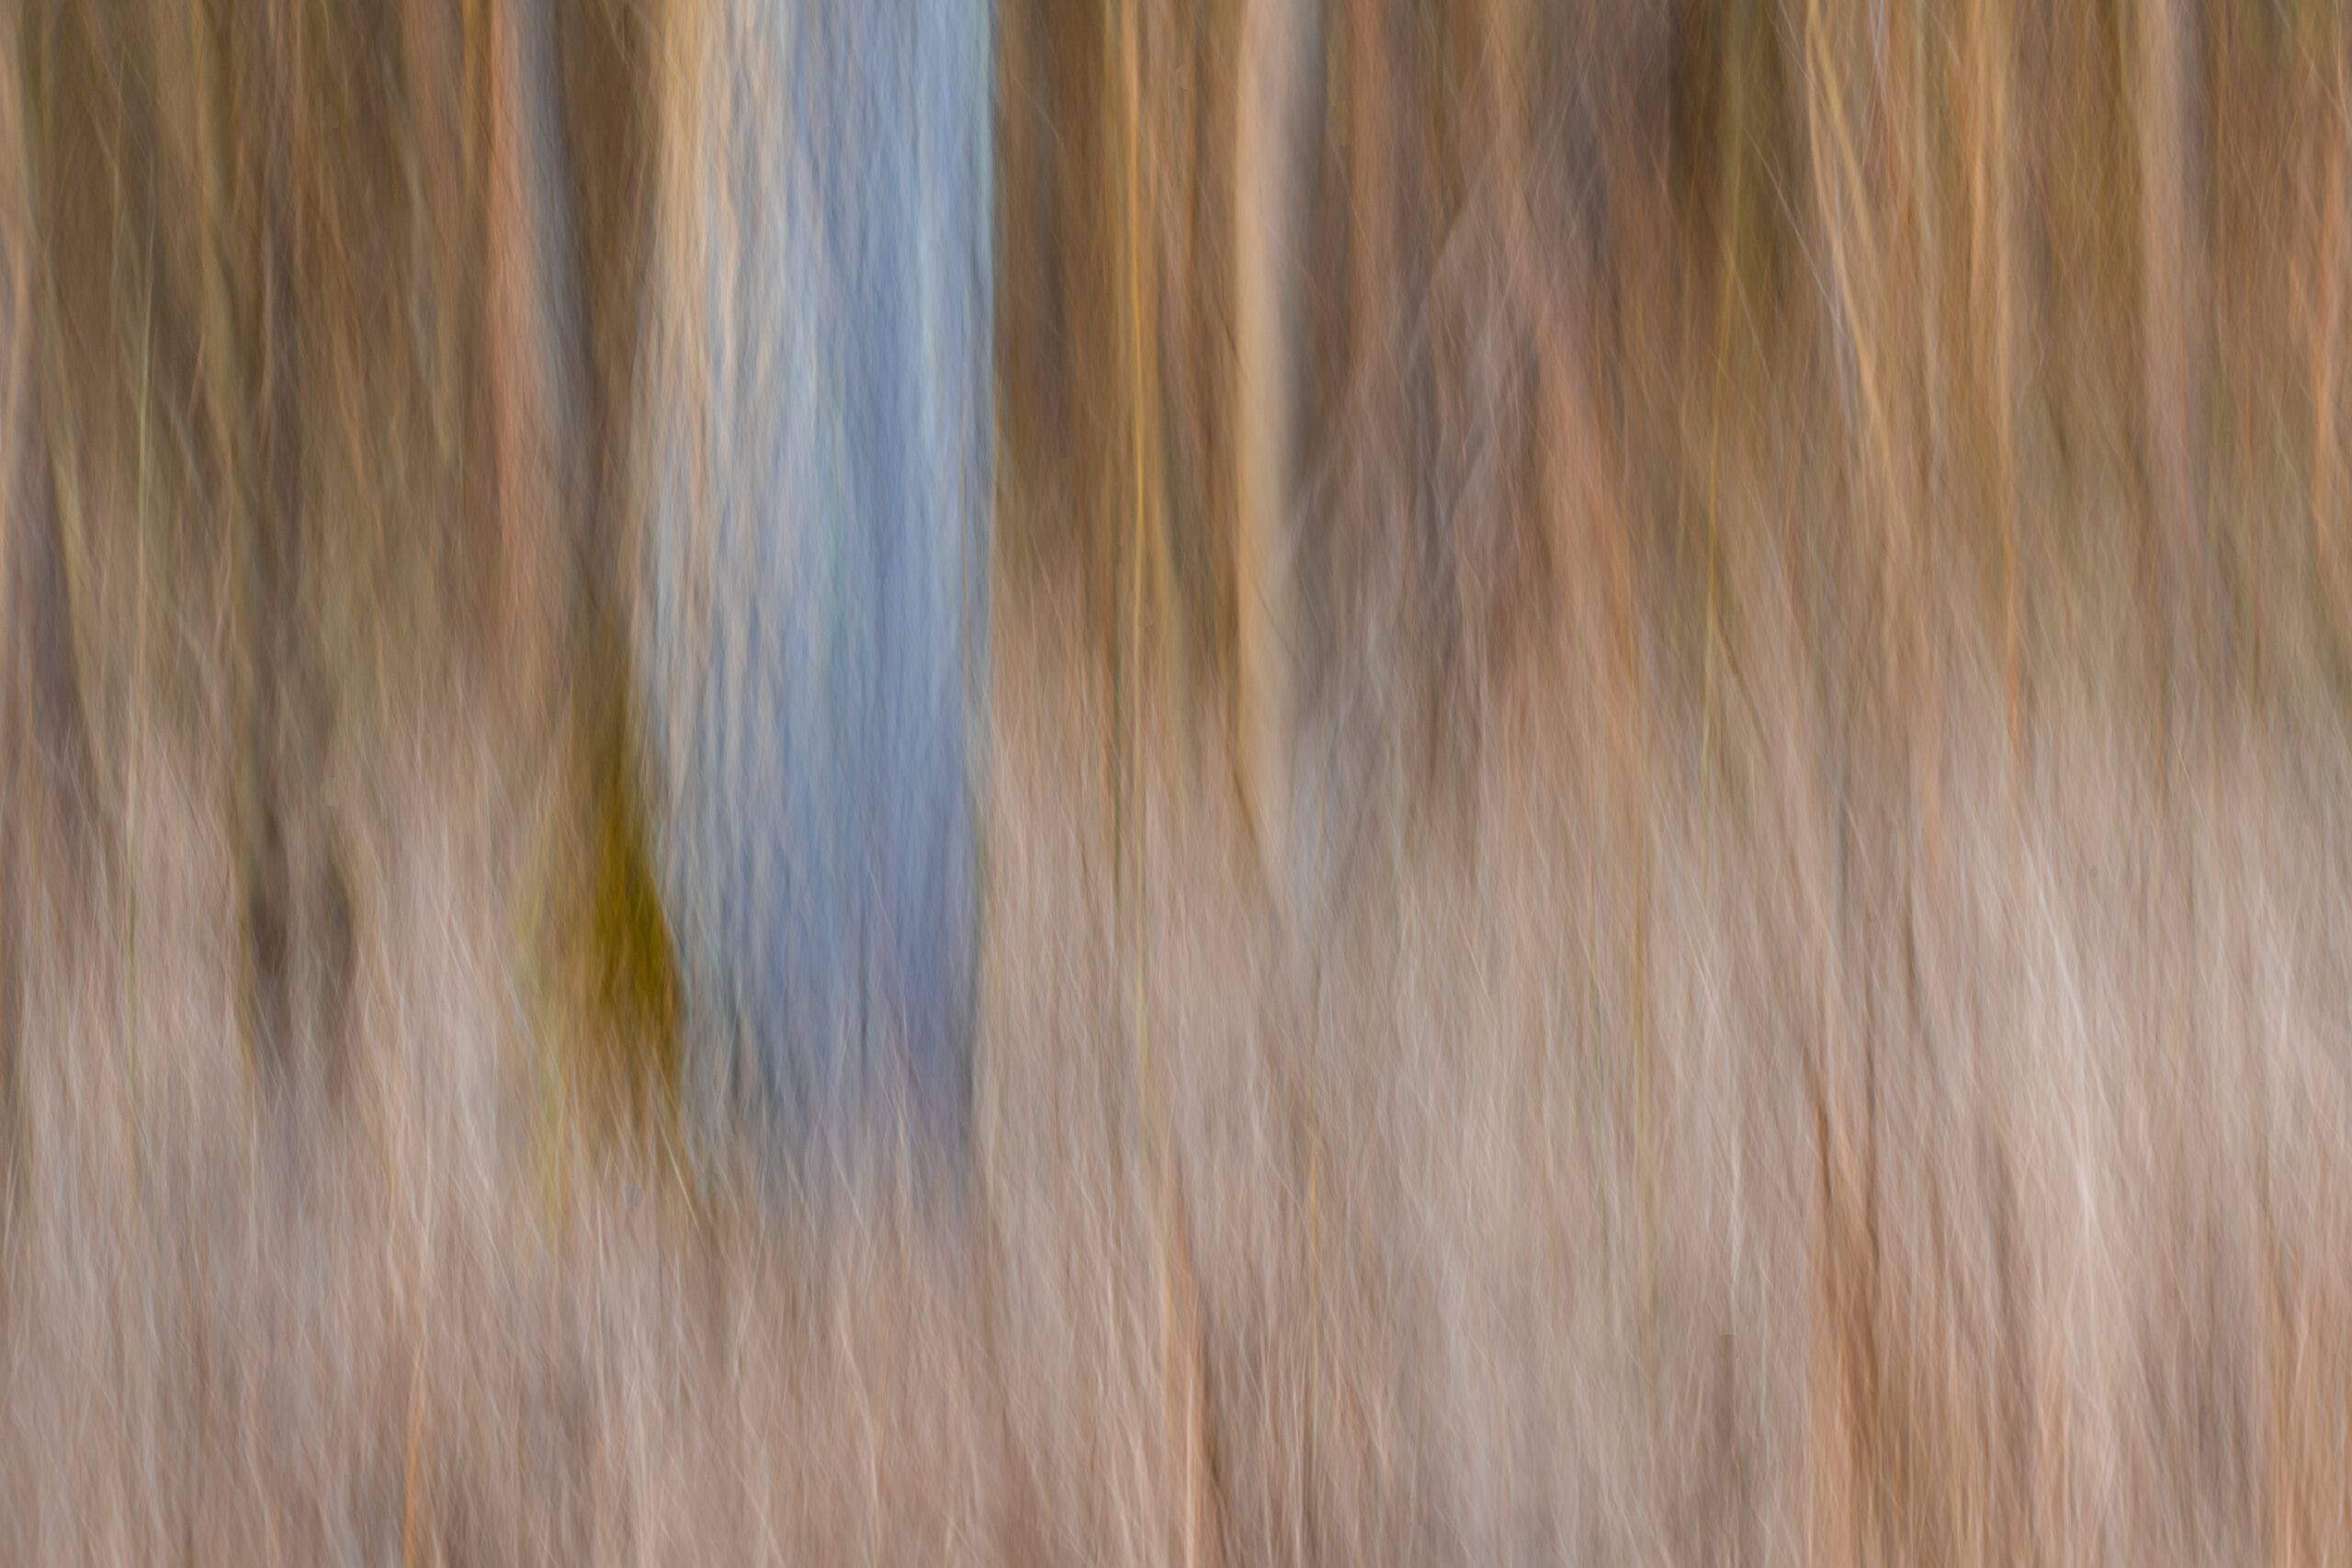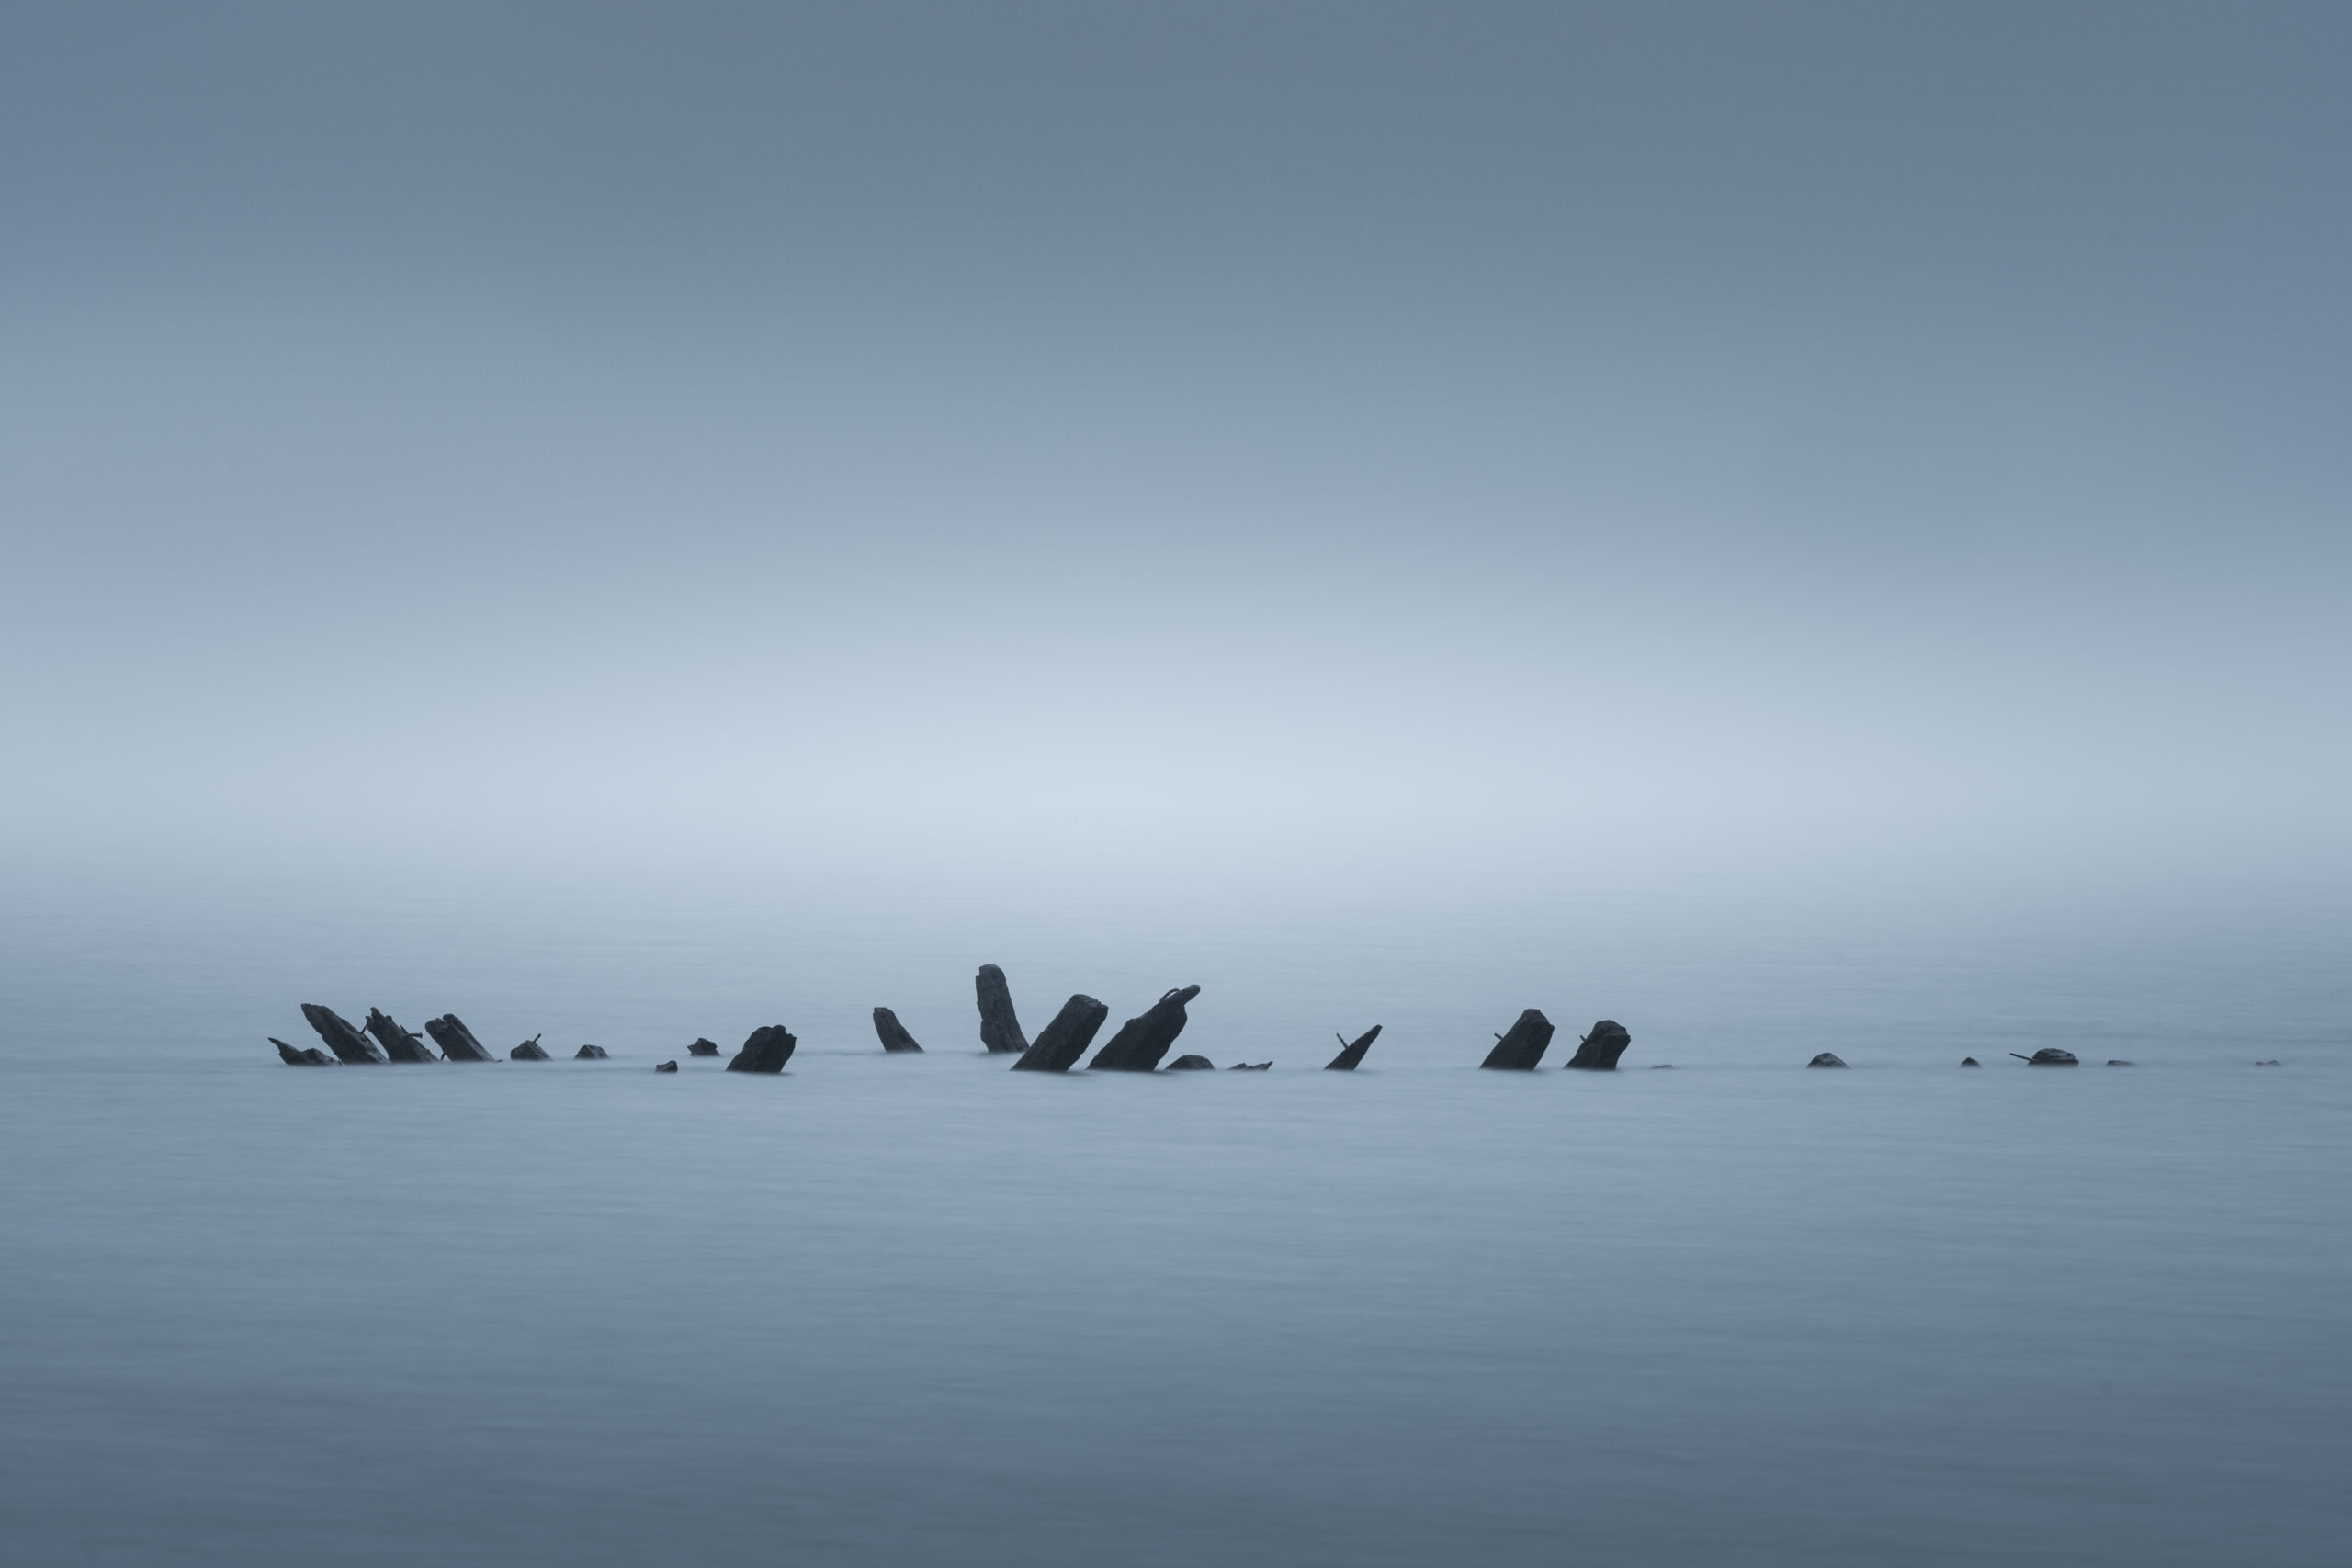
You can find the VLOG to the BLOG below, at the end of the blog post. Be sure to take a look, because in this YouTube video you can find out how I took the pictures in this post and all the tips in detail directly in the field.
Gear:
Sony a7IV
Sony FE 100–400 mm G
Have you ever experienced this? Set out to take a long exposure. Tripod set up, camera positioned. Settings checked. Calculated the exposure time for the ND filter, then looked in the camera bag. Empty. Damn, I forgot the filter set. It’s lying on the desk at home, still from the last cleaning. Now what?
In order to achieve a very long exposure of several seconds during the day, it is necessary to attach an ND filter to the lens. This reduces the incident light and thus extends the necessary exposure time to expose the image in a balanced way. If we don’t have an ND filter to hand, we’re out of luck.
No! Not at all! Modern image processing allows us to take a different approach here too. If we achieve an exposure time of 0.4 seconds with a fairly wide aperture and low ISO, then we only need 10 shots and we have already exposed for 4 seconds.
You can see how we put the pictures together and what the result looks like below, or in the video, which I highly recommend you watch.

This and all other shots of this post you can request under “Prints” as an art print for your wall at home directly from me.
On location, try to increase the exposure time as much as possible. Lowest ISO, smallest aperture that can still be tolerated and then continuous shooting. Try to estimate what exposure time you would like and how many shots are necessary with the exposure time you have. Then hammer them into the box.
At home, match the images as closely as possible or synchronise the settings in Lightroom or CameraRaw so that they all look the same when you first look at them.
Of course, the individual images have different structures, etc. for all moving elements. However, everything that is fixed (e.g. buildings) should be identical in every image.
Now load all the images as layers in Photoshop. From Lightroom, select the images in the library, right-click, Edit in…, Open as layers in Photoshop.
In Photoshop, select all layers and go to Edit, Auto-align layers and let Photoshop automatically align the layers on top of each other.
Then select the layers again (if they are no longer selected), right-click on the layers and select Convert to smart object. All layers in this smart object will now disappear.
Finally, navigate via the menu to Layer, Smart objects, Stack mode and select Median or Mean value. Whichever gives the best result. You have now combined the individual short exposure times into one long exposure time.
Depending on your preference, you can then perfect the final touches in Photoshop or back in Lightroom.
Both techniques lead to a good result. I like my ND filters because I can see the result in advance. However, if you already have some experience and you want to save yourself the weight or money for ND filters, or you have forgotten the filters at home, then you can try this trick.
The journey begins. Sylt will be my home for a total of 4 weeks and I will be taking a closer look at the island, which is otherwise almost only known for holidays in a beach chair. Over the next few weeks, you’ll see why the off-season should be the time of choice for landscape photographers. Today I’ll show you how you can forget the ND filter at home for long exposures using a specific technique.