You can see the VLOG to the BLOG at the bottom of the page or you can reach it via this button:
My sister’s equipment on her journey:
Sony a6600
Sigma 30 mm 1,4 DC DN Sony‑E Contemporary
Sigma 56 mm 1,4 DC DN Sony‑E Contemporary
My sister had planned a trip to Tanzania for the winter of 24/25. Her main aim was to climb Mount Kilimanjaro and then spend a few days on safari. Of course, she also wanted to capture this photographically. But she didn’t have much experience with cameras at the time. But why should she? Her husband loves taking photos and her two brothers (one of whom is me) both have extremely professional photographic equipment and, as passionate photographers, know all the techniques, tricks and tips. In other words, everything in their private lives is well documented with high-quality pictures. She never actually has to reach for the camera herself. Except perhaps a mobile phone camera.
But now she should go travelling alone, without us three photo enthusiasts. What do you give someone like that? So what tips do I have for someone like this, without giving them time for extensive training in photography? More on that in a moment.
Of course, her luggage was limited, as she already had to take enough other things with her for the Kilimanjaro climb. She ruled out wildlife equipment for the safari. She opted for one of her husband’s cameras: the Sony Alpha 6600, plus two small fixed focal lengths that you could actually put in a trouser pocket: The Sigma 30 mm and 56 mm f1.4 Contemporary. All in all, a set that is available for as little as €1500 in total.
Ok, I thought. That’s fine for the photo documentation on Kilimanjaro, but what do you want to achieve with it on the safari, I thought to myself? A task that would definitely be a challenge even for me as an experienced photographer! But it’s not impossible to get great pictures with it. I’ve often heard that on some safaris you can get closer to animals than you think and you don’t need 200–600 mm. And with the crop factor of the Sony APS‑C camera, the 56 mm becomes an 84 mm lens (calculated on full format). That’s almost in the telephoto range.
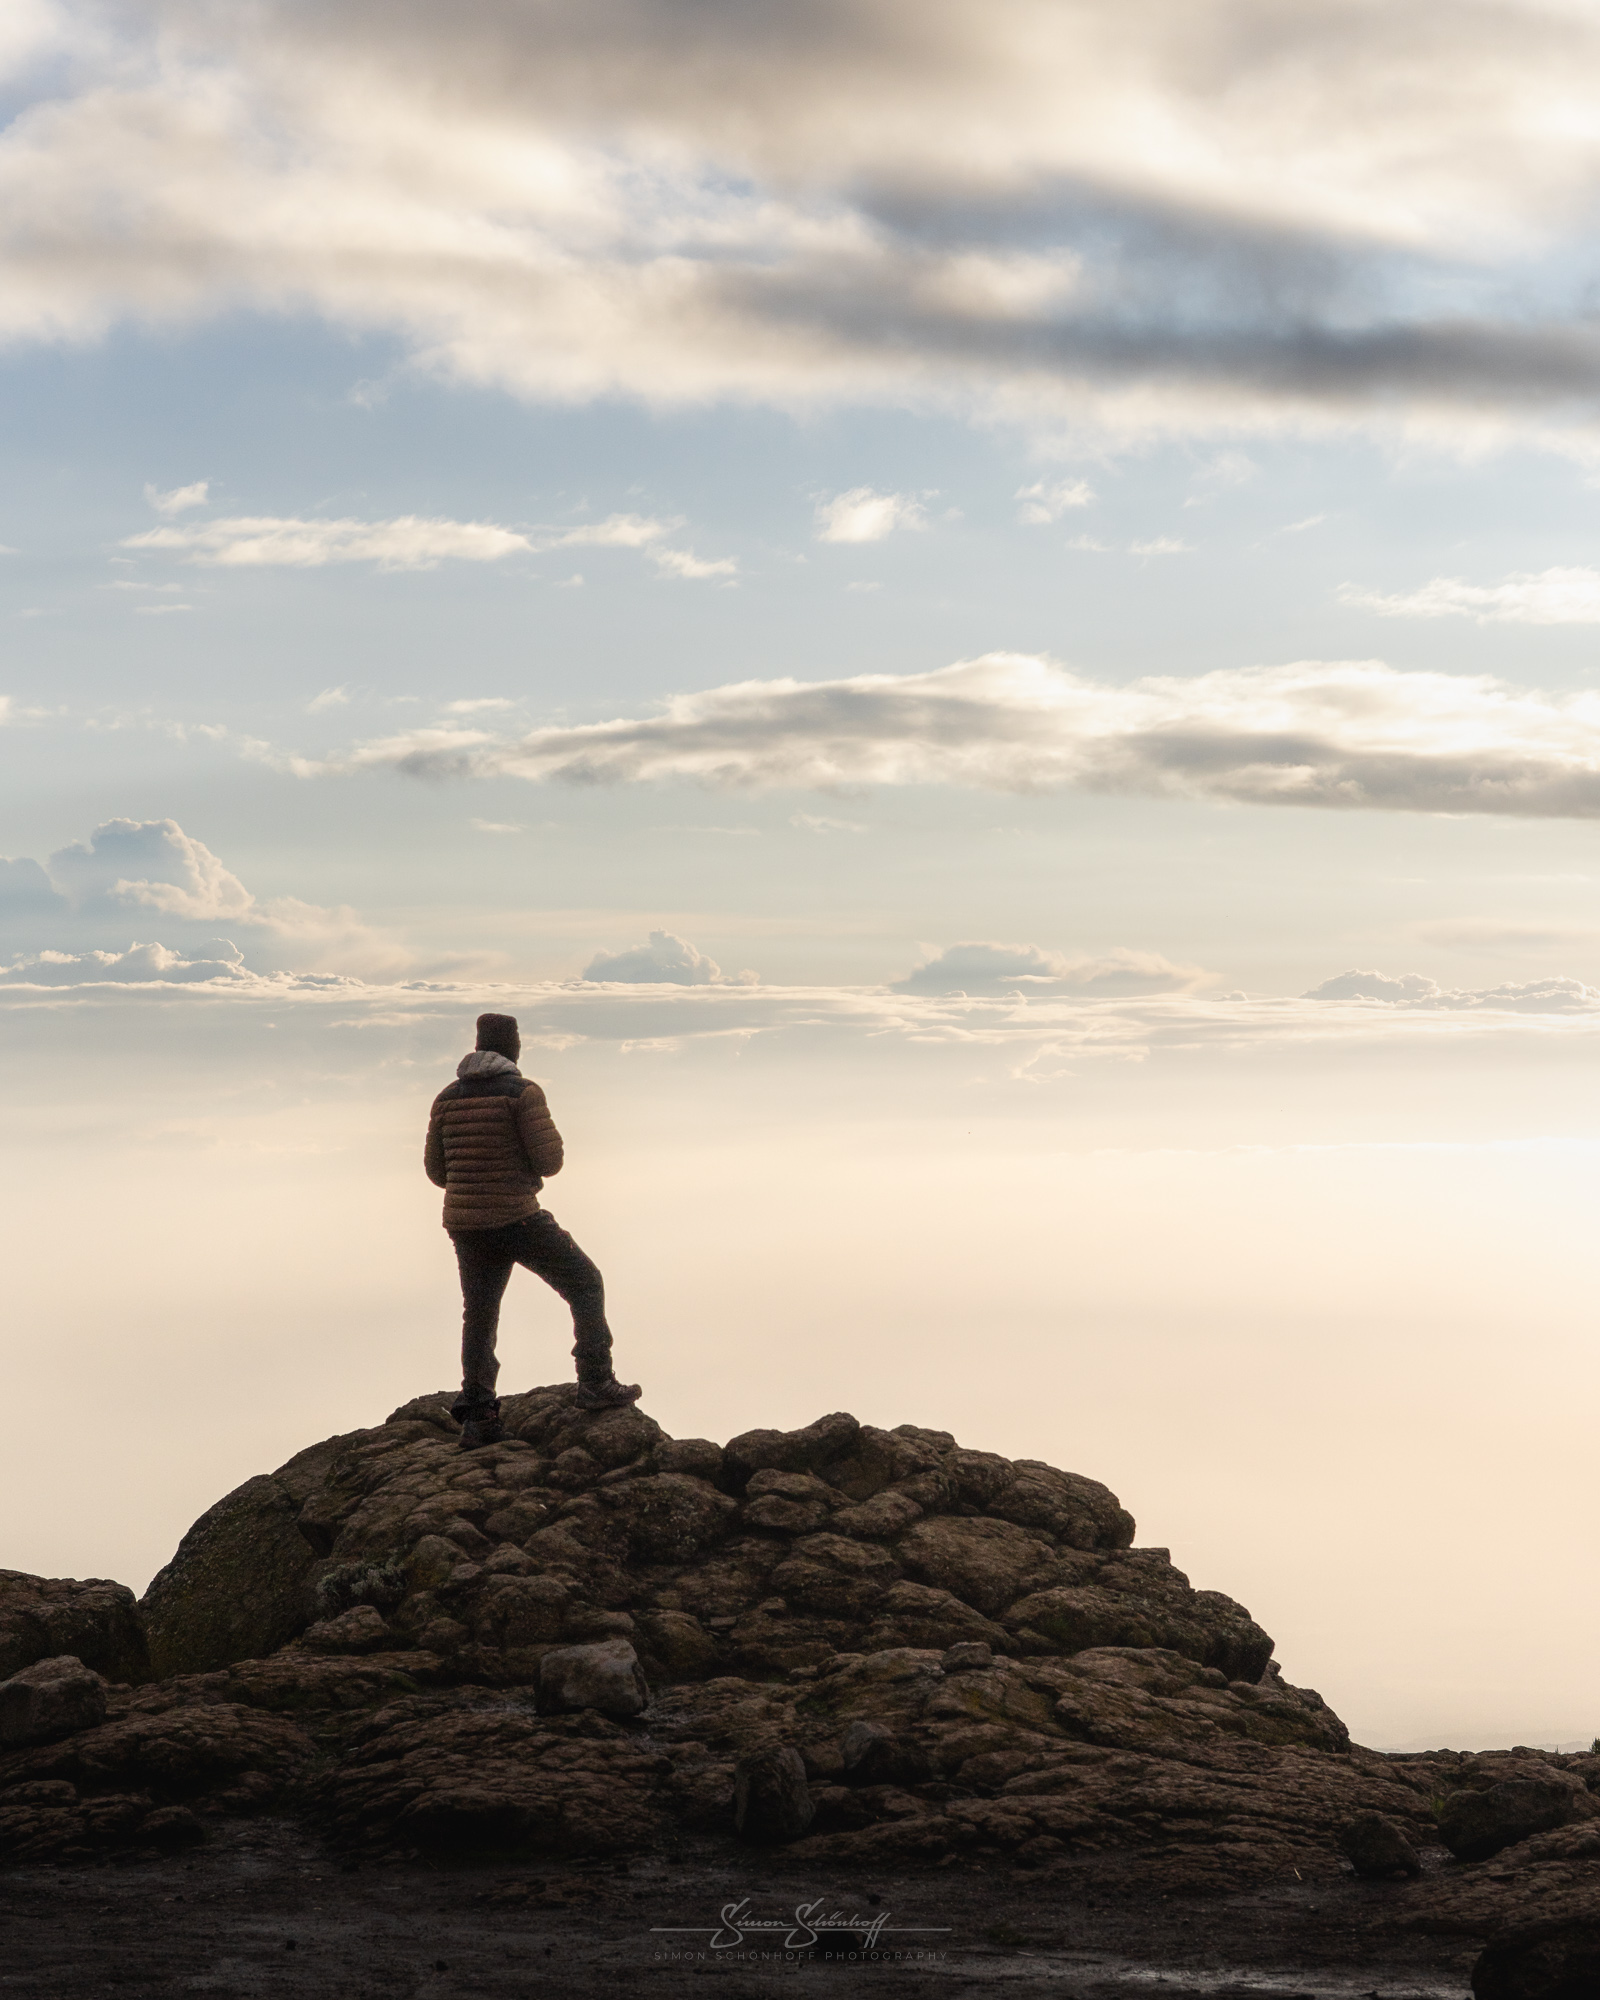
So let’s come back to what I would advise someone who is going on a trip like this with their camera without much experience and I hope you can see that even without the most expensive equipment it is possible:
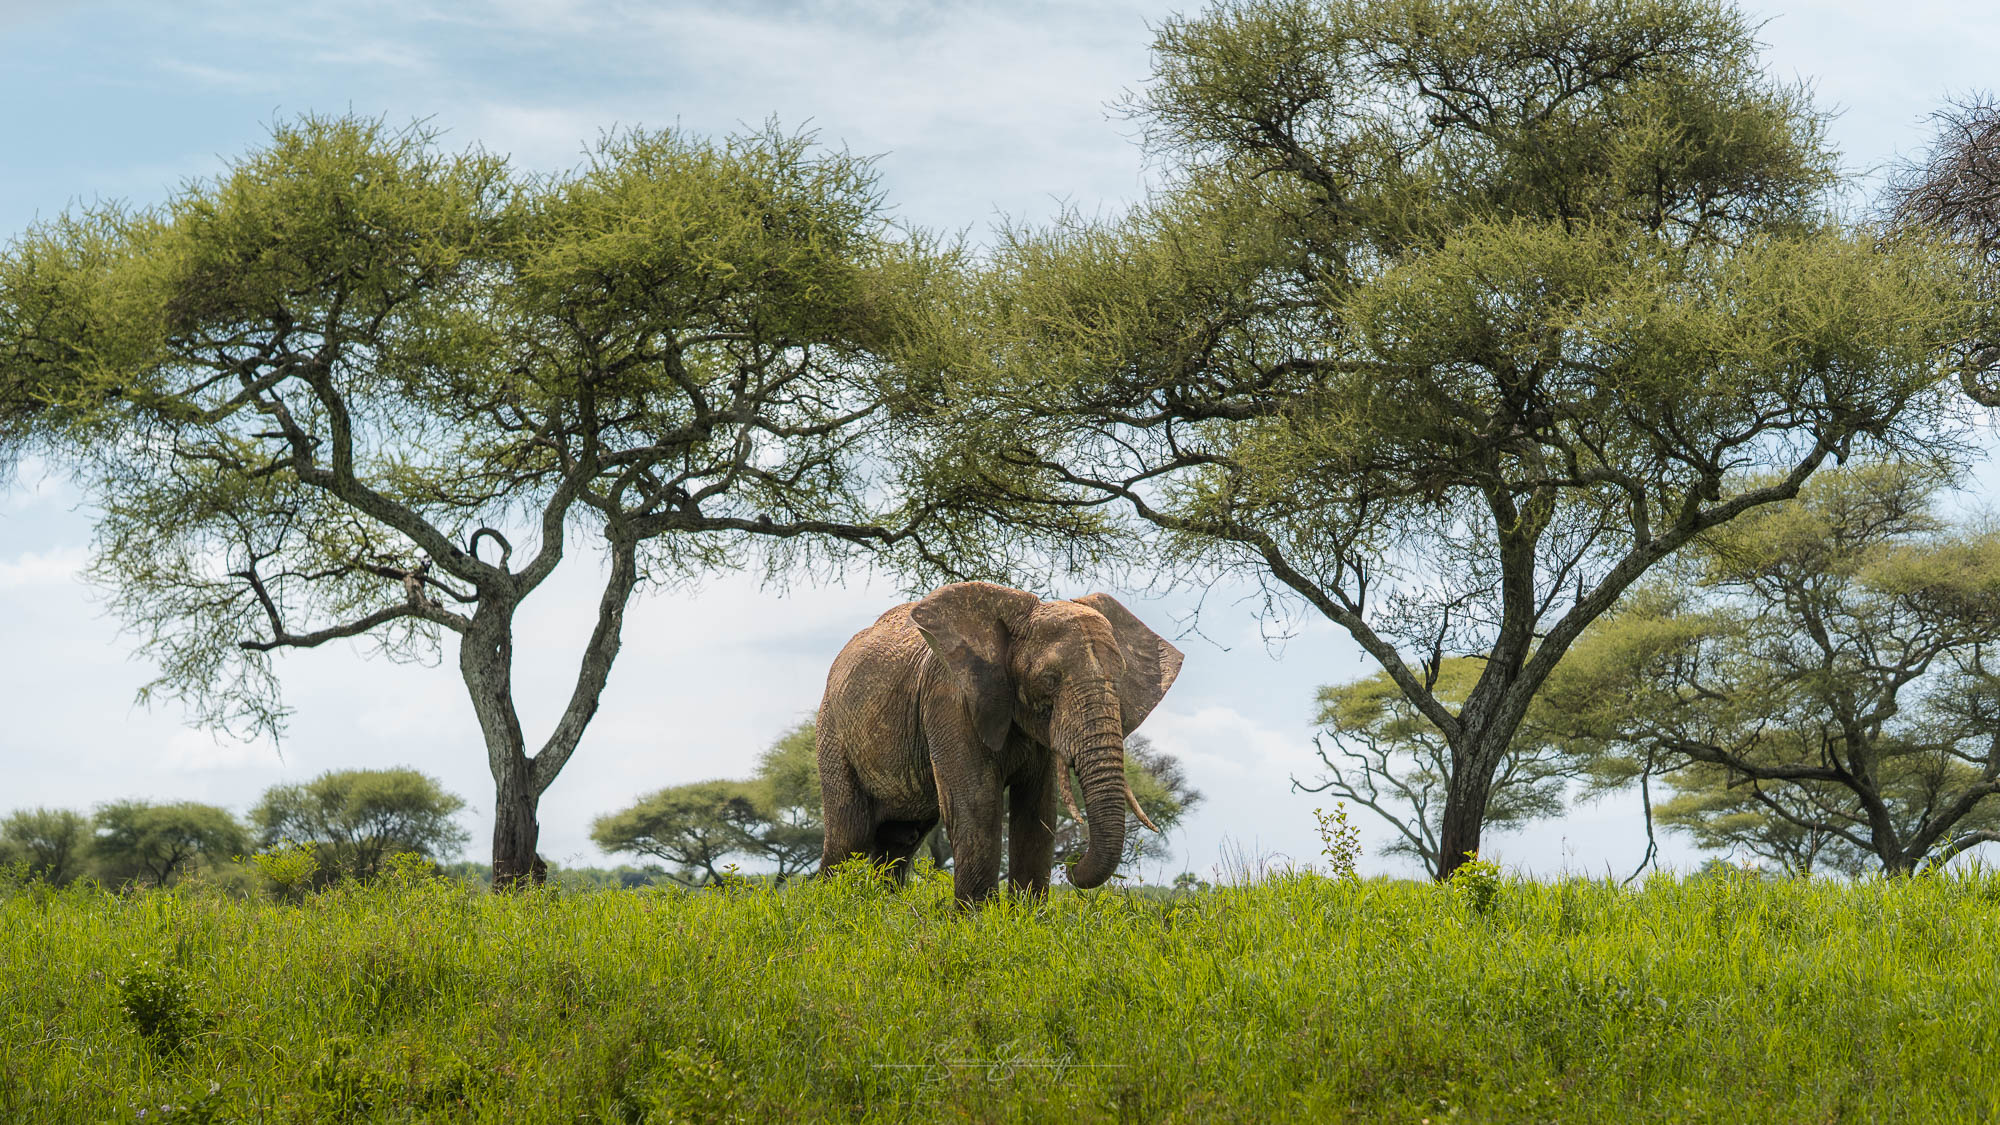
An example of what information the cameras store in RAWs is this image of the lone elephant. At first glance it was completely overexposed, parts of the sky looked like pure white. After looking at the histogram in Lightroom and adjusting the exposure, this successful image was developed in no time at all, without any in-depth processing steps.
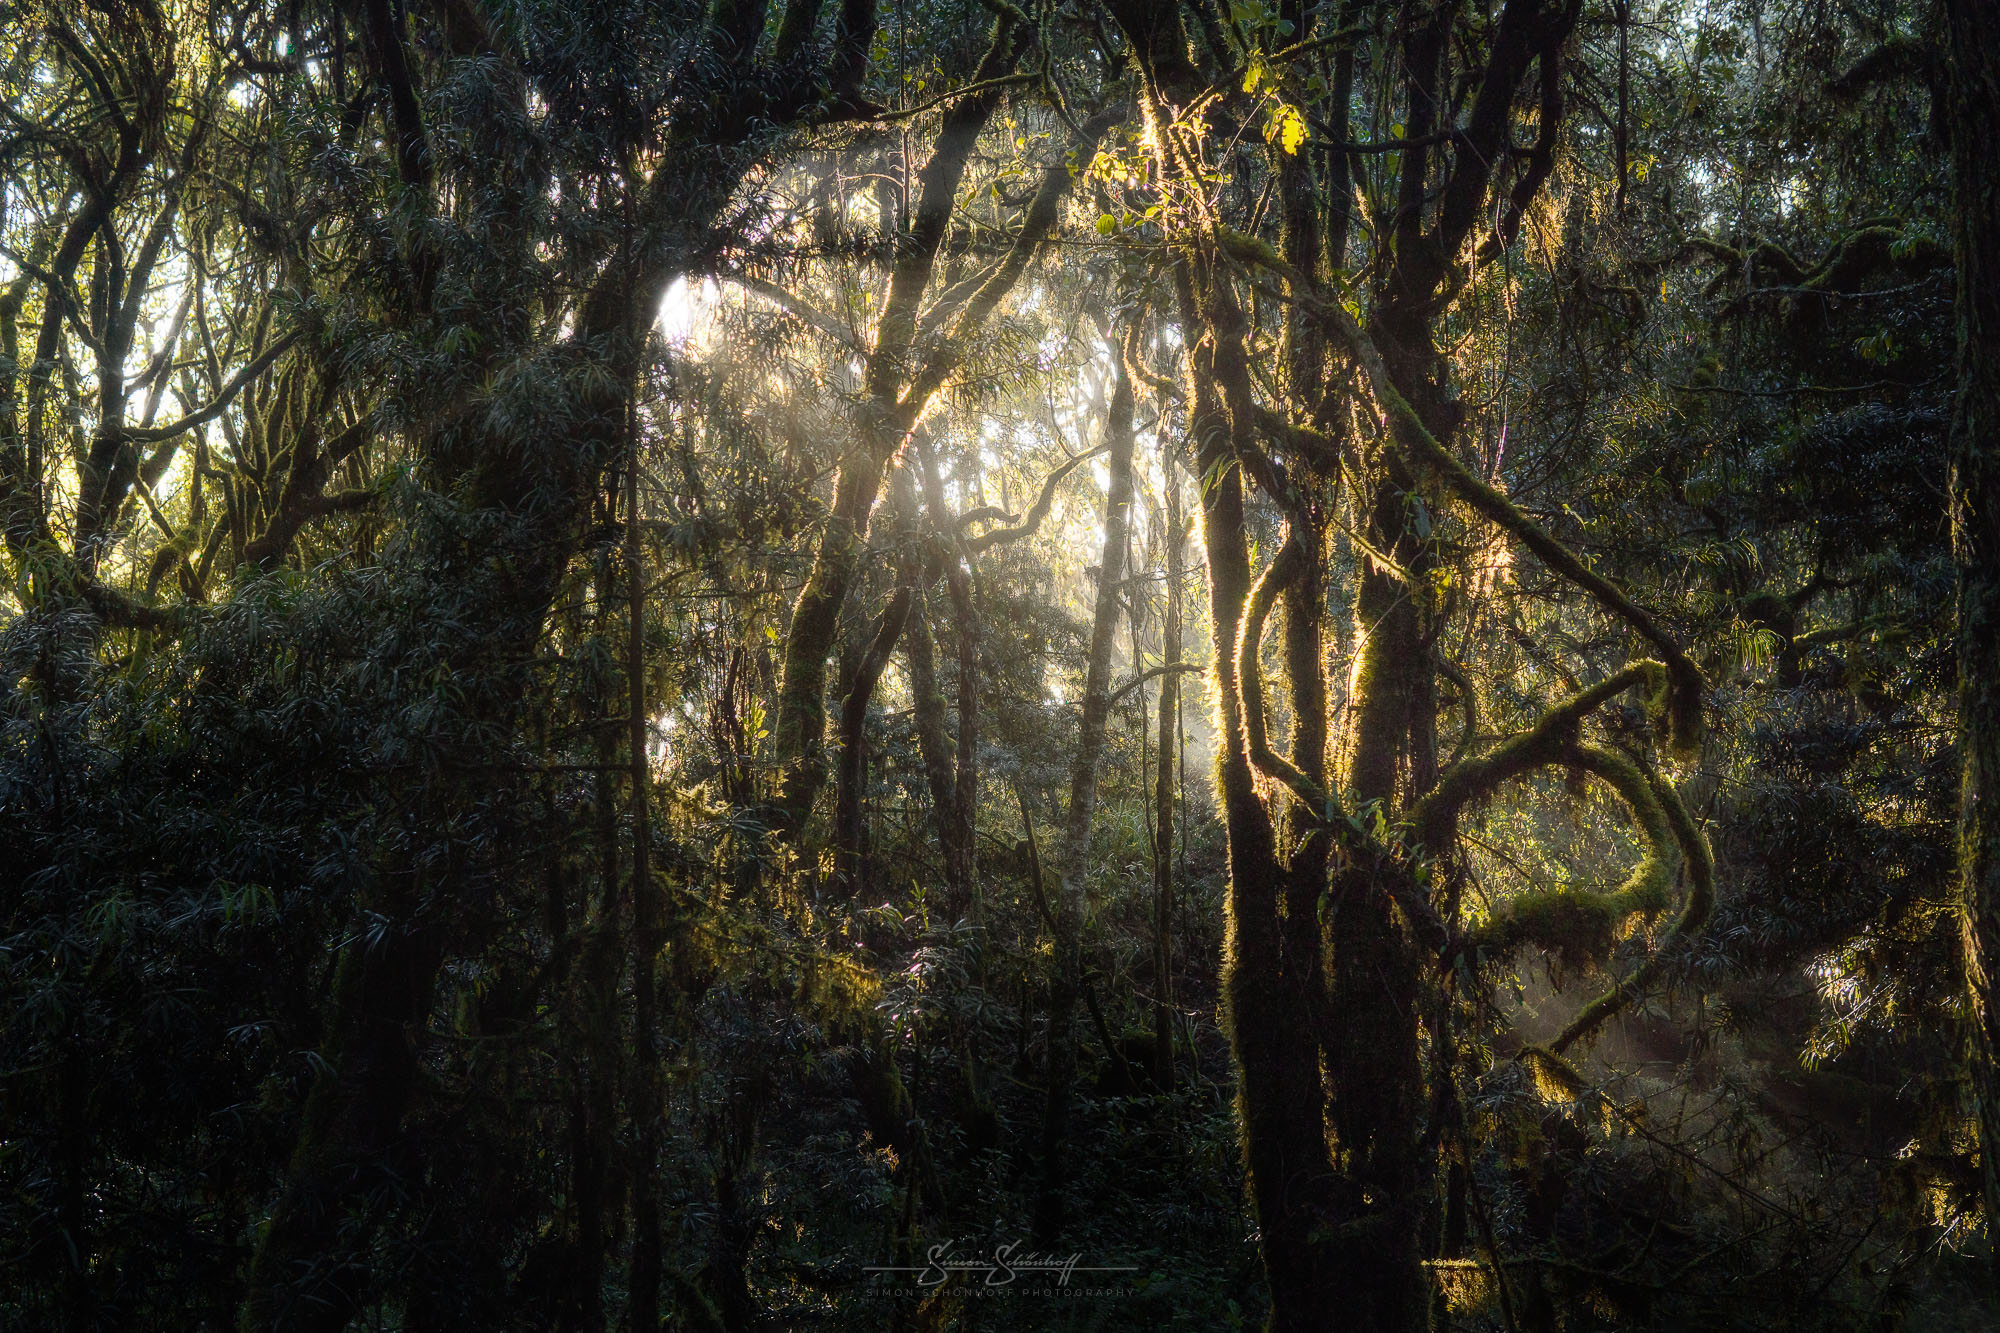
The next image of the ‘Forgotten Forest’ shows what details can be found in the depths of a RAW image. In the video below you can see how underexposed the shot was taken. What preserved the details in the light naturally led to a blunting of the depths. By brightening the image, you naturally bring back an unnecessary amount of noise into the image, but with the help of standard denoising or even the new denoising tools from Lightroom or Topaz, you can reduce the noise to almost zero. In this case, I have even dispensed with the denoising and yet it is not disturbing. It’s impressive what camera technology can do here. In order to bring the atmosphere of this forest back into the picture, I went deeper into the image processing and used Photoshop and Dodge & Burn techniques to get as much out of it as possible. I think it’s a great picture that I’ve also printed out and framed in the VLOG. So take a look at the end result. You can’t see any of the noise in the print.
What can you save as everything in RAW shots during editing?
So even if a lot can be saved in image editing and great photos can still be made from some apparently unsuccessful pictures, I don’t want to use this VLOG/BLOG to call for creative snapping. According to the motto ‘there will be something out of 1000 pictures’. Firstly, if you want to take photos seriously, you should aim for the best possible quality. The better the raw image, the better the end result.
What I want to show is that not every bad shot is something for the bin. Sometimes moments fly by so quickly, especially in the wildlife sector, that a second attempt is simply not possible. It’s worth keeping an image for the time being and not deleting it straight away. If it is sufficiently sharp, you might be able to make something out of it.
For example, this photo of the lion on the rock. It was taken from the car. Especially with the equipment my sister was travelling with, she only had one option: point and shoot. In the raw photo, as you can see in the video, the roof of the car can be seen in the foreground, the position is a little further away, the horizon is at an angle, etc. But everything was there for the photo. But everything was there for a great photo. So cropping, aligning the horizon, exposure, colours, sharpening, done. A second picture was just not possible. Zooming in closer wasn’t possible in this case either. So it was the best she could do at that moment.
A lot of time can also be spent on image editing. The better you get the shot, the less time you spend on the computer! You should therefore see the moment on location as the acquisition of all the necessary and best possible information that you can later use for the finished image. And above all, never forget to enjoy the moment away from the camera!
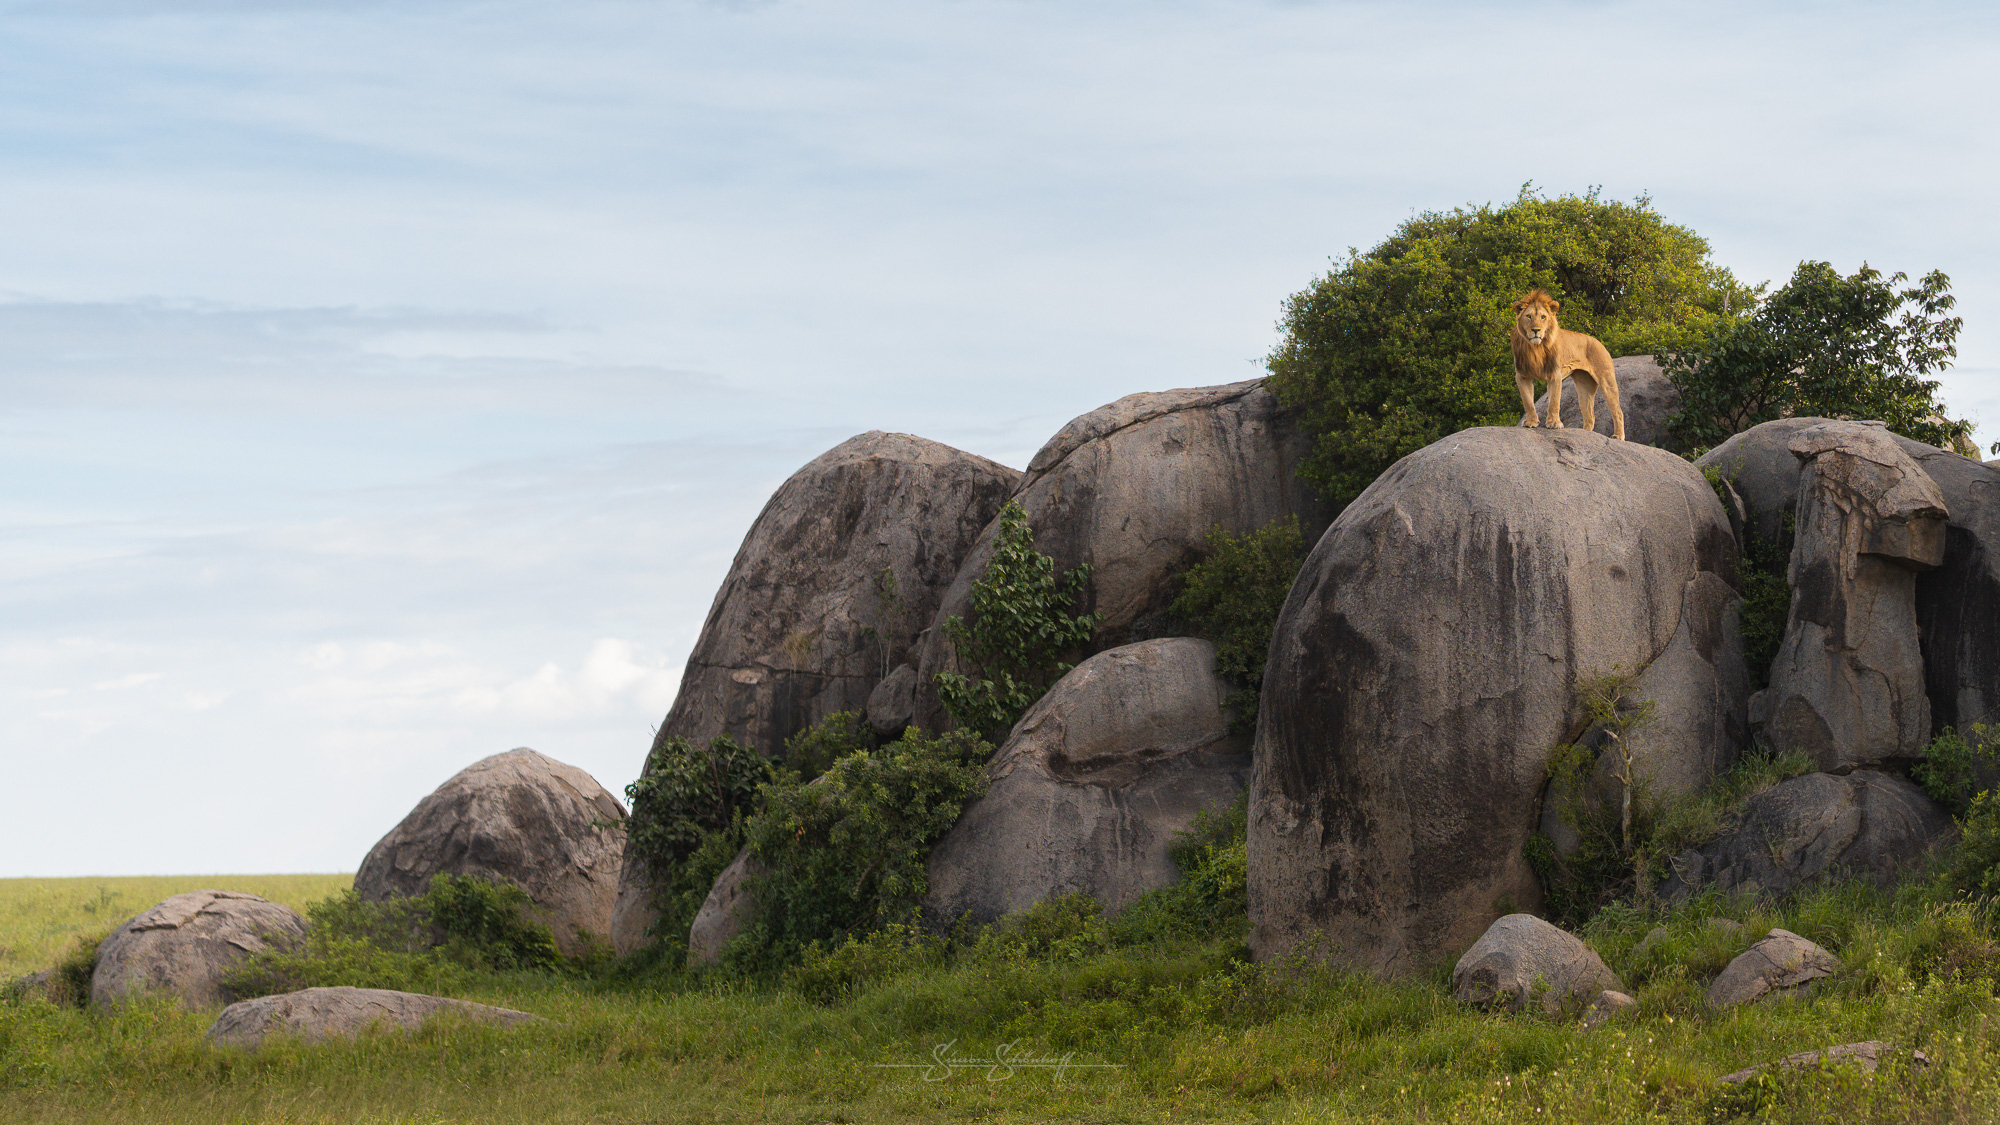
I absolutely love printing pictures. It gives me the feeling that a photo is actually finished. It doesn’t matter whether the pictures end up in a photo book or on a fine art print on the wall.
With a large-format print you can of course look at all the details again and a photo like this comes to life. I printed some edited images for the video so that I could take a closer look at them. The results are amazing. Even with heavily cropped images, the level of detail of the APS‑C camera used was absolutely sufficient. If you consider that with ‘super resolution’ even higher resolutions can be calculated by many image editing programmes, you shouldn’t be afraid to crop even more.
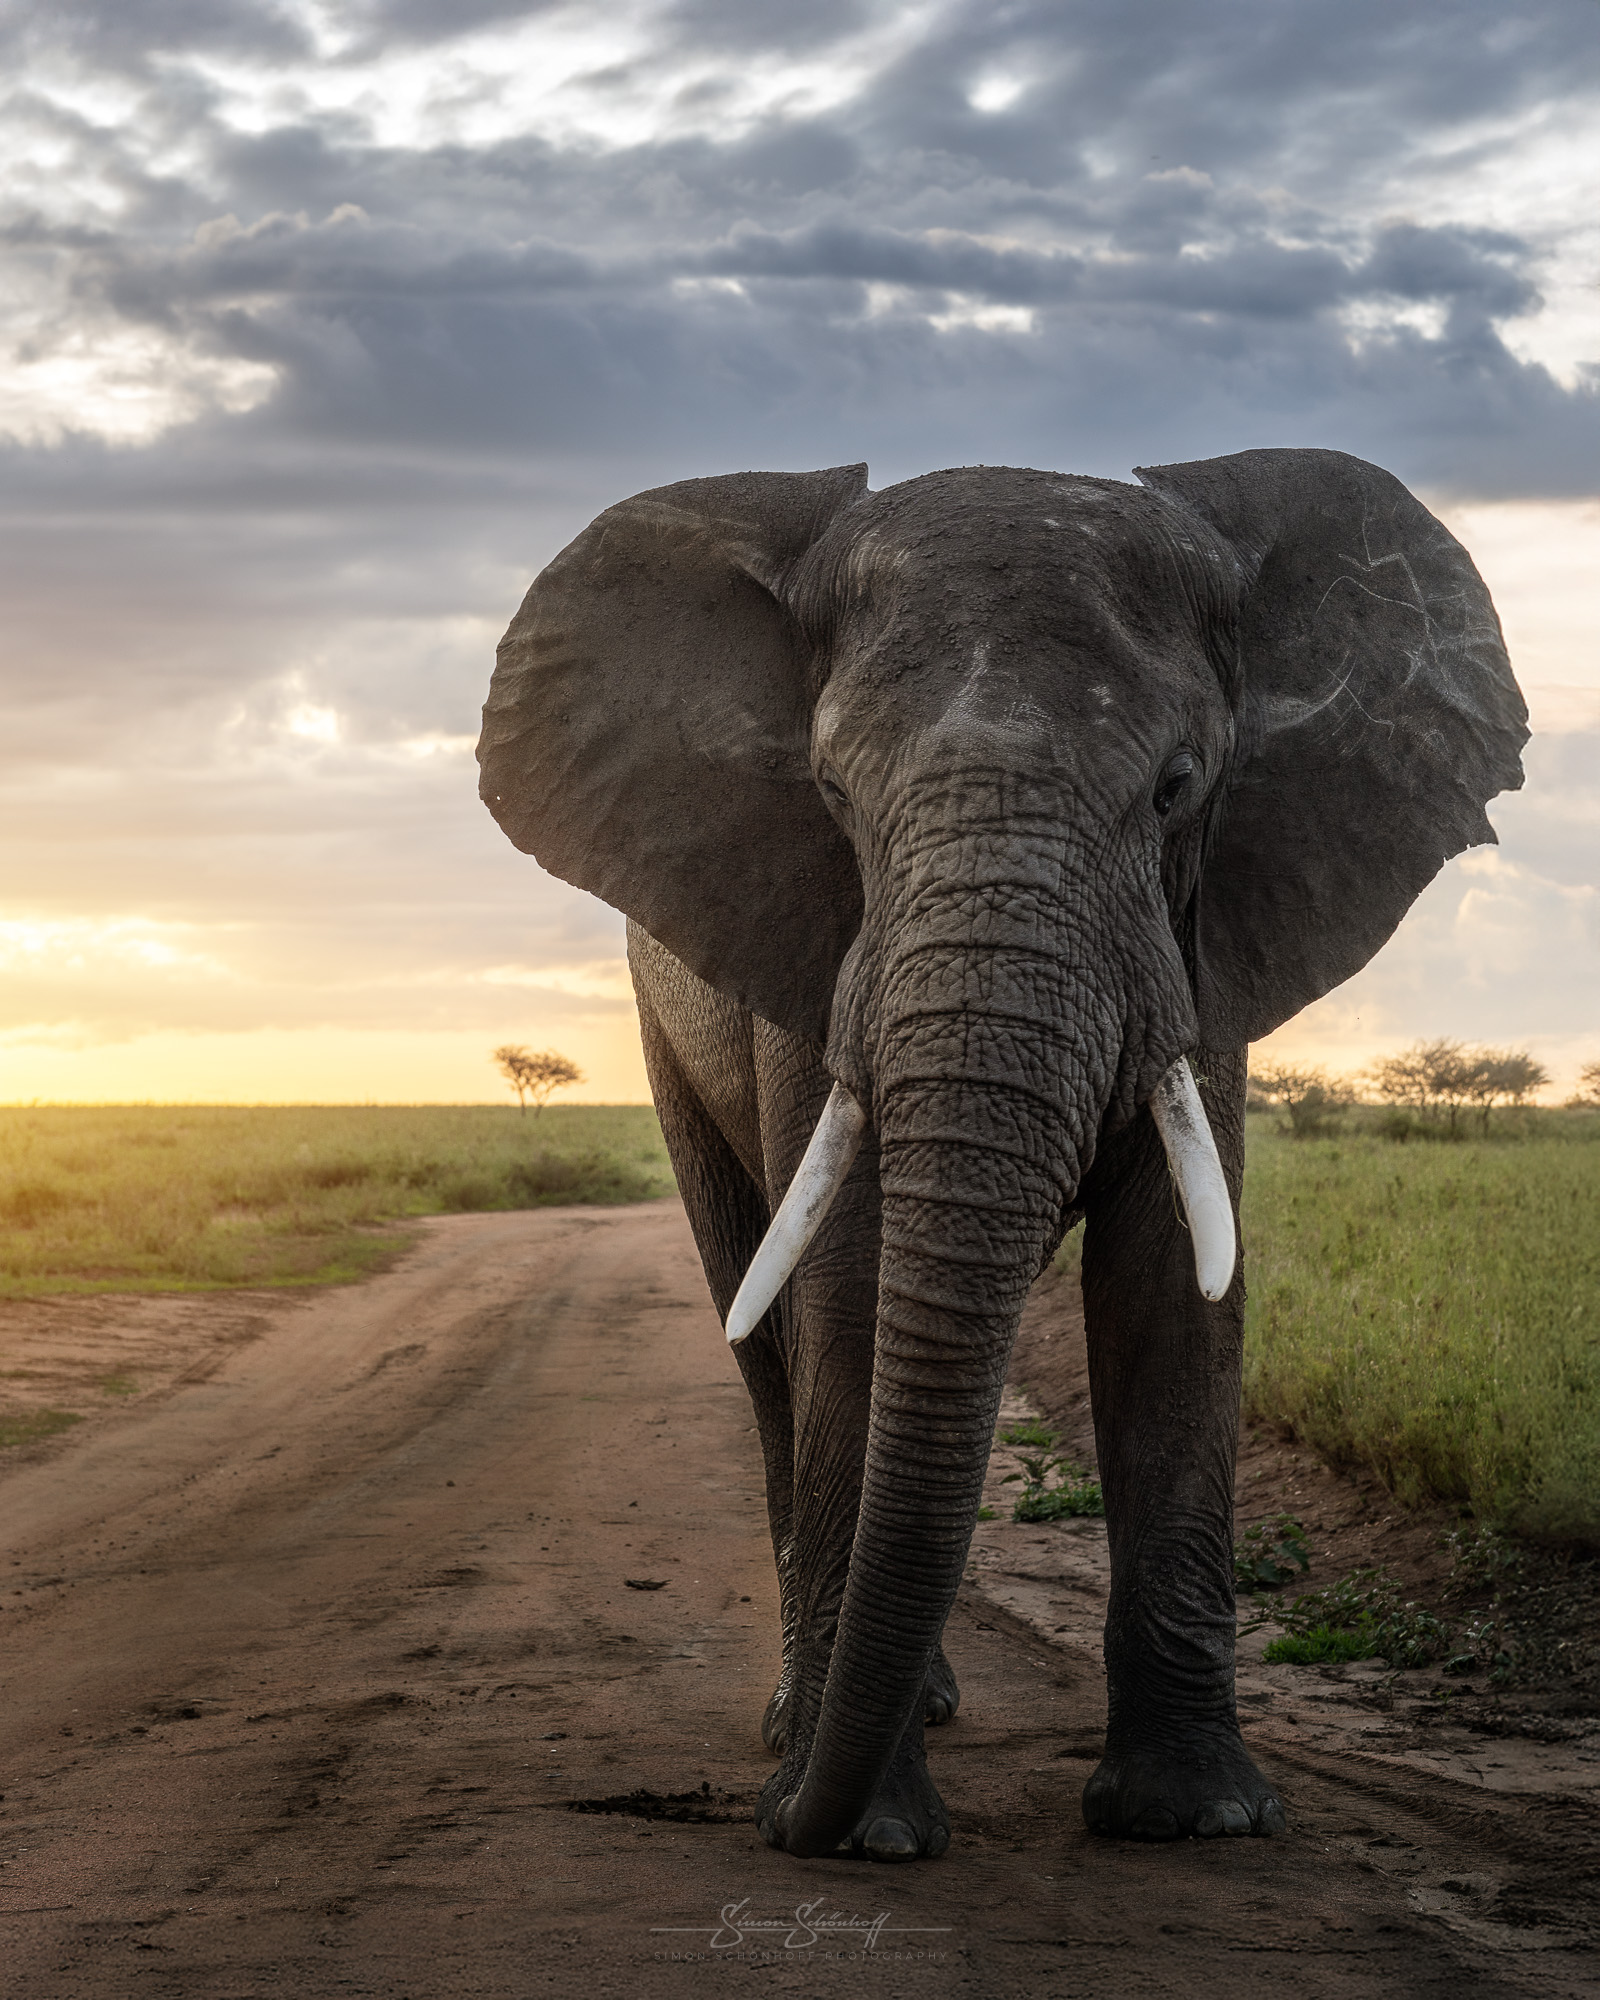
Especially when you’re travelling like this, it’s not always easy to find ideal conditions and the best light. You just have to make the best of what you find. It’s more important to have creativity, a personal intuition or a certain photographic eye than to know the camera technology down to the last detail. Just as was the case with my sister. Many (even professional) photographers probably only use a very small part of the functions that their camera has most of the time.
However, if the perfect light does turn up, as in this picture of the wildebeest in the African sun, you should of course at least be able to press the shutter release at the best moment. A great picture like this then almost ‘creates itself’.
By the way: My sister made it up Kilimanjaro and, as you can see from the pictures, down again. On her own two feet. I can only congratulate her on that, because it’s certainly not a walk in the park! The experiences on the safari were certainly just as impressive and I hope that by editing some of her pictures I was able to immortalise the moments as she experienced them.
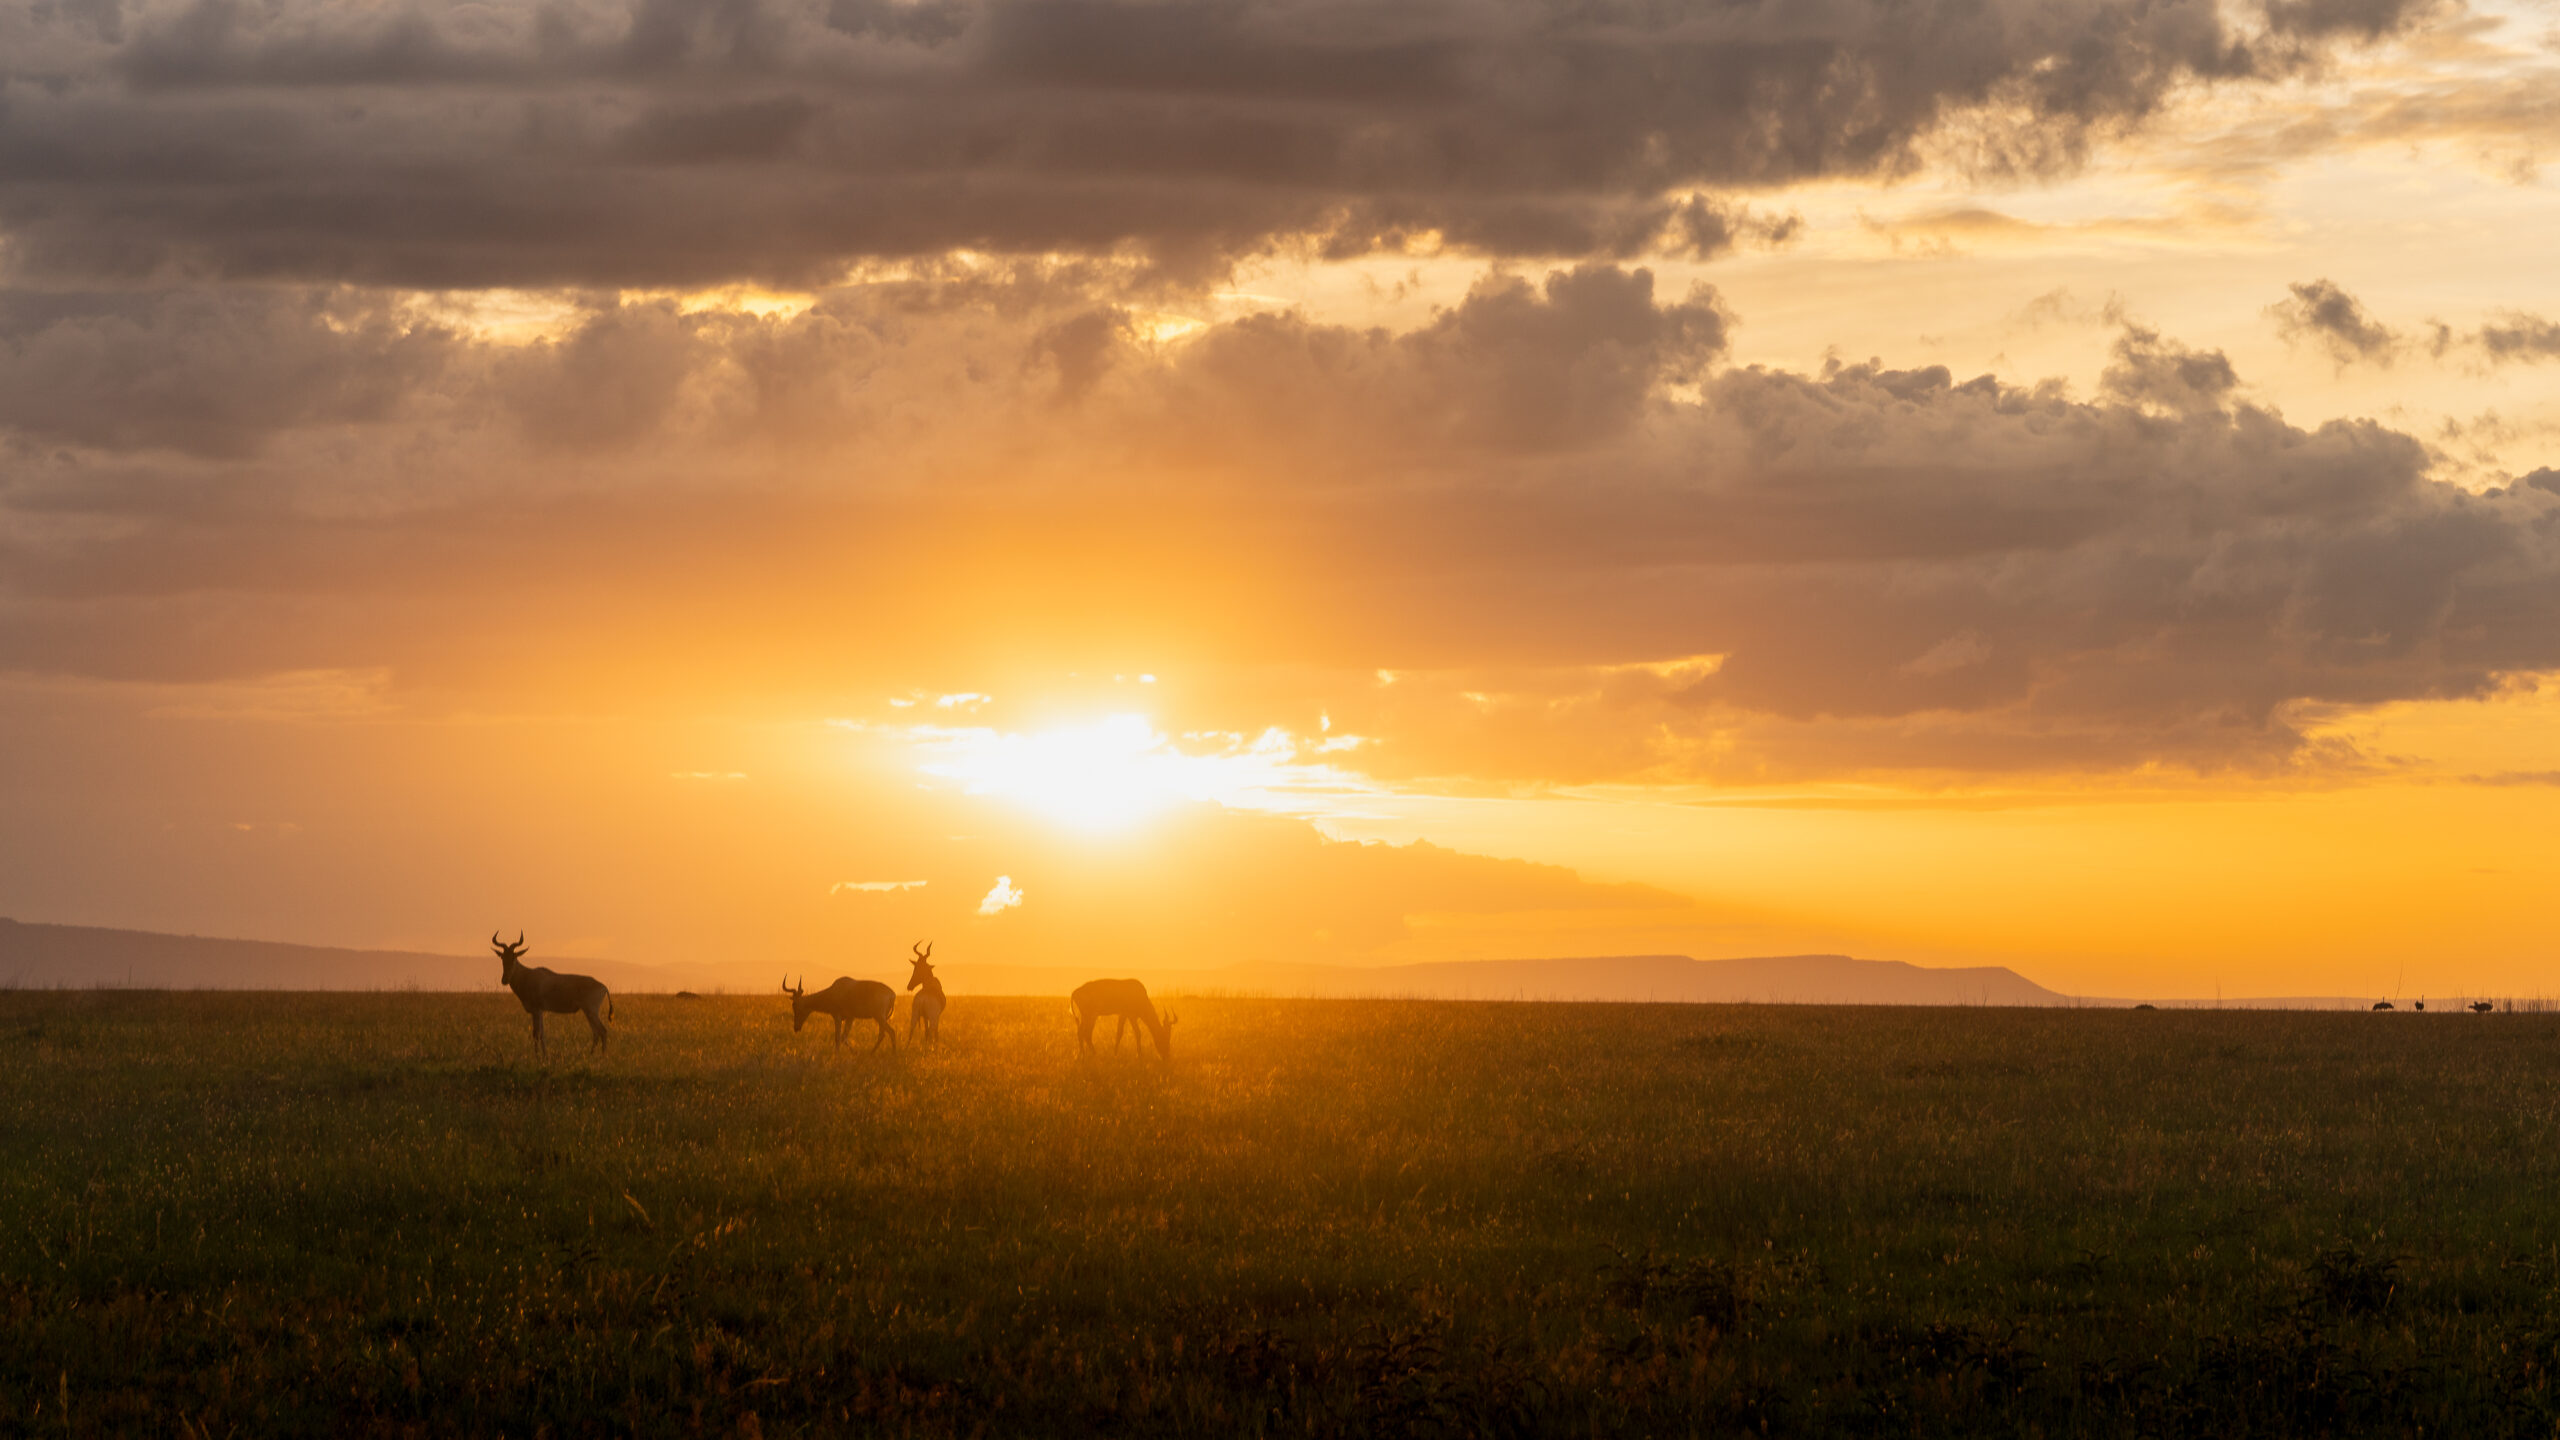
All pictures from the VLOG/BLOG were taken by my sister Marisa on her trip to Tanzania. Thanks again for the permission to use them here! I edited the pictures in Lightroom and Photoshop! I deliberately took pictures that at first glance looked like they could no longer be saved to show what is possible with image editing without having to replace or add significant elements! In my opinion, the results are more than satisfactory!
Maybe you’ve been there: You’re on a holiday that you’ve been saving up for for a long time and you capture your experiences in pictures. Afterwards, you’re a little disappointed because your pictures don’t even begin to reflect what you saw. If you have photographed in JPG, you won’t be able to do much about it, and some of the pictures might just be for the bin. However, if you have saved the RAWs at the same time, your chances of getting something out of the images increase significantly. In this video I show you what is possible with modern image processing using the RAWs of today’s cameras and I leave the images as they are as far as possible, without sky replacement or adding any atmospheric effects etc.! But see for yourself in this video.
Feel free to share: