Image processing
5 typische Fehler in der Bildbearbeitung
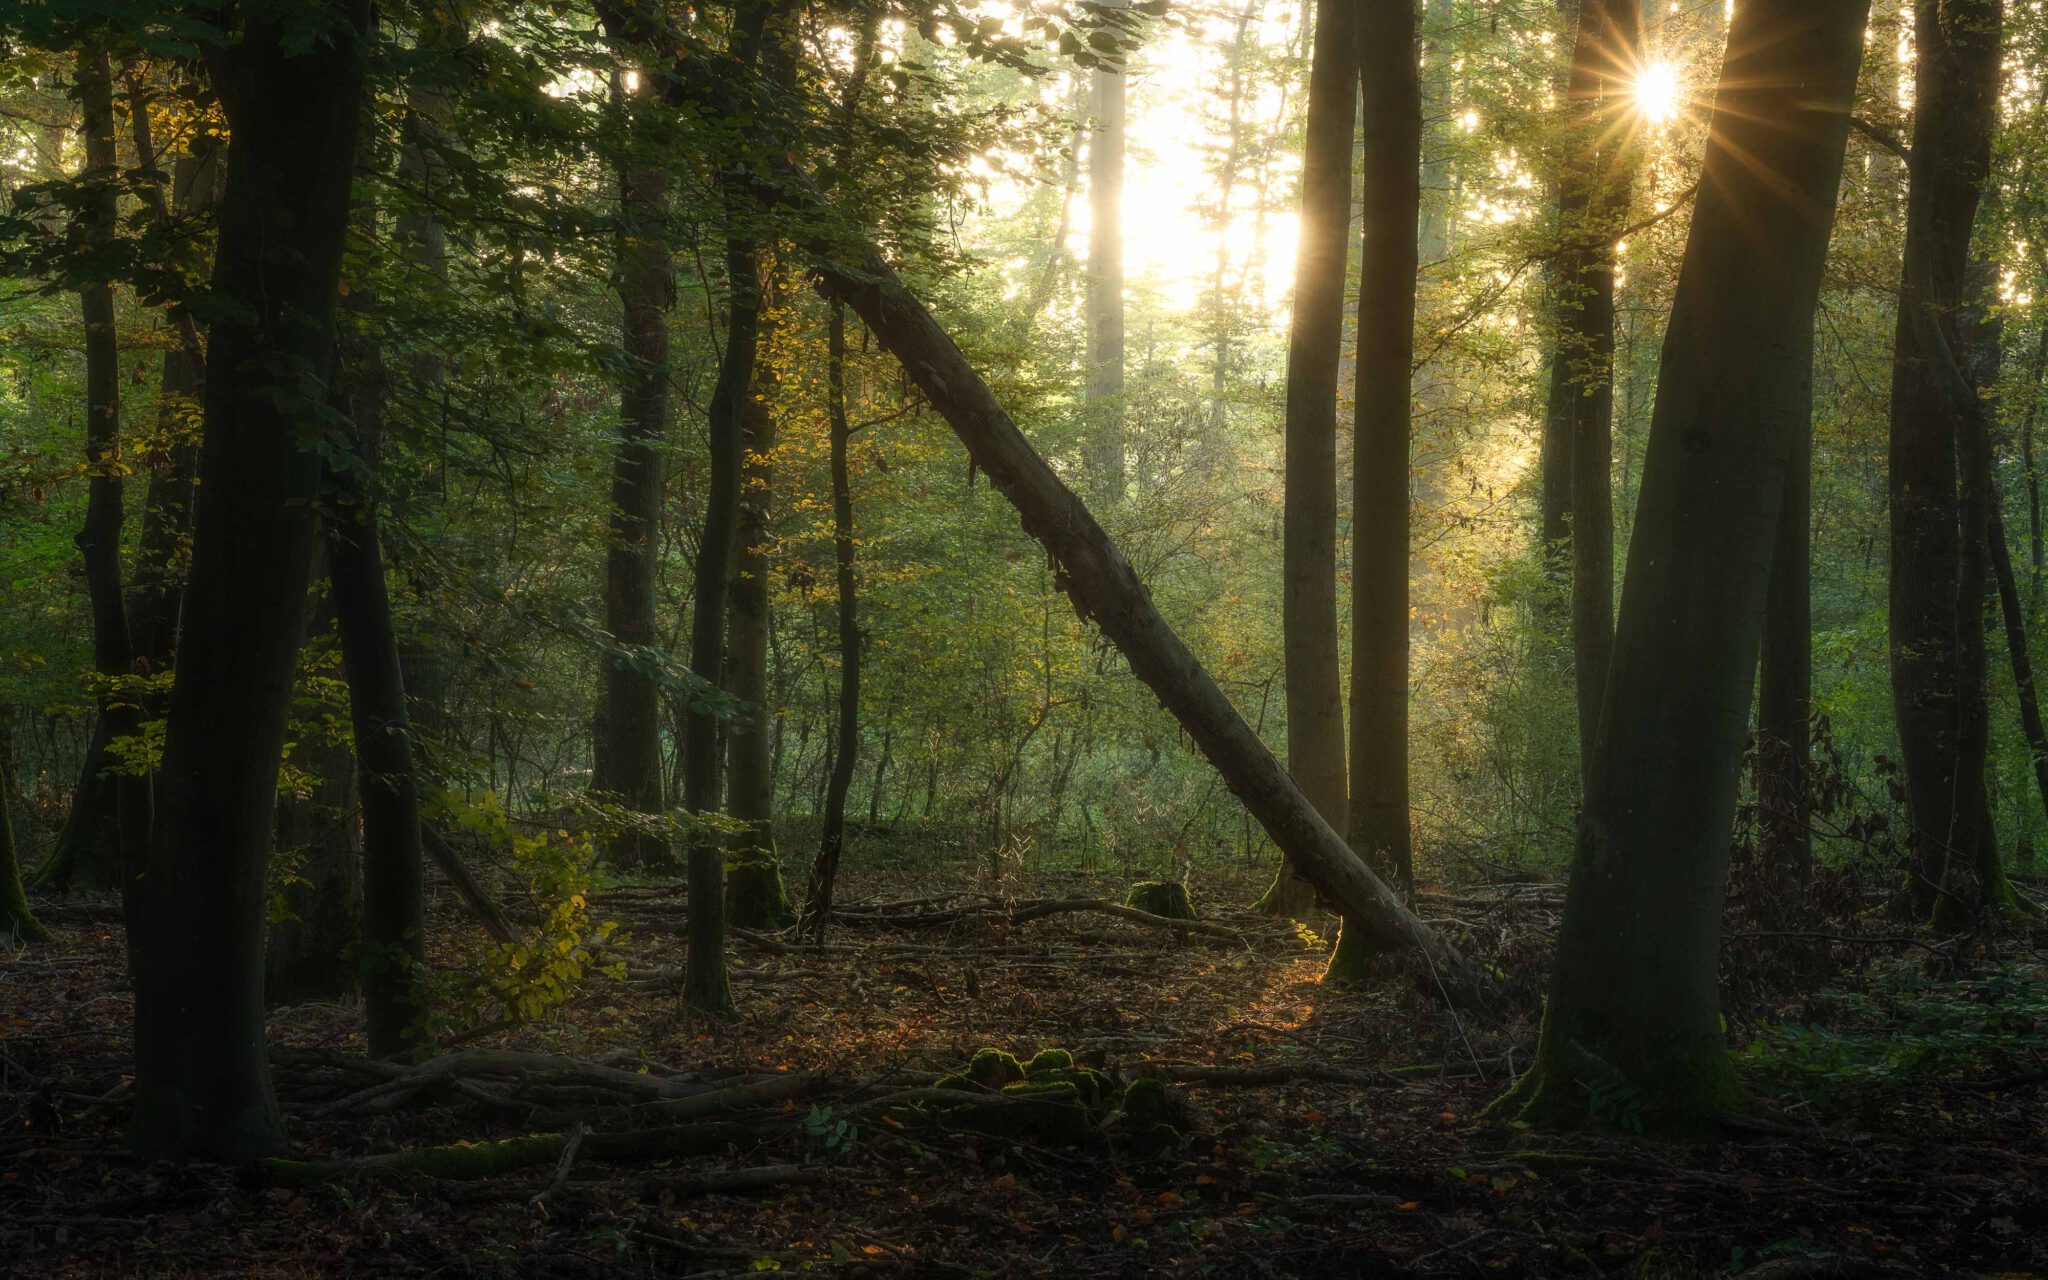
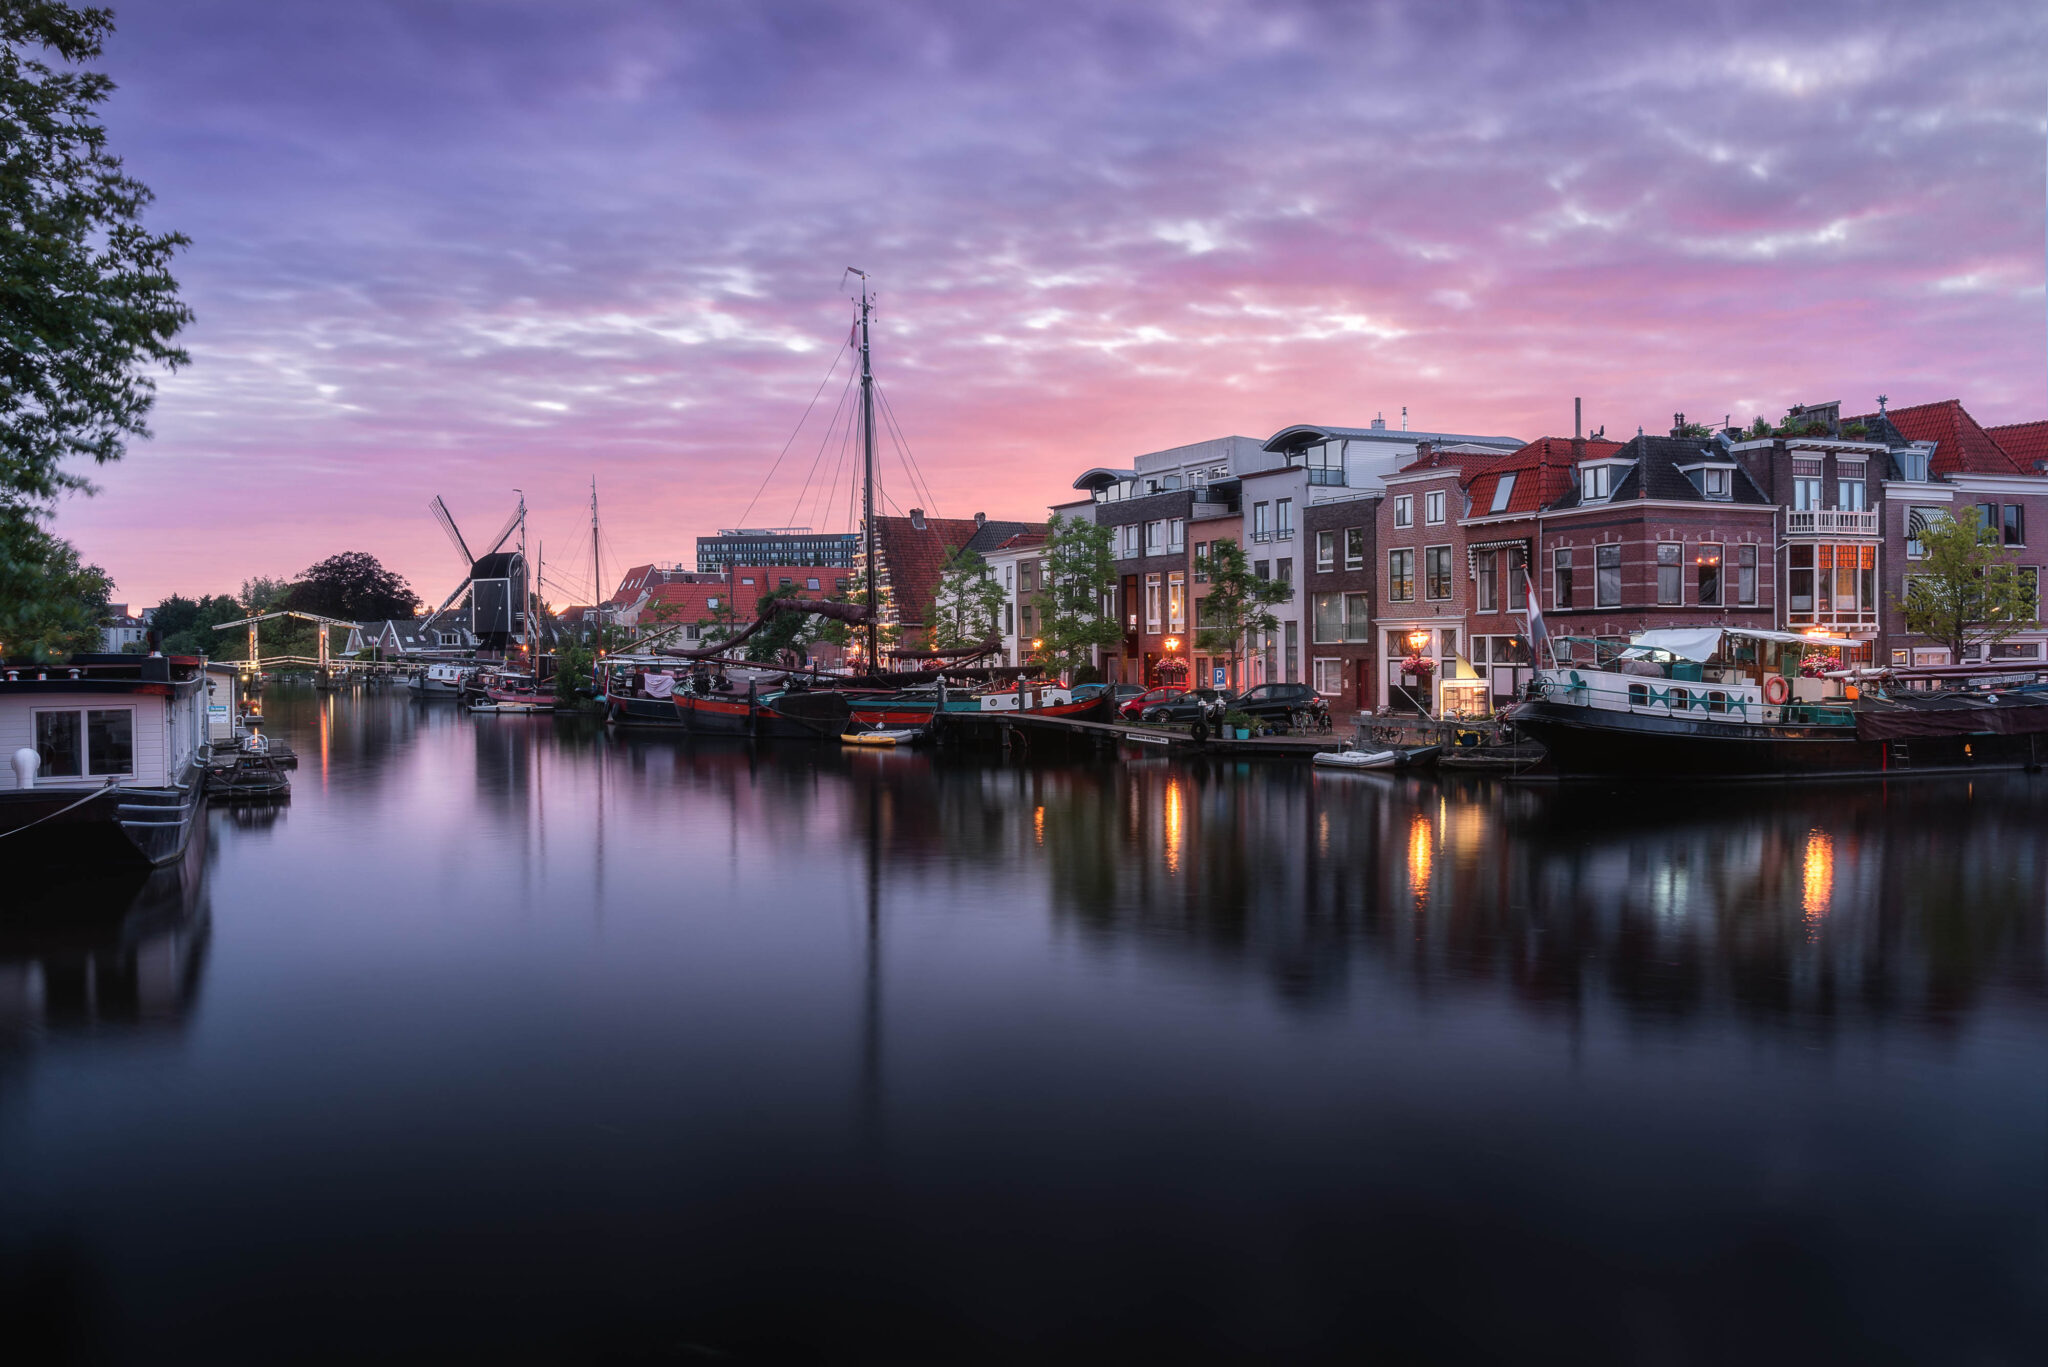
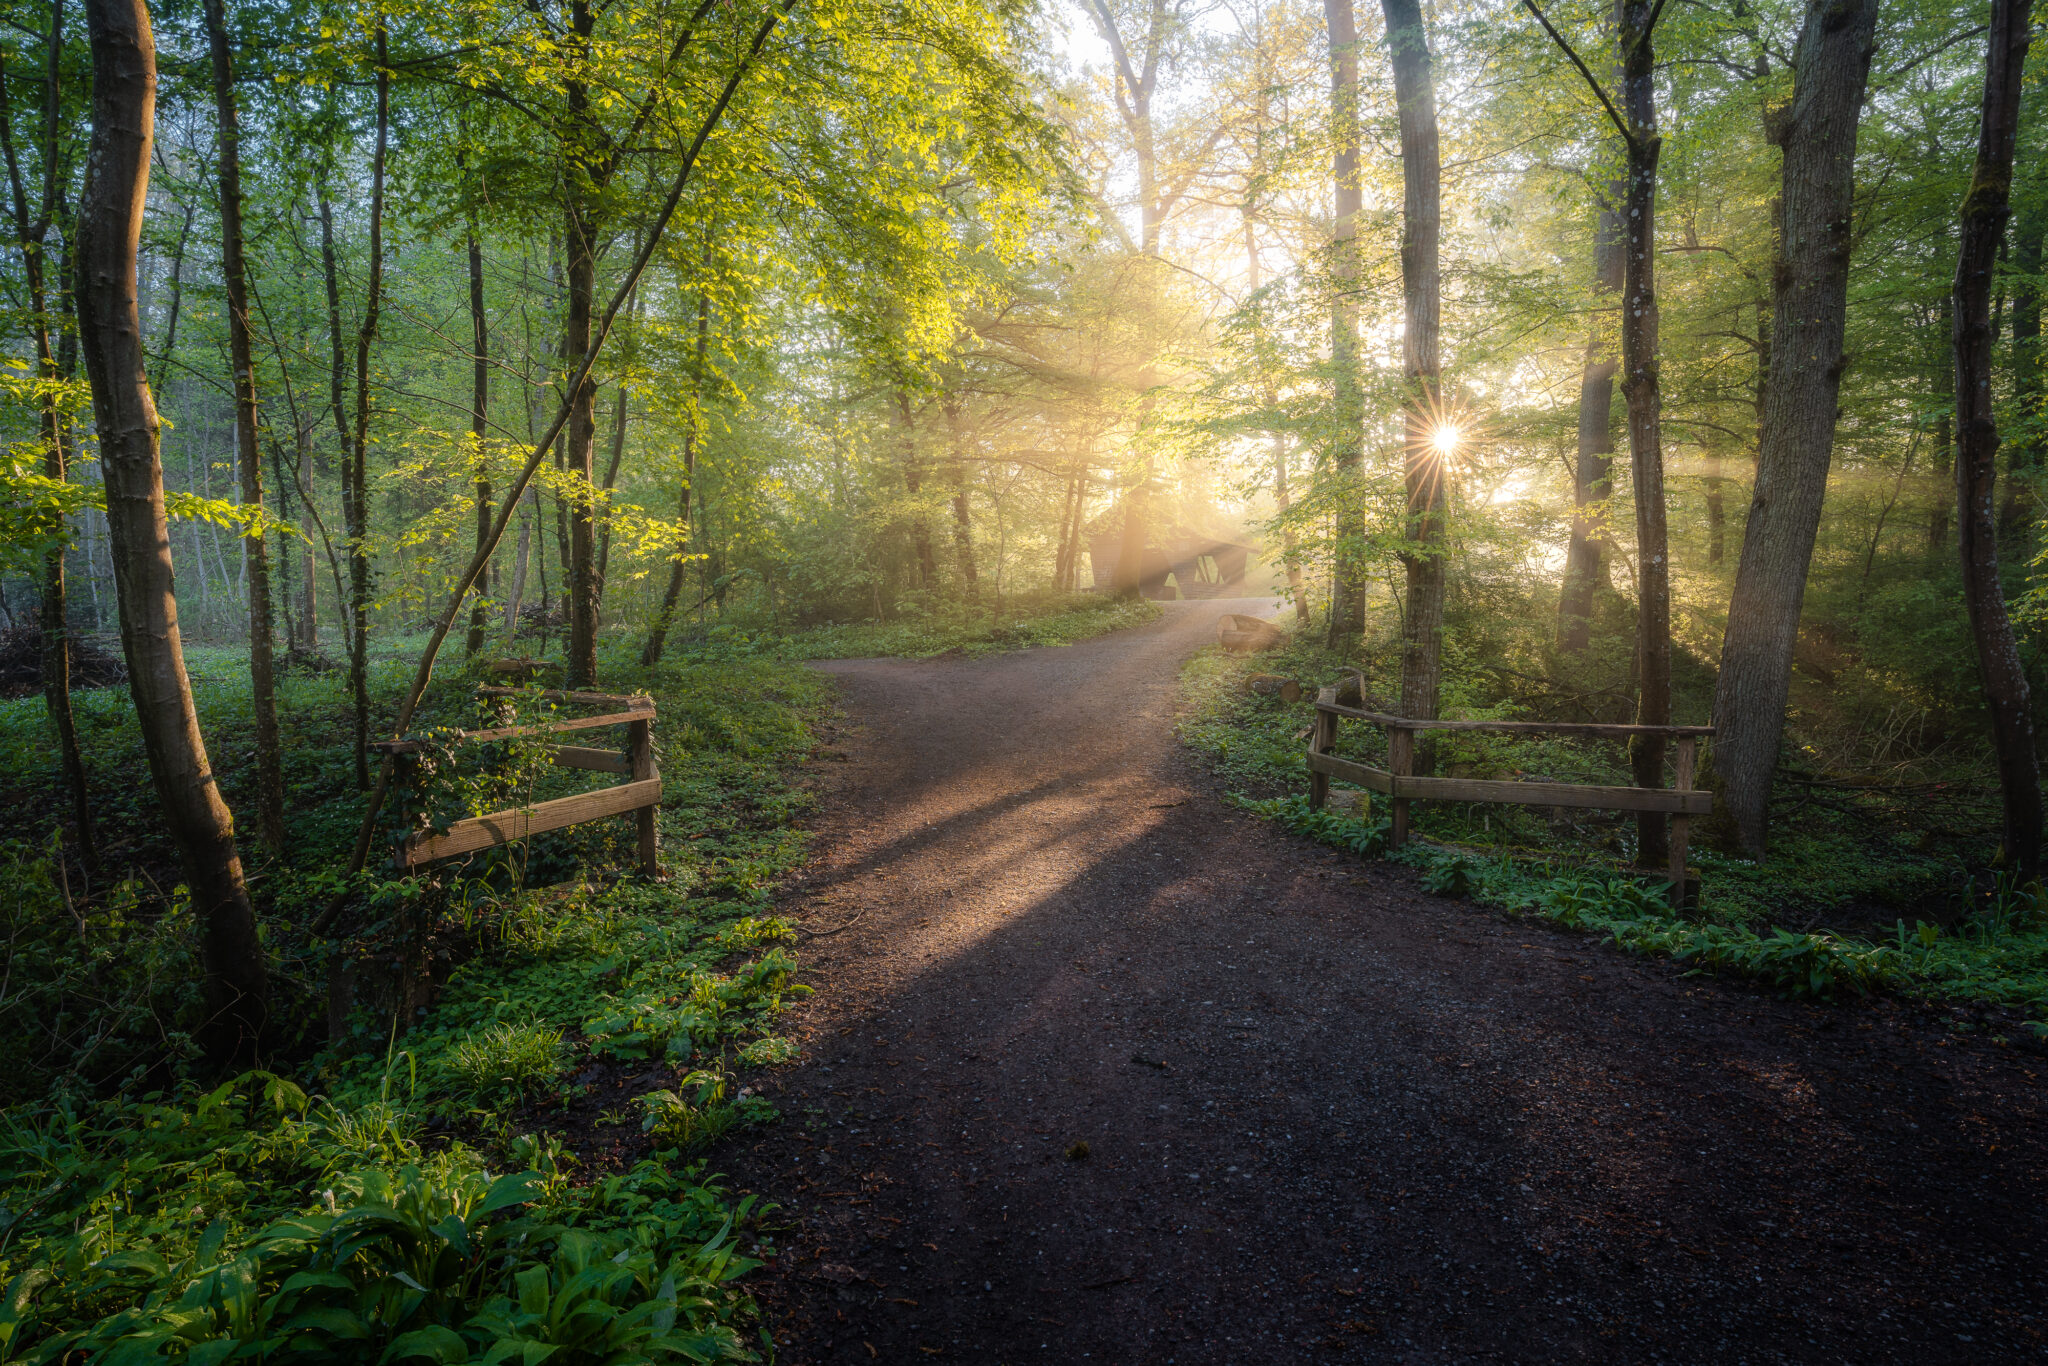
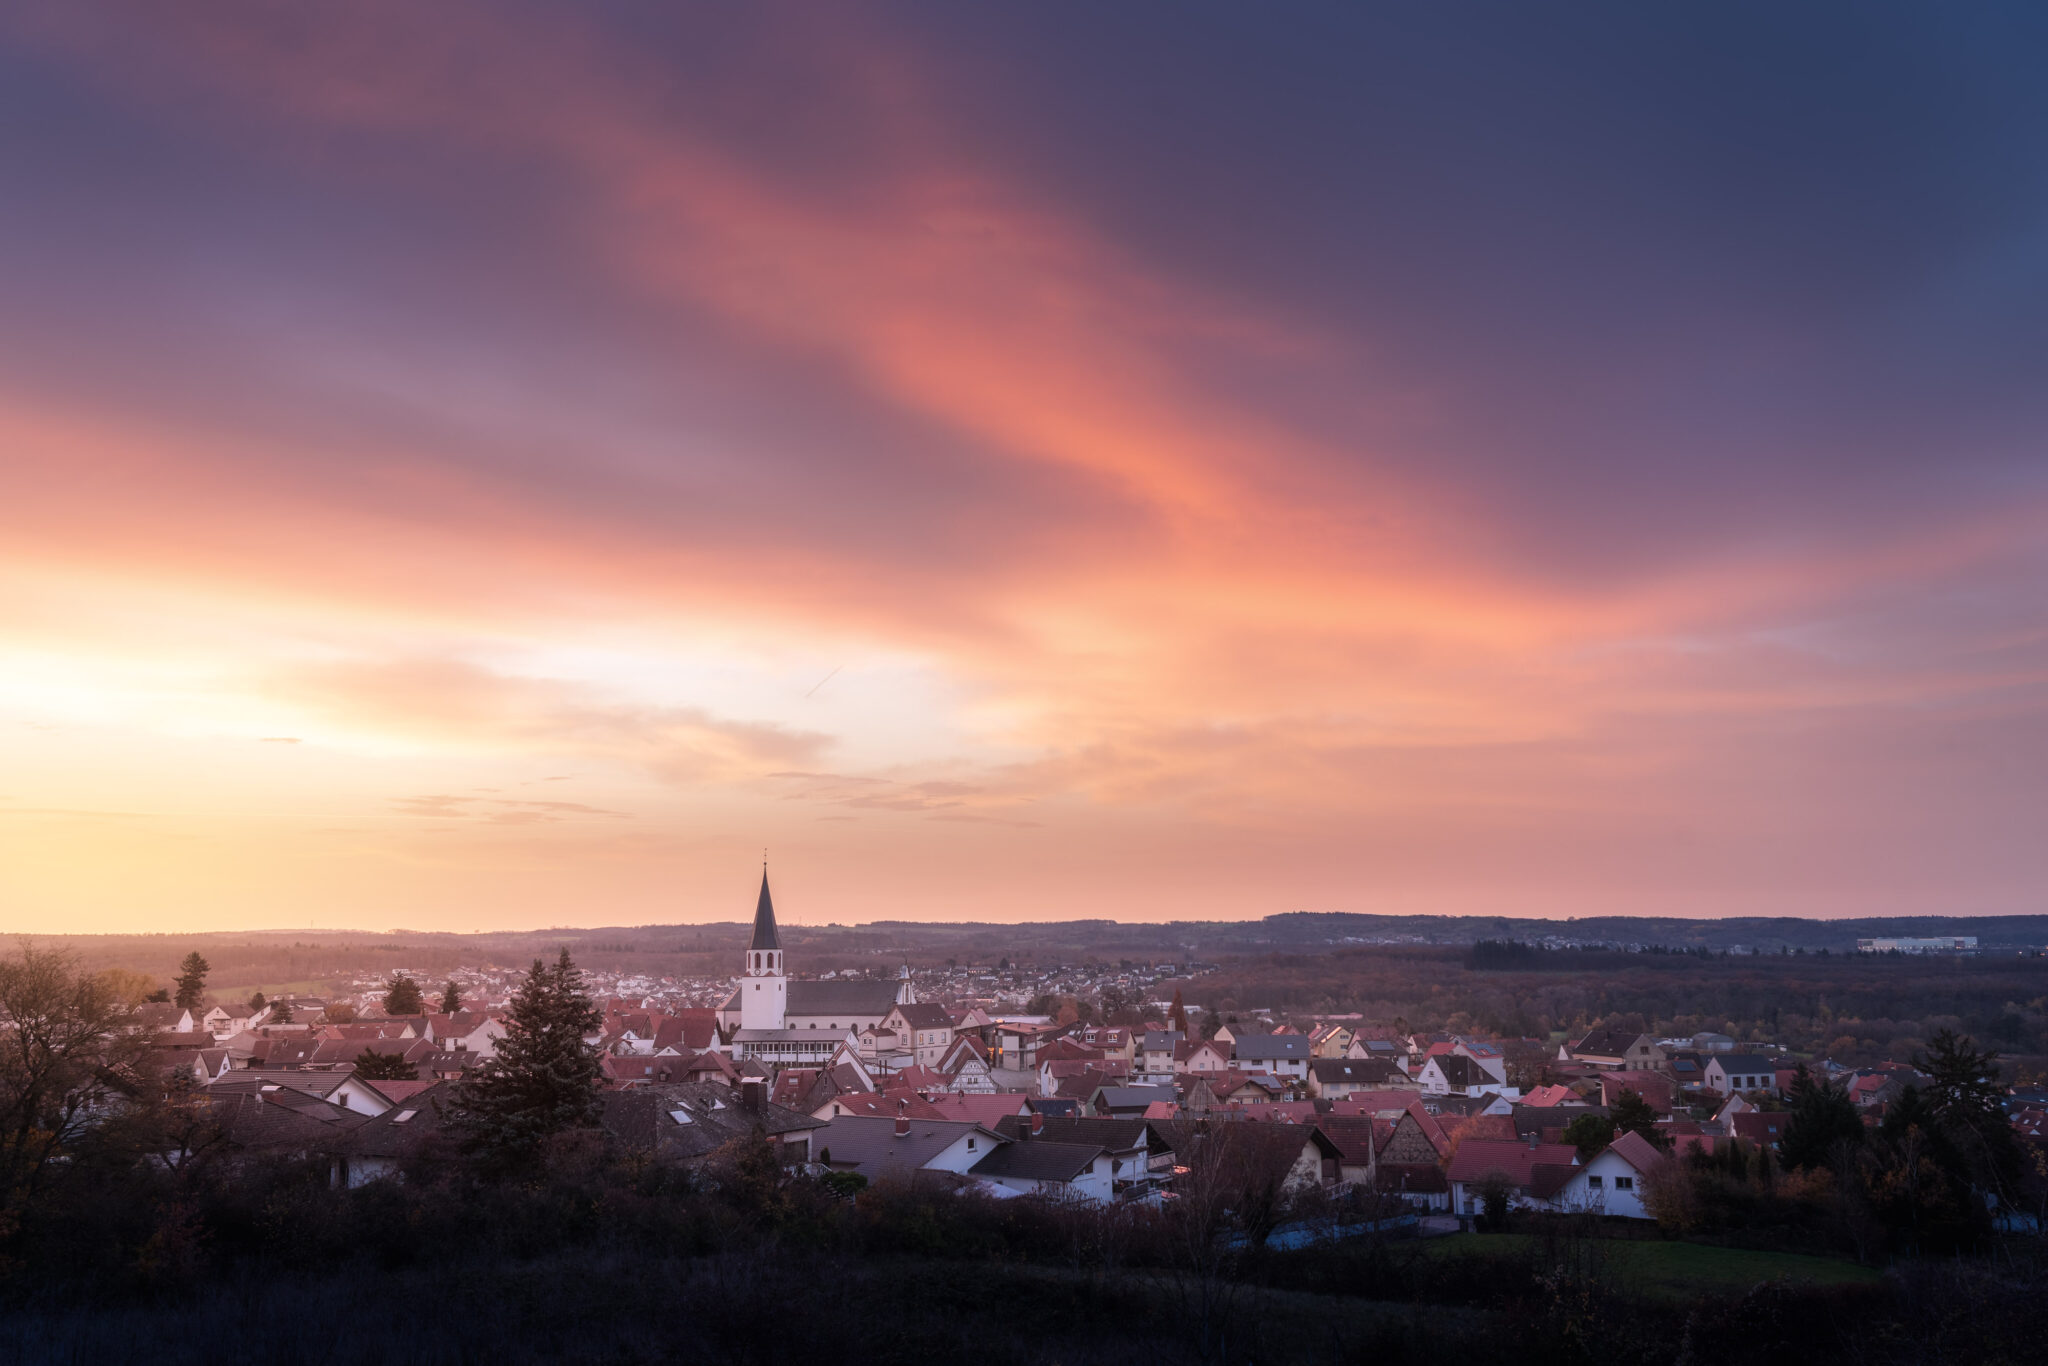
Bildbearbeitung kann Spaß machen, aber auch ziemlich frustrierend sein. Stundenlang kann man sich in seinen eigenen 4 Wänden mit den Reglern in Lightroom, Luminar Neo, Capture One, oder wie sie alle heißen beschäftigen. Und dann merkt man am nächsten Tag, dass es doch etwas zu viel oder auch zu wenig des „Guten“ war und man feilt wieder an der Abstimmung. Gerade Beginner in der Landschaftsfotografie sind meist es was „Übermotiviert“ was die Regler betrifft und so sieht man immer wieder 5 typische Fehler in der Bildbearbeitung, für die ich euch in diesem Blog sensibilisieren möchte.