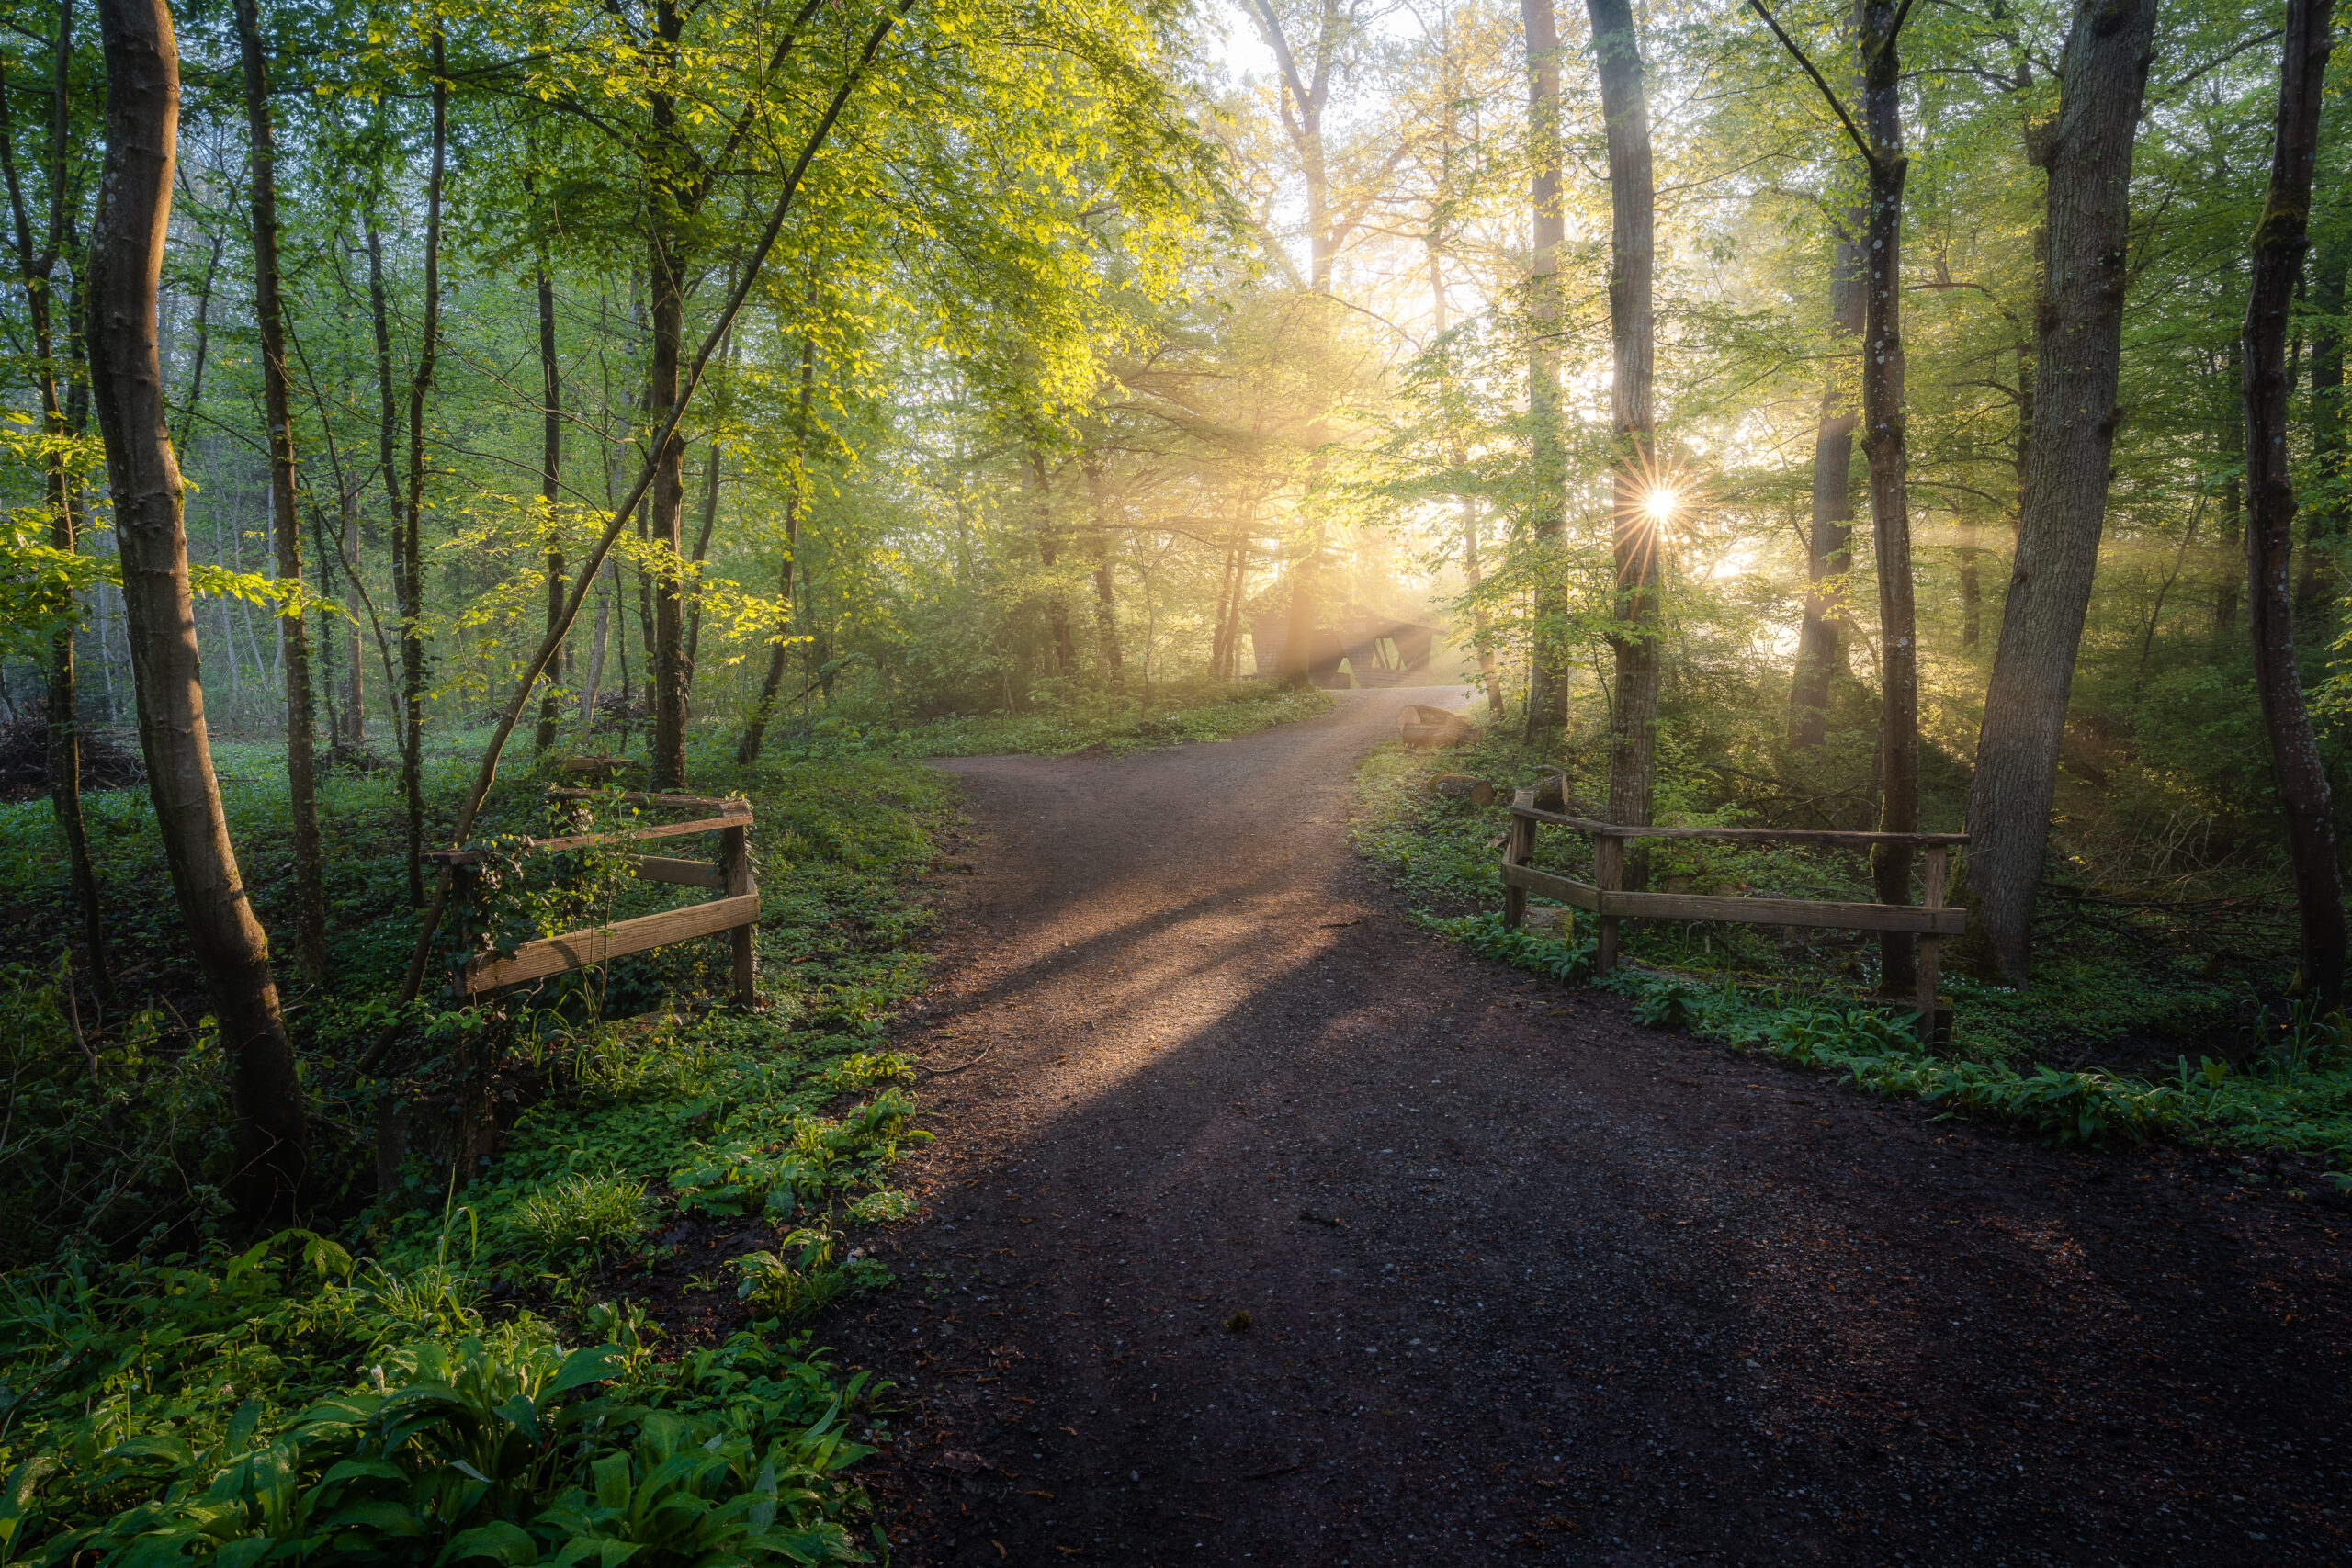
You can see the VLOG to the BLOG at the bottom of the page or you can reach it via this button:
Gear:
Sony a7IV
Sony FE 2.8/16–35 mm GM
Sony FE 4/24–105 mm G
Sony FE 100–400 mm GM
Of course, you leave the house with a certain intention. A certain image in your head that you want to capture. You look at the weather forecast in the evening, maybe again in the early morning, before you set off and you know where you want to go and what you want to photograph. Then suddenly you’re there, on location, possibly with a longer journey behind you, like me, and you realize that everything you’ve planned won’t work out. Disappointing. Of course it is. But that should only be the case in the first few seconds, because with a bit of creativity, a keen eye and knowledge of as many areas of photography as possible, you’re bound to come up with something that results in a great picture.
My intention was to photograph the Rötzenfelsen in the autumnal morning light with fog in the valley. Everything had to be right. Perfect medium-high clouds. A sufficiently large gap in the clouds and the upper limit of the fog should be around 300–400 meters. Now the Rötzenfelsen at approx. 450 m is the perfect spot for this morning.
While hiking up the mountain, I walked through a thick soup of fog. Only my headlamp tried to shine through the fog, but only managed to do so for a few meters. Fortunately, the path, the trail markings and the GPS didn’t let me down, which is why I reached the rock without any problems. Sometimes you’re only a bend or a few meters away from the top of the fog and you’re suddenly in clear view. So I walked to the end of the path. But no chance. The fog seemed to have moved much higher. Maybe 500m, maybe 600m or even higher. You couldn’t see anything. And now? Well, I’m certainly not going to get up so early, drive around for an hour and walk through the darkness for 30 minutes, only to return home without a picture. And thick fog isn’t the worst weather condition for photography. So off we go in search of alternative motifs.
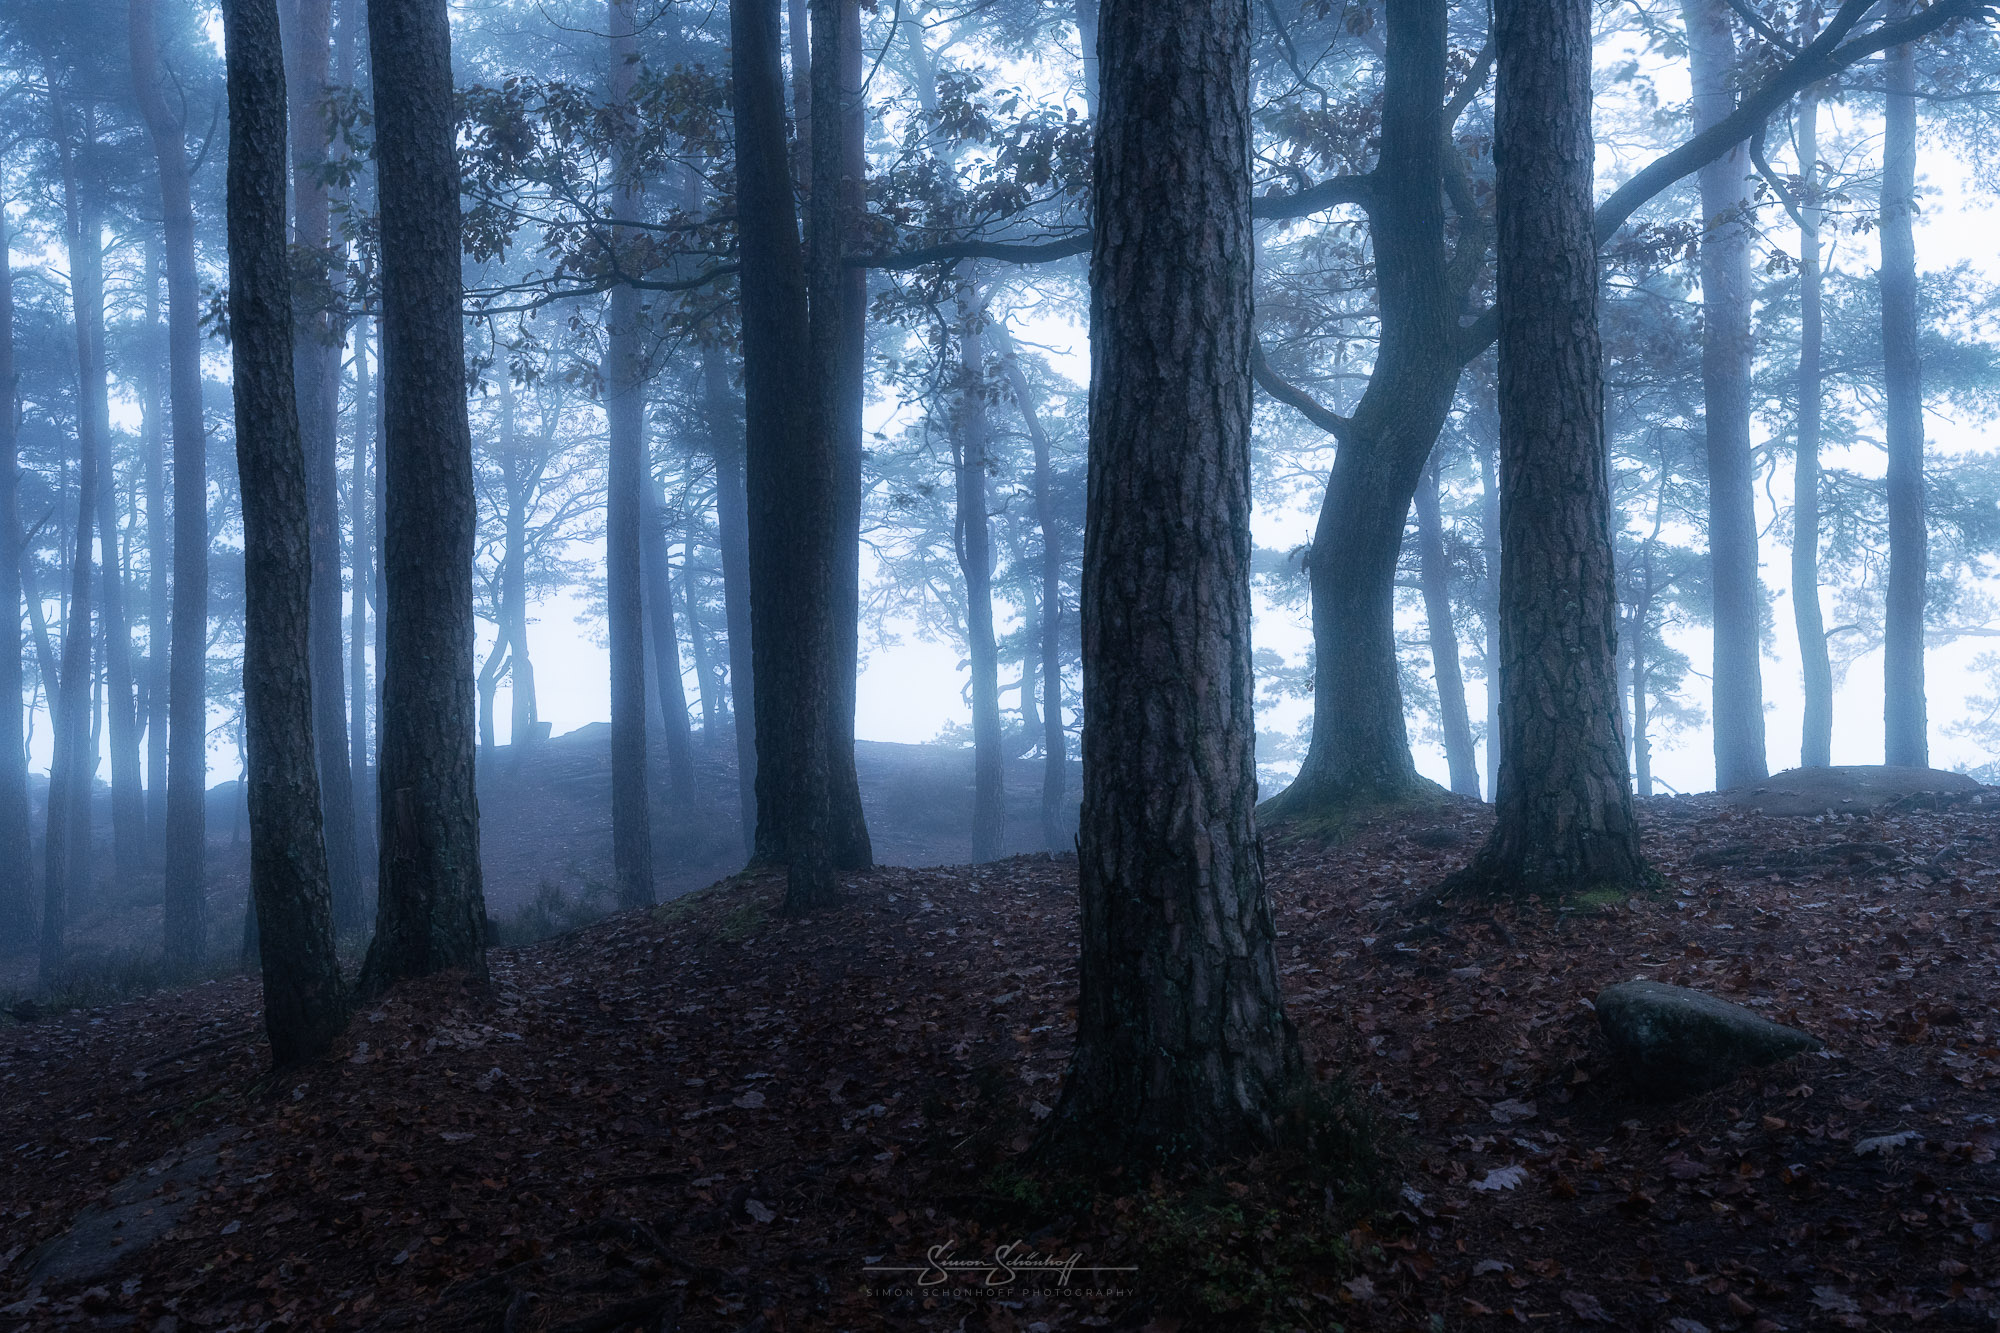
This and all other shots of this post you can request under “Prints” as an art print for your wall at home directly from me.
Of course, pictures in the forest in thick fog are always an option. The fog helps to separate the trunks of the trees and adds depth to the picture, as the contrast decreases with increasing distance. But I could probably take these pictures anywhere in the Palatinate Forest at this moment. So I want to work out and photograph the character, the special features of this spot.
Other options if you’re in a tight spot and the weather isn’t playing into your hands include using filters for long exposures, looking for special details and taking macro-like shots, or using yourself as a model and taking action shots. For the latter, simply use interval shooting and take a few dozen photos of yourself within a few minutes, standing, sitting, climbing… Maybe you’ll manage to discover minimalist scenes that you can later edit like fine art. Look for contrasts, interesting foreground elements (if you don’t have the foresight to create a beautiful background), leading lines, etc. Or deliberately create images that you can later convert to black and white. High-contrast elements help here. You may be able to enhance these on location using the polarizing filter, so think about this too and try it out.
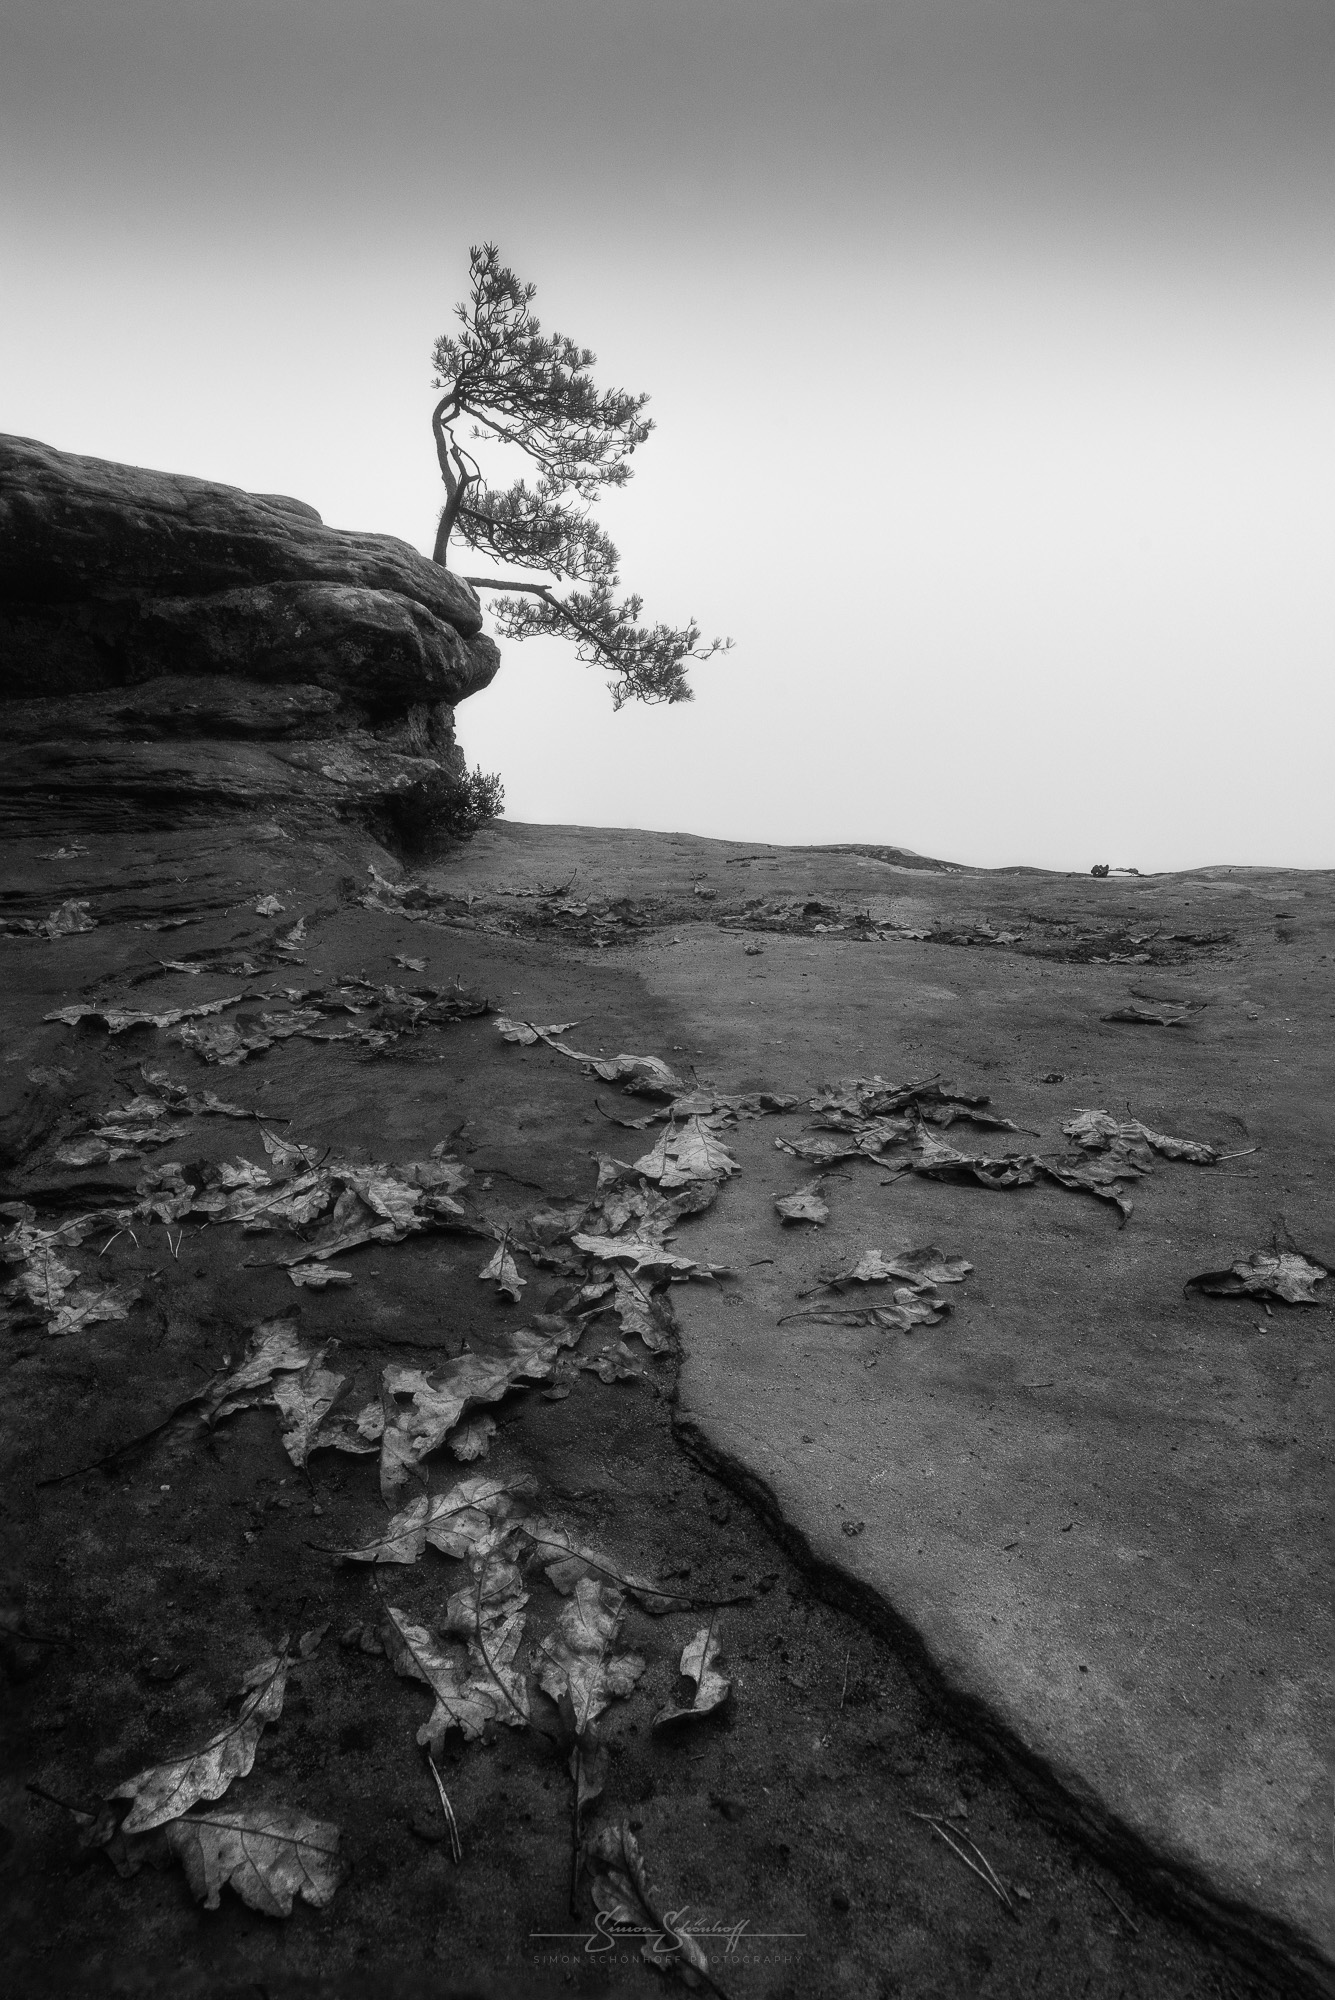
In the picture below I found the rock, which was still damp below the edge and dry above. Added to this were the autumnal yellow leaves and the red rock. A good way to get a high-contrast image by adjusting the black and white mix accordingly. With a little dodging and burning, you can quickly create an interesting and high-contrast black and white image in fine art style.
Here in brief how to convert to a black and white image in Lightroom/Photoshop:
In Lightroom:
In Photoshop:
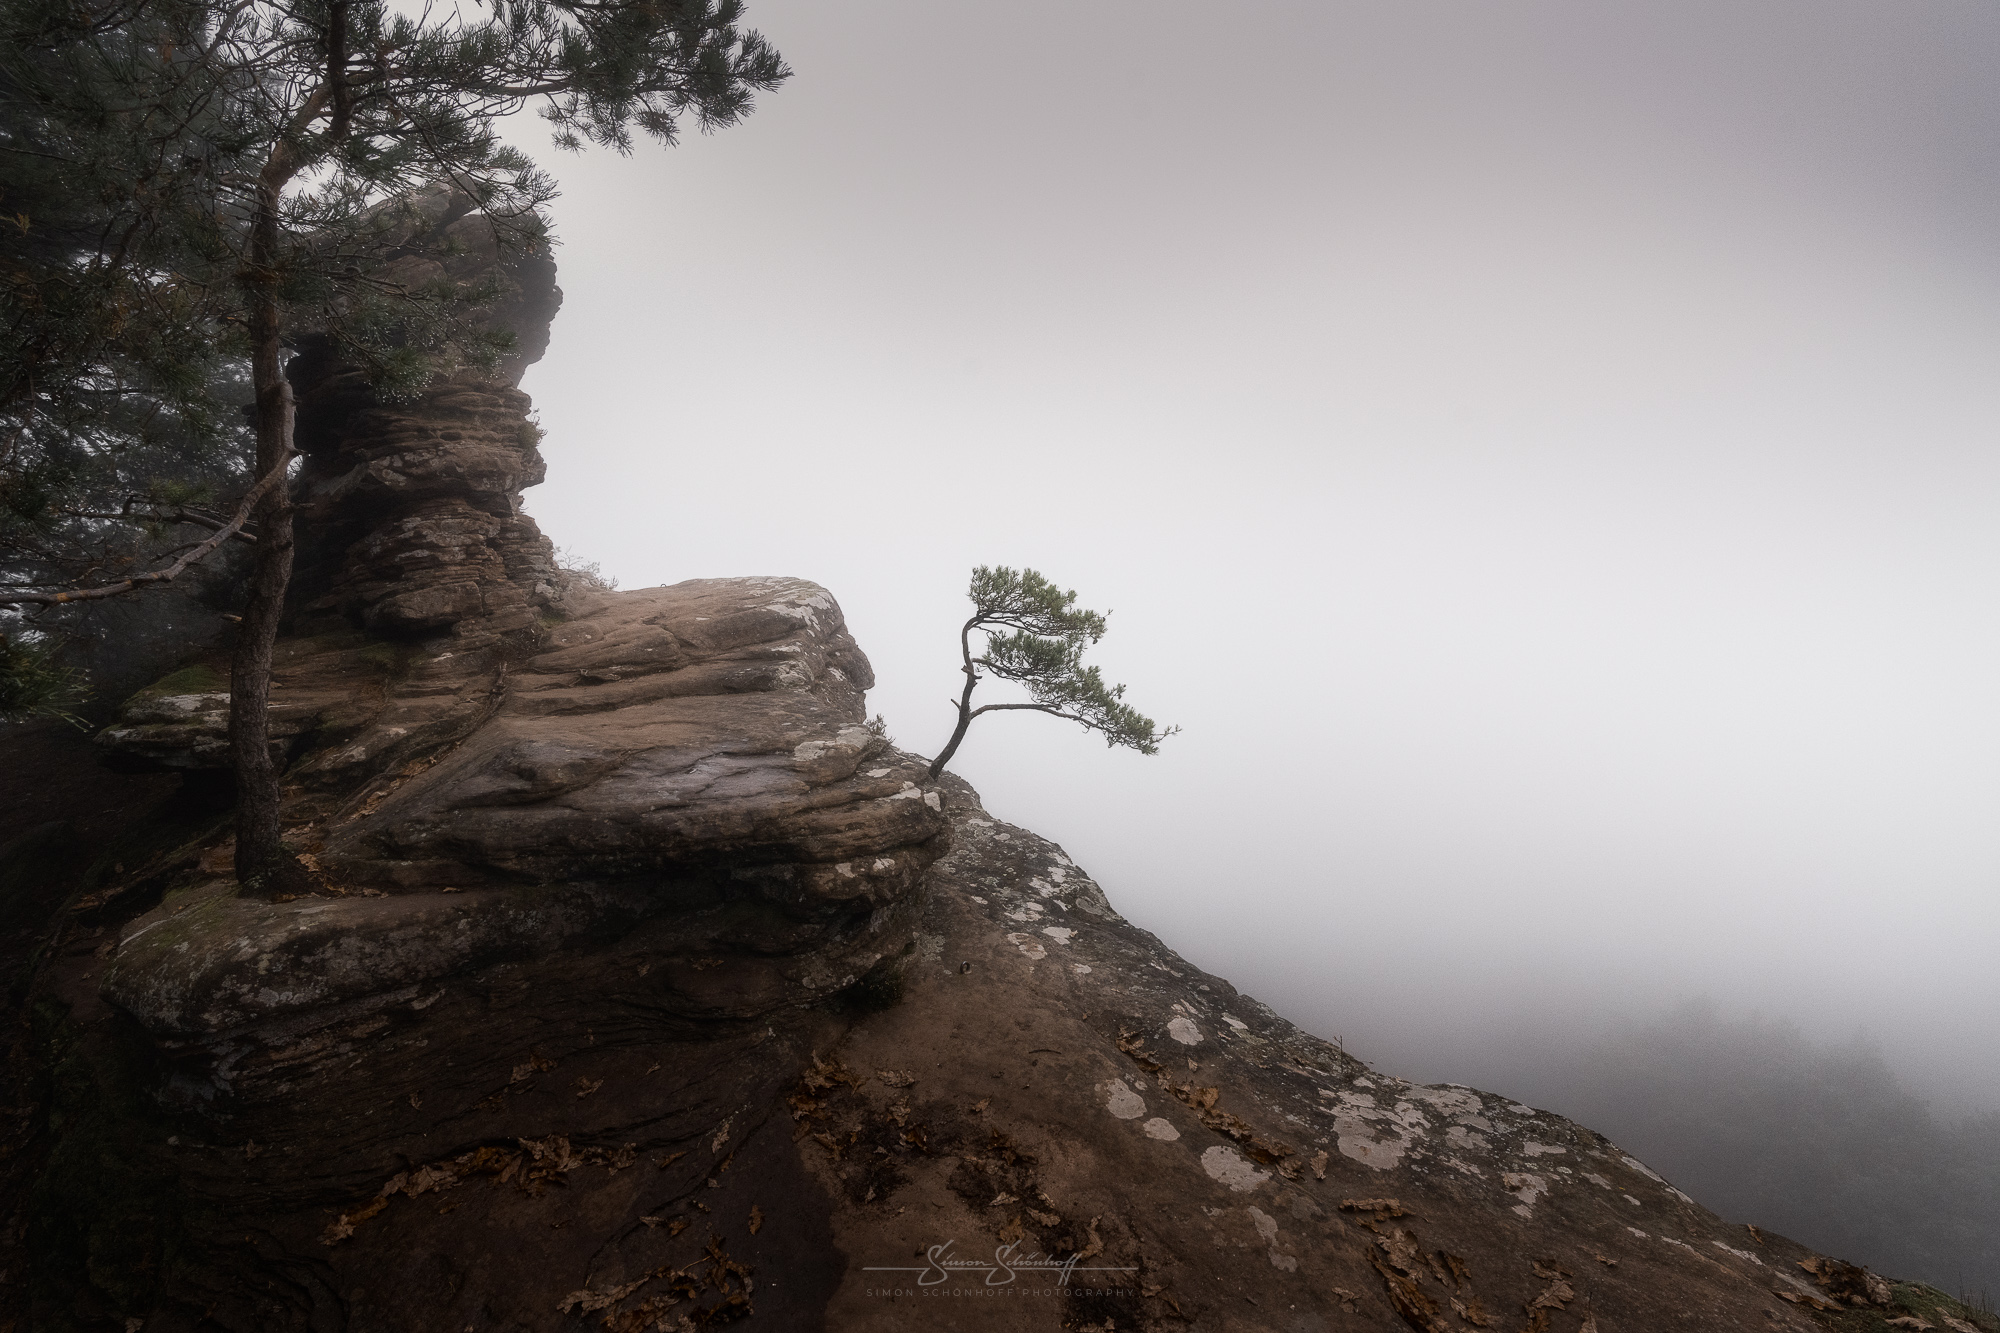
If you’ve been following my BLOGs/VLOGs for a while, you’ll know that I think there’s always something to photograph. No matter where you are or what the weather is like. You can always find something interesting, exciting, funny, creative, impressive for a photo. Of course, you can’t really photograph natural landscapes in big cities, but then there are cityscapes, rays of light and colors at night, or lighting in the blue hour, and much more.
If you think that there’s nothing to photograph, then that’s down to you! It’s down to your lack of creativity. It’s not that you’re unimaginative and uncreative per se, in some cases it can simply be a creative hole that we all fall into from time to time and it’s only temporary. It’s the same for me. Sometimes I just put the camera away for a few days or even weeks. Maybe I look at photos of great artists and get inspired. Visit new places or learn a new technique and then the creativity comes back on its own, in most cases.
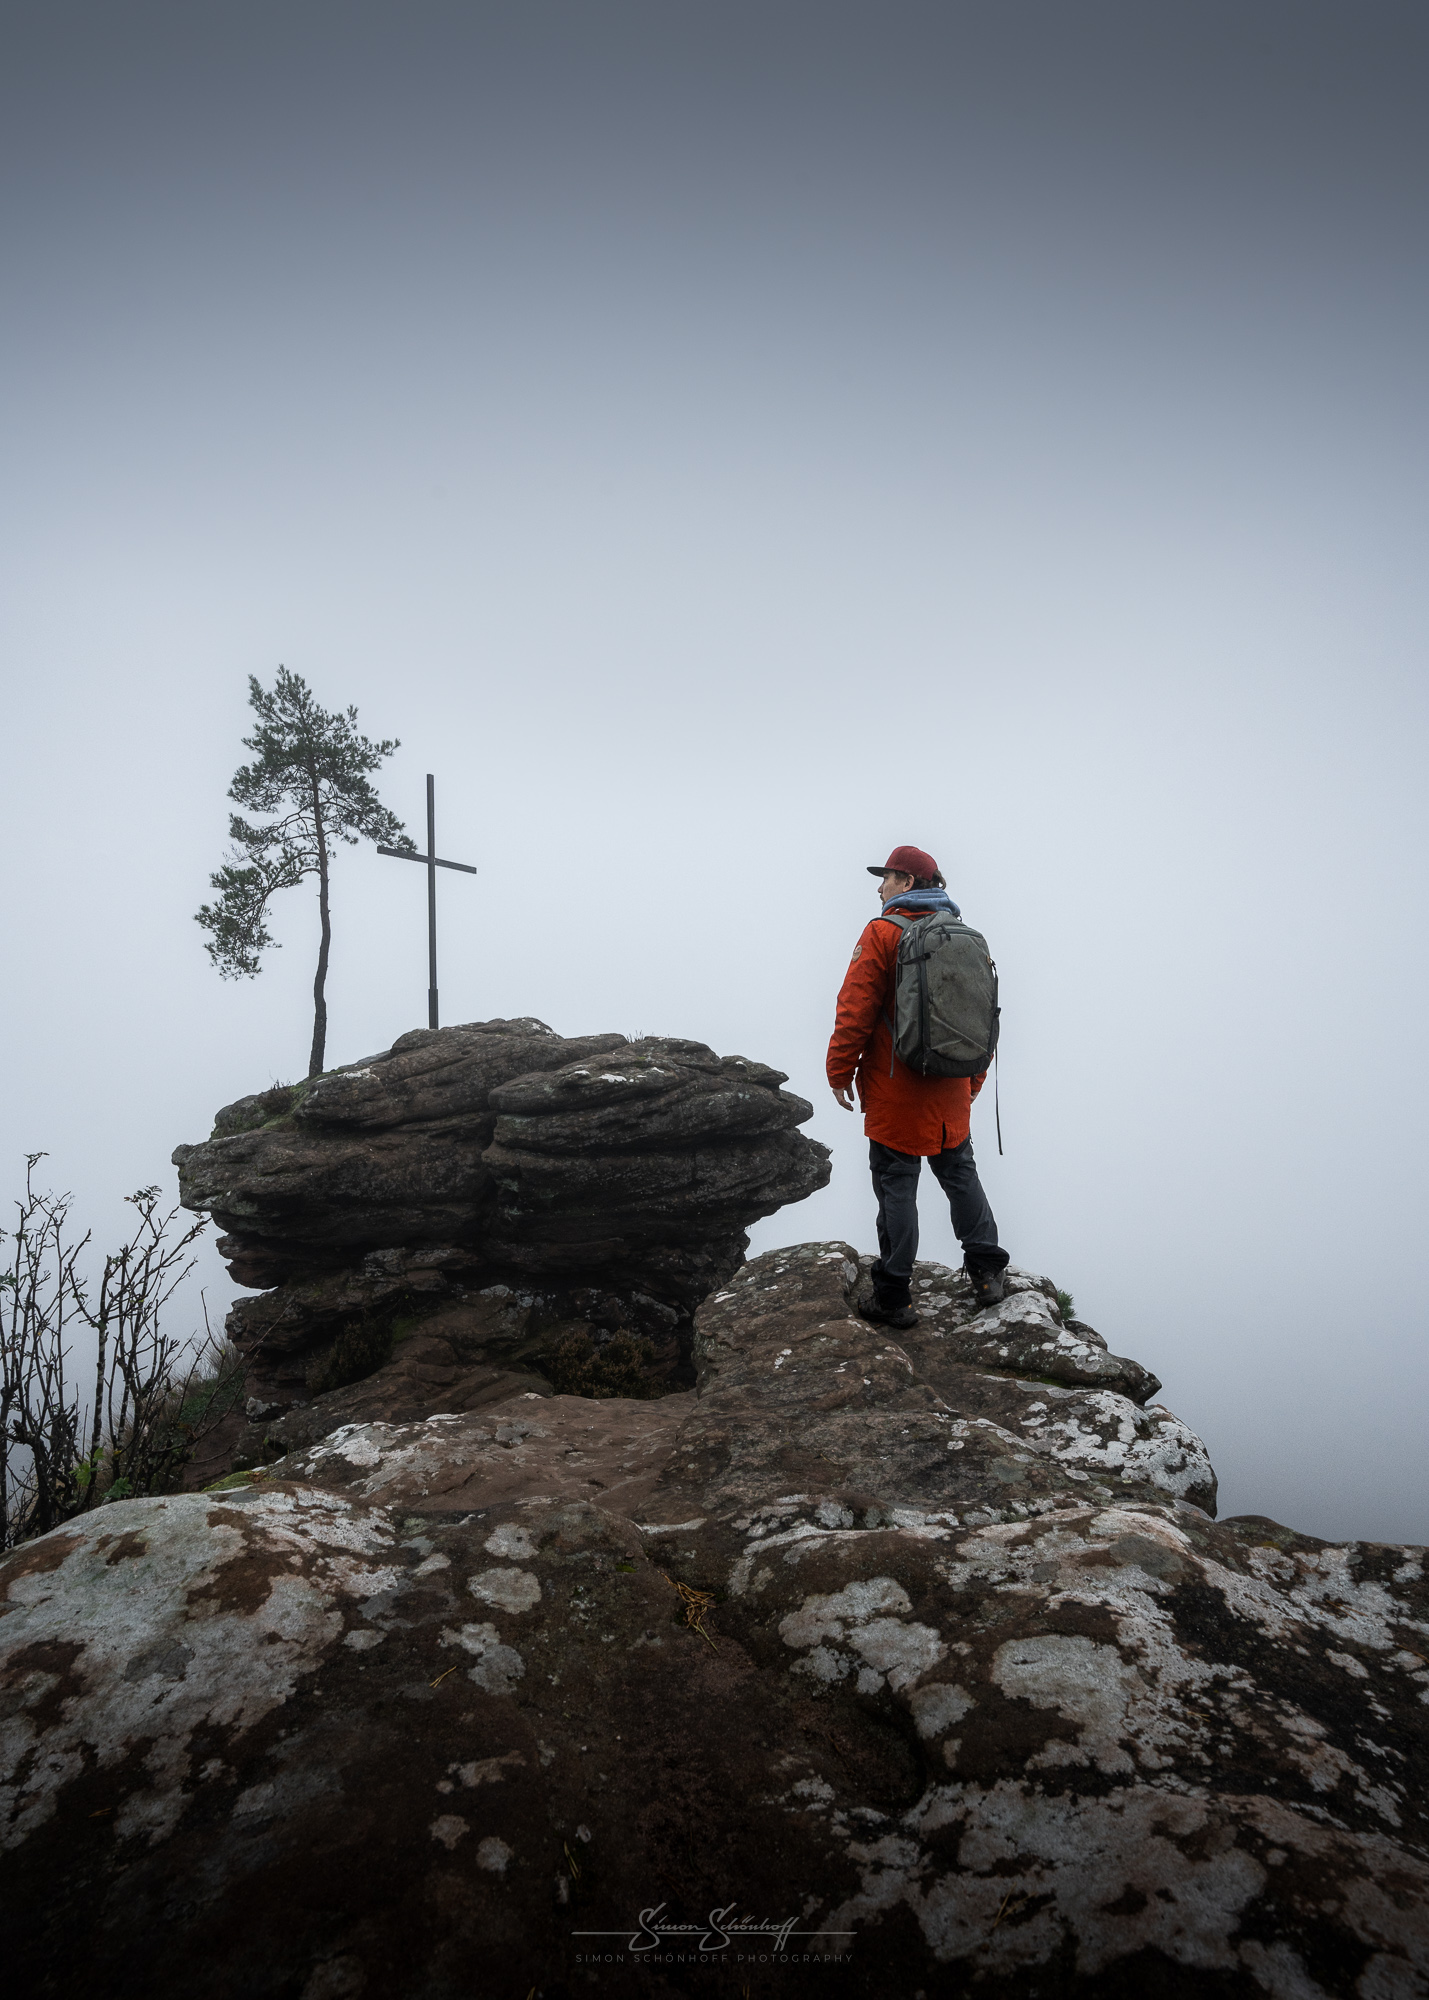
For me personally, I actually managed that morning not to let negative emotions get the better of me when I saw that my plan was not going to work. It was probably the first time that I simply got fully involved and worked with what I found, knowing and feeling that I could create interesting images with a good concept and a little creativity, even if my intention, the plan I set out with in the morning, had to be completely discarded. But that’s how it is sometimes. The important thing is what you make of it!
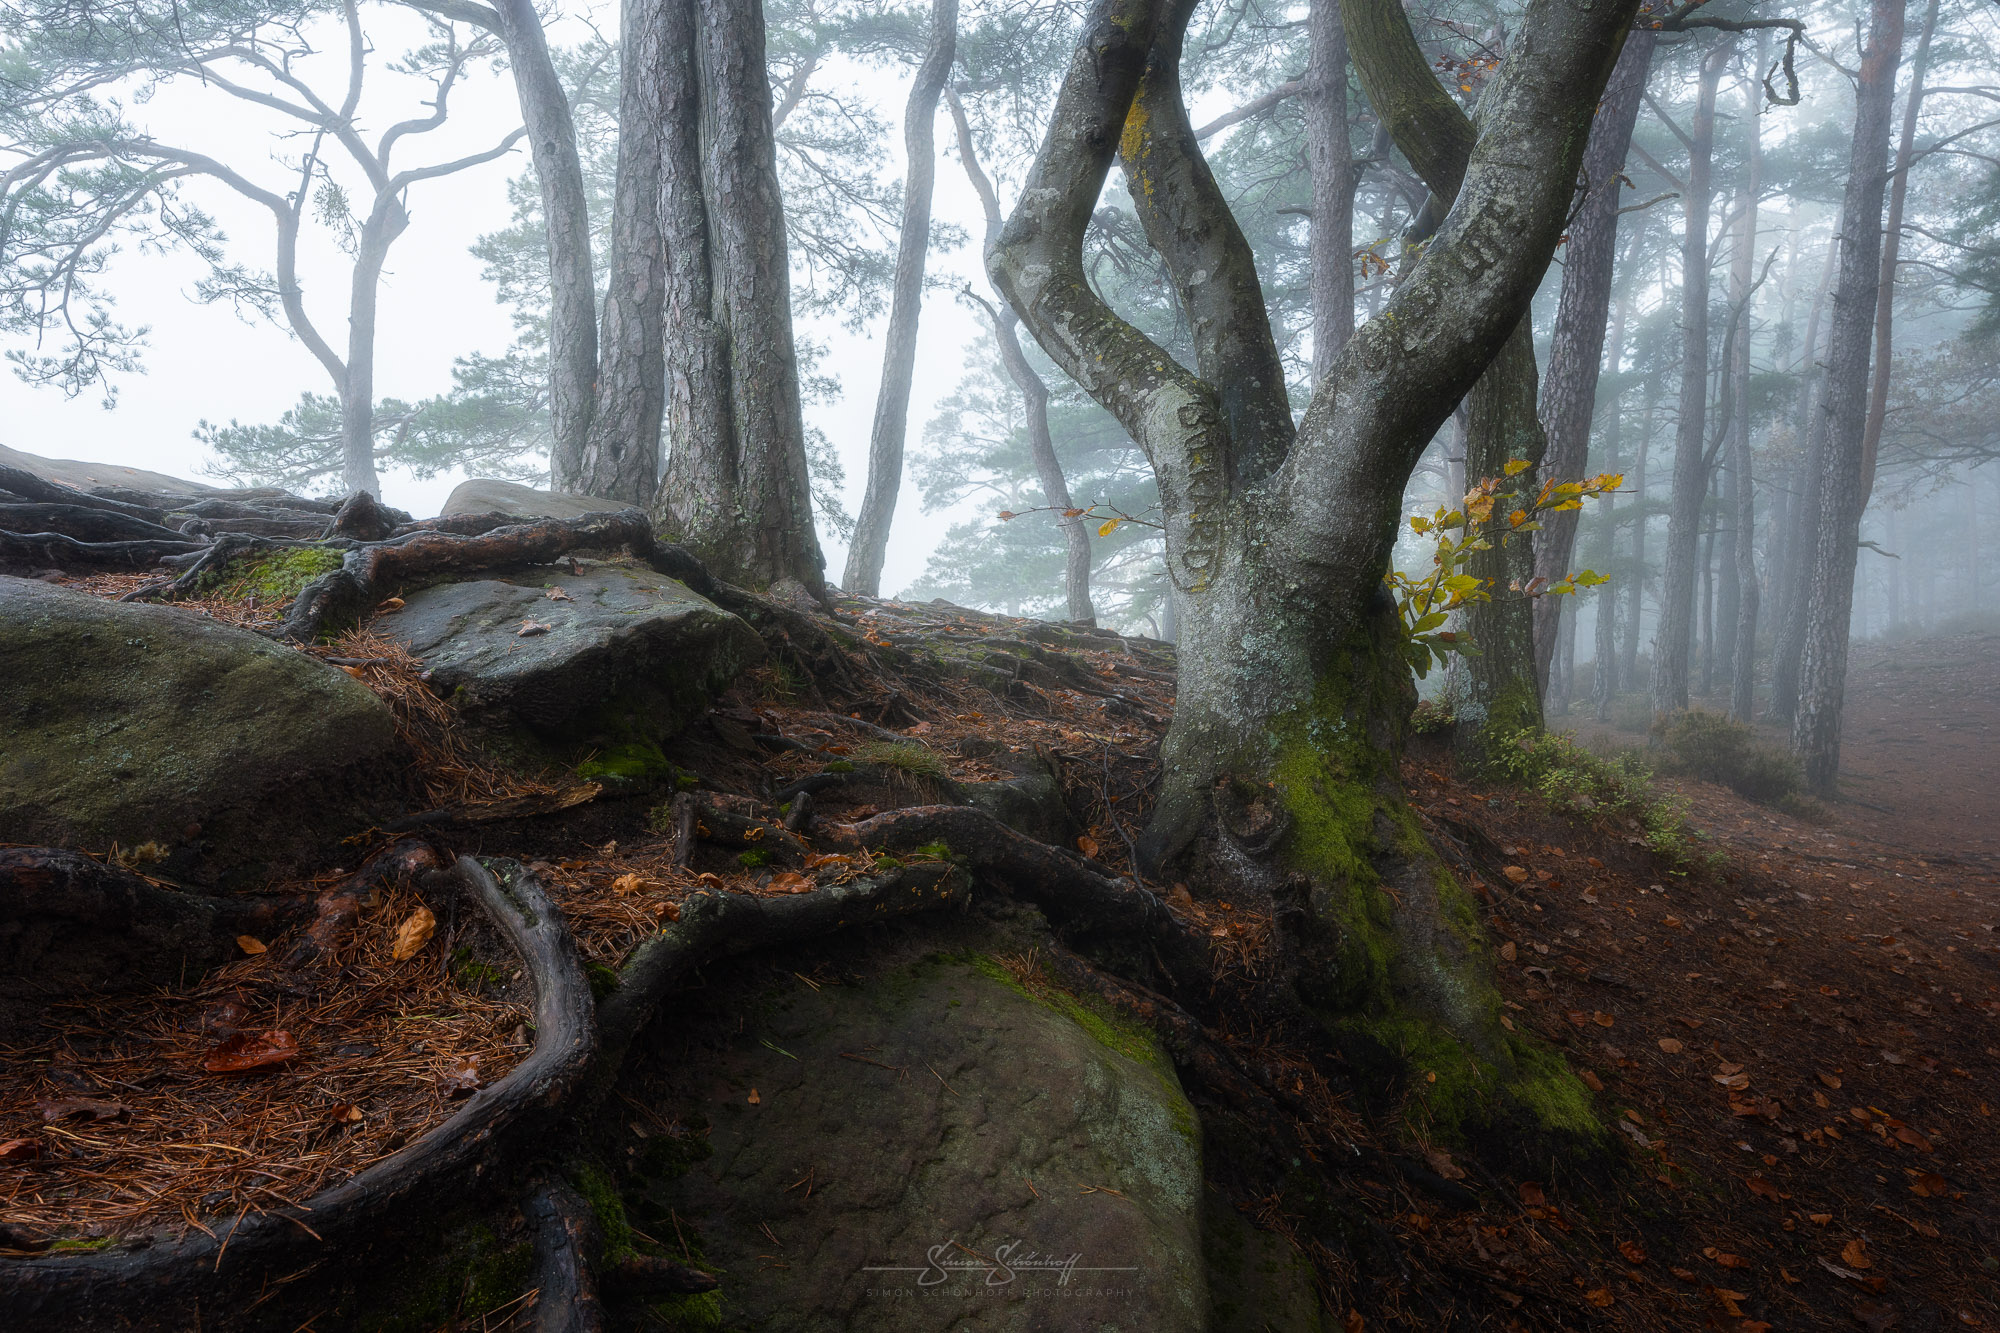
Nothing went as planned and yet it was a successful morning in the Palatinate Forest. I finally understood how the Sony works with auto-focus bracketing (more on this in the video below) and created some special images for me. But take a look for yourself, here are all the pictures from the VLOG to watch.
In today’s VLOG/BLOG I visit the Rötzenfelsen in the Palatinate. The forecast was for a veil of fog and dawn red. What I got was a thick gray soup of fog. Perhaps the Rötzenfelsen was too low or the fog was simply thicker than I expected. Should I pack up again straight away or just push through? Of course I stay on site. With a little creativity, I managed to get some great shots, but take a look for yourself! I also figured out the focus bracketing behavior of the Sony a7IV! So be sure to take a look!
Feel free to share: