You can see the VLOG to the BLOG at the bottom of the page or you can reach it via this button:
Gear:
Sony a7IV
Sony FE 2.8/16–35 mm GM
Sony FE 4/24–105 mm G
Sony FE 100–400 mm GM
When it comes to mushroom photography, we basically have two options. We can try to show the mushrooms in their environment and try to create a photo that has a continuous sharpness. This is not so easy, because many mushrooms are very small in relation to the trees that usually surround them. This means I have to get very close to get the mushrooms large in the picture. With a wide-angle lens, elements that are placed very close to the camera appear very large. However, this has a disadvantage: it is almost impossible to get everything in focus in one image. We therefore have to take more shots with different focus points in order to put them back together later in Photoshop using photo stacking. This focus bracketing can be done manually or, if you are the lucky owner of a camera with an automatic bracketing function, “automatically”.
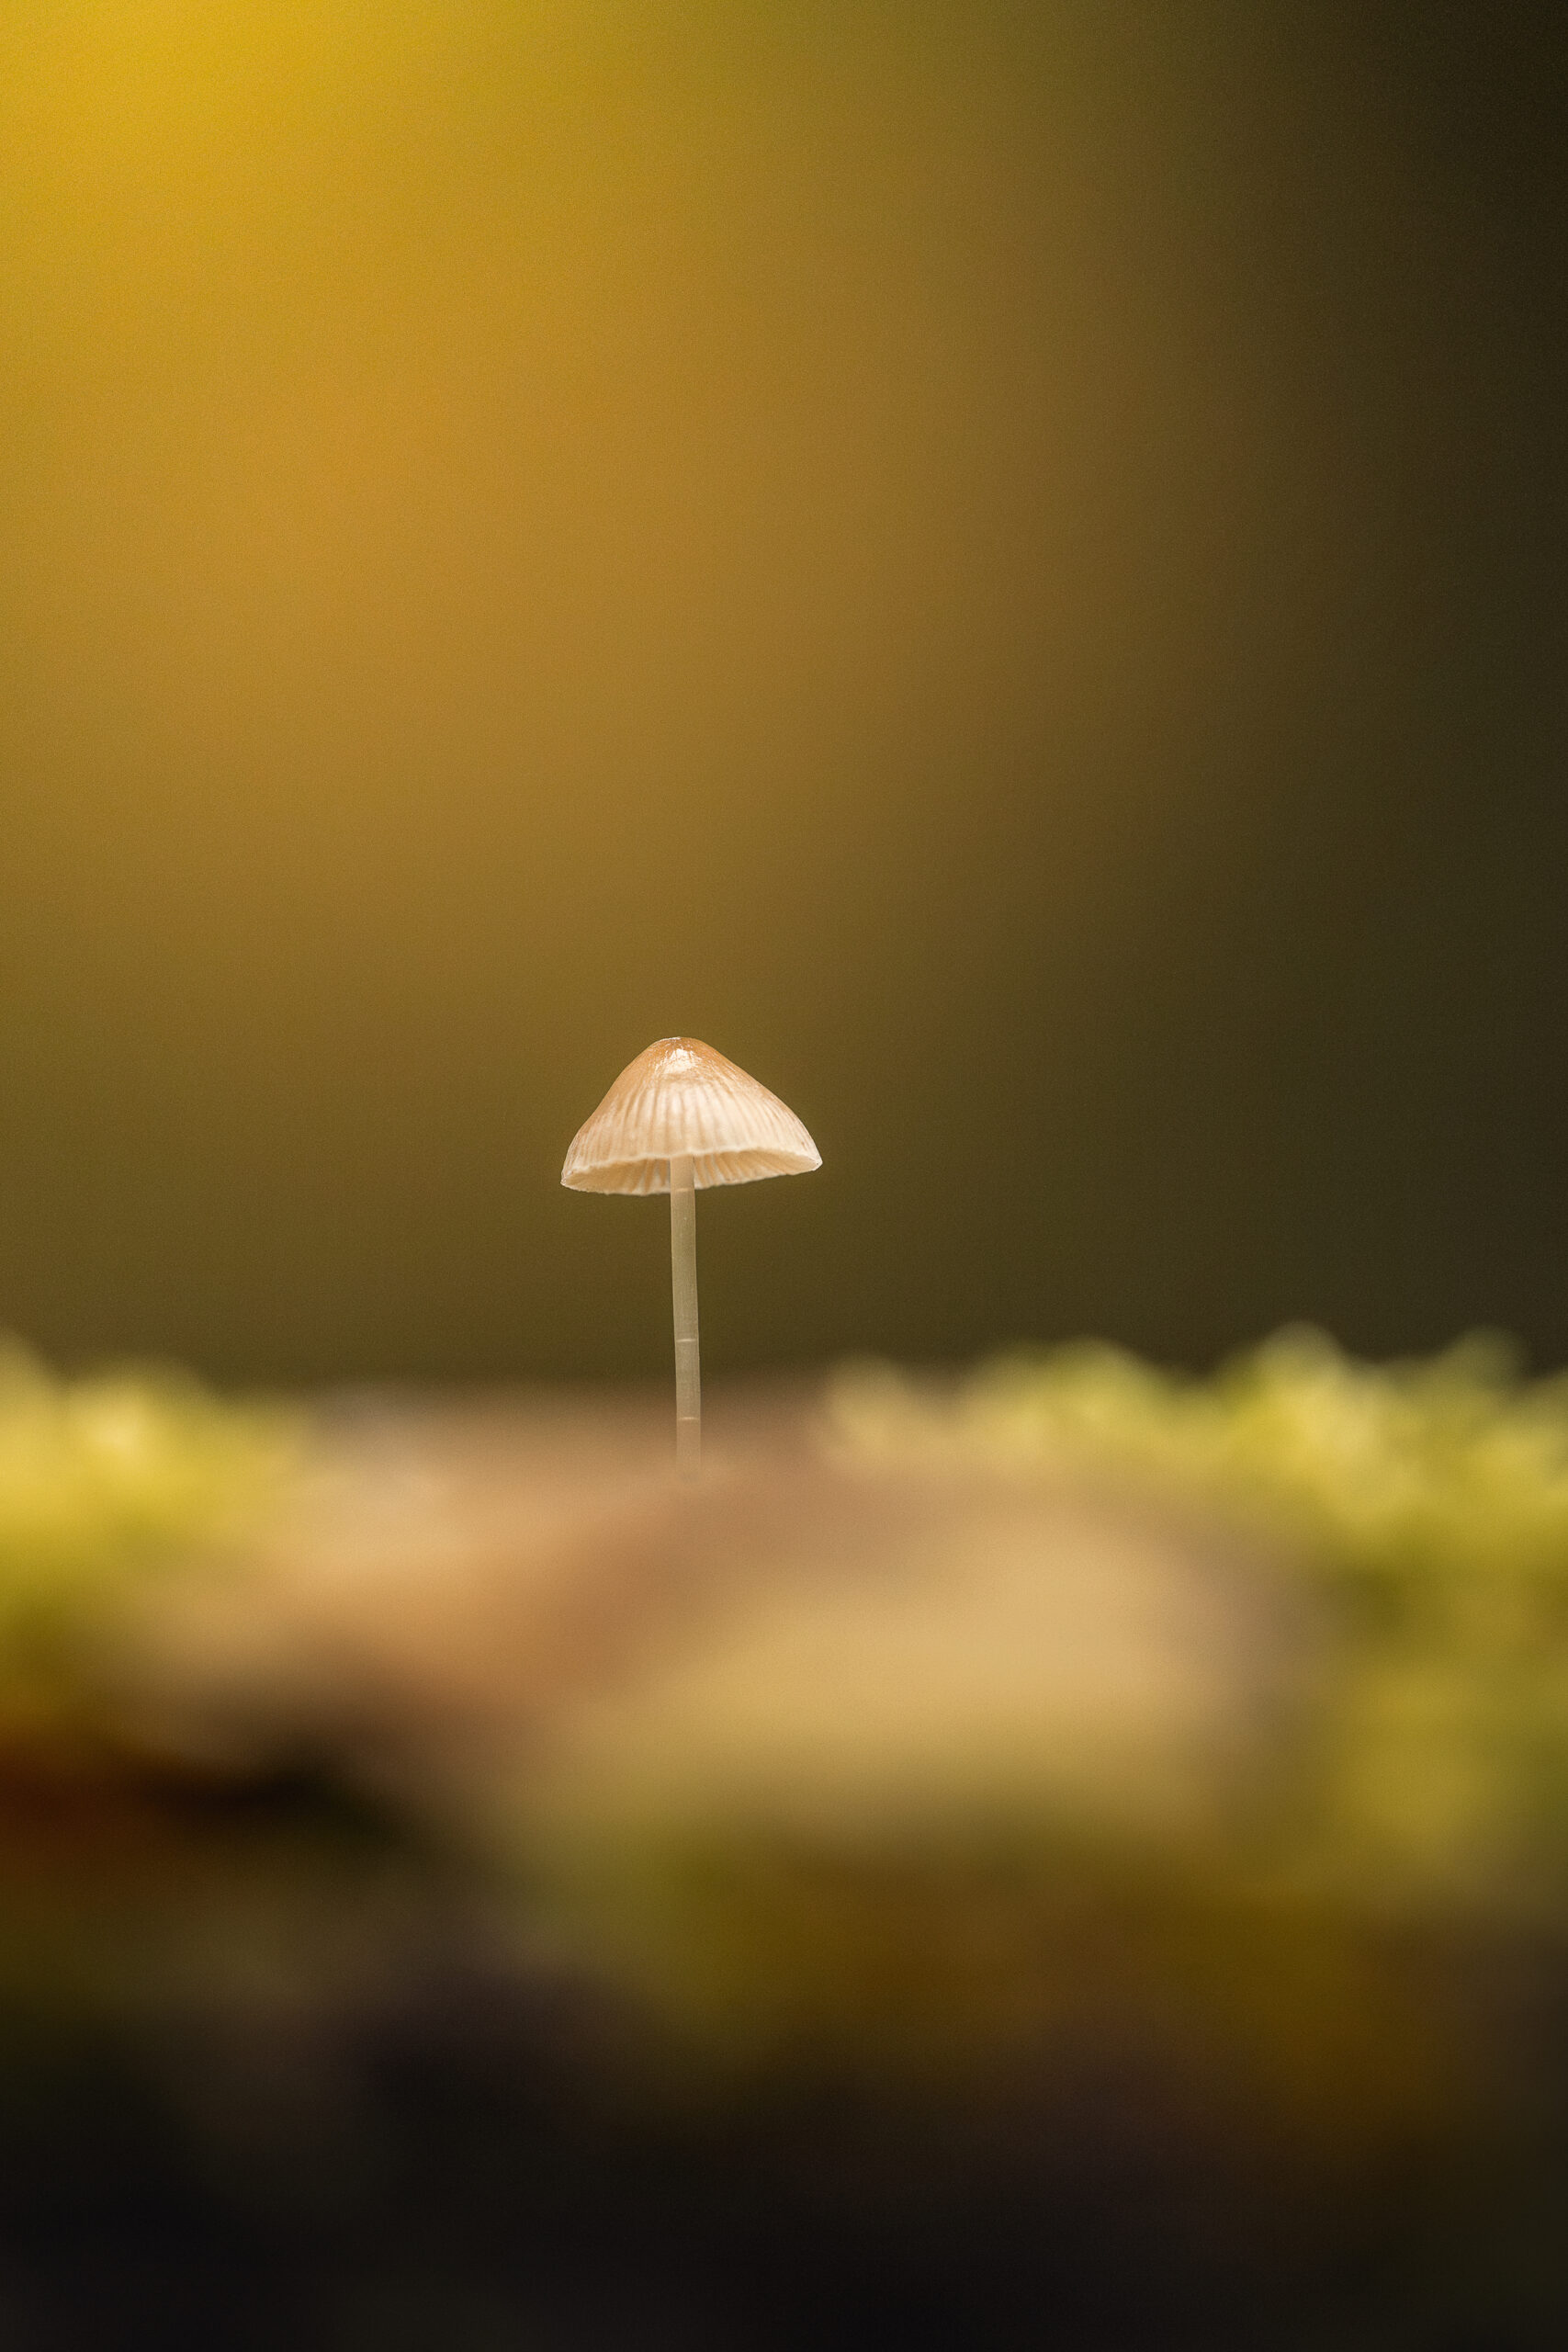
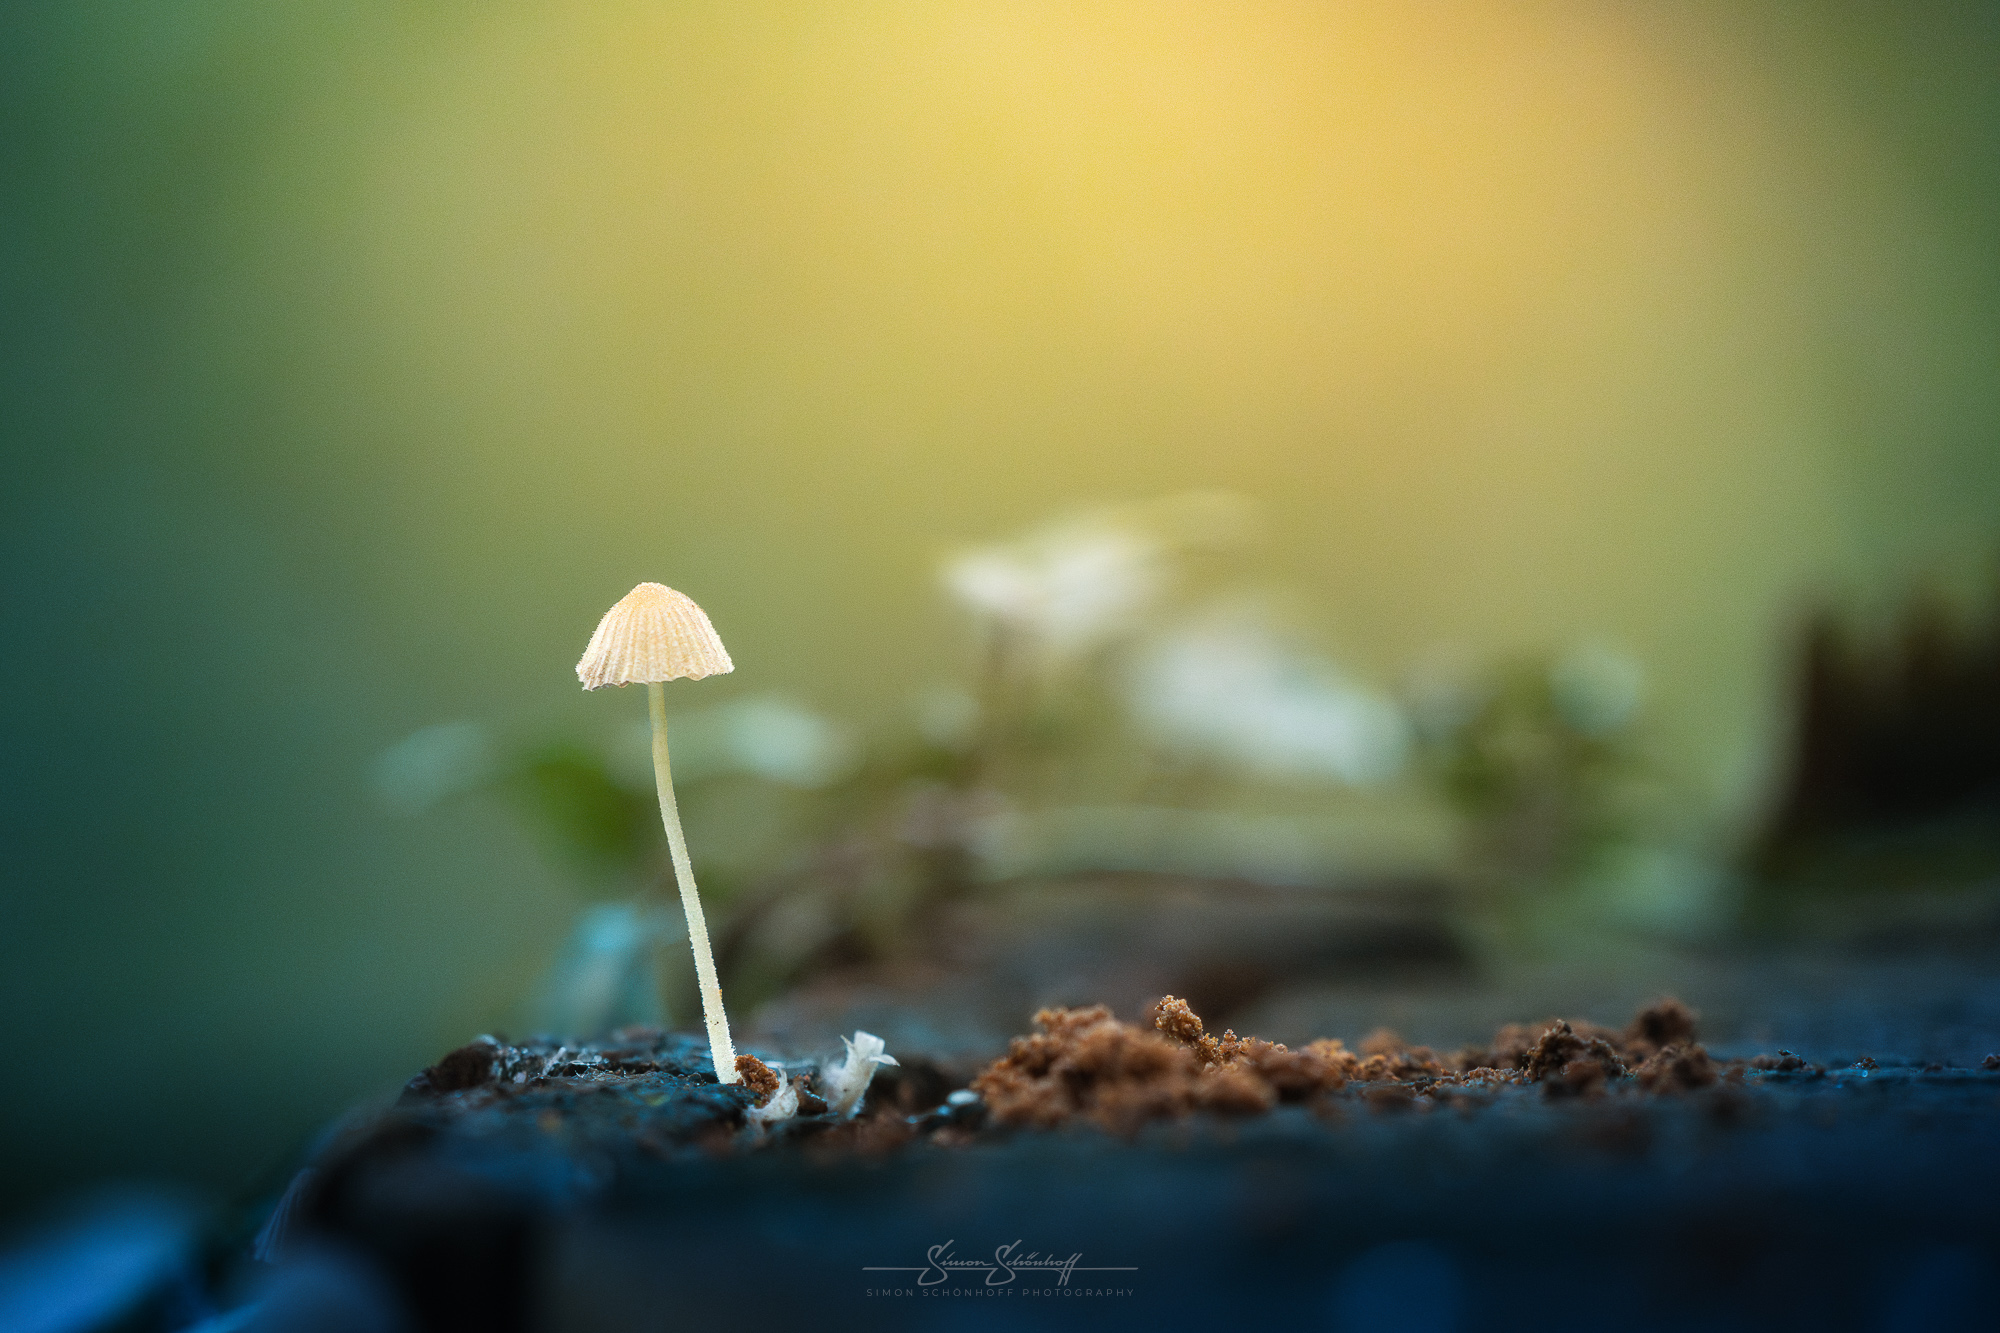
The other possibility is that we want to capture the mushroom nicely cropped, with the softest possible bokeh. An aperture that is as open as possible is ideal for this. However, mushrooms are round and if the aperture is wide open, the center may be sharp, but elements of the mushroom’s head that are closer and further away may no longer be. We should therefore close the aperture until the mushroom is completely in focus. But what happens to our background then? Right, it is no longer as soft. Bracketing helps us here too. Macro photographers often use a macro bracket, moving the camera millimetre by millimetre in order to focus on the subject in its entirety. The camera can now do this with automatic focus bracketing. The result is that we can use stacking to achieve a completely sharp subject and yet a soft background.

This and all other shots of this post you can request under “Prints” as an art print for your wall at home directly from me.
In the video (below) you can see my first attempts at using automatic focus bracketing. The first pictures are really not masterpieces, but serve to familiarize myself with the technique. When I feel more comfortable with it and have gained some experience, I will certainly make another video about this technique. First of all, however, it has to be said that the results with the subject stacked and the aperture rather wide open were very pleasing. When bracketing the wide-angle shots, however, I made a few mistakes as I lacked sharpness at the front and back.
With manual focus bracketing, I am always pretty sure that I have captured all focus planes. Not with automated bracketing. Here, the focus point was actually a decisive factor. I had initially focused as usual, i.e. approx. hyperfocal distance or at the center of the subject. This resulted in my first failed attempts. In the standard setting, the bracketing function creates images from the selected focus point and moves it backwards into the image. This means you have to select the closest point to the camera when focusing where all foreground elements are in focus and then press the shutter button.
If the background of the last image is also in focus, then the number of images is sufficient. If there are blurred areas between the sharpness levels of the individual images, you must reduce the step size, but also increase the number of images. You can also increase the step size and reduce the number of images if you notice that you have a lot of overlapping areas. (However, you can also simply work with 3 or 4 shots instead of all of them afterwards).
So if you want to stack and create a nice crop, e.g. with a longer focal length, then use a wider aperture and focus on the foremost point of your subject. The camera shifts the focus to the rear. Ideally, you will still have the rearmost visible point of the subject in focus and the background will remain nice and soft.

It is therefore another technique that you should spend two hours working on to master. Experience and analysis of your images should then help you to realize the images as desired.
The larger your magnification, especially in the extreme macro range, or the wider the aperture, the more shots you will need. If you are very wide-angle and have the aperture wide open, three are probably sufficient. So try it out. Different subjects, different focal lengths, different image compositions. Then you’ll soon get the hang of it!

It was also an instructive hour in the forest for me. Looking for mushrooms, taking photos and then automatic focus bracketing. In addition to the pictures shown here, there were also some failed attempts and the first shots are certainly not yet masterpieces, as I was still too focused on the technology. Nevertheless, here are all the pictures from the VLOG to look at.
In today’s VLOG/BLOG I am struggling with a new technique, automated focus bracketing. The first failed attempts or “meah” pictures give me an idea of what I should pay attention to and what I can do better. The series of pictures at the end shows that the development curve can be steep. Have fun looking at them!
Feel free to share: