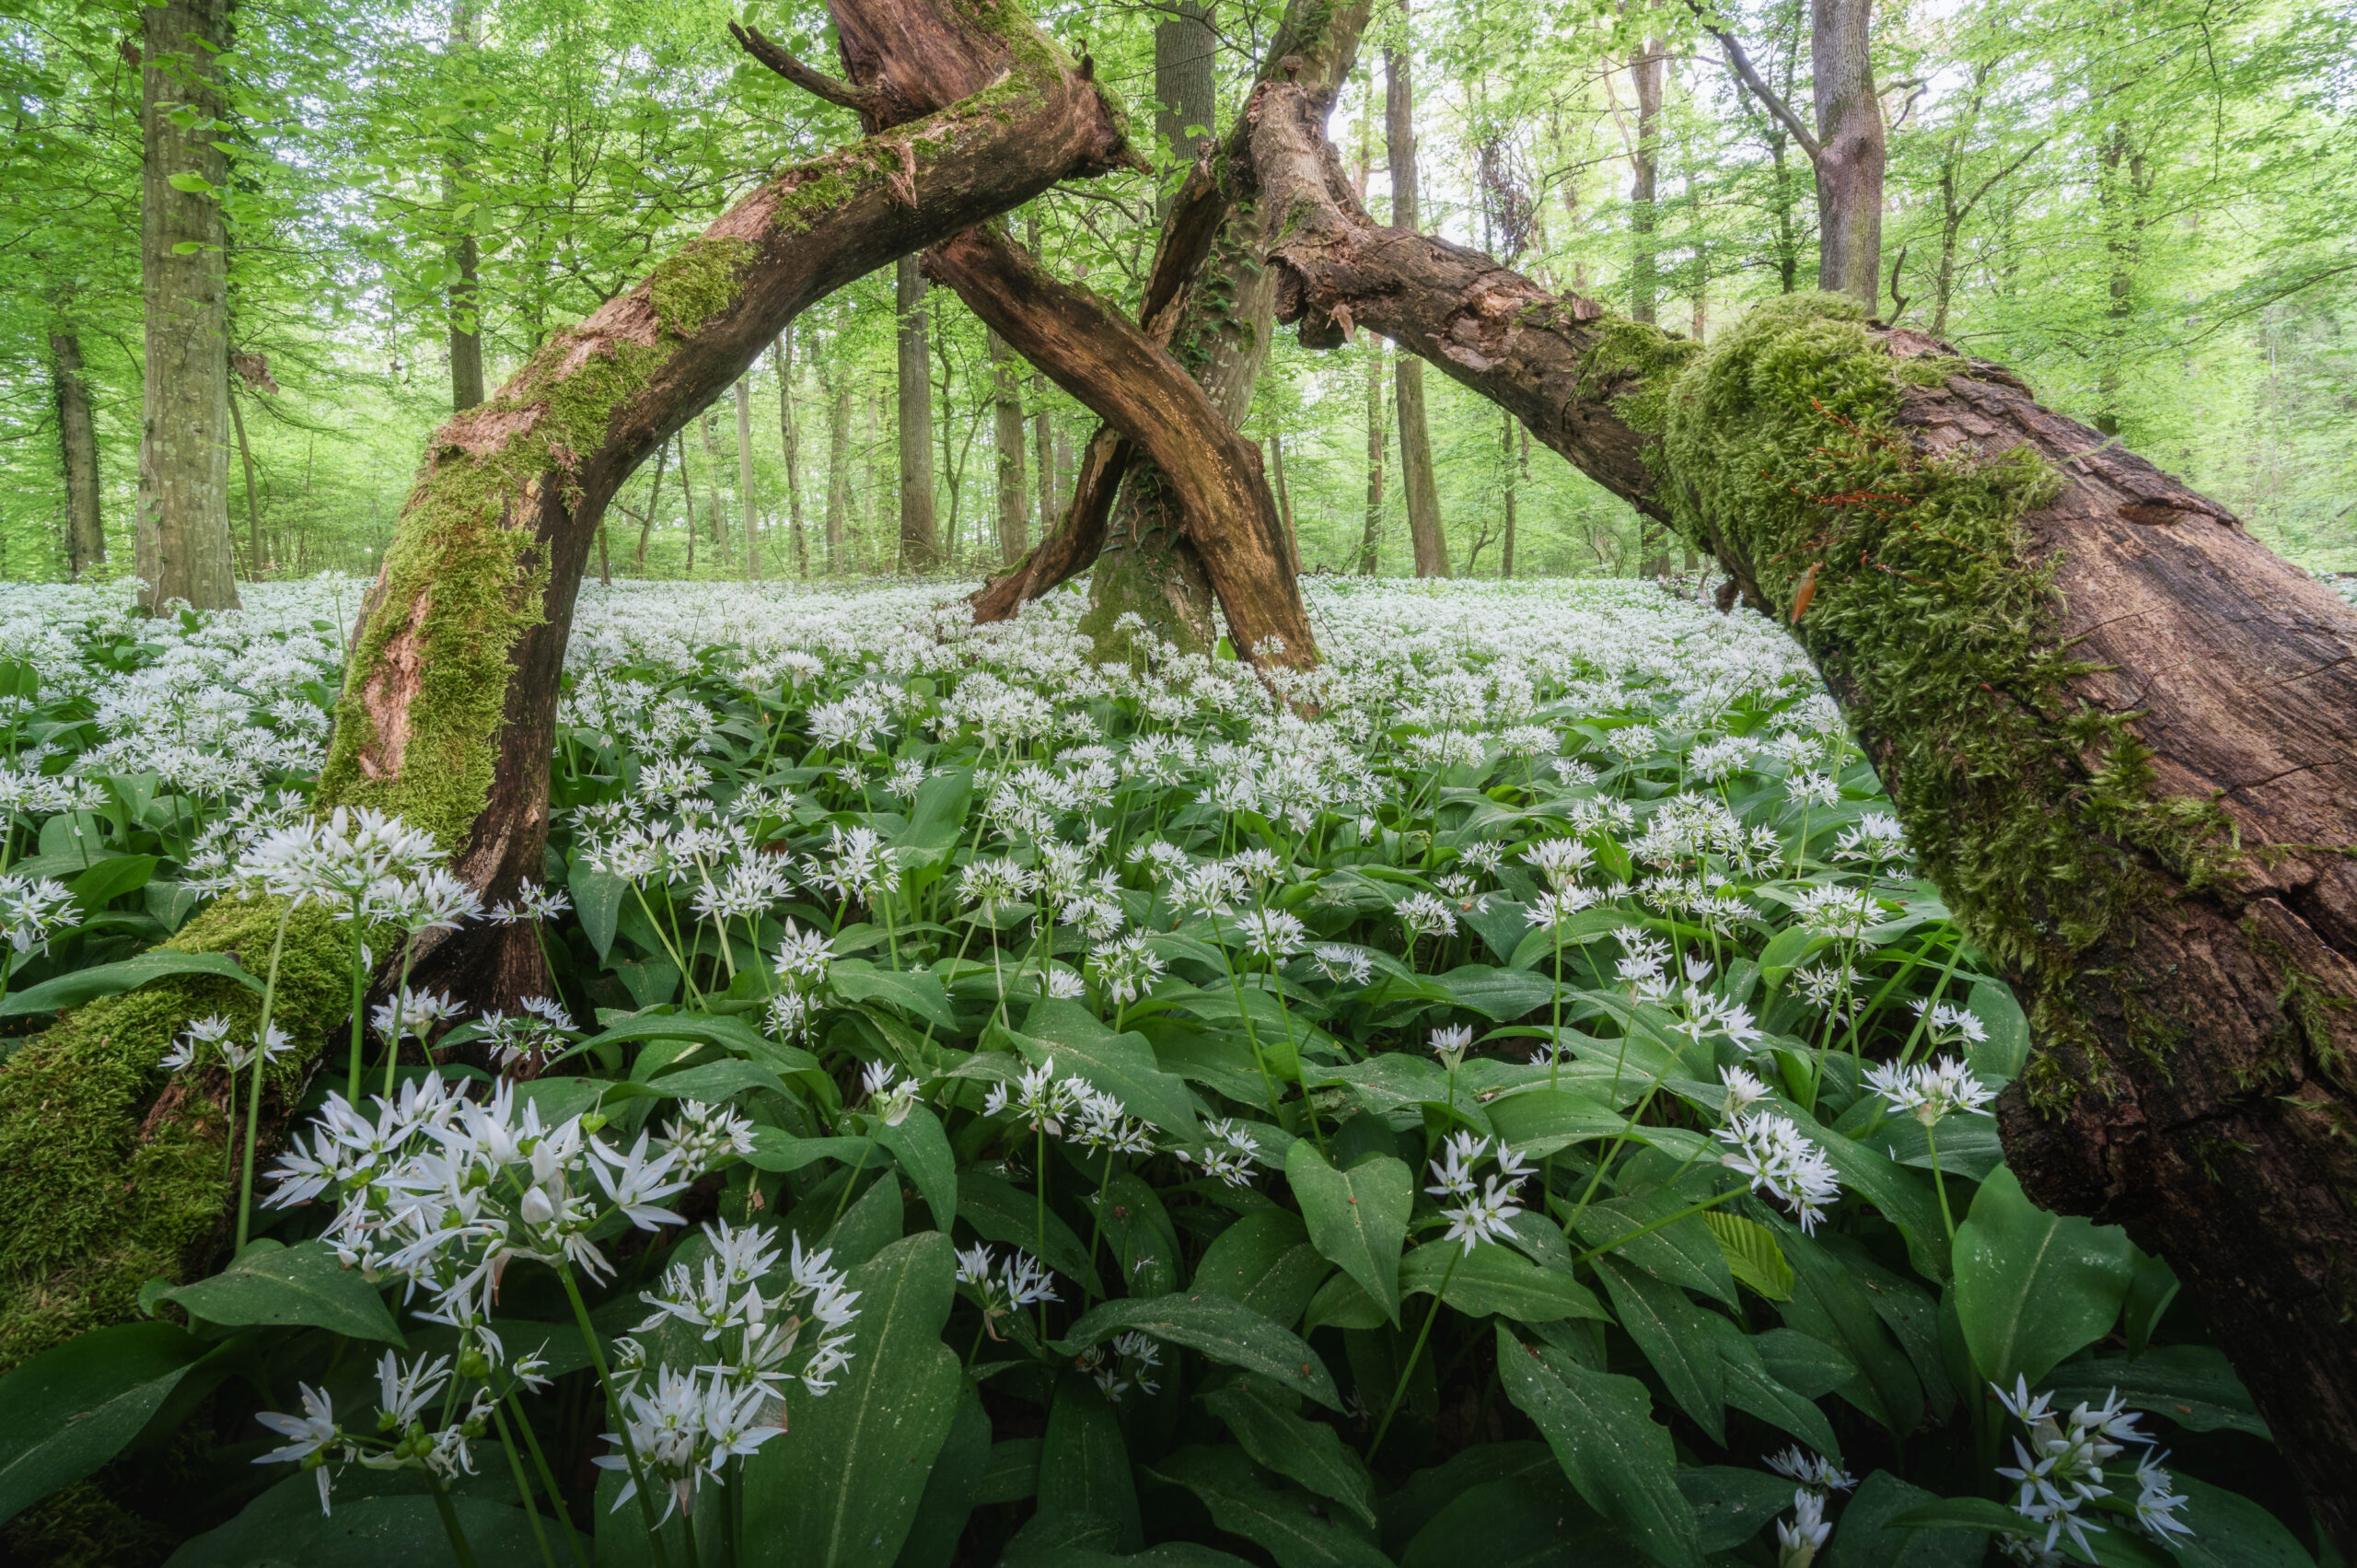
Fantastic wild garlic photos — how to photograph and edit them
You can see the VLOG to the BLOG at the bottom of the page or you can reach it via this button:
Gear:
Sony a7IV
Sony FE 2.8/16–35 mm GM
This article is about the settings and image processing. If you want to know more about wild garlic in general, where to find it, etc., you should take a look at this article: Bärlauchfotografie – So klappt’s unter jeder Bedingung
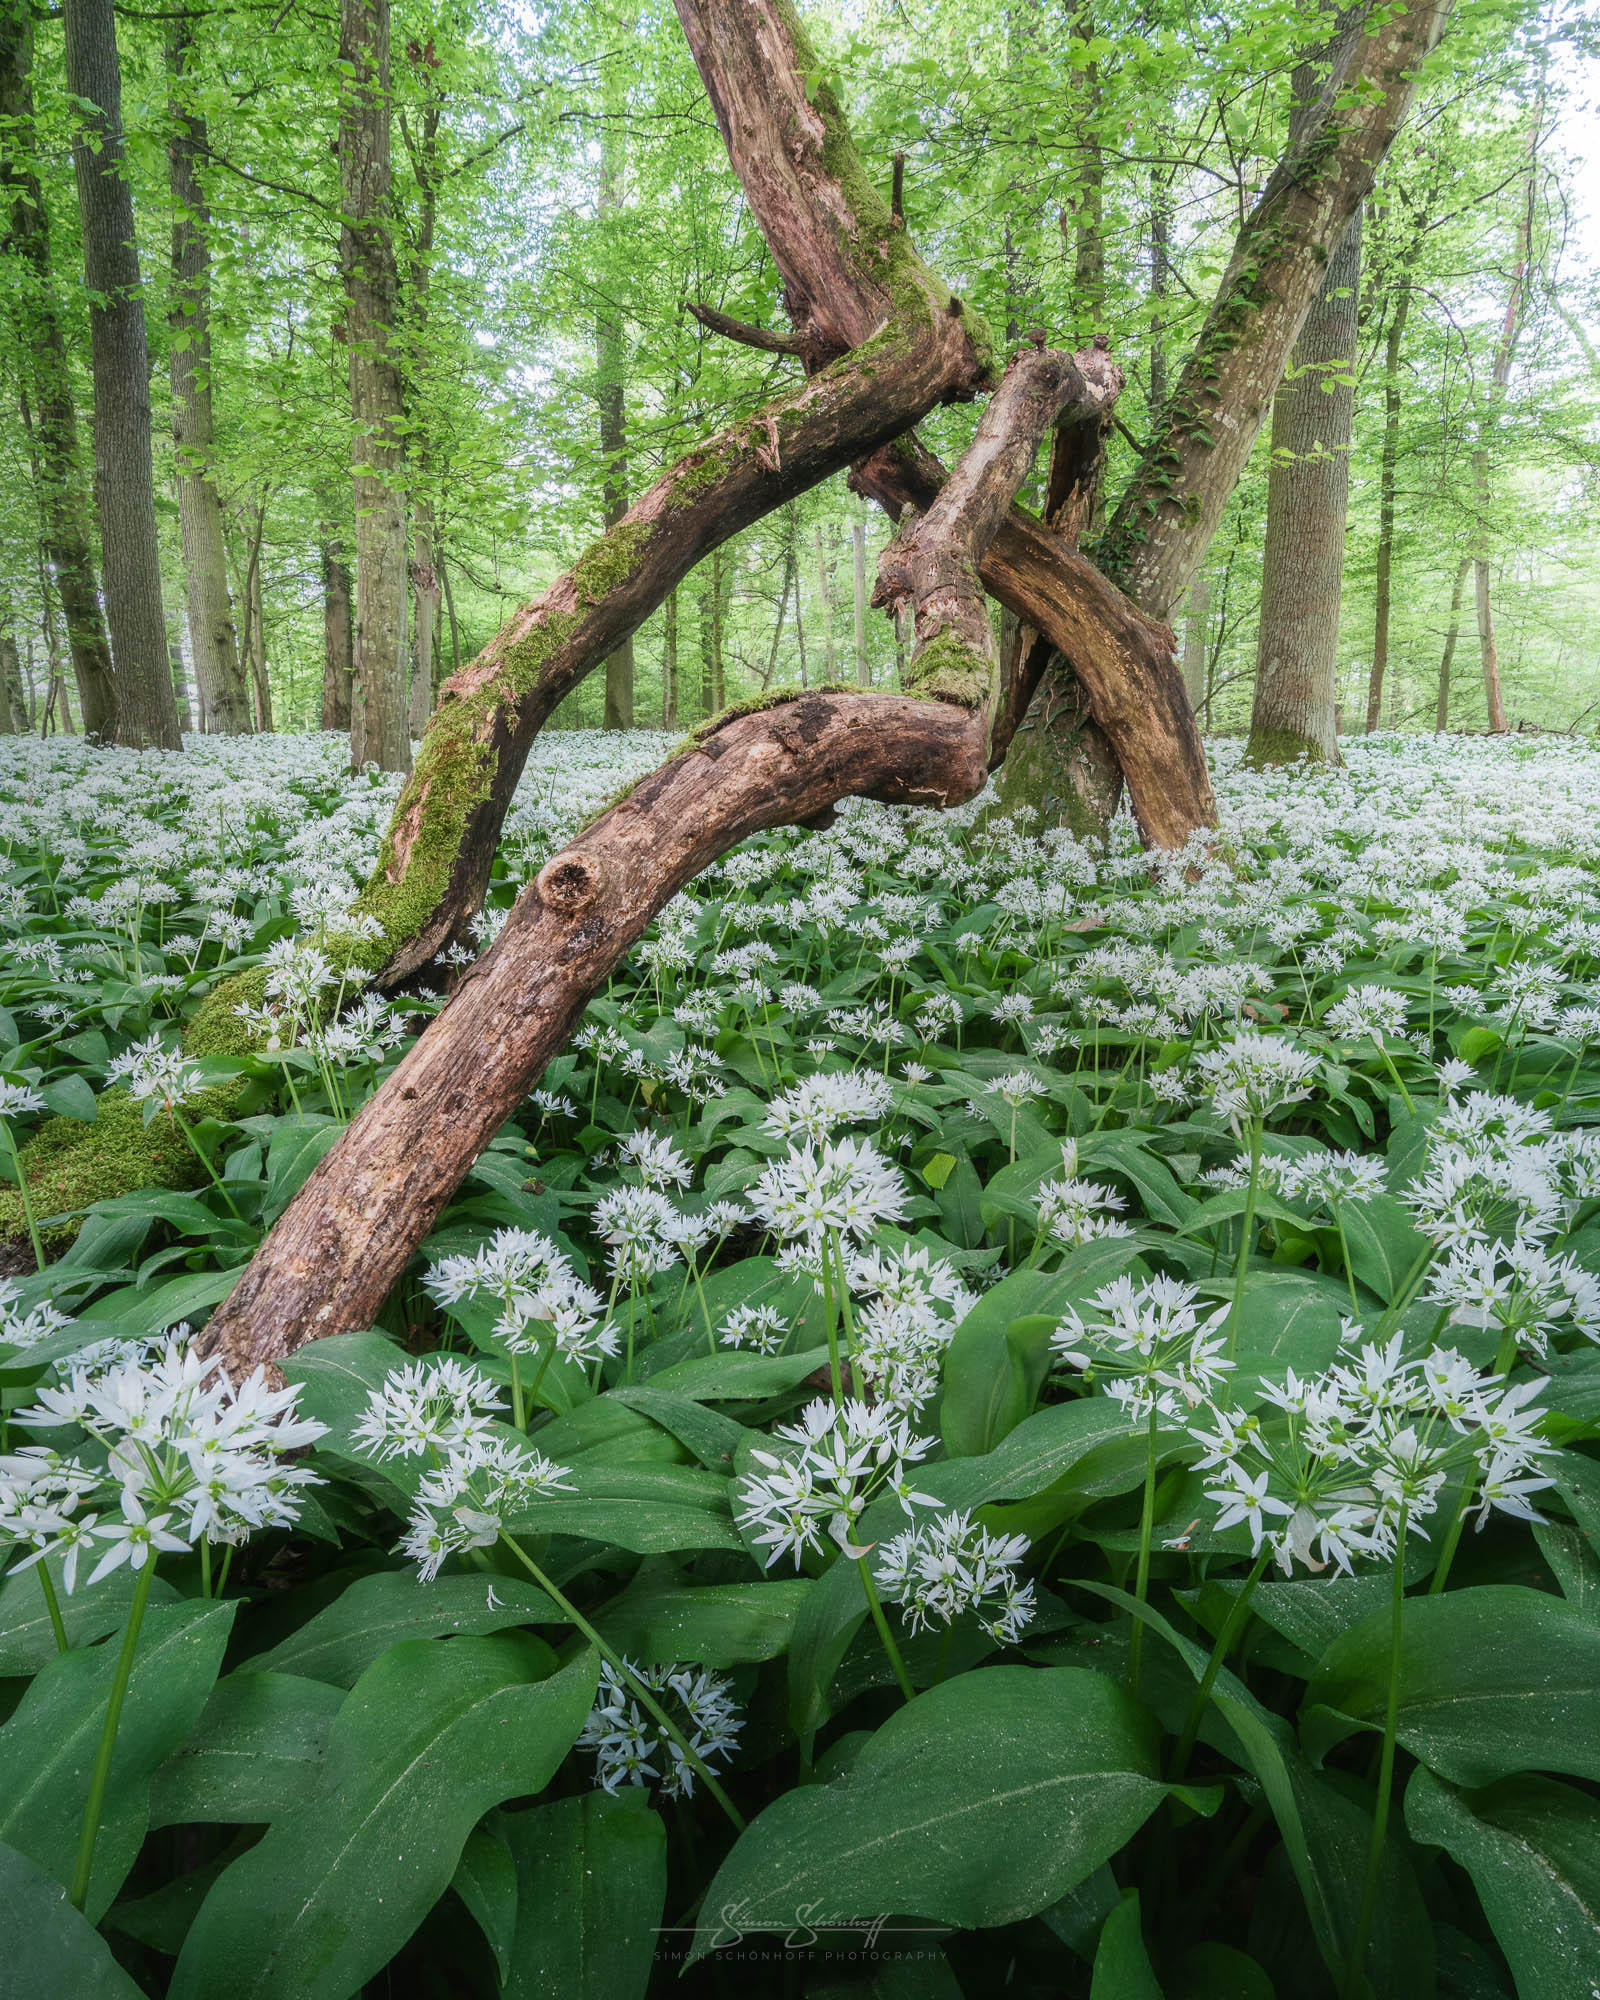
Tips/settings for photographing wild garlic
- Use medium focal length to wide-angle lens
- Use aperture priority or manual mode
- Closed aperture between f/8 and f/16
- Focus stacking if necessary (preferably when there is no wind)
- For focus stacking, select exposure metering over the entire image average (if no multi-metering method is available), or Manual mode
- If it is dark in the forest and the exposure time would be too long, don’t be afraid of ISO 800 or ISO 1600
- Get close, vary the camera height and make sure that important picture elements are not unattractively covered and are separated as well as possible.
Photoshop-Workflow
- Basic settings, gradation curve, colors with Lightroom or Camera-Raw, possibly already selective masks
- Synchronize settings for focus stacking between images
- Select all images with Shift+mouse button, right-click Edit in, open in Photoshop as layers
- In Photoshop, select all layers with Shift+left mouse button, click on Edit, Auto-align layers, Projection auto
- Focus stacking through Photoshop with Edit/Auto Blend Layers/Select Stack Images
- Optional: Group focus stacking layers with Ctrl+G
- Transform
- Copy the result layer with Ctrl+J for transform (if necessary)
- Edit/transform/deform, drag corners until it fits or edit/perspective deformation
- Alternatively or additionally: filter/liquefy, take as large a brush as possible and draw in individual areas.
- Clean up using removal tool “J” or generative filling
- Dodge&Burn:
- Easiest way to create luminance masks via TK-Panel or ProPanel (additional addons for Photoshop),
- in channels with Ctrl+left mouse button,
- in Layers to create a new layer,
- Create layer mask,
- Mixing method Soft light,
- Paint over areas with a light or dark brush (opacity <30%) as required and according to your own ideas.
- Shape light:
- Create new level
- Mixing method Soft light
- create a manual “vignette” with a dark brush (opacity 10%) or paint some light into the picture with a light brush
- Orton effect
- Click on top layer, Shorcut Shift+Ctrl+Alt+E copies all visible layers together into a new layer
- Filter/blur filter/Gaussian blur, between 24 and 33px or more, depending on the resolution of the camera
- Opacity between 6 and 12%, if necessary work with a mask if the effect is too strong
- Cropping
This and all other shots of this post you can request under “Prints” as an art print for your wall at home directly from me.
VLOG to the BLOG
I almost missed it. Without any premonition, I popped into my local forest the day before to see if the wild garlic could start flowering in the next few days. But I was amazed when I saw that the forest floor was already covered in a carpet of white wild garlic. Of course, I came back the next morning to take some nice pictures. I’ll also show you how I edit my wild garlic pictures in Photoshop. Have fun looking at them!
Feel free to share: