Gear:
Sony a7IV
Sony FE 4/24–105 mm G
You can see the VLOG to the BLOG at the bottom of the page or you can reach it via this button:
Anyone editing a RAW photo with Lightroom for the first time will be surprised at how much contrast, colour and detail they can get out of their images. Simply go through the sliders from top to bottom and see what happens, to put it bluntly. If it gets better, great; if not, reset it. Once you’re done, you’ll already be thinking, ‘Wow!’
But if you leave it at that, you’re leaving a lot of your photos’ potential untapped. Because the actual image editing begins with the mask tool in Lightroom(*), or other software, such as Luminar Neo(*) really gets going.
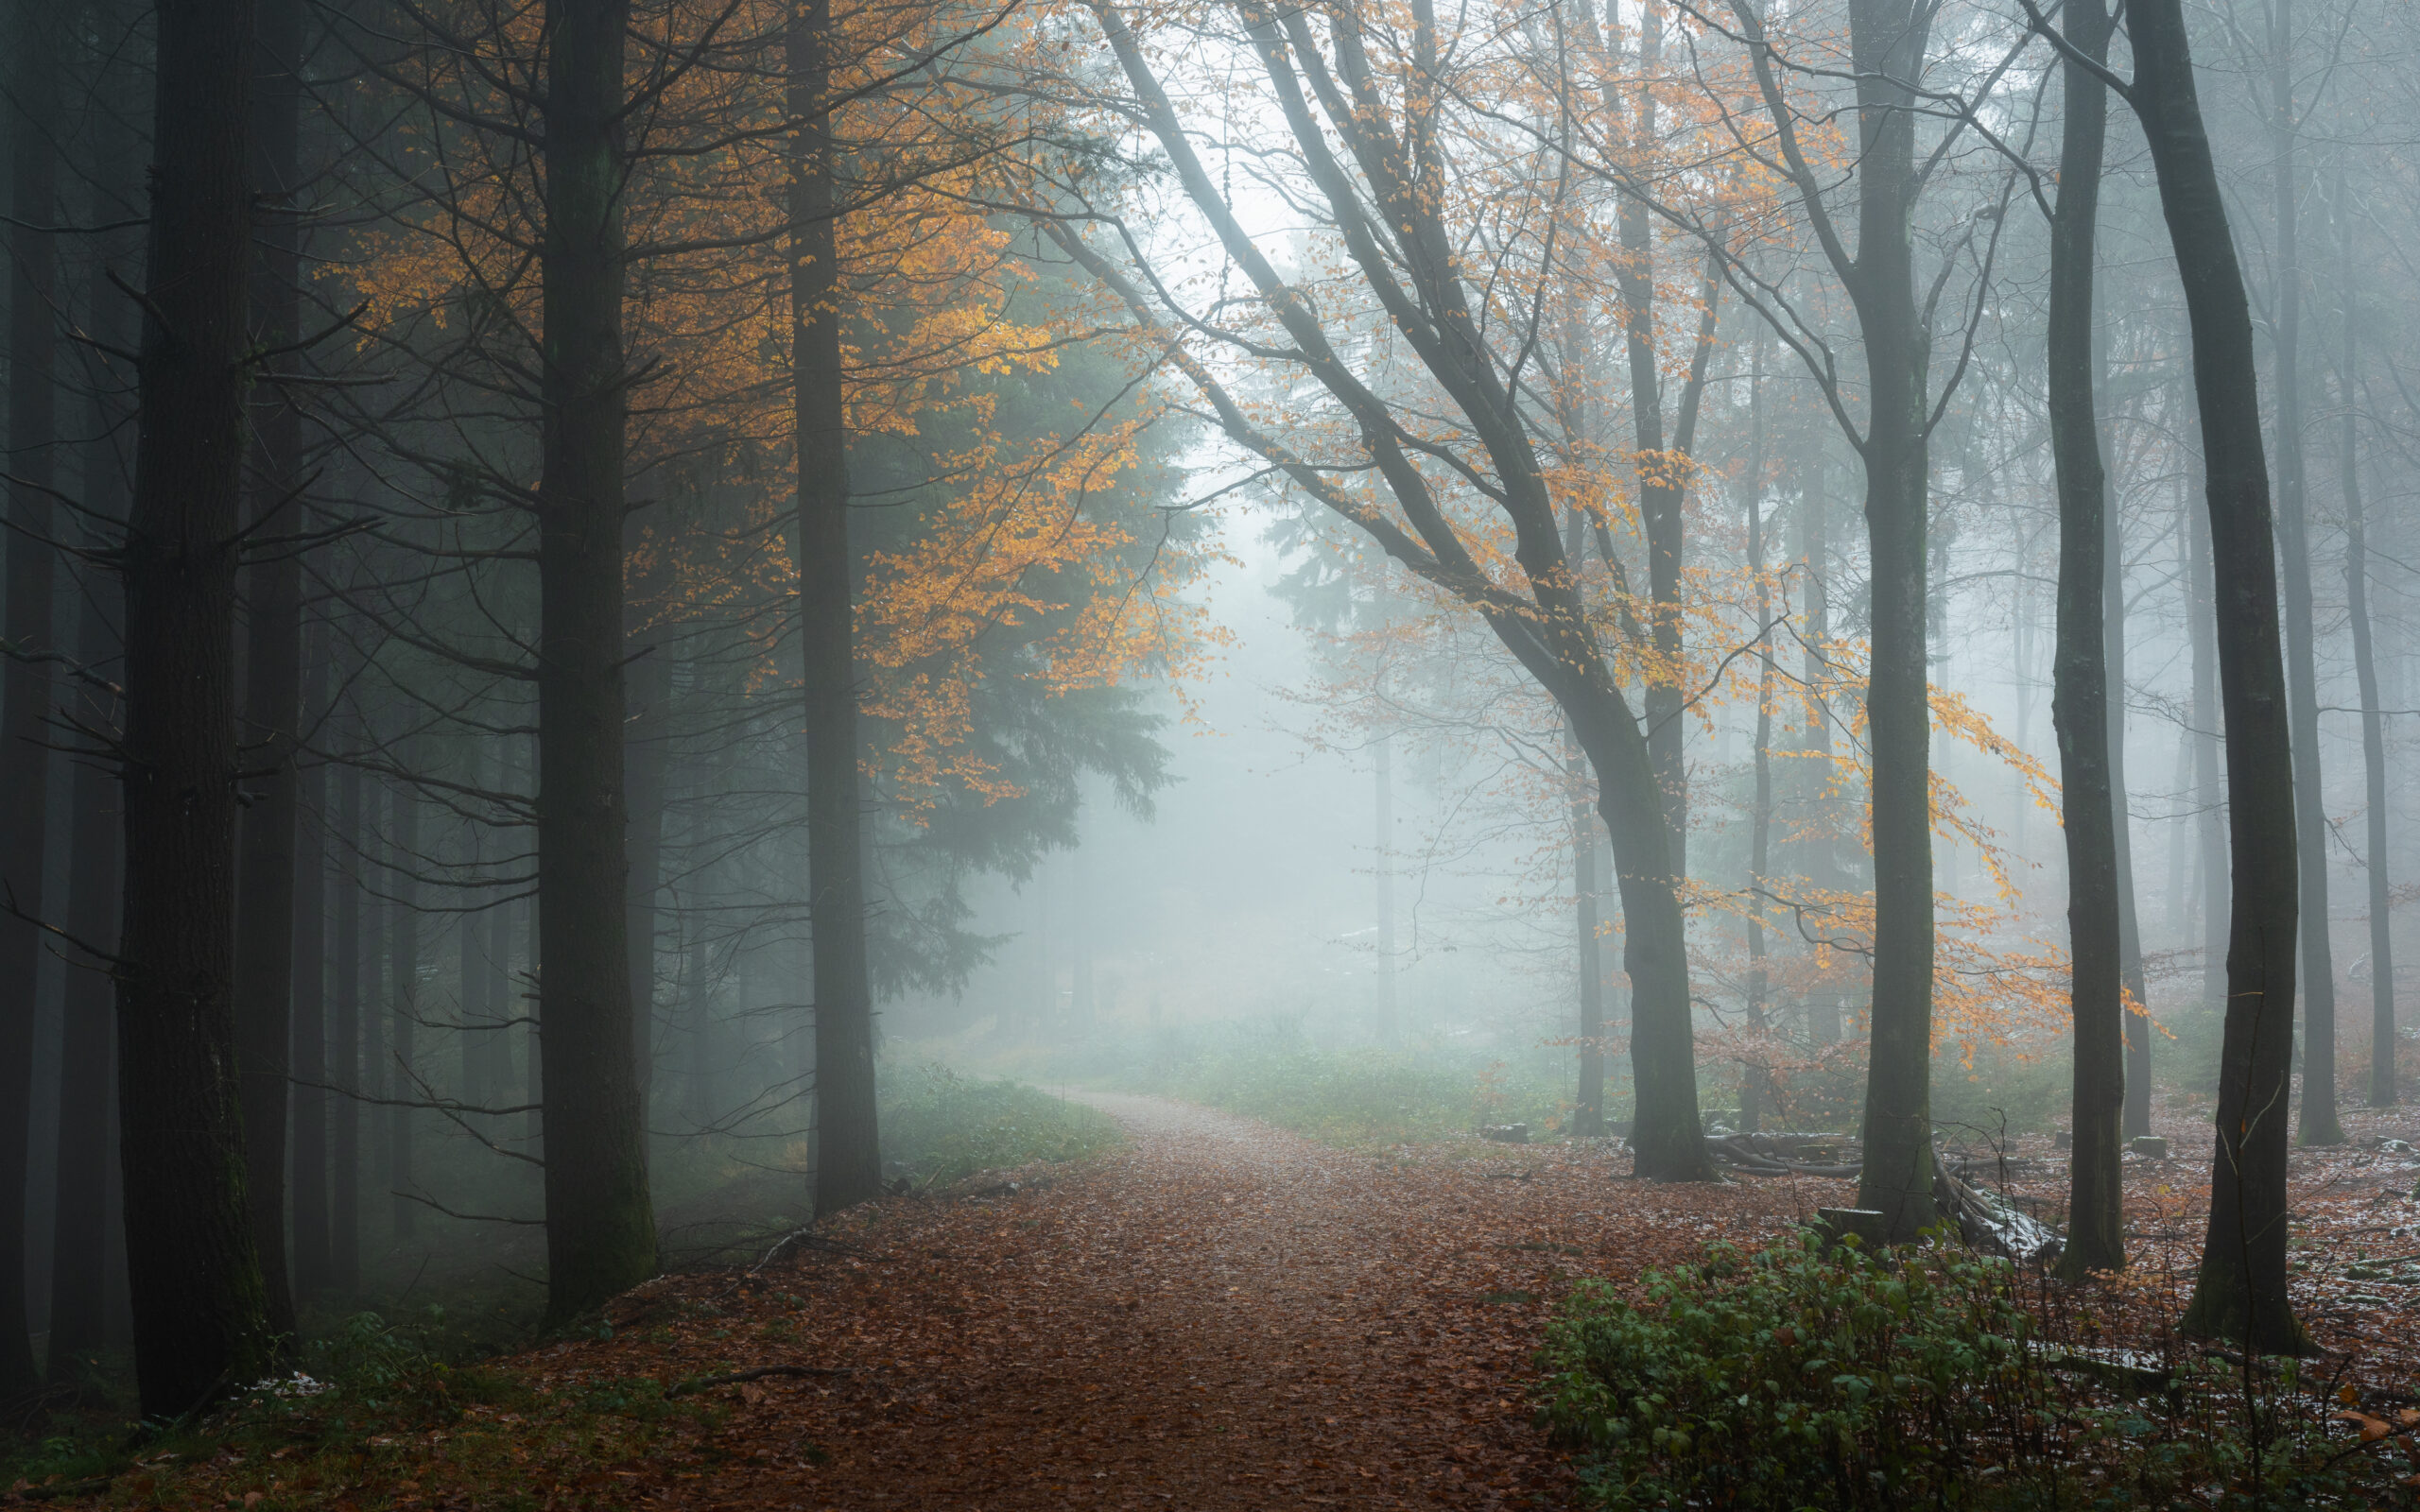
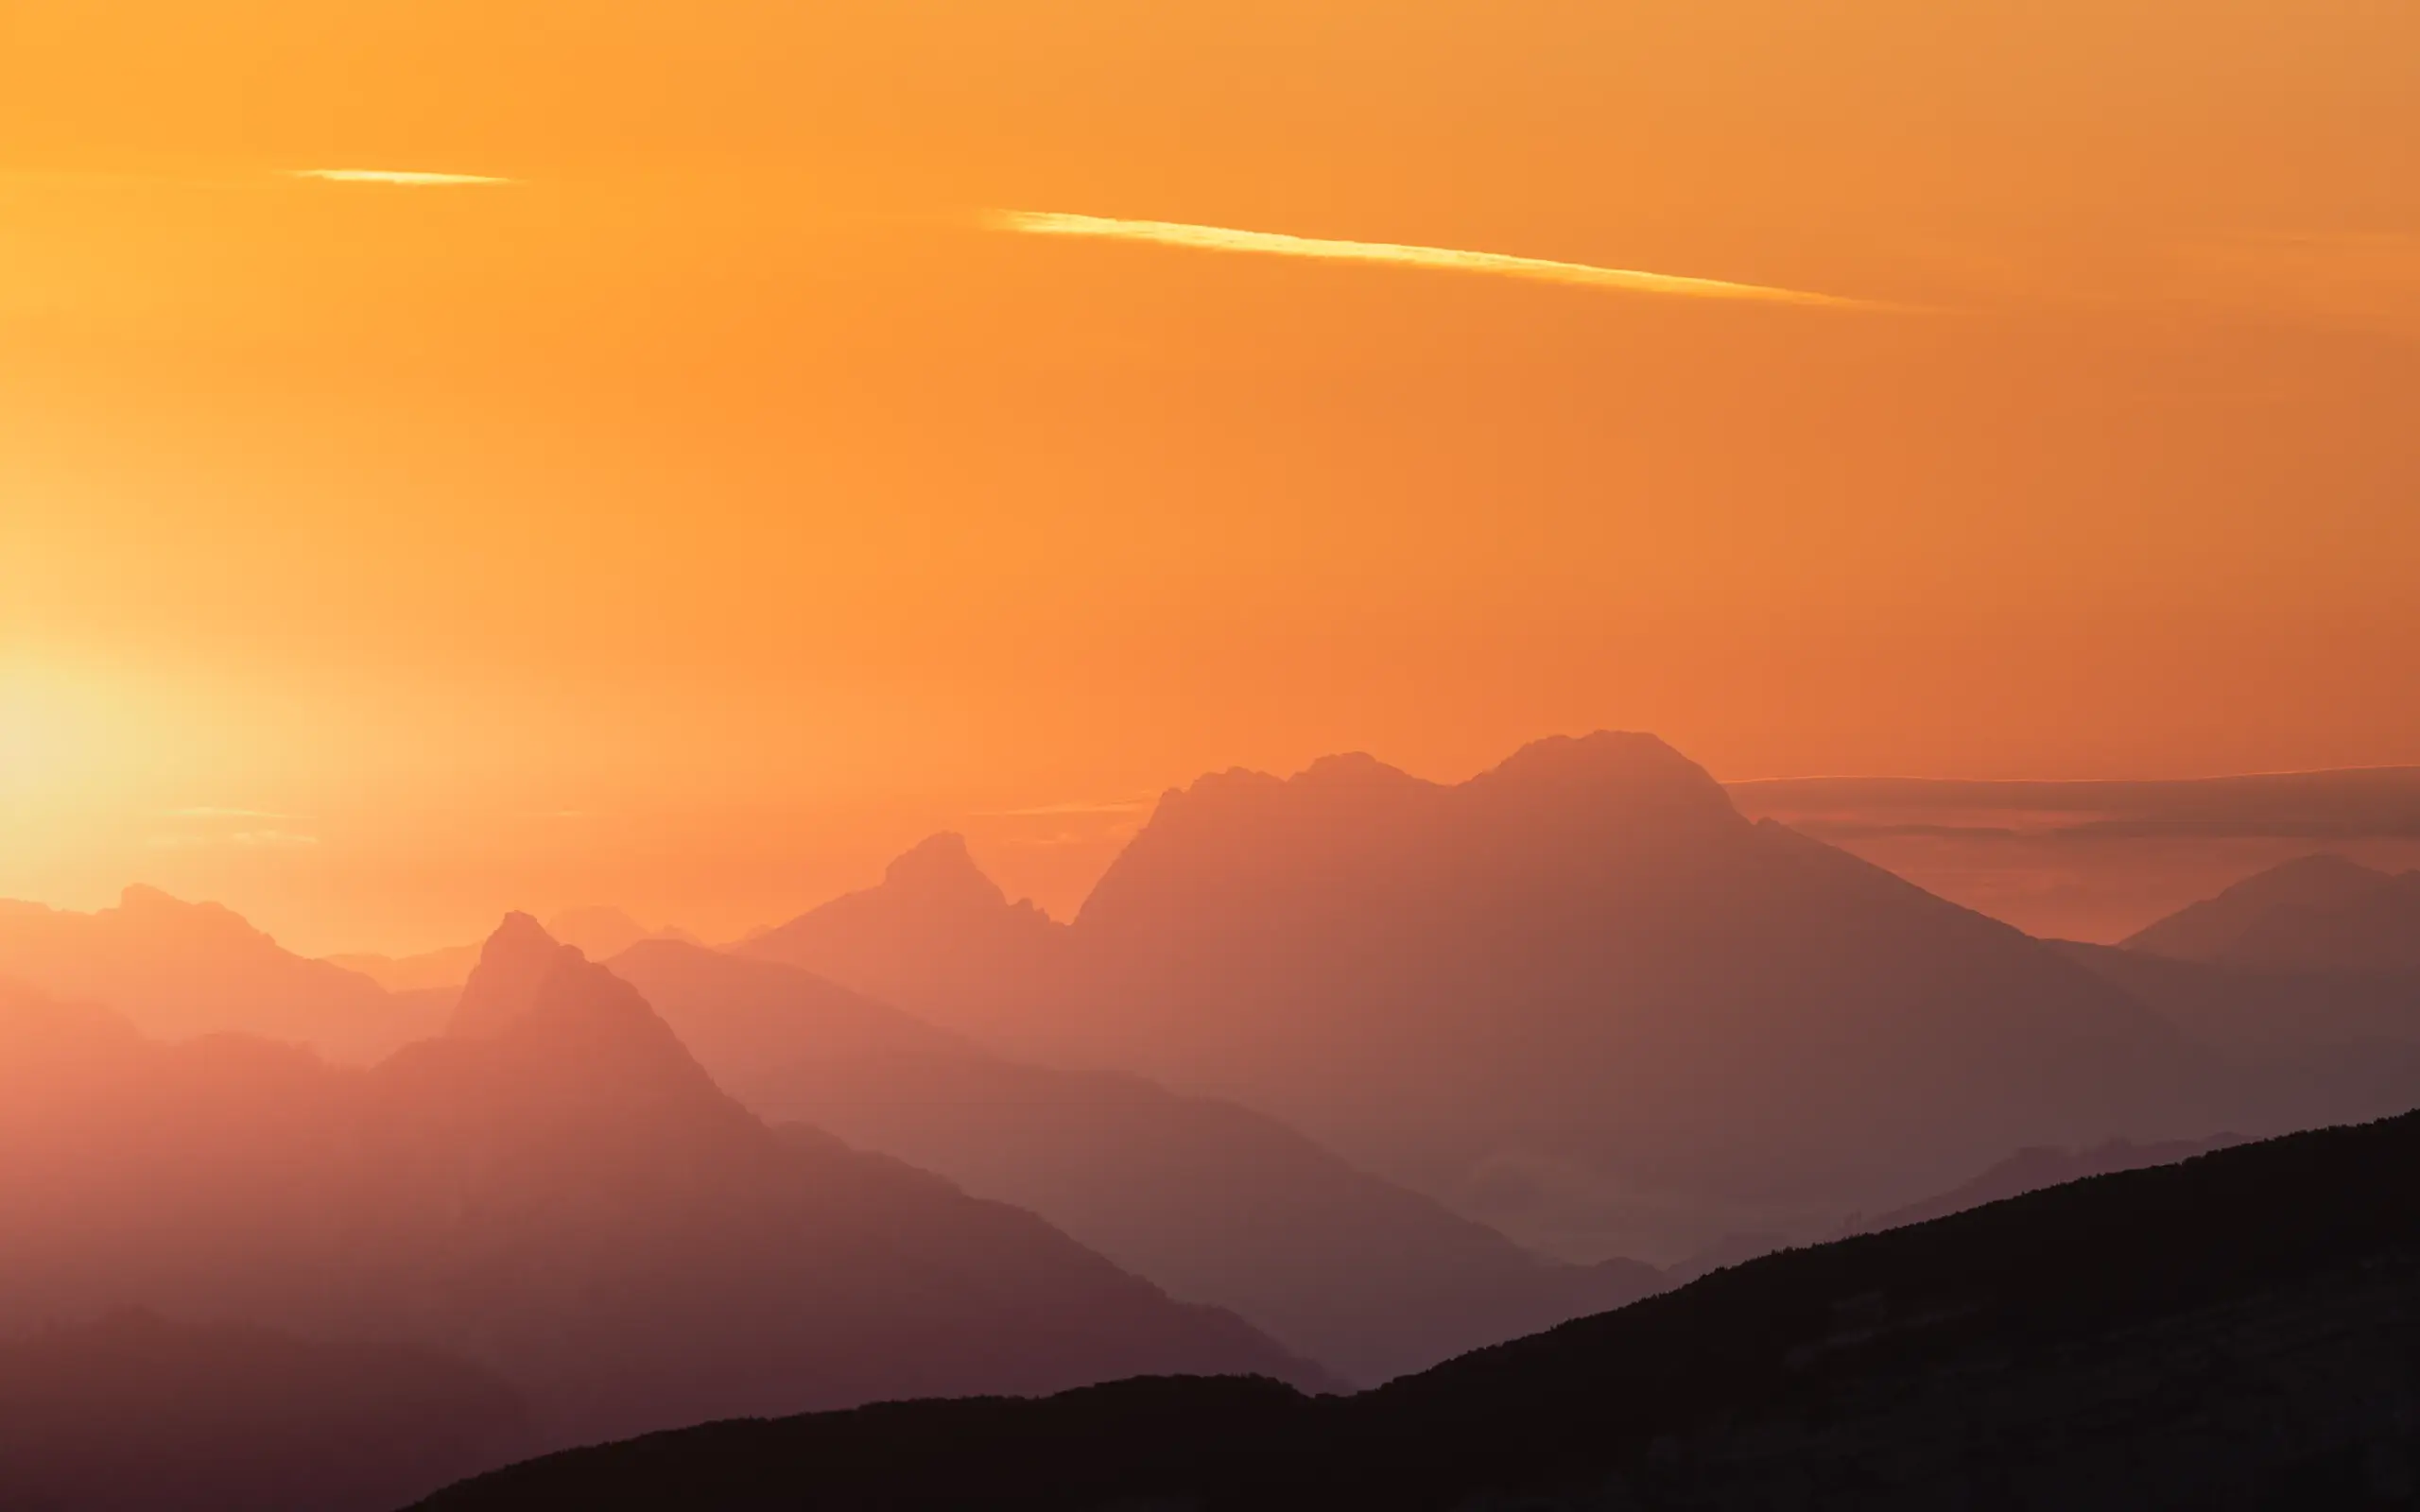
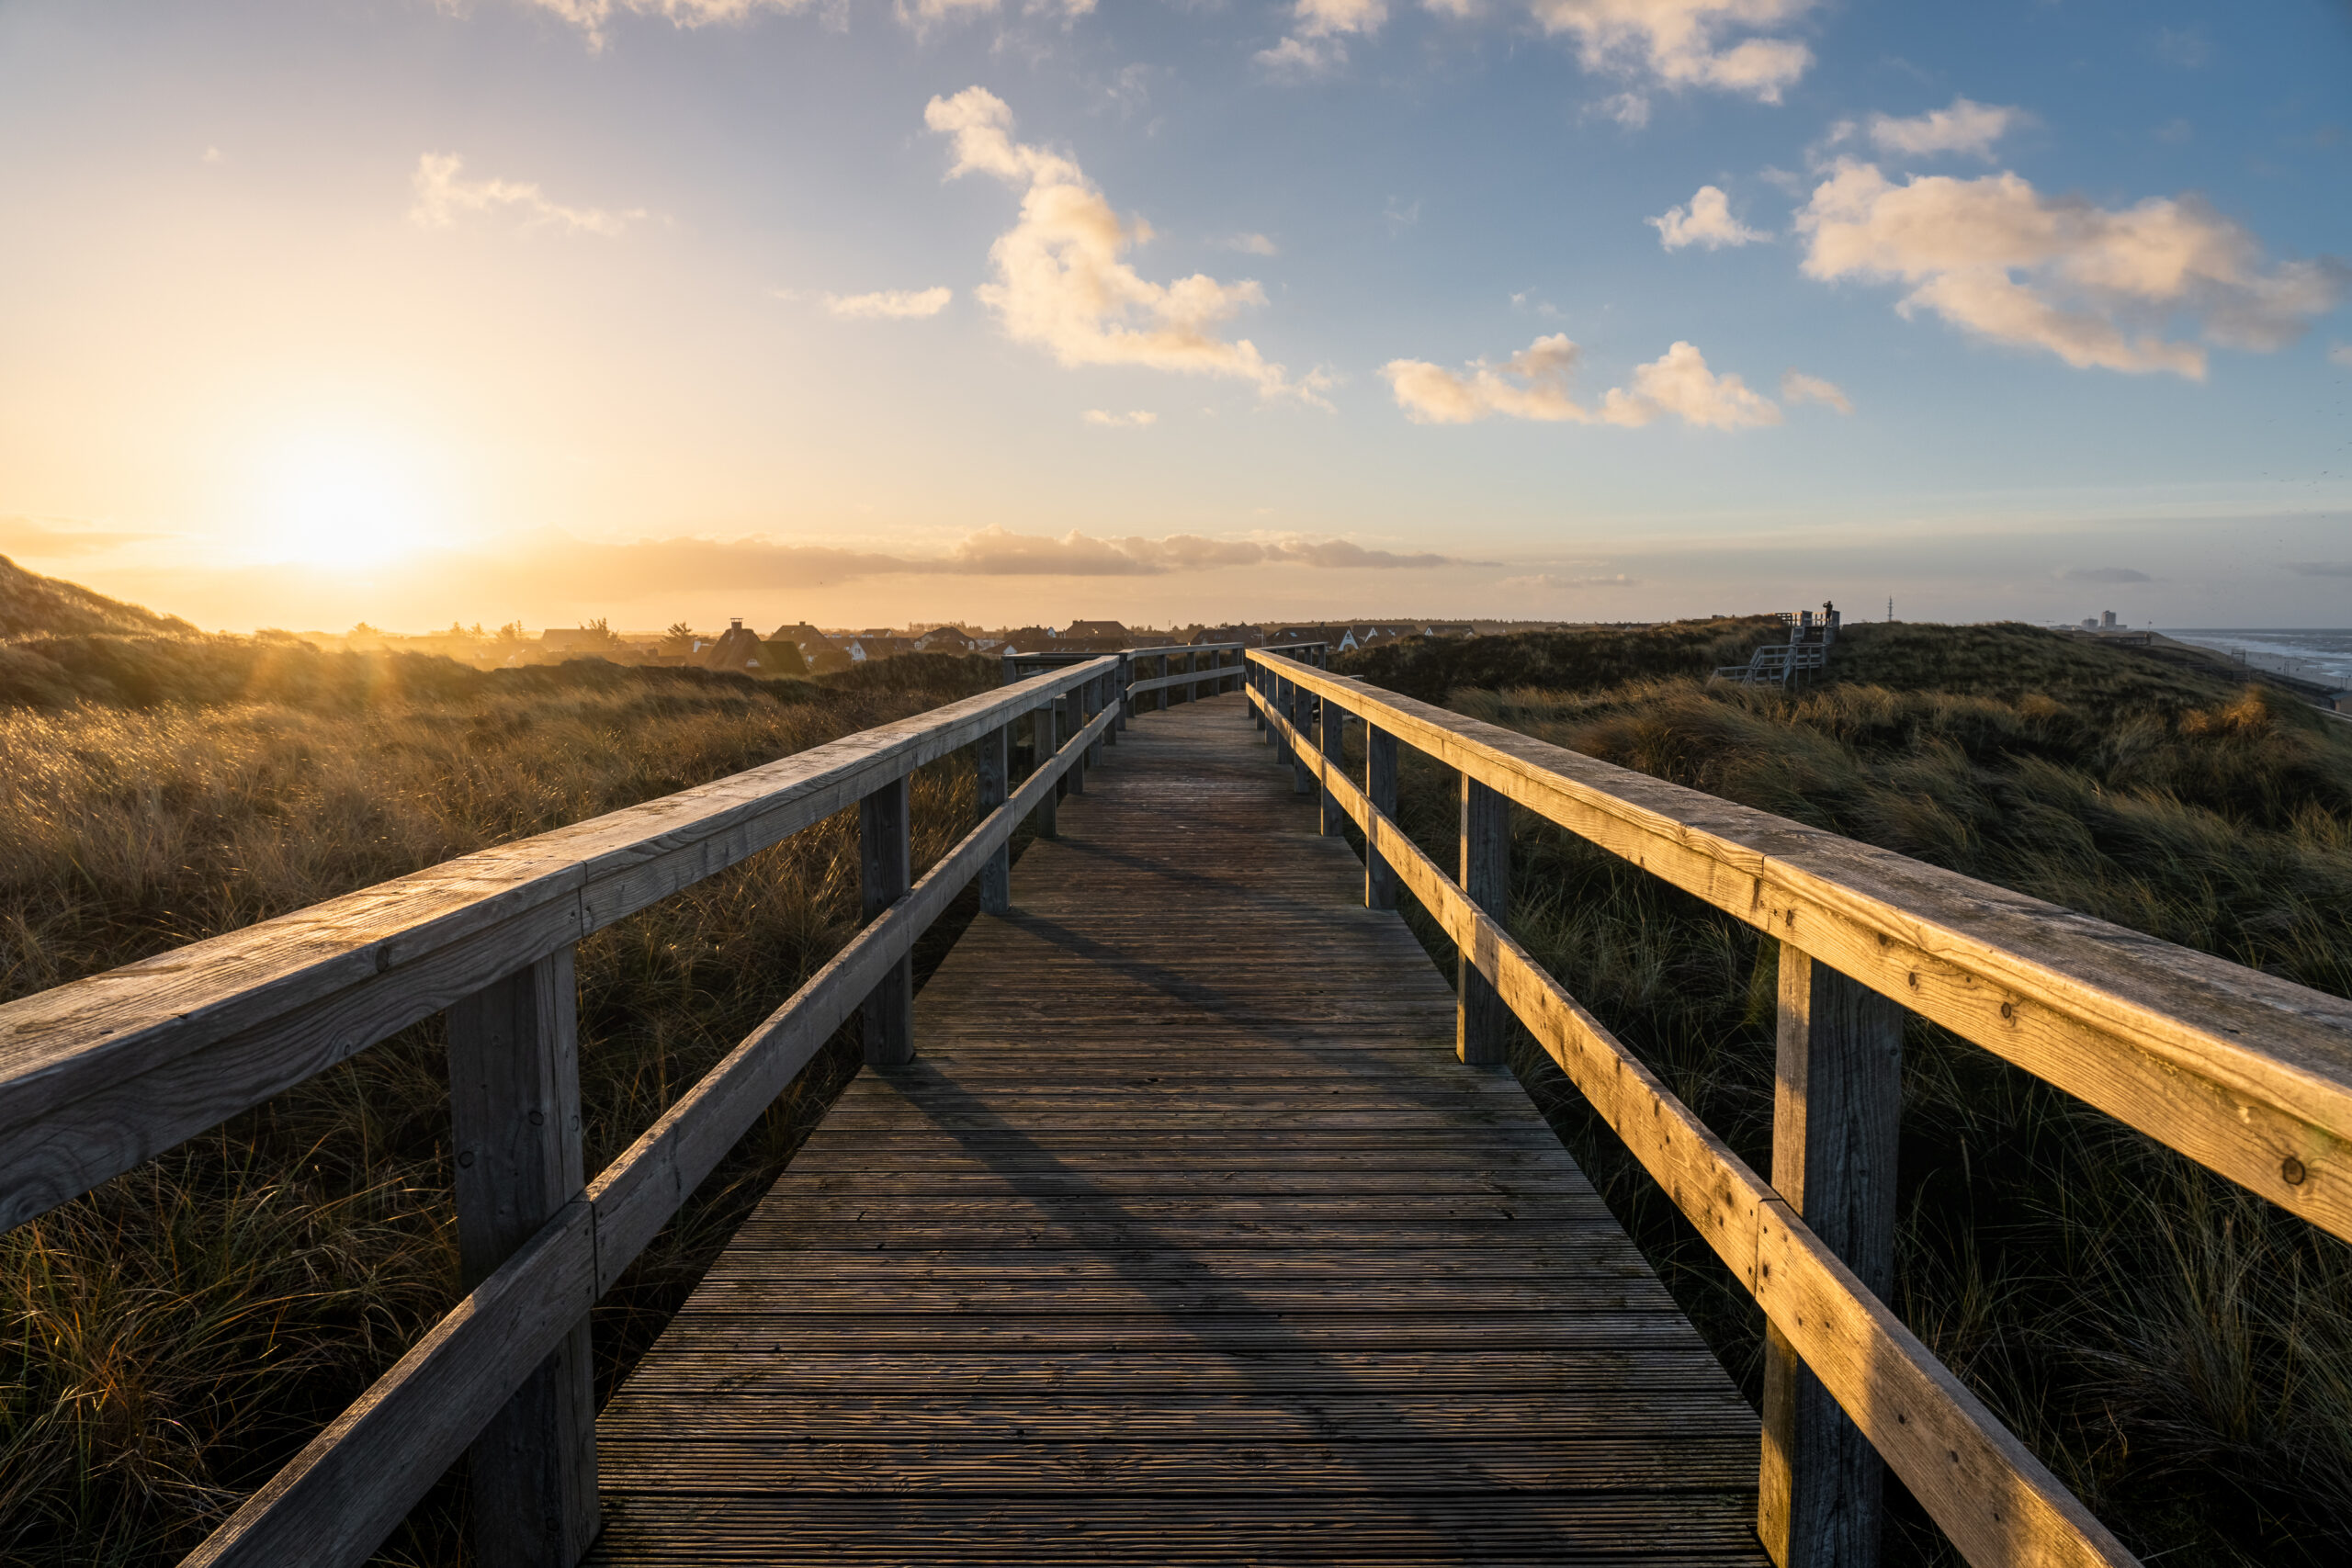
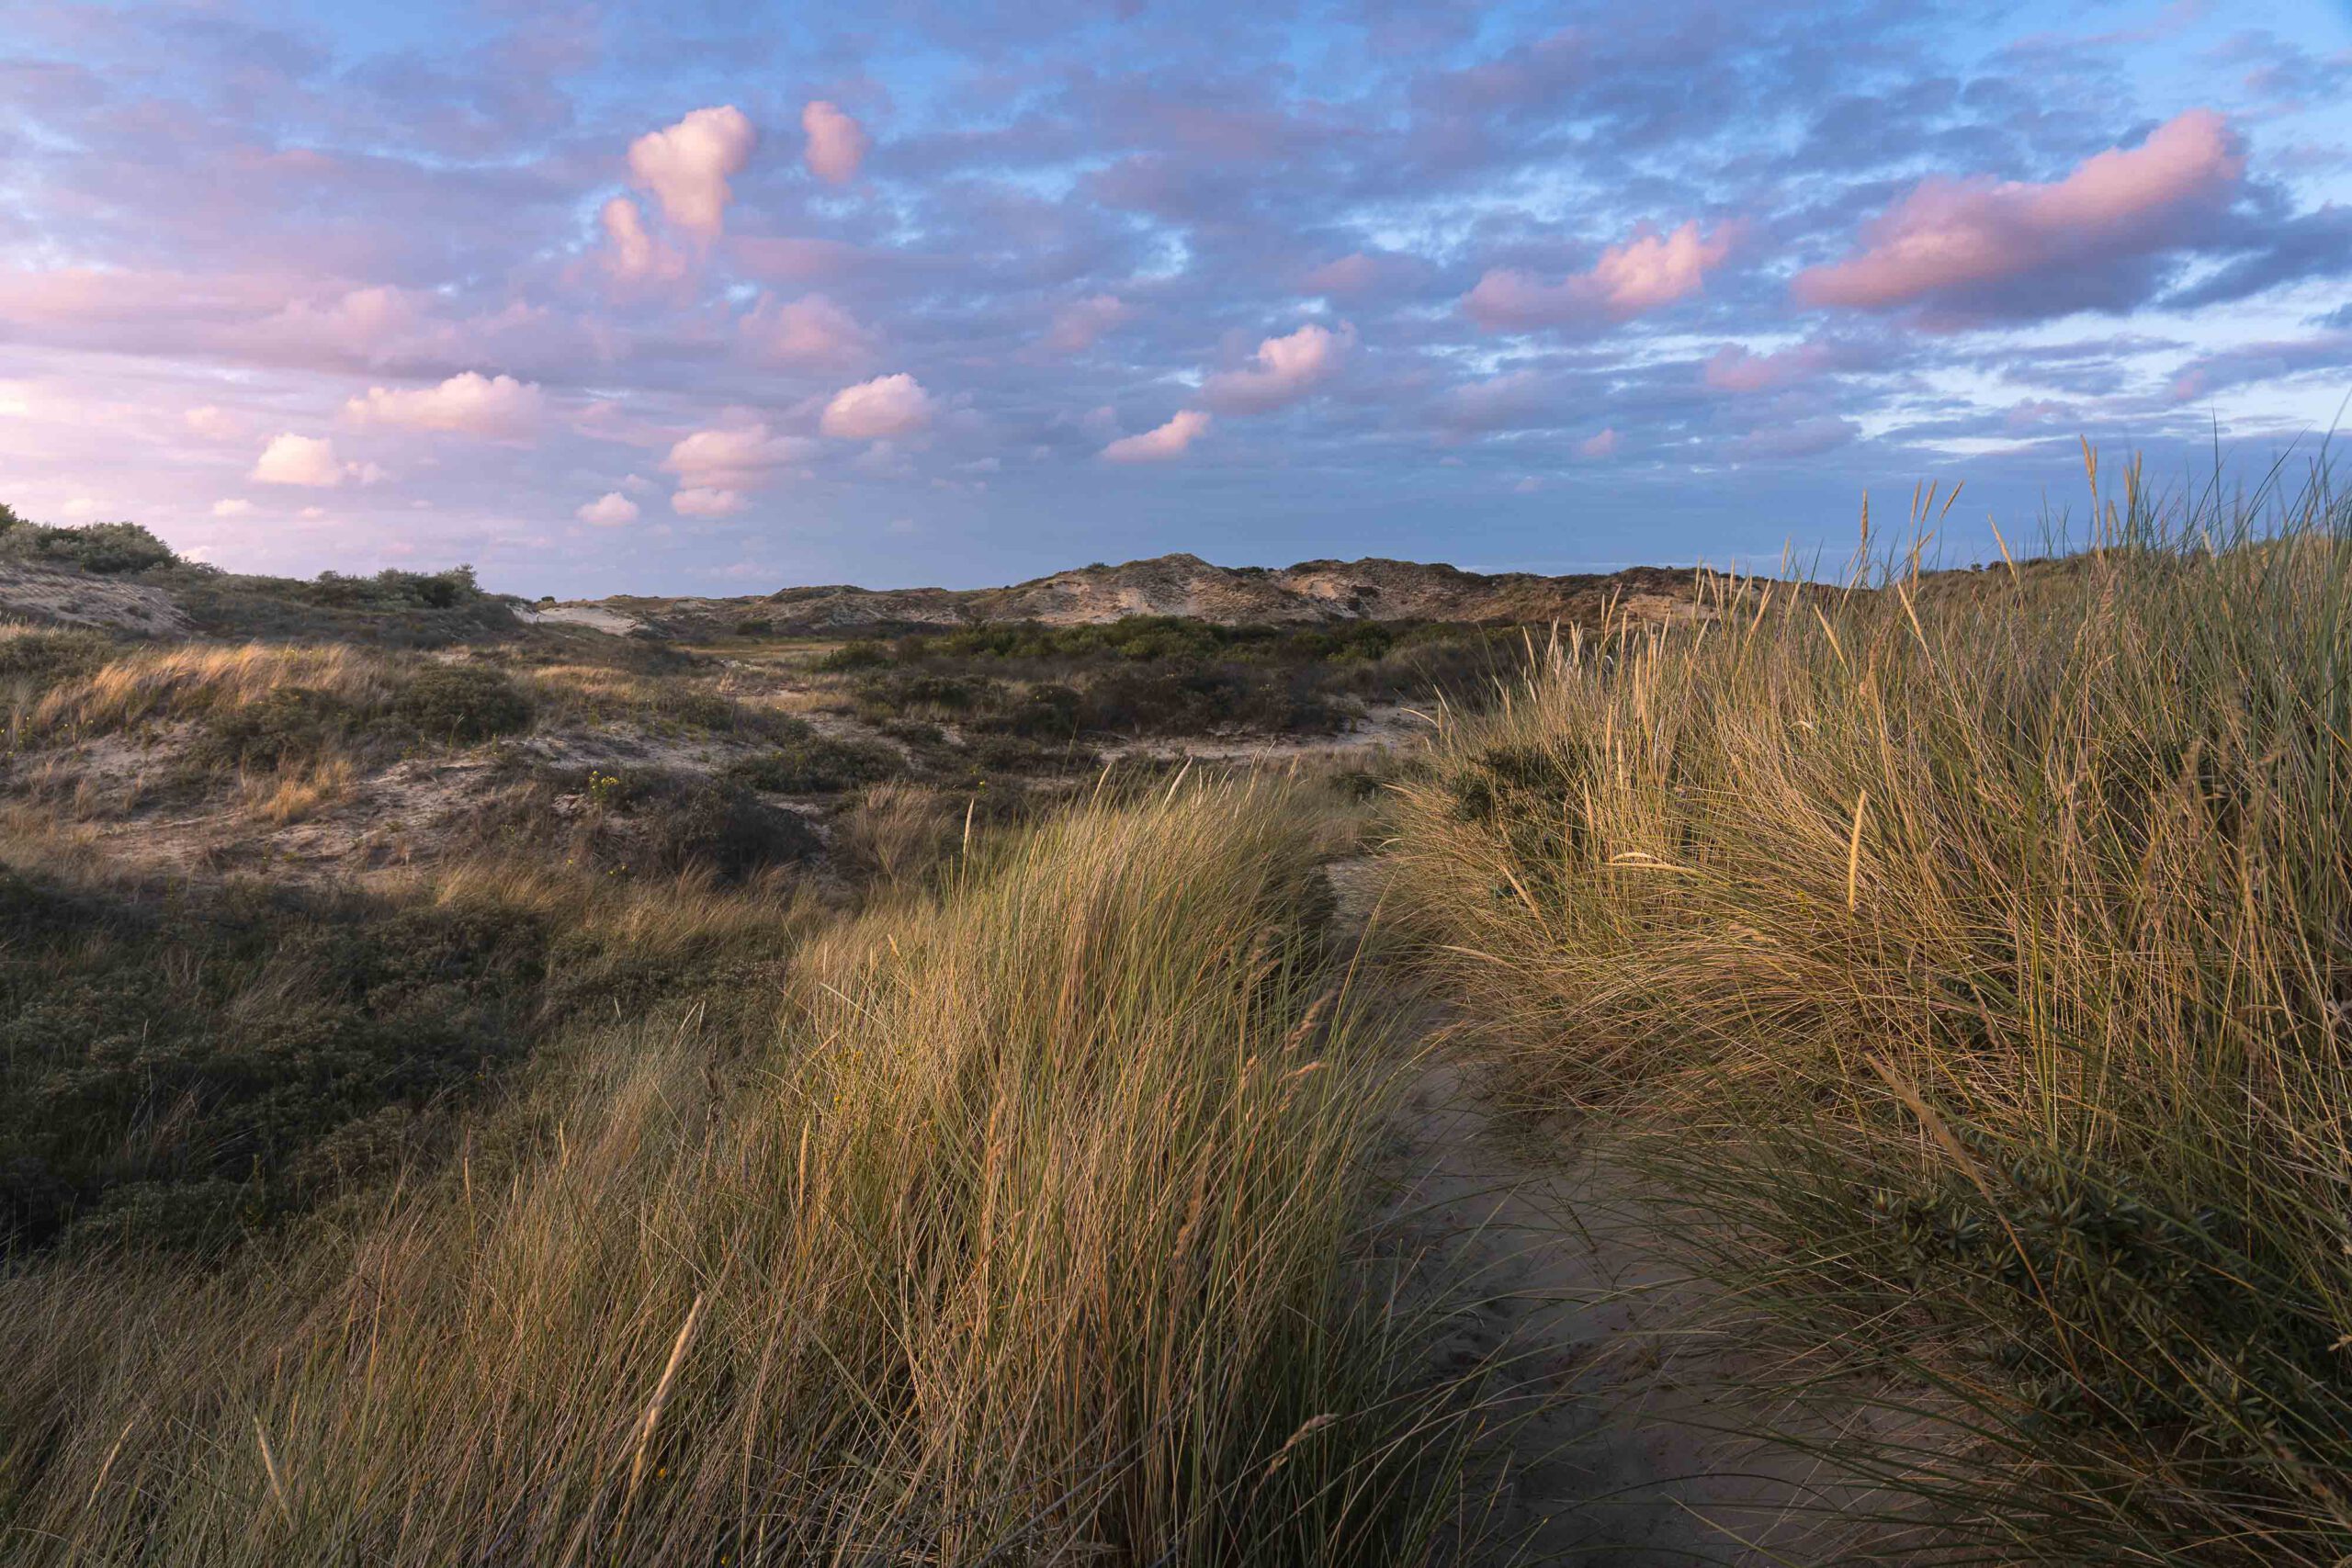
The simple mask tools certainly include the radial gradient filter, the linear gradient filter and the brush tool. For some time now, however, it has also been possible to mask by colour ranges and luminance ranges, i.e. brightness ranges. Additional AI-supported masks have been added, such as sky, landscape and person selection, etc.
The right strength is then developed by skilfully combining these masks. Subtracting a linear gradient from the sky can imitate an ND gradient filter, which outshines any analogue ND gradient filter, as the latter would unfavourably darken distinctive elements in the landscape. Alternatively, the intersection between bright areas of the image and the brush tool is a perfect dodge and burn tool.
The possibilities are endless, so it’s important to explore them. In the video below, you can see a few ways to combine masks. You can also see how big the difference between purely global and global with selective adjustments can be. So be sure to take a look.
If you would like to try or buy Luminar Neo yourself, you can use the code ‘Sphoto10´ to save an additional 10% on Luminar Neo!
Click here for Luminar Neo (*)
This week, we’re diving deeper into image editing with Lightroom. In addition to global adjustments, we’ll also be using masks to make very selective adjustments. Those who don’t yet use masks in Lightroom will be surprised at what they can do. Enjoy watching.
Feel free to share: