You can see the VLOG to the BLOG at the bottom of the page or you can reach it via this button:
Gear:
Sony a7IV
Sony FE 4/24–105 mm G
It’s no secret that thick fog between trees is the ideal condition for forest photography. The fog helps to bring depth to the image and separate trees. This makes it a little easier to achieve a good image composition, and even beginners can achieve great results more quickly in such conditions.
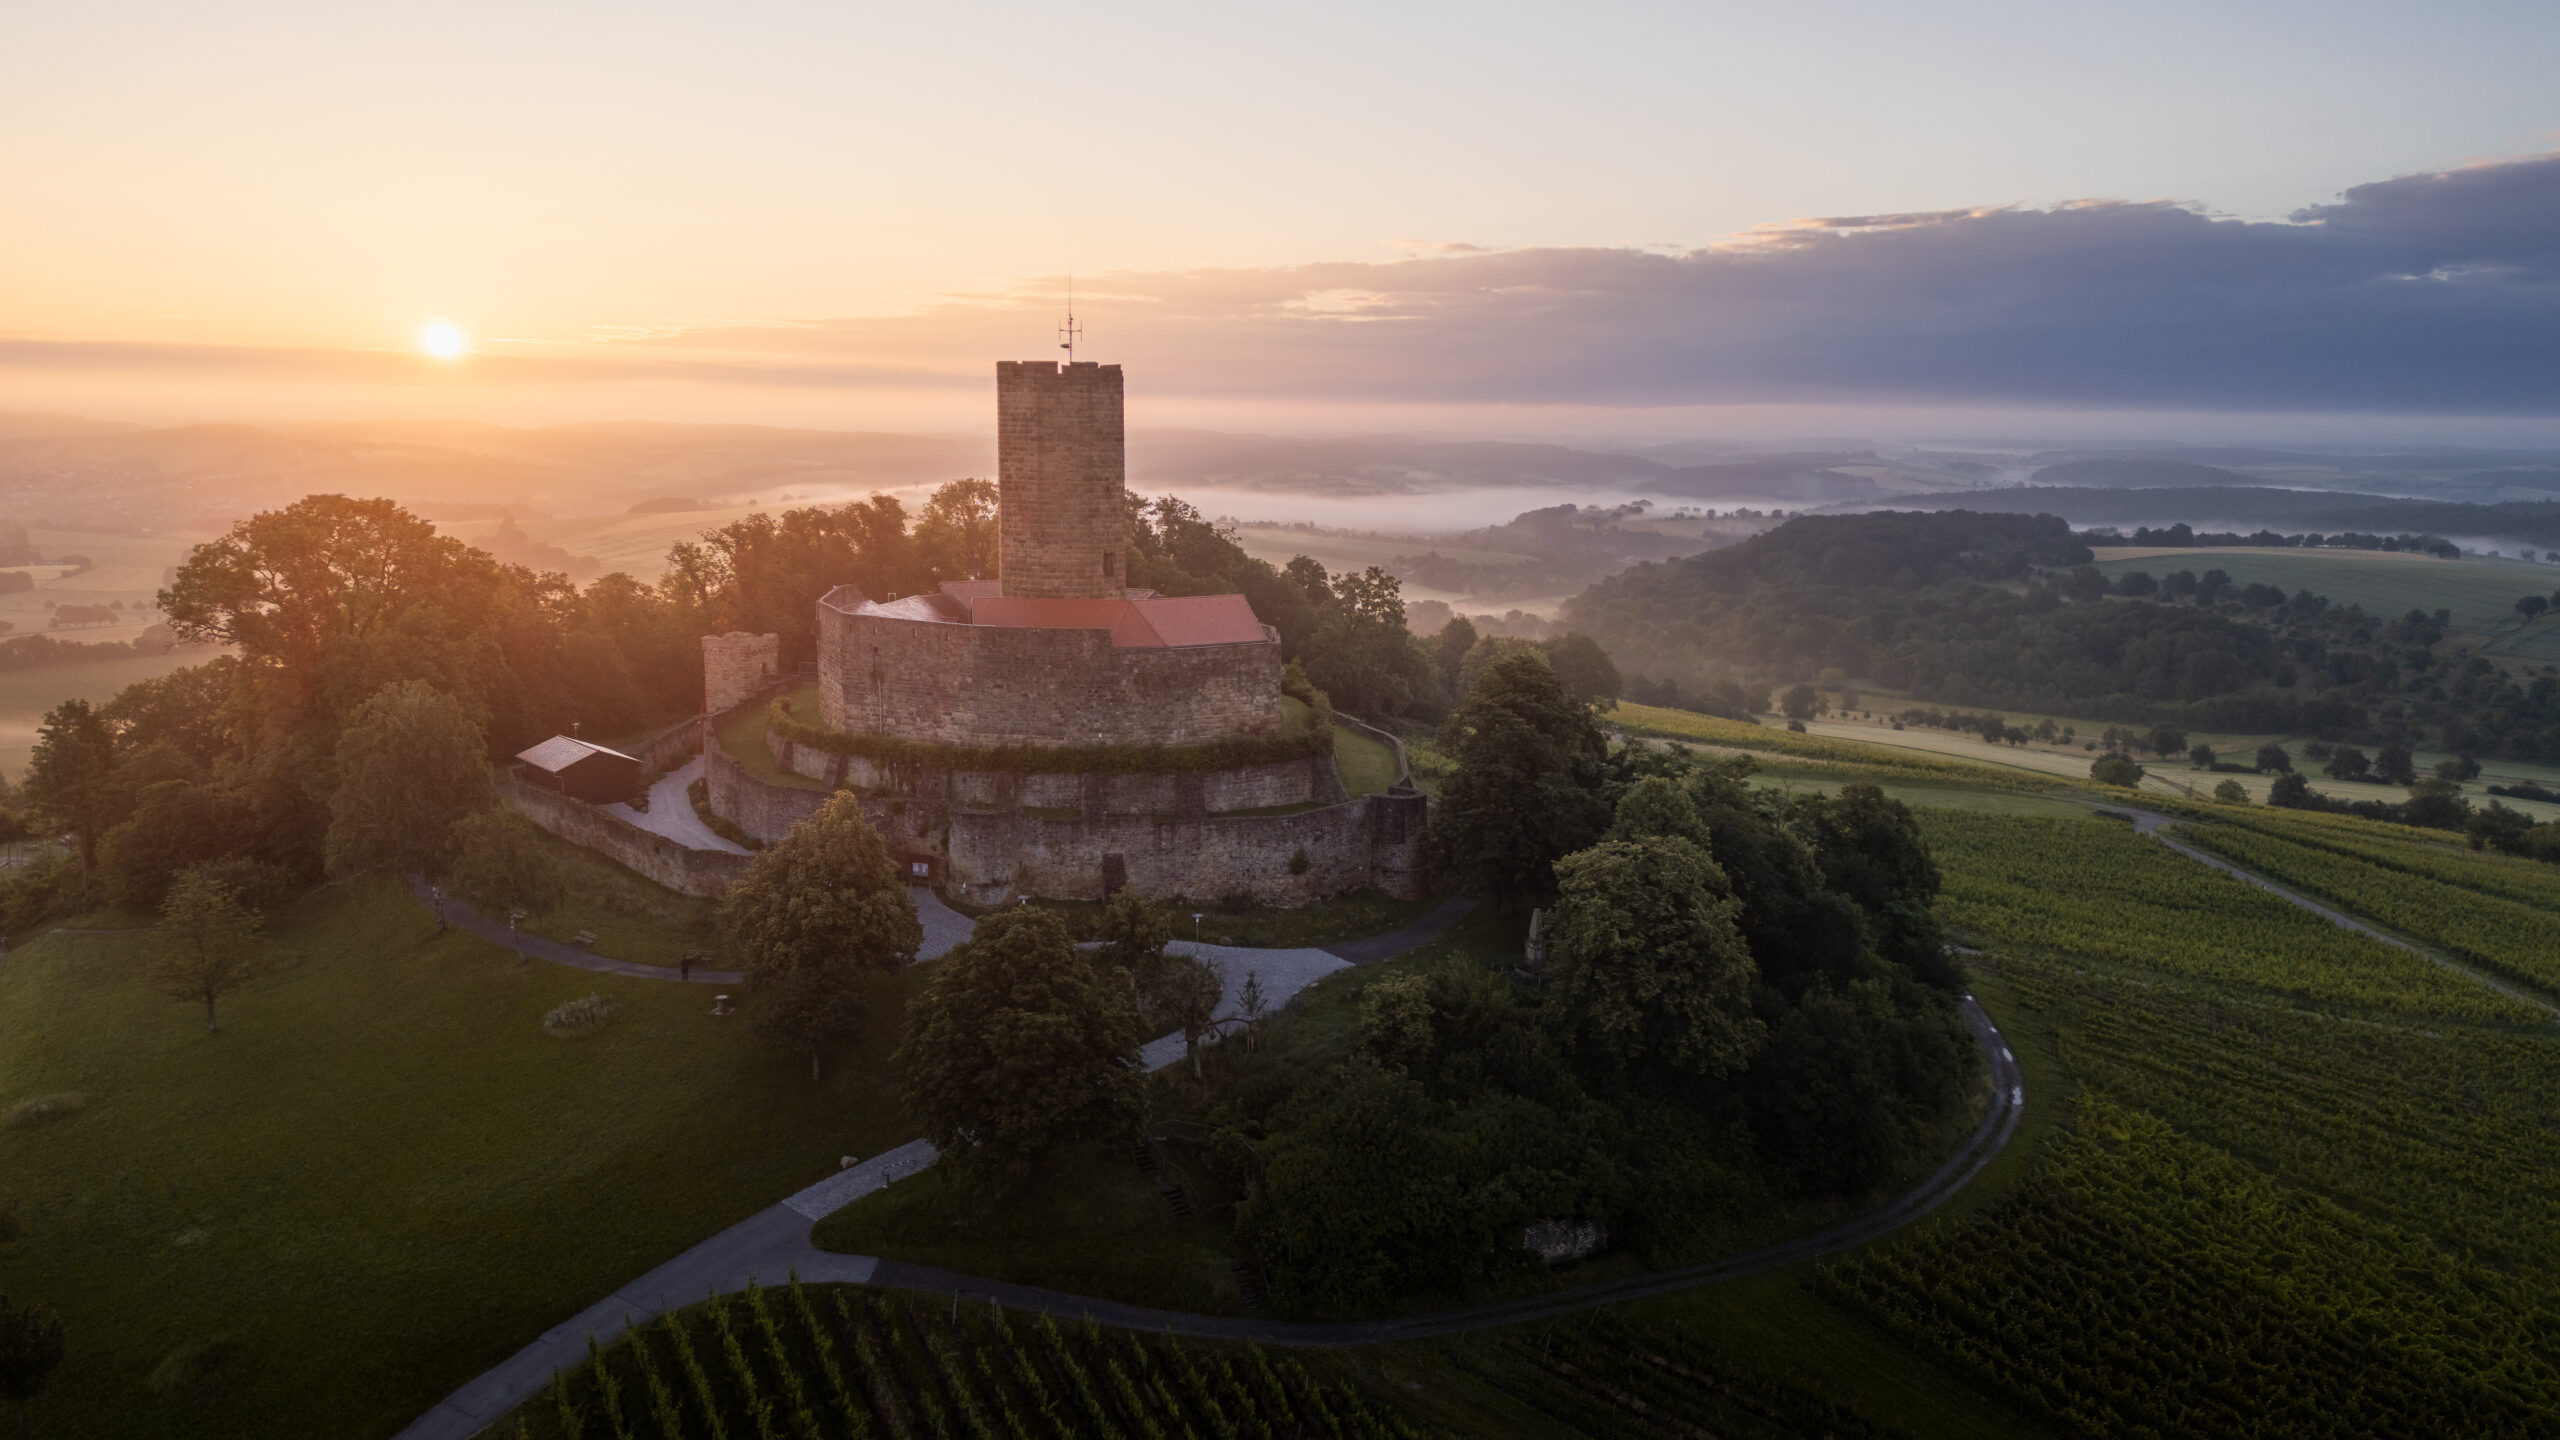
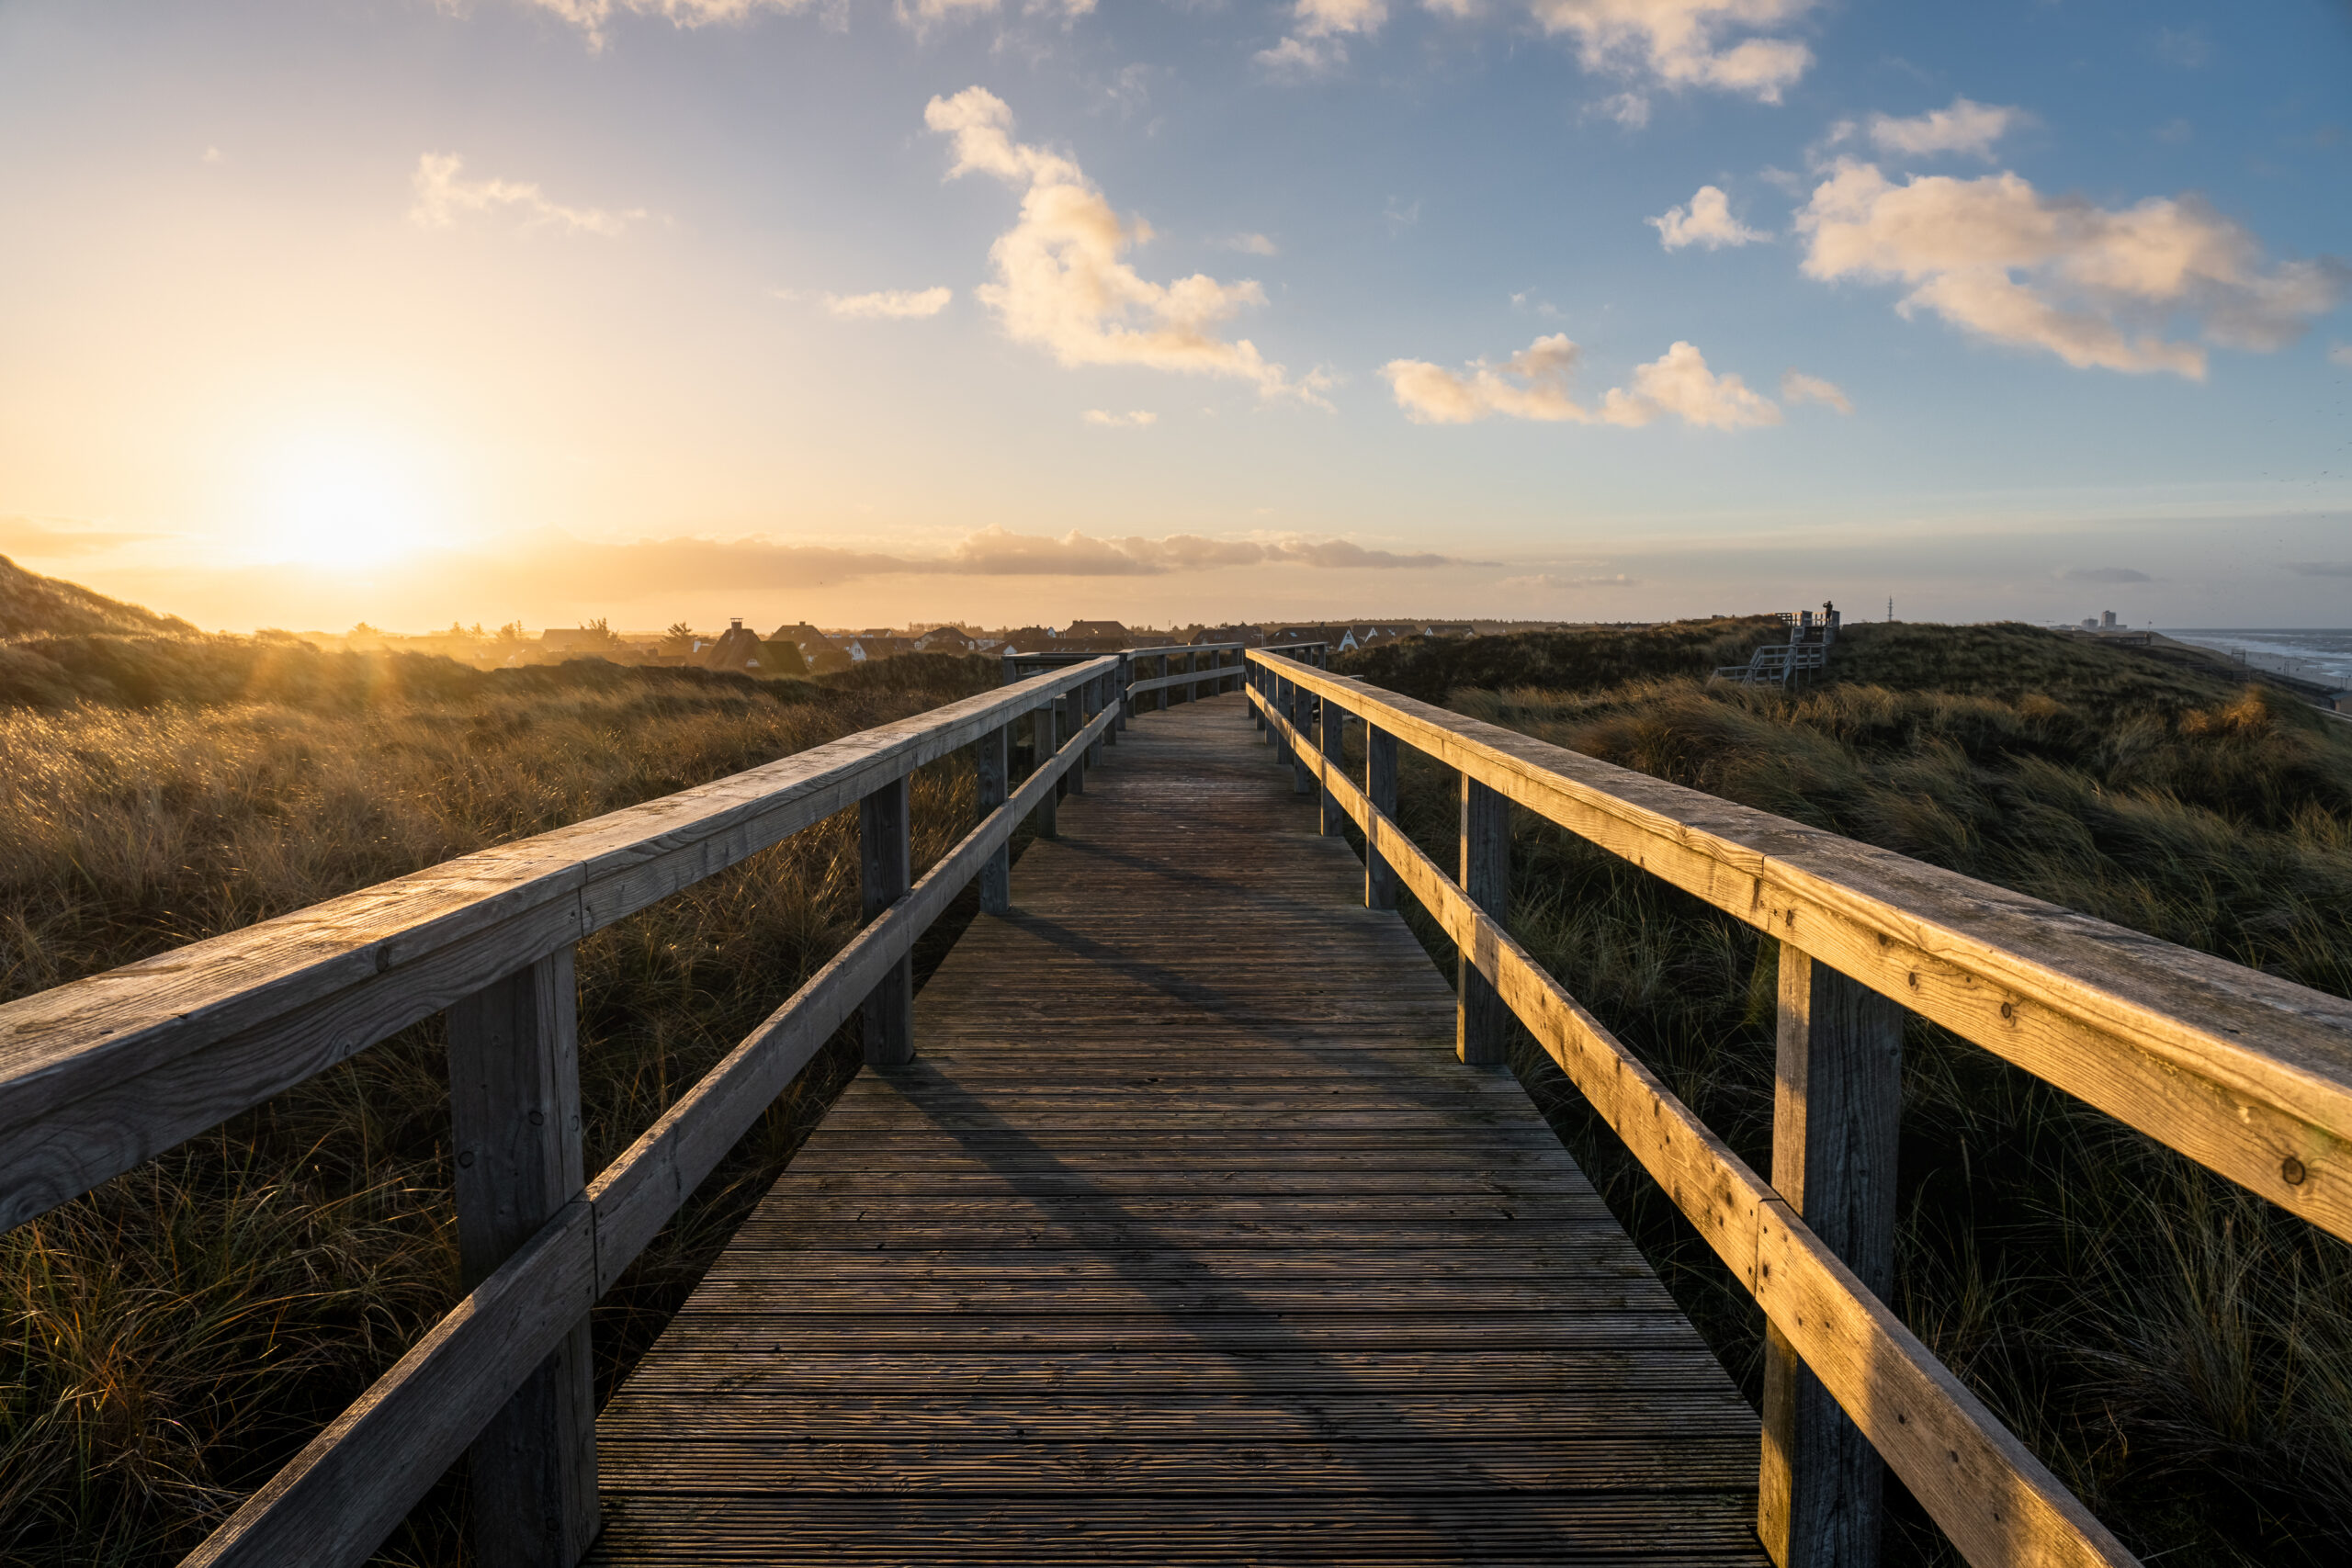
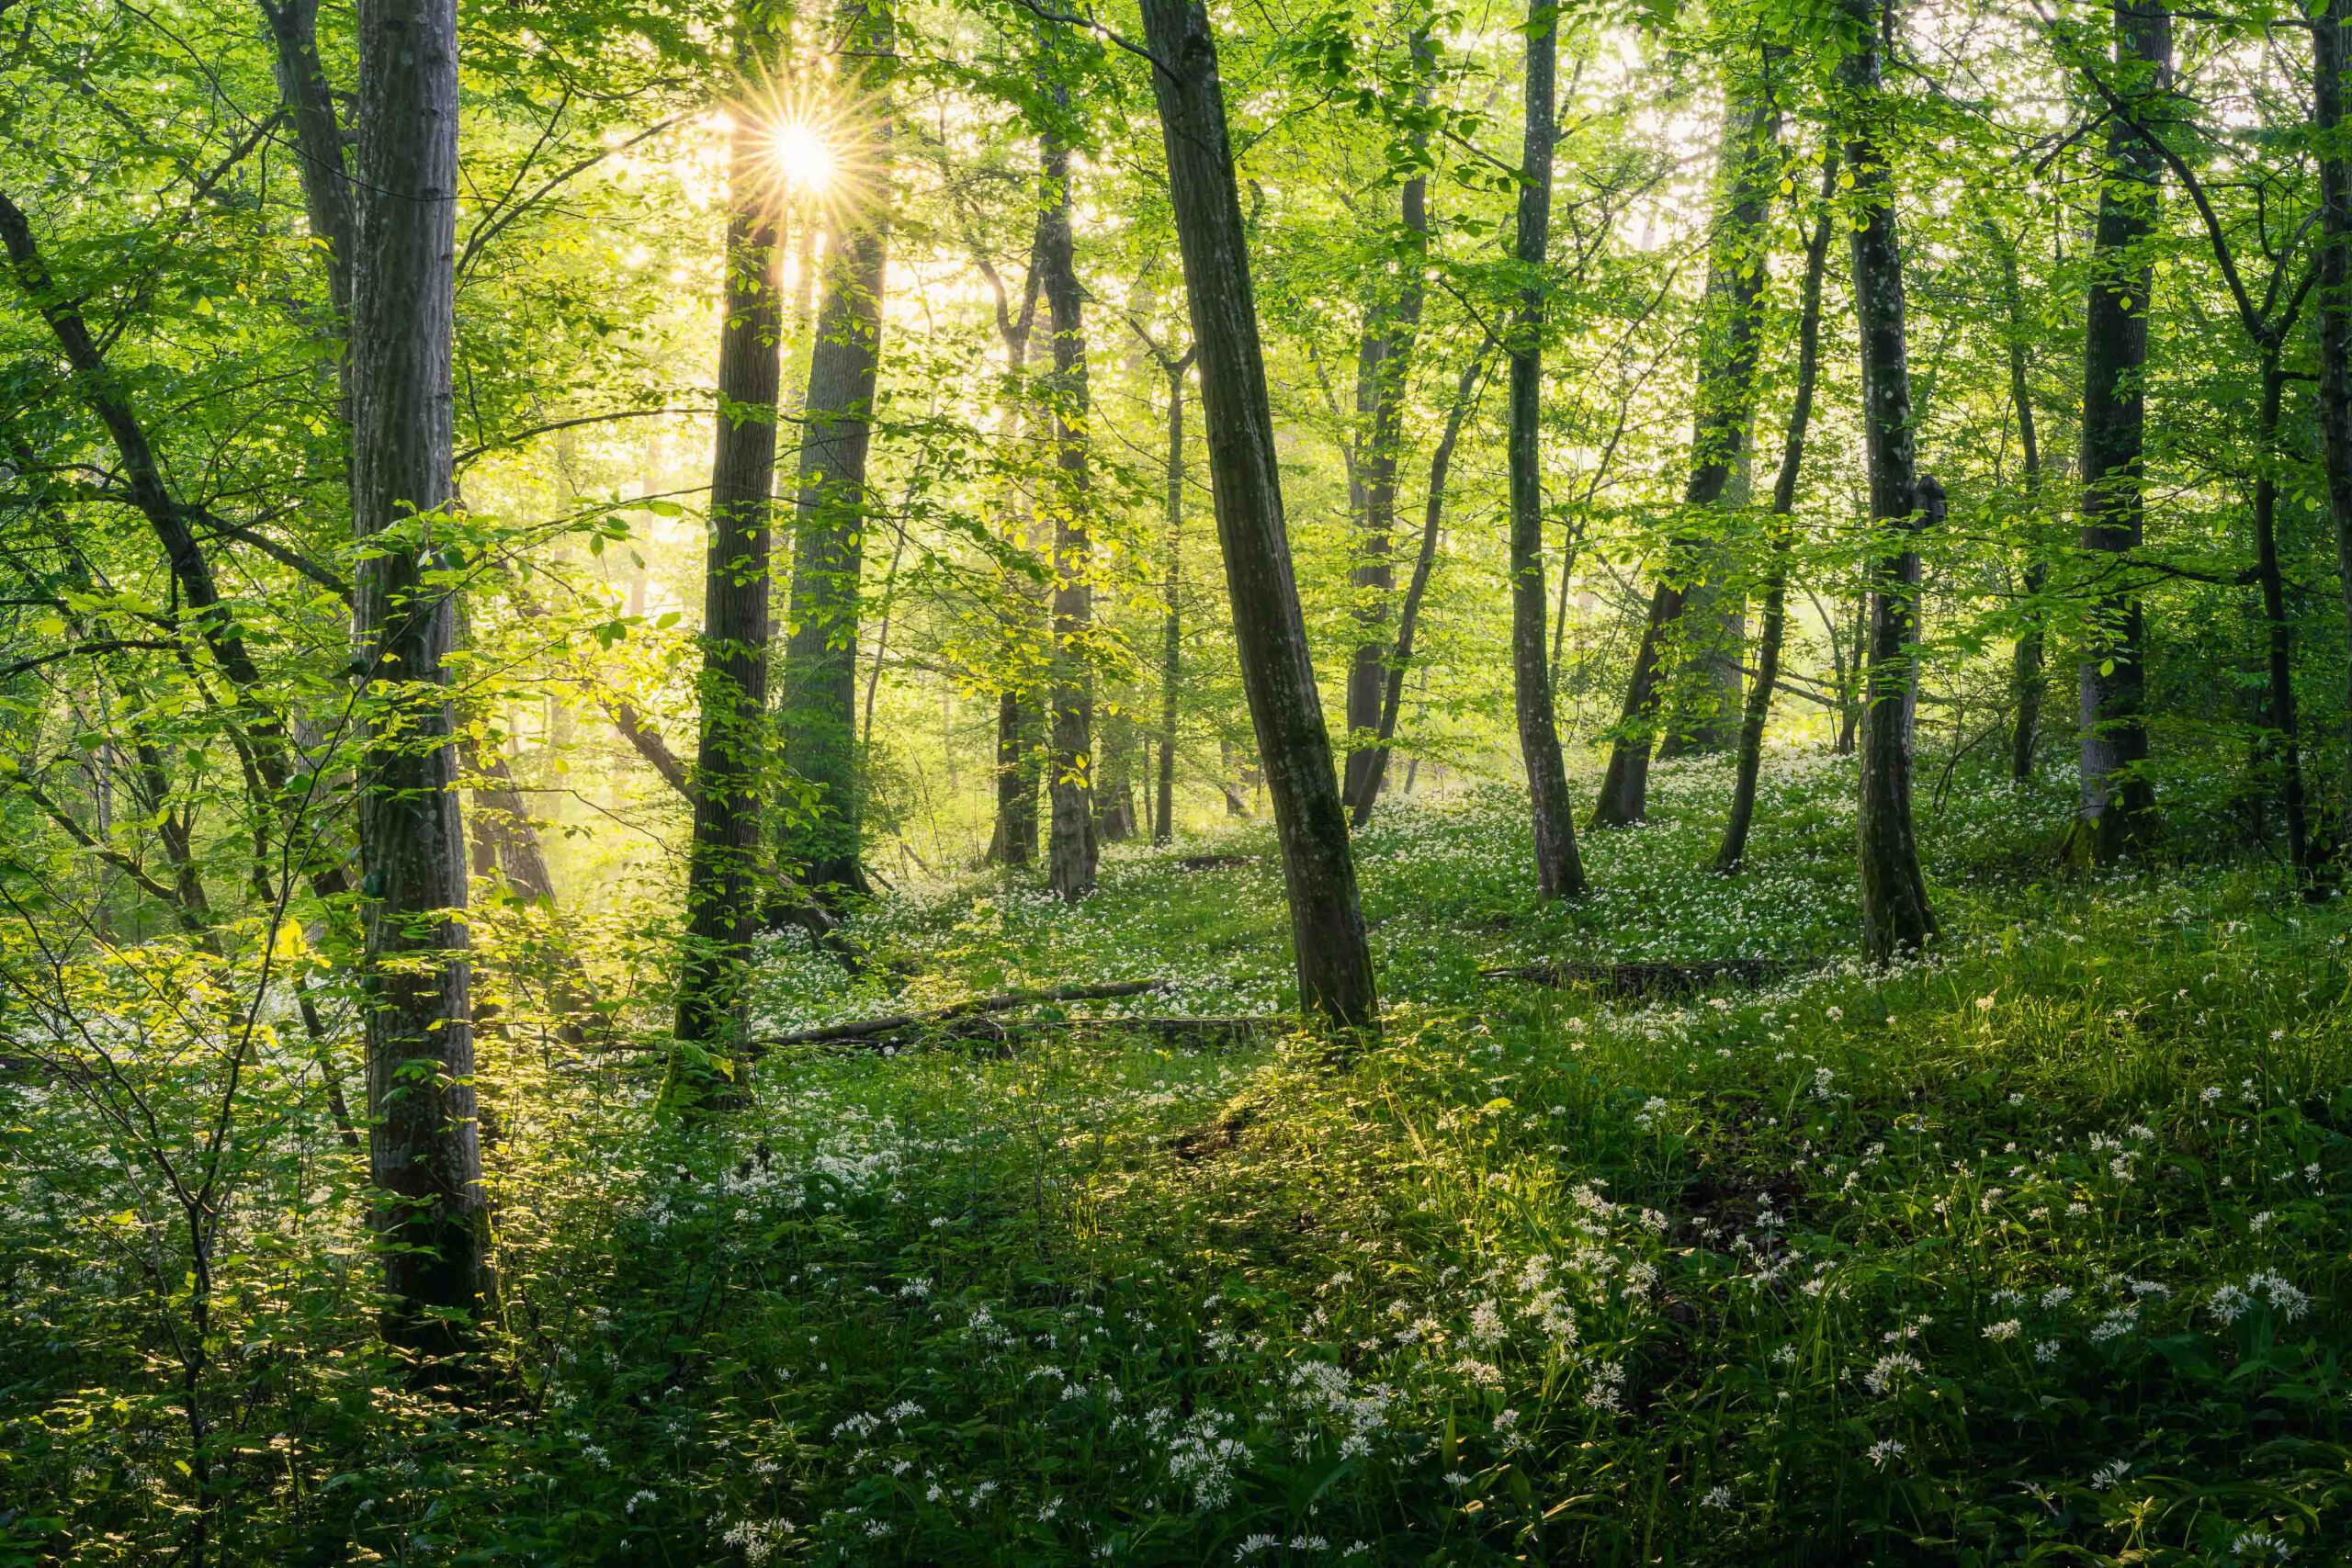
Nevertheless, you shouldn’t be put off going into the forest in other conditions. I have taken some very atmospheric pictures in the forest in the rain, which, admittedly, can have a similar effect to fog. But even when the sun is low in the sky, you can take interesting pictures. In backlighting with HDR bracketing and sun stars, for example. In general, it helps if the light is diffuse, as it is on a cloudy day with dense cloud cover. You just have to make sure that the light is not too flat, as this can make a photograph appear two-dimensional and boring to the viewer. So, despite the diffuse light, it helps to have something like a direction of light. This can be achieved, for example, at the edge of the forest, in a clearing or on a forest path. Where more light shines into the forest through lighter foliage than where the forest is closed. If you recognise this light as a photographer and the direction from which it comes, you should make proper use of the direction of the light in the composition of your image. For example, as light falling from the side. This gives you a more three-dimensional image of the forest, which appears much more vivid.
So how did I come up with the idea for this VLOG? Well, when I have nothing but cloudless skies for days on end, the direction of the setting sun isn’t right, or it’s raining cats and dogs and stormy at the same time, I have to come up with something. A certain direction of light is advantageous, as is diffuse light, and when do I have that? Right, during the blue hour. So, a game changer in forest photography when the conditions aren’t right for weeks on end?
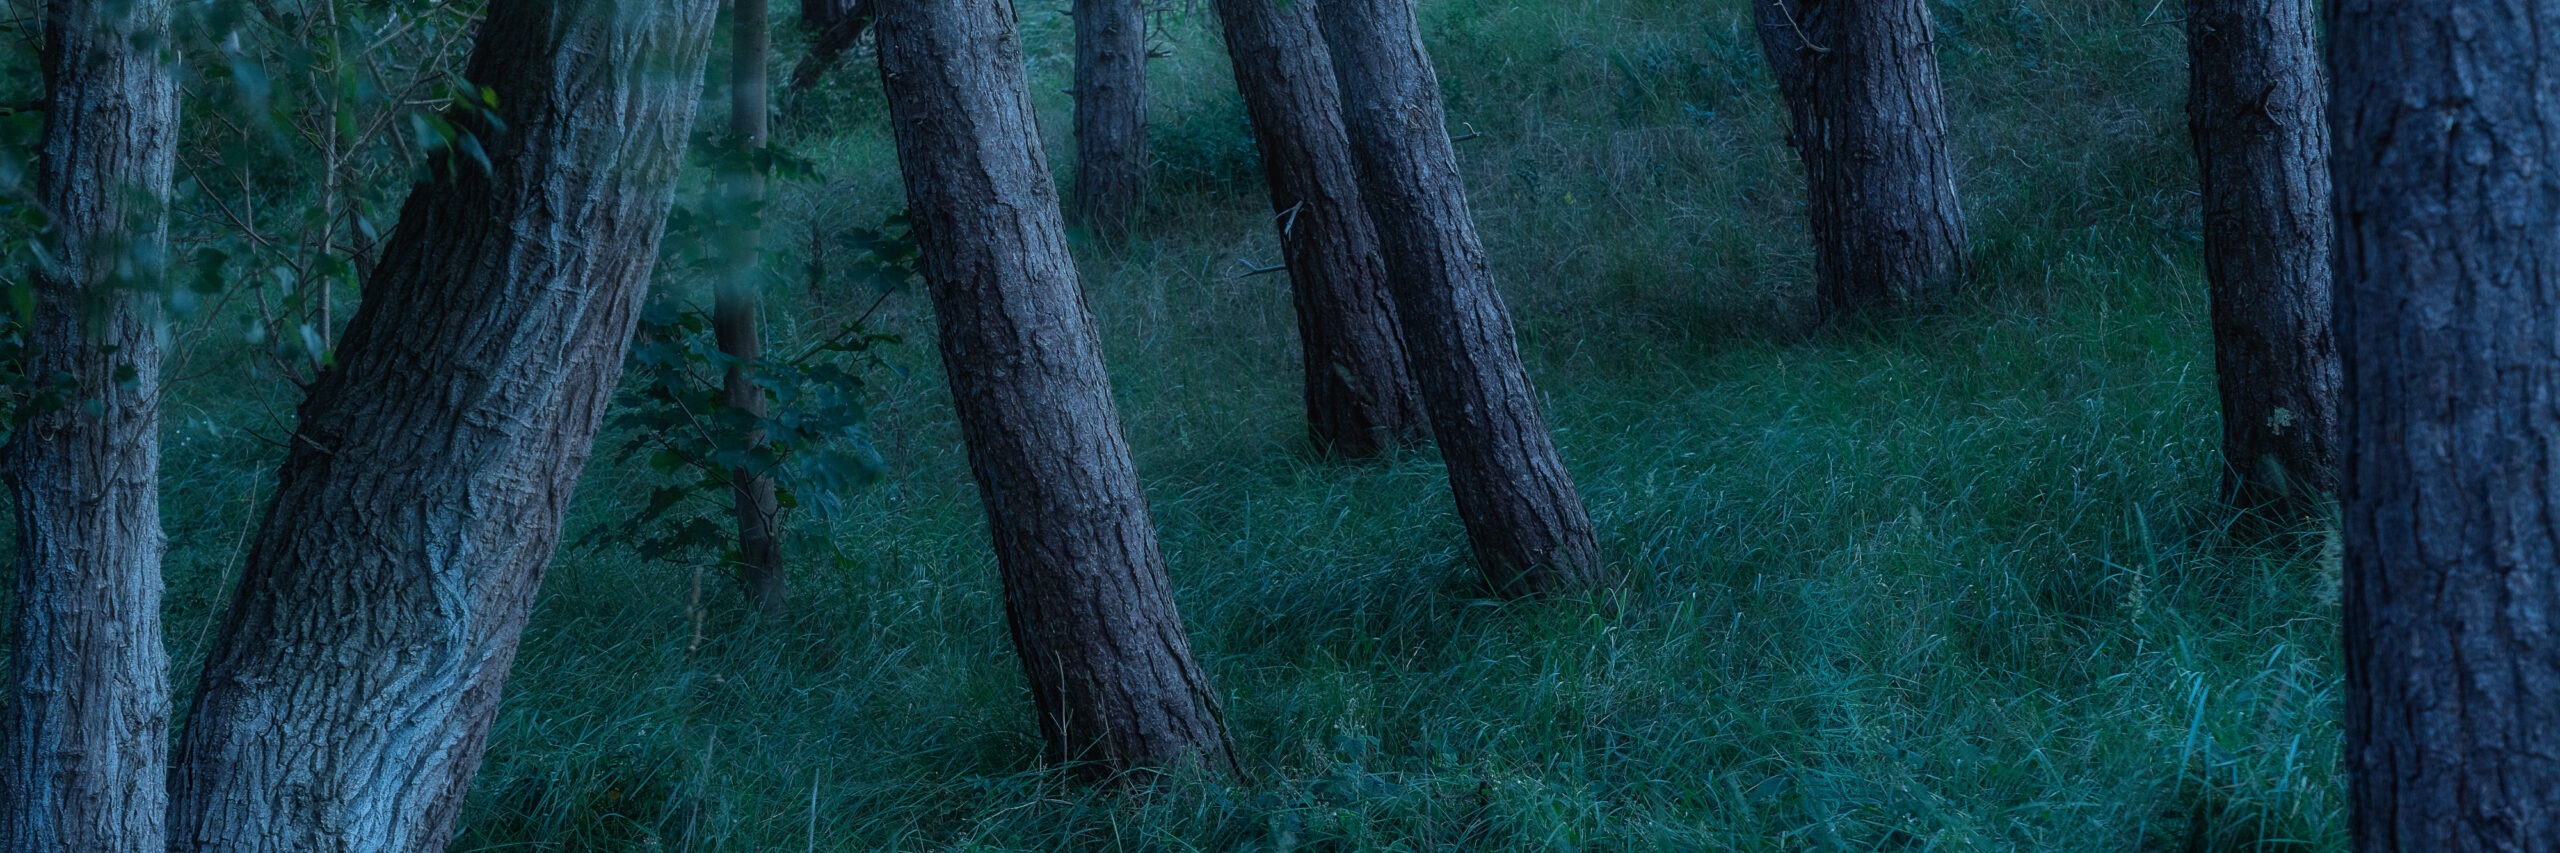
We refer to the blue hour when we talk about the time shortly before sunrise or after sunset, when the sky takes on a deep blue colour. This effect is caused by the scattering of sunlight in the Earth’s atmosphere when the sun is just below the horizon. More precisely, when the sun is between ‑4 and ‑6 degrees below the horizon.
Photographers particularly appreciate the blue hour in urban photography because of the special light and intense colours they can use for their shots. A beautiful harmony of colours can arise between the ambient light and the lights of the city. But in forest photography, this doesn’t really matter, because generally speaking, the sky is often not ideal in the composition. However, the remaining light is great. This is the light reflected from the sun by the Earth’s atmosphere. There is more light towards the sun and less away from the sun, towards night-time, so to speak. This creates a diffuse, directional light that can be perfect for forest images.
Difficulties arise when the light is already dim, the forest is dark, or there is wind. Opening the aperture fully is only useful in the forest for detailed shots. An aperture of f/8 may be necessary to achieve sufficient depth of field. If you don’t want to increase the ISO too much, the exposure time must be correspondingly longer. Depending on the air movement and moving leaves, it must not be too long. A certain amount of ISO noise must be expected, also due to the darkness. A full-frame camera such as mine, for example Sony a7 IV (*) helps, of course, due to its good low-light performance and low noise. Modern image editing programmes are effective in reducing noise retrospectively. From this point of view, I would therefore tend to favour a higher ISO value rather than an unnecessarily long exposure time.
When it comes to composition, forest photography is always a challenge, but there are techniques that can help you get an appealing image.
My camera always takes pictures in 3:2 / 2:3 format. I don’t experiment with cropping the images in the camera on location. To be honest, I don’t even know if my camera has this function. I always want to use the entire sensor for shooting on location. What I do when I suspect that there is a rather elongated format is to briefly place my finger over the camera screen and estimate what the finished image section might look like.
In some cases, I sit at home in front of Lightroom and think to myself that the image somehow doesn’t work the way I imagined it. Cropping the image, even in other formats or possibly completely freely, can suddenly make an image composition ‘work’. This is a frequently underestimated composition technique.
This and all other shots of this post you can request under “Prints” as an art print for your wall at home directly from me.
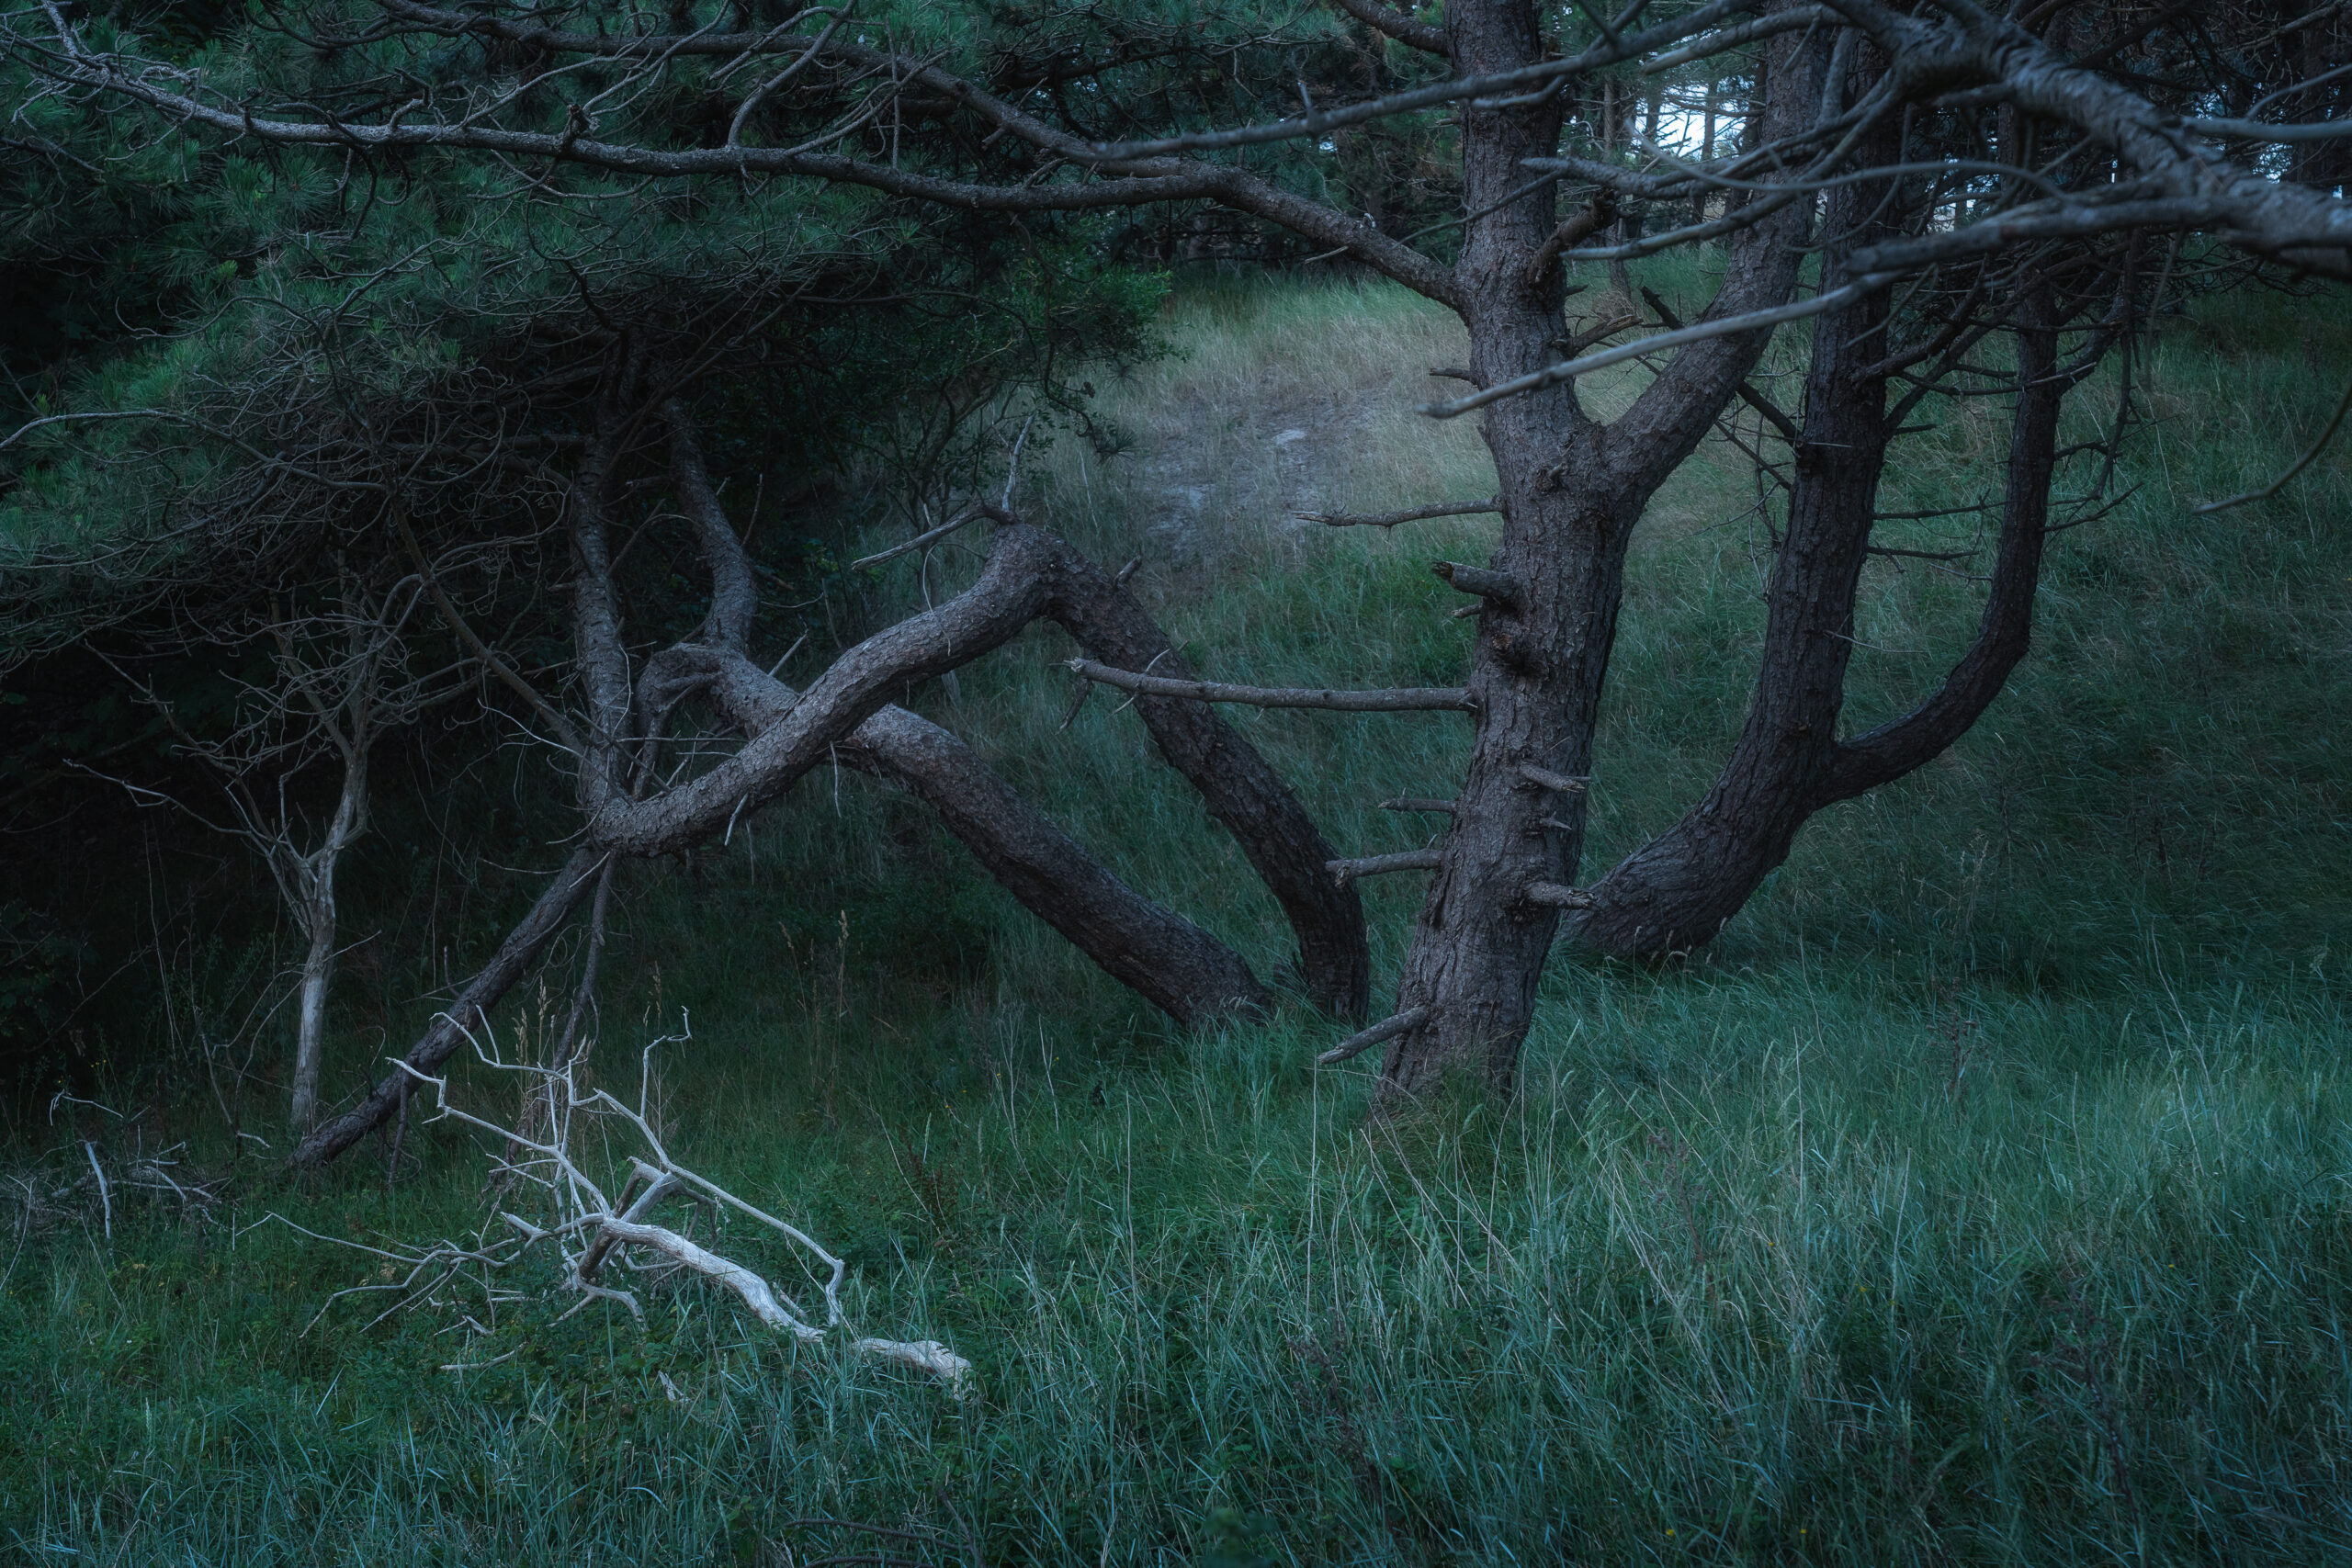
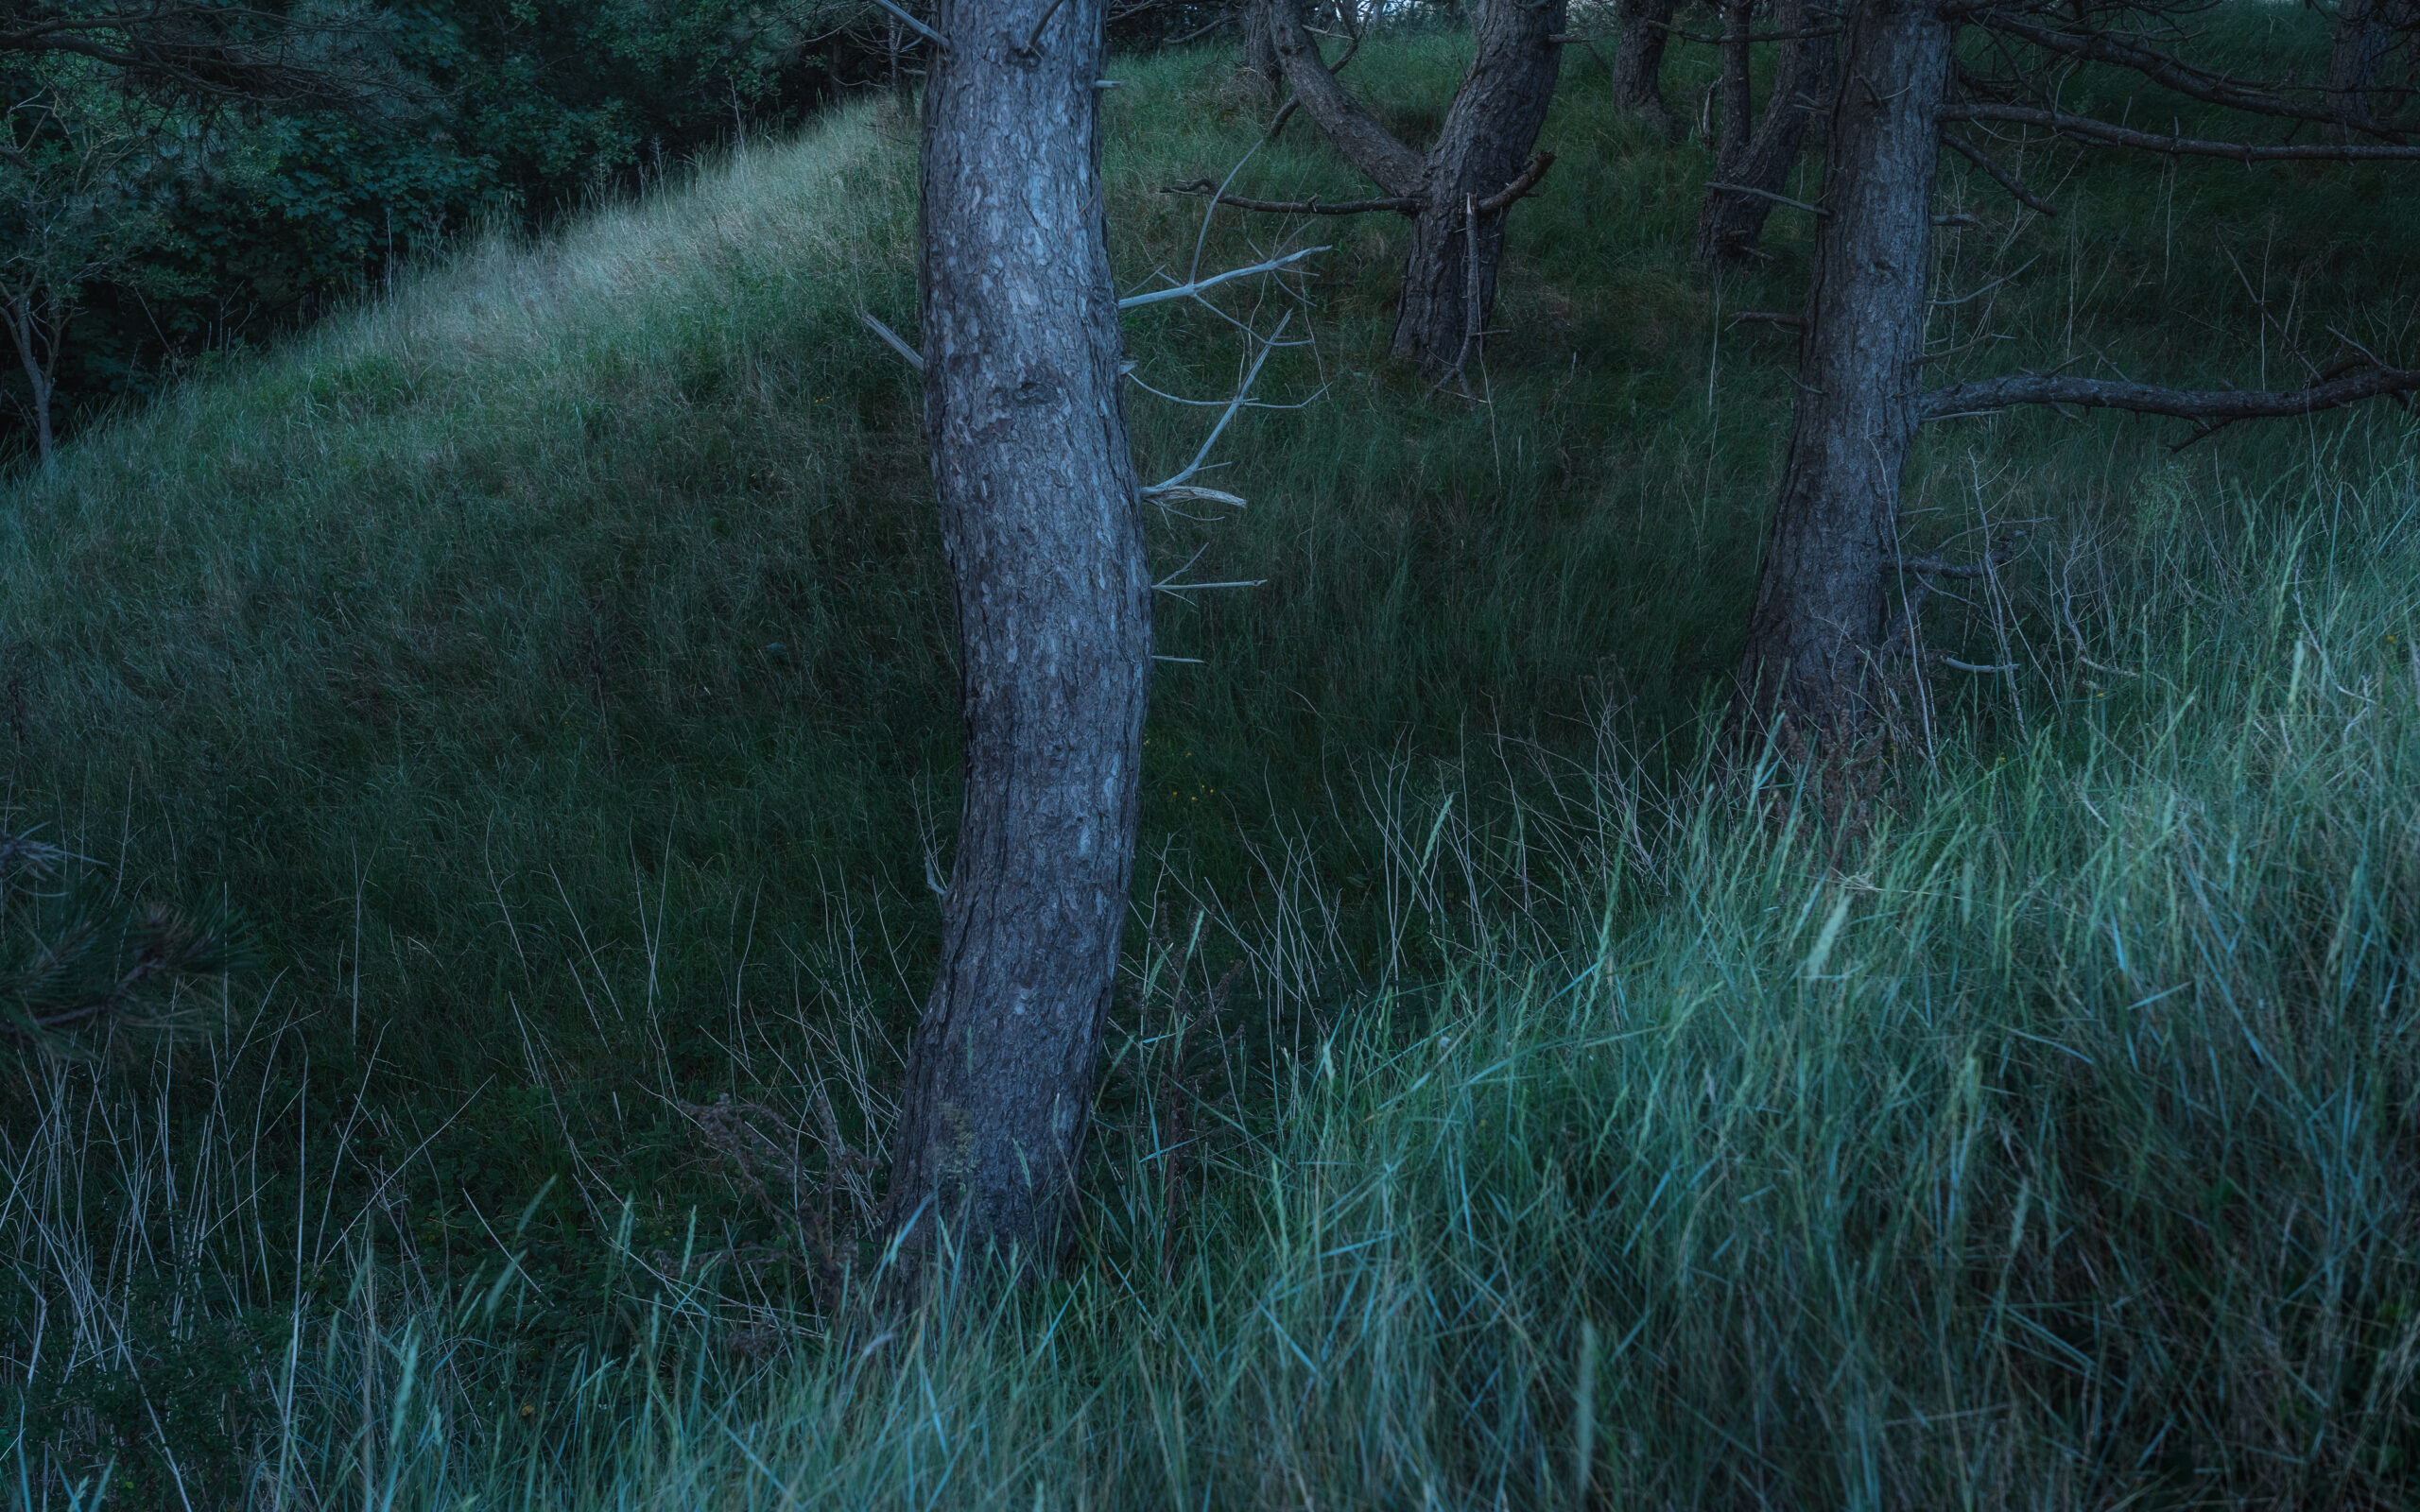
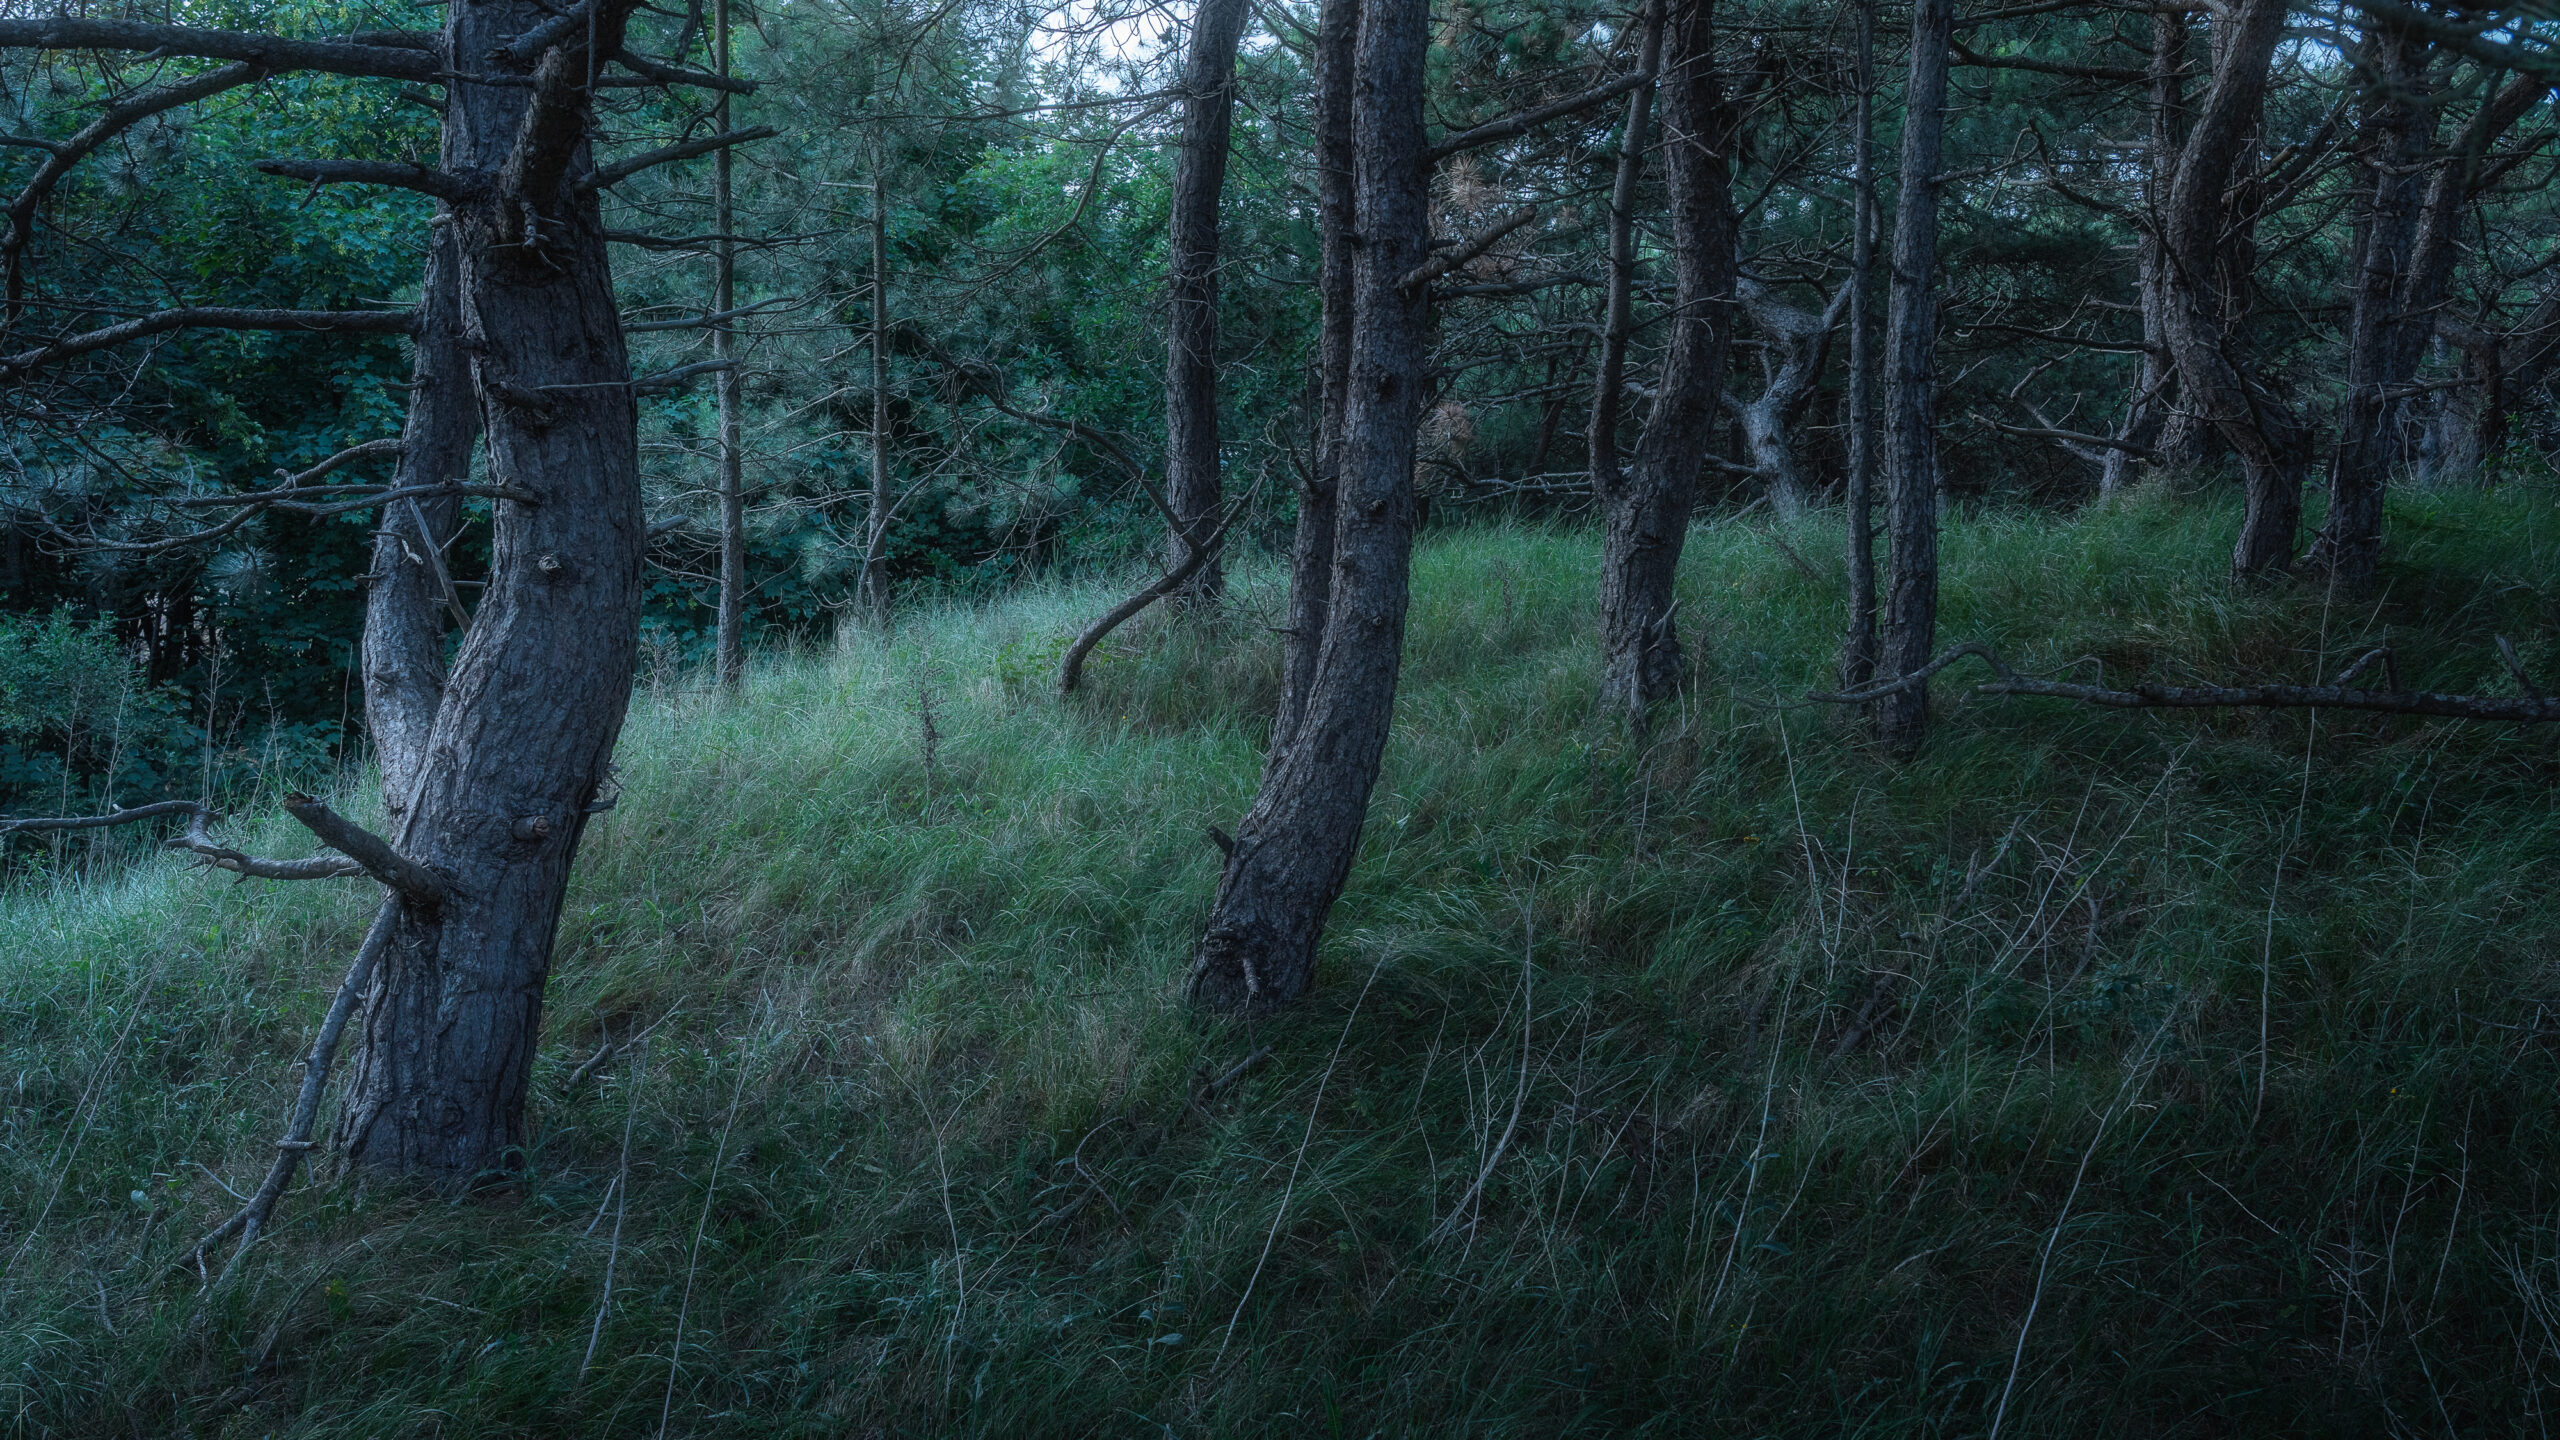
Moving forest photography to the blue hour when conditions are not ideal is therefore not a bad idea. The light is blue, diffuse and has a mysterious, even mystical effect. Difficulties are there to be overcome. Using a tripod is virtually essential. If, as is always the case in photography, you embrace the moment, take a deep breath and take the time to figure out the direction of the light and choose the frame carefully, you can create great pictures.
I hope this article has inspired you a little and given you the courage to try photographing the blue hour in the forest. Have fun trying it out!
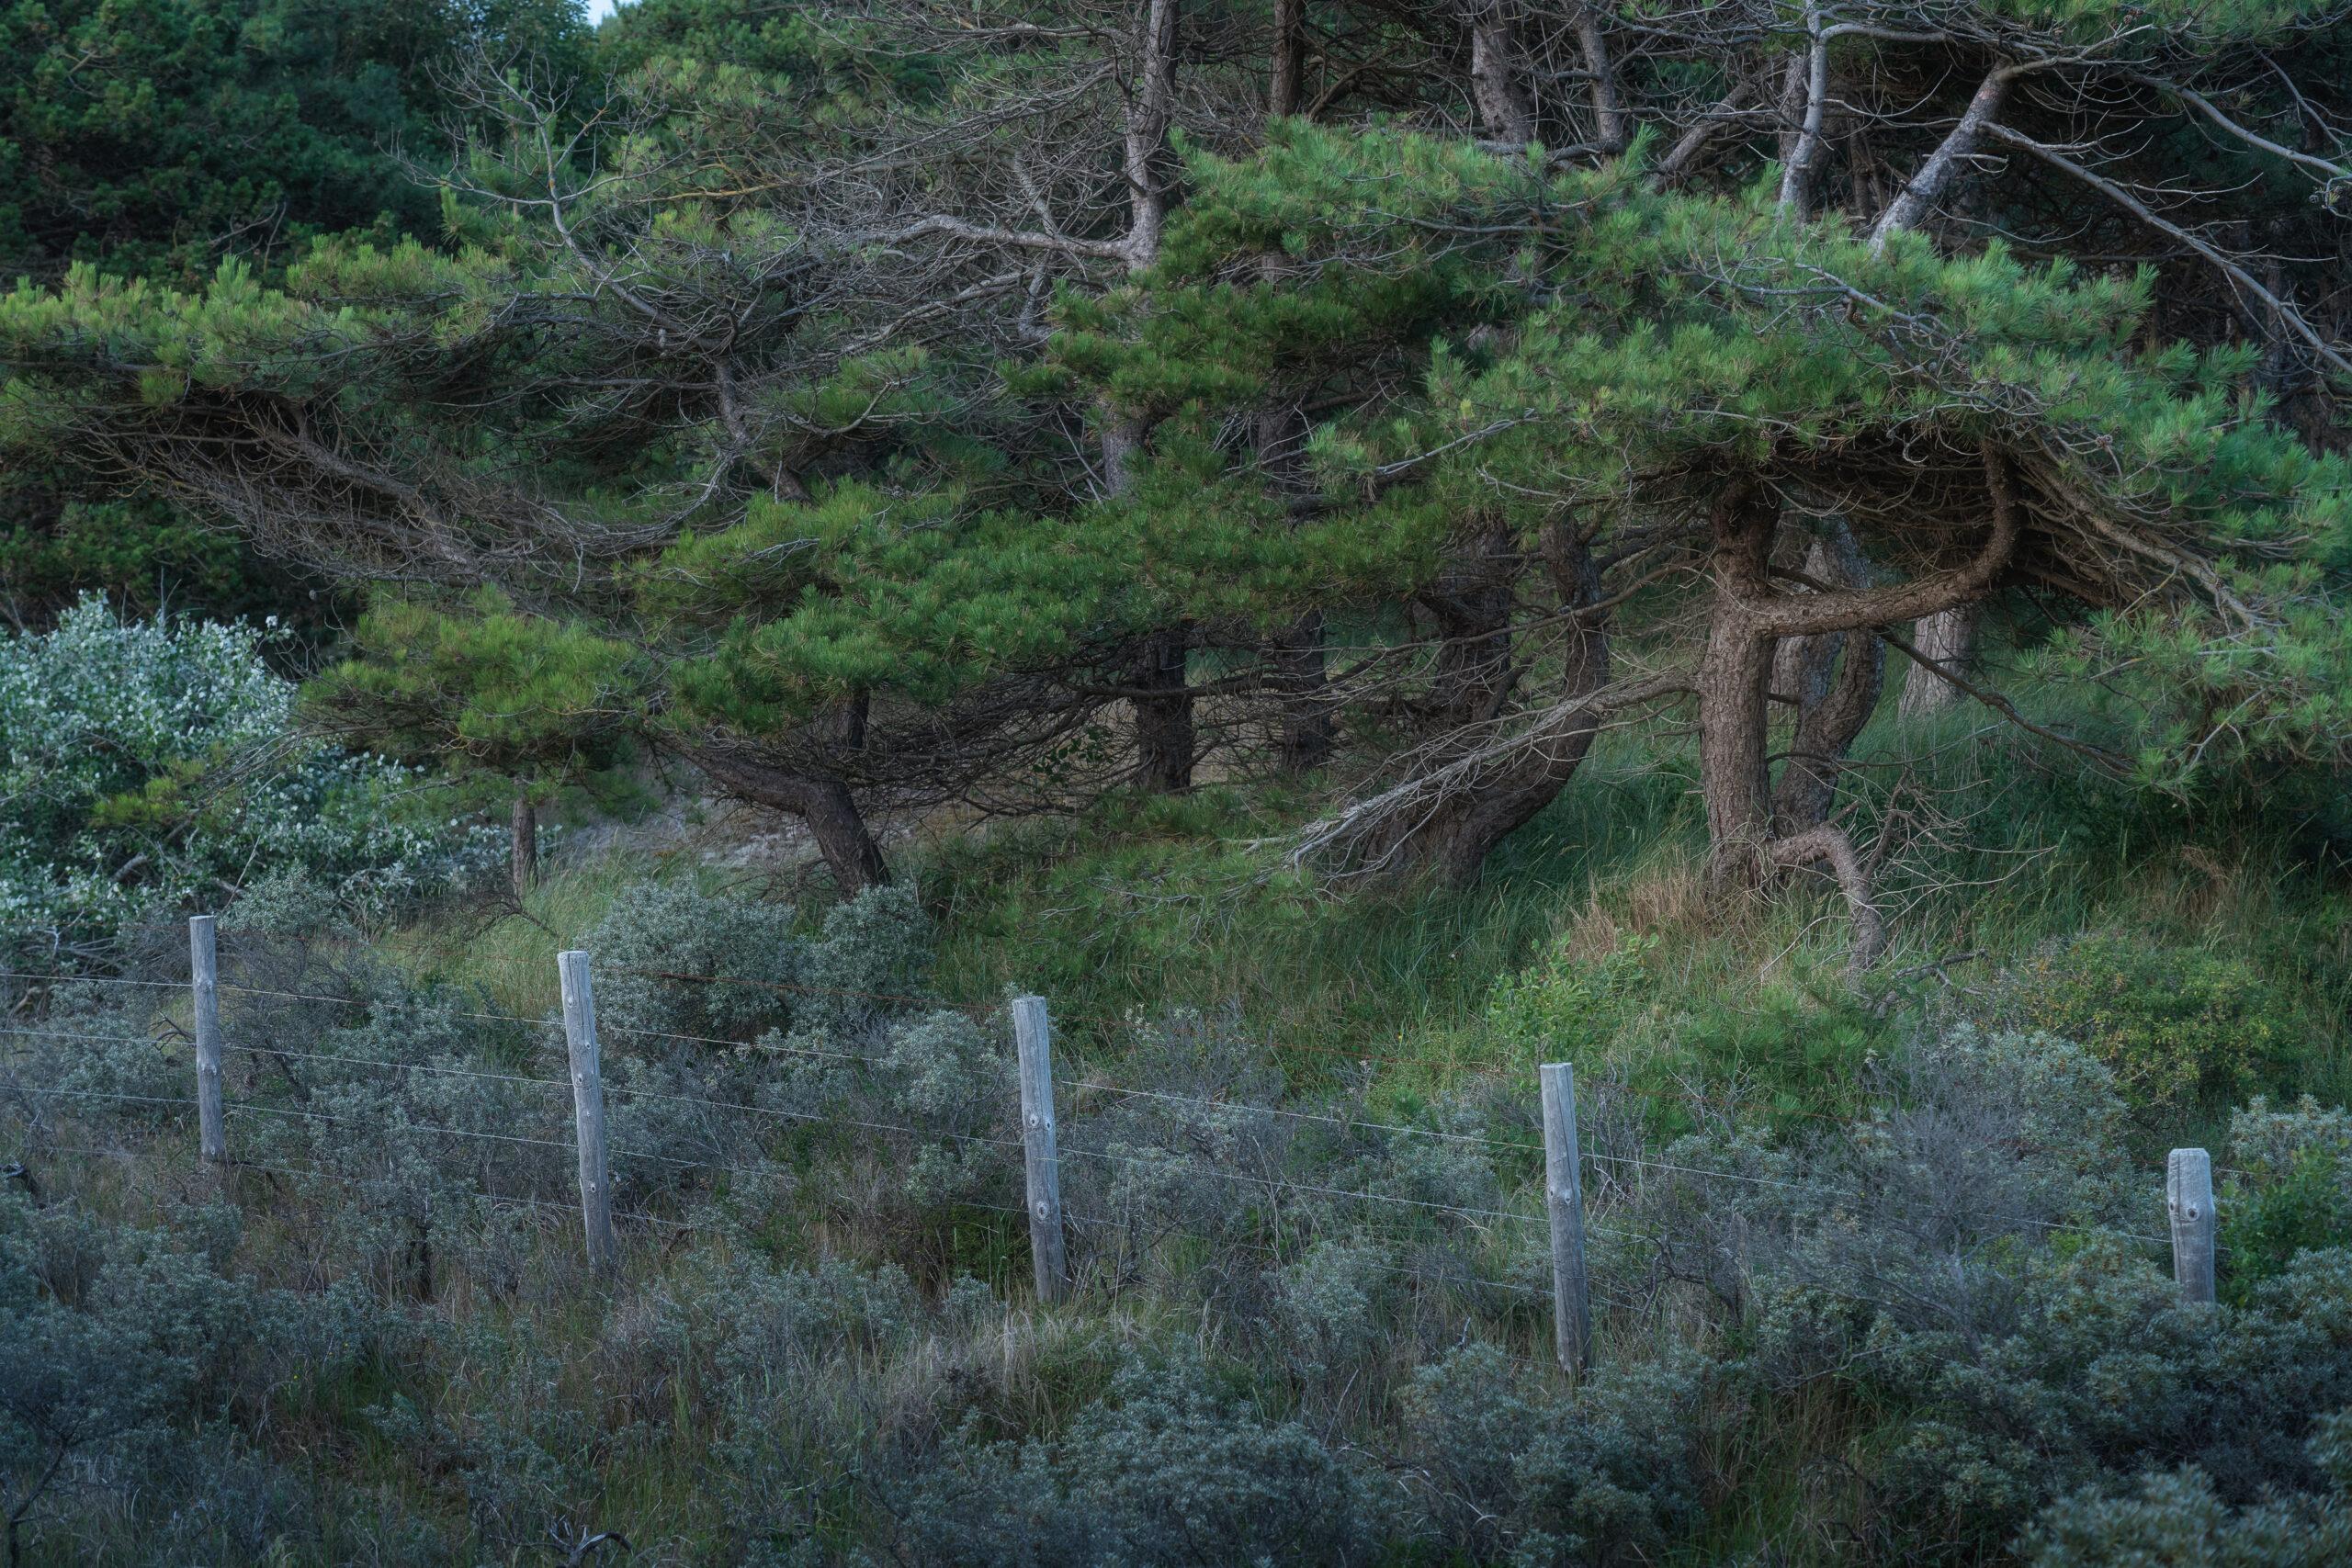
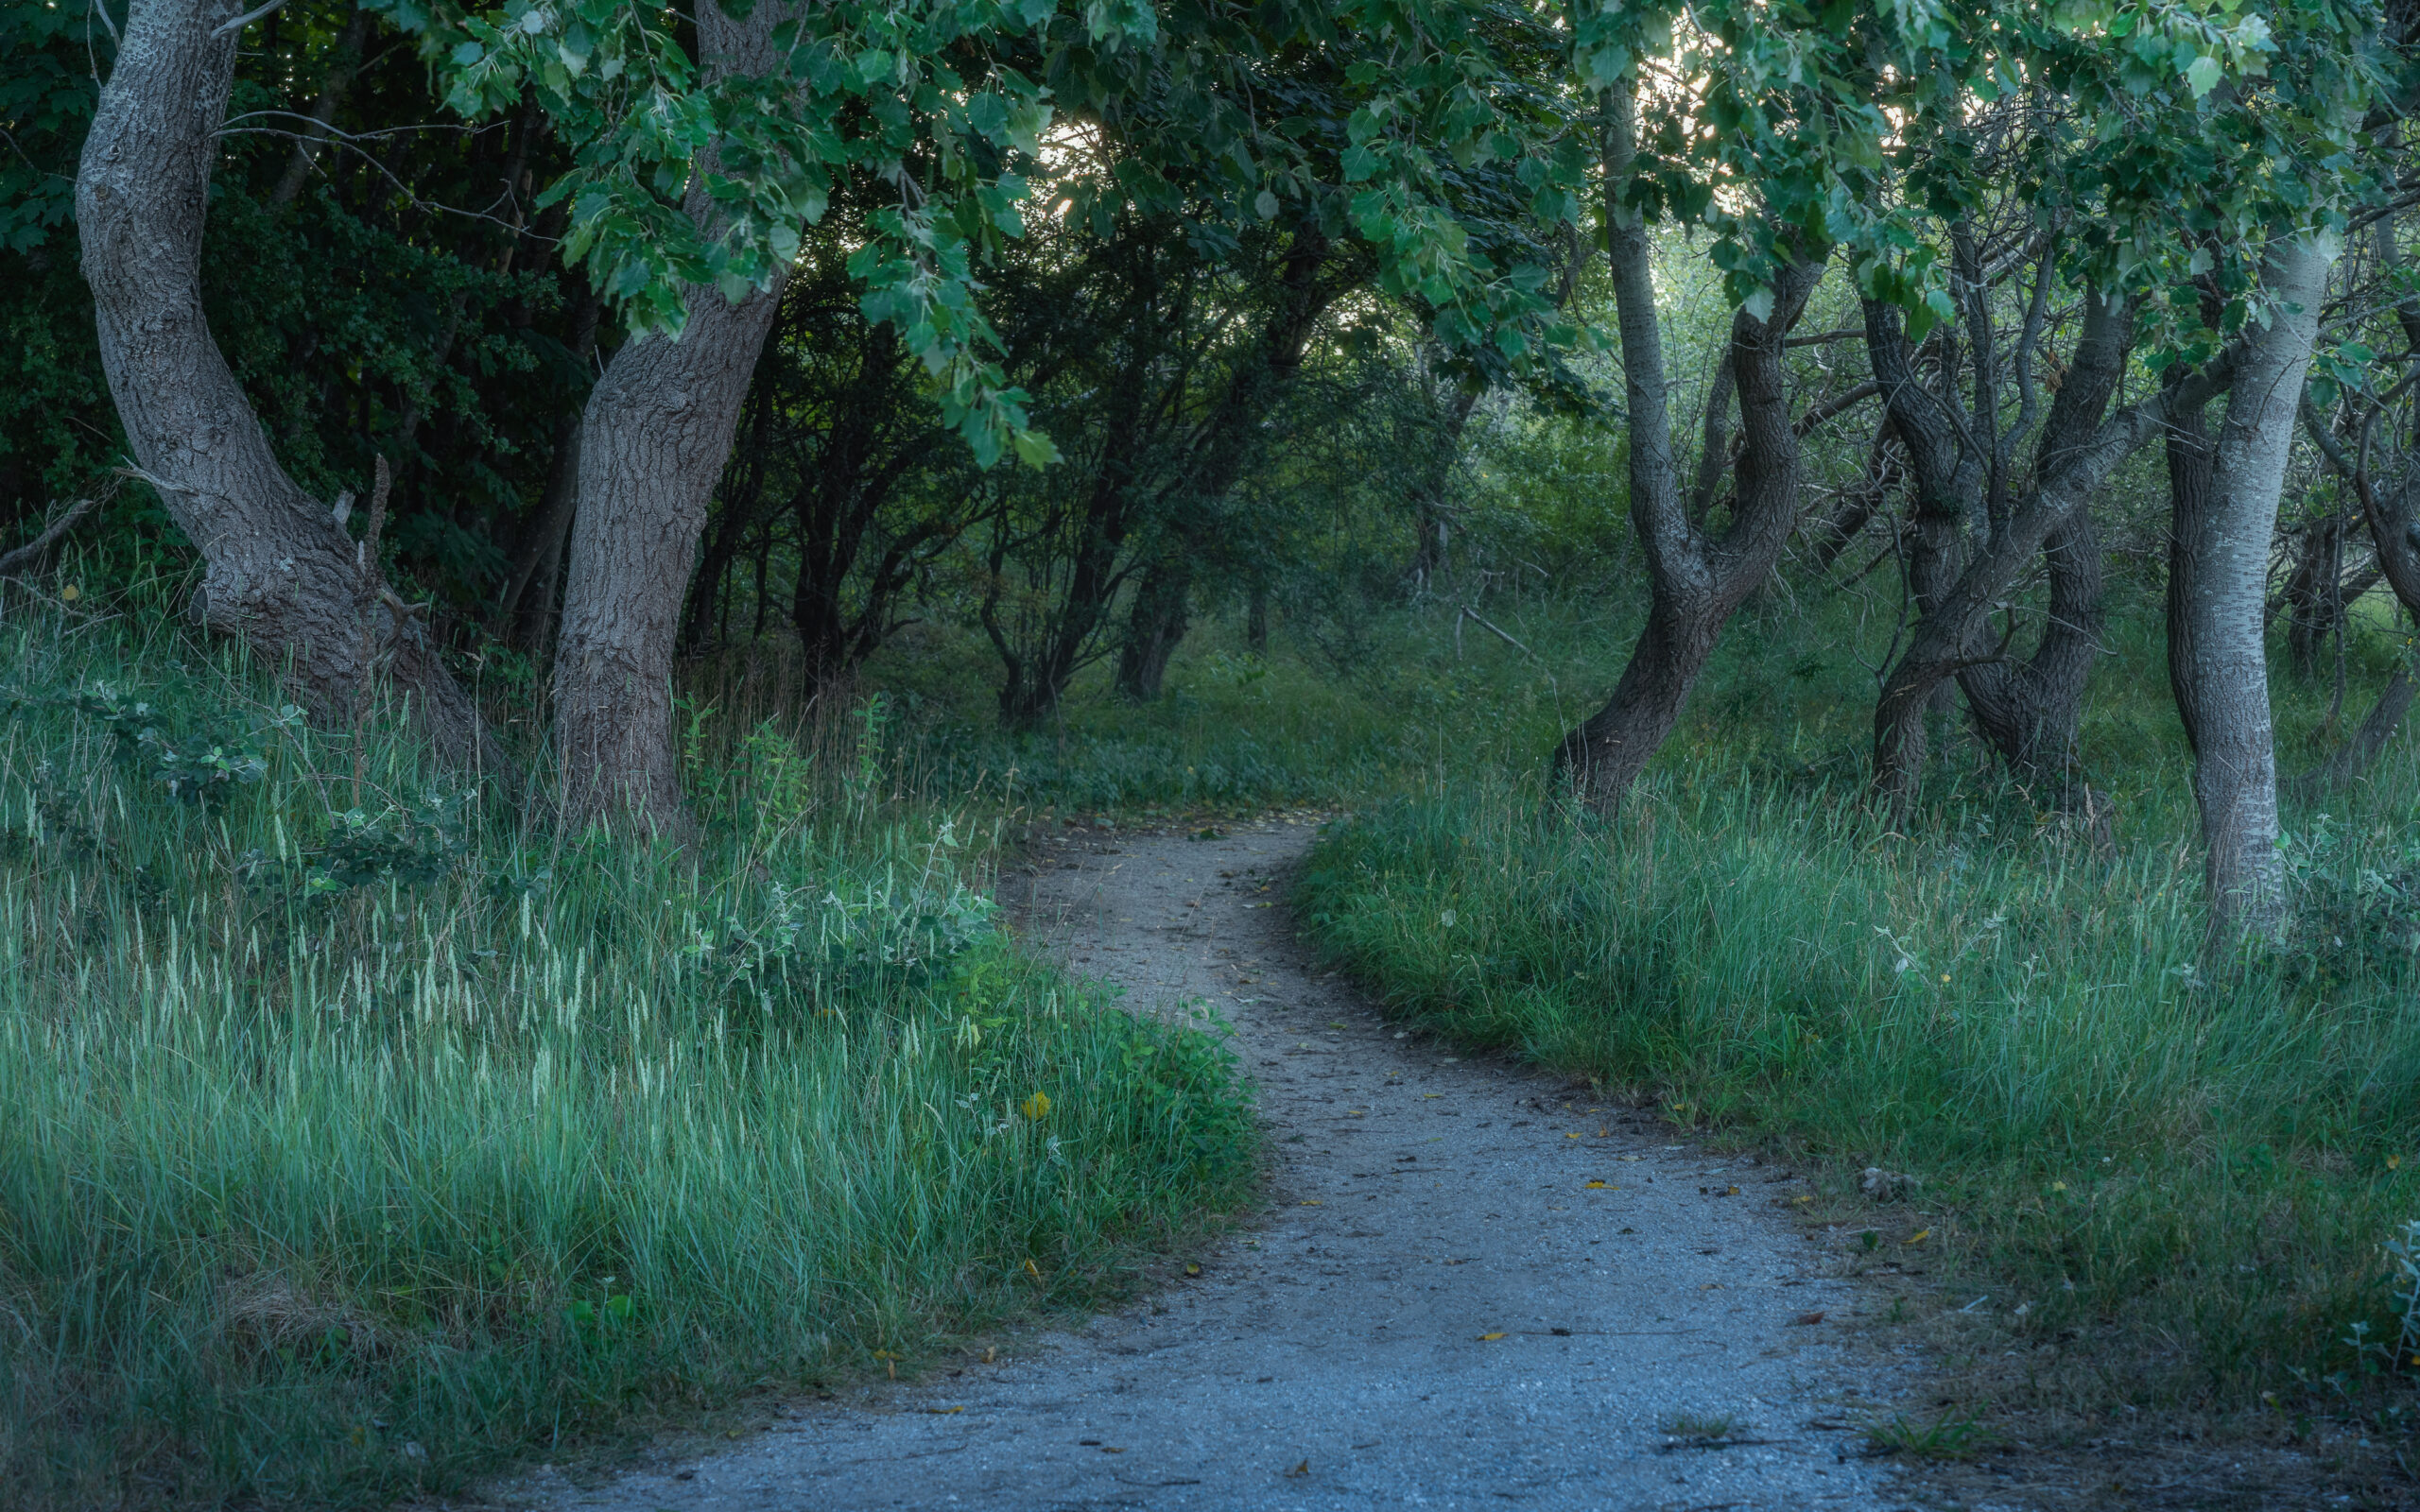
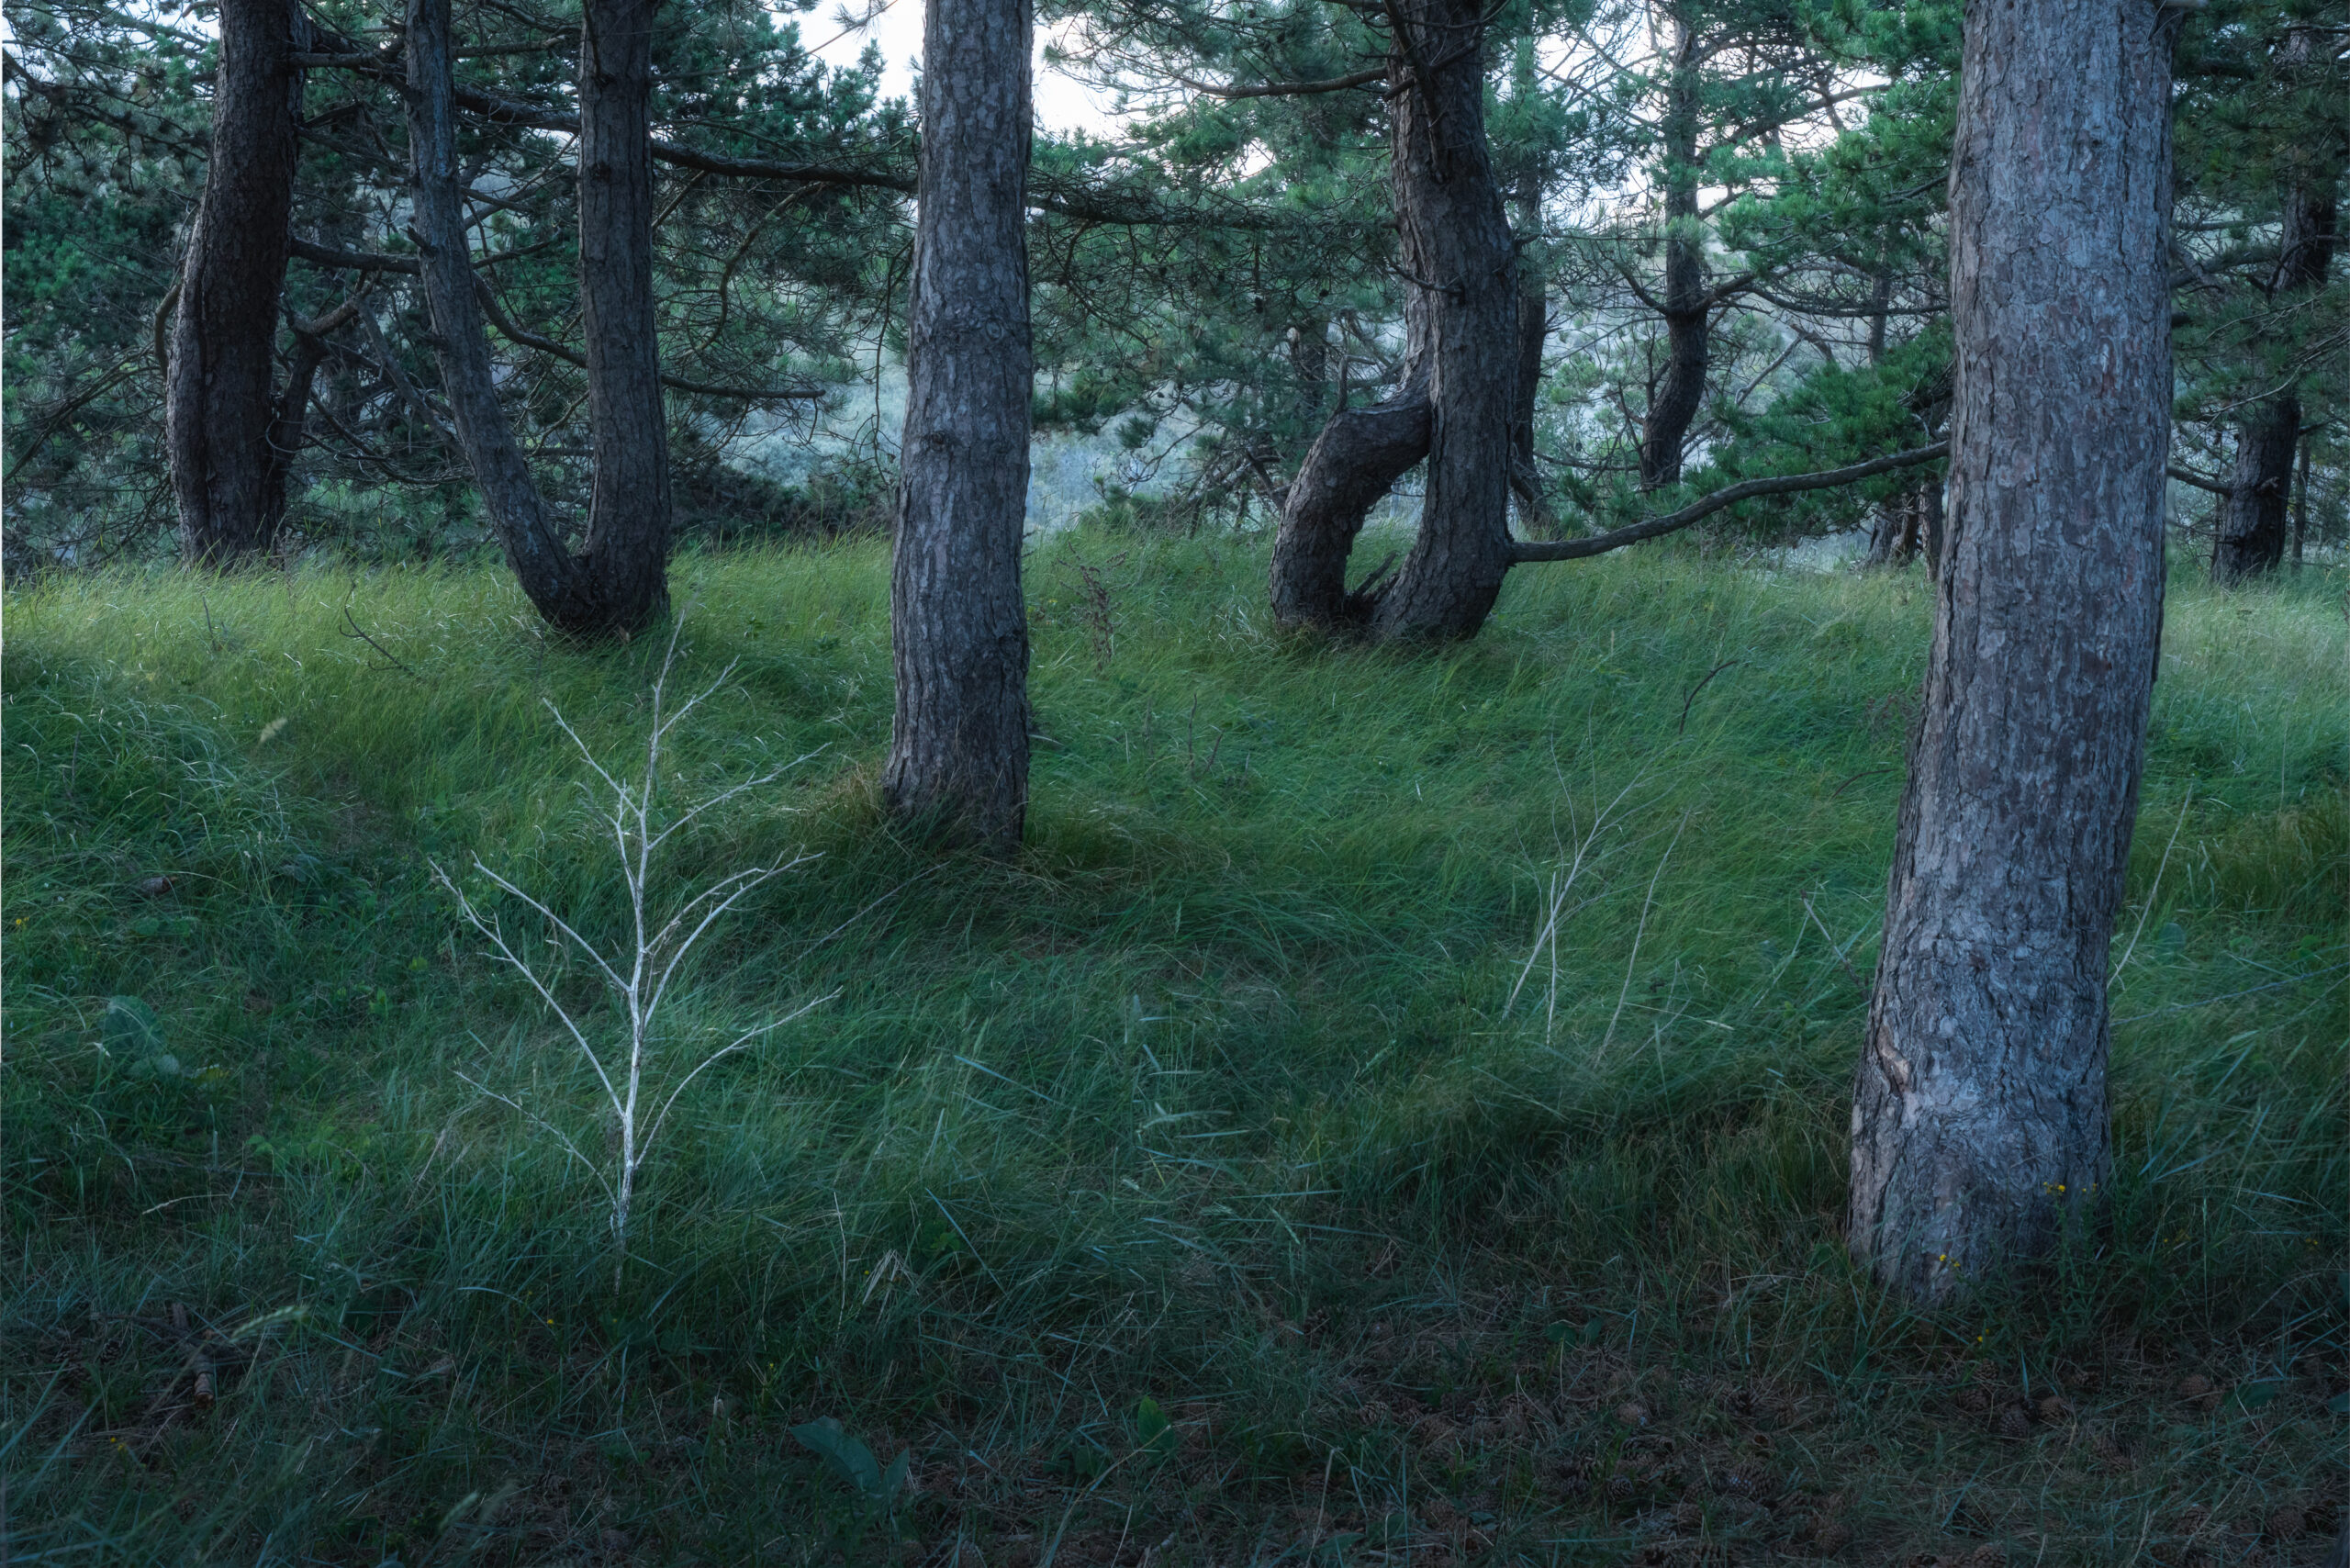
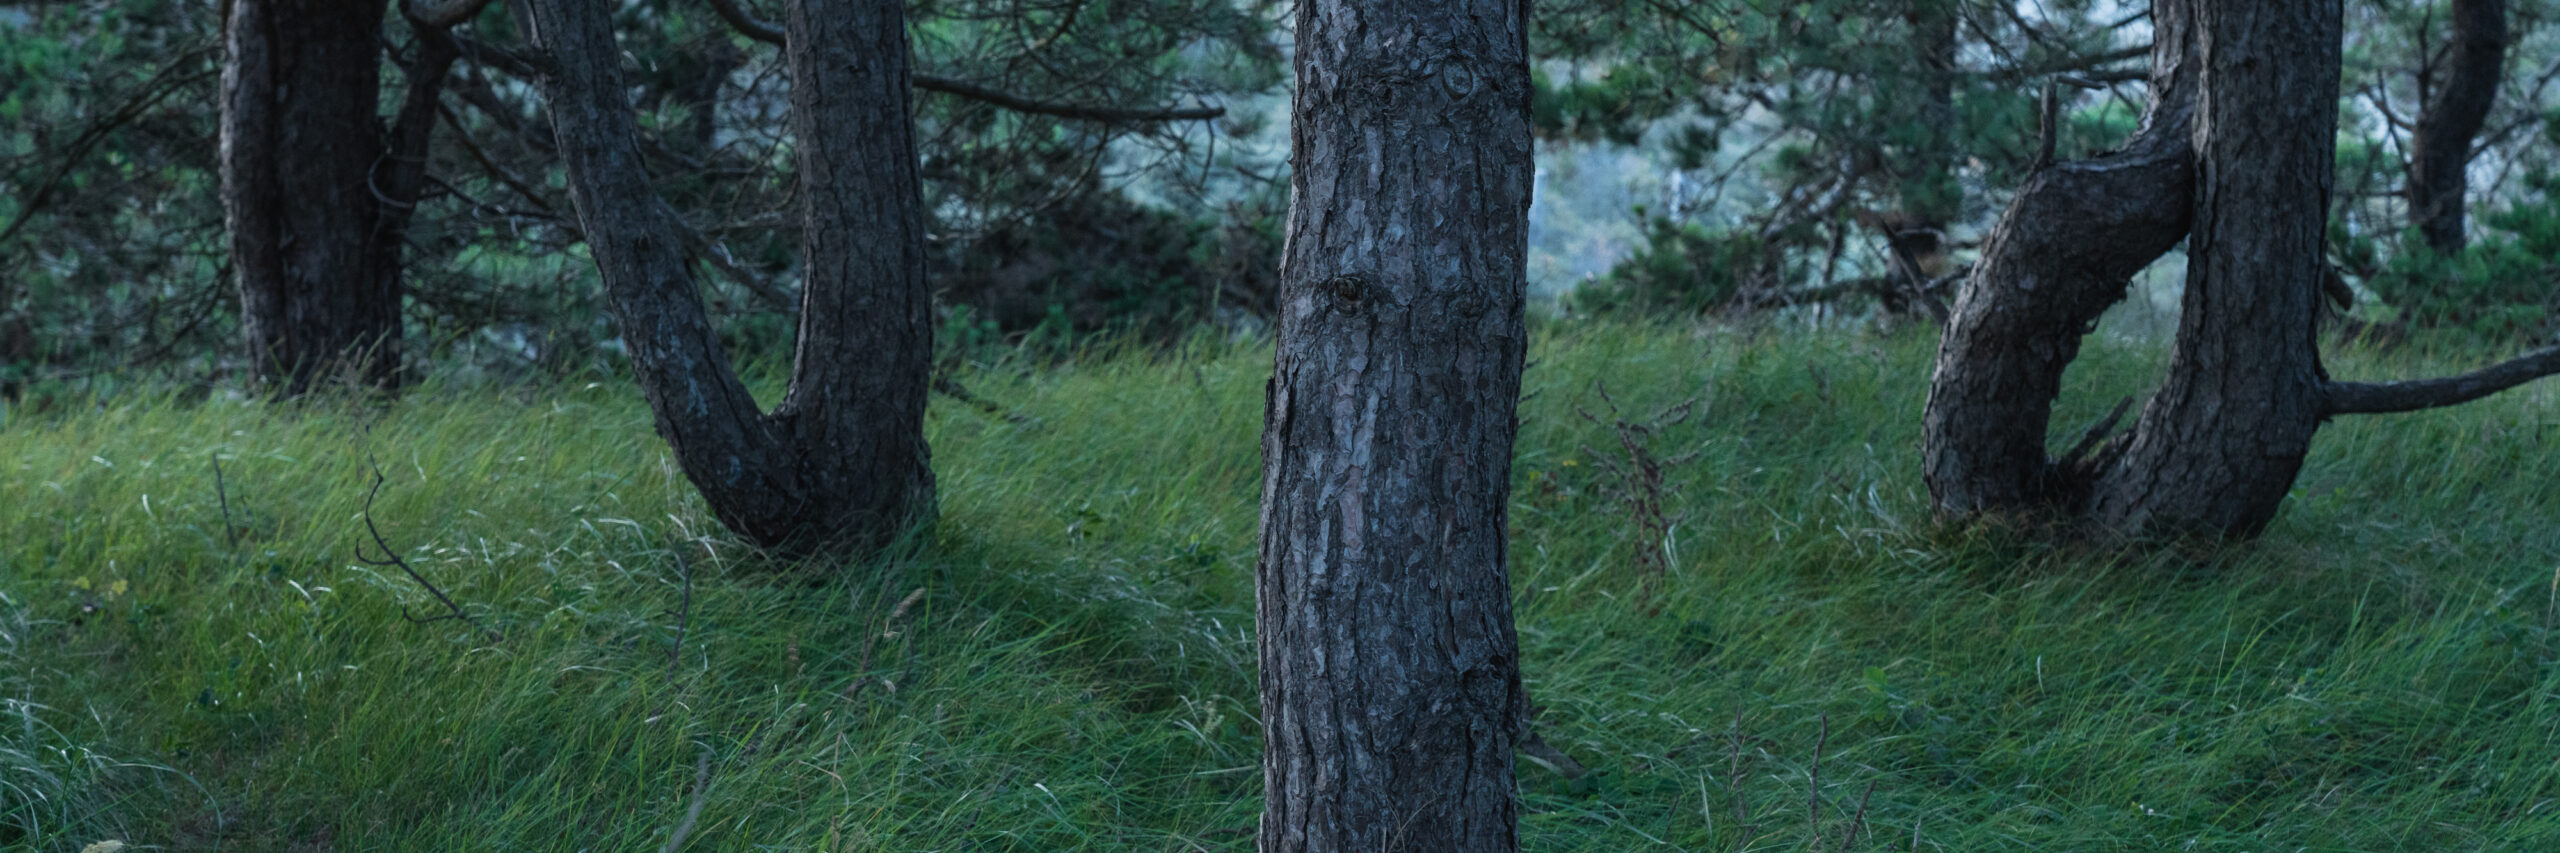
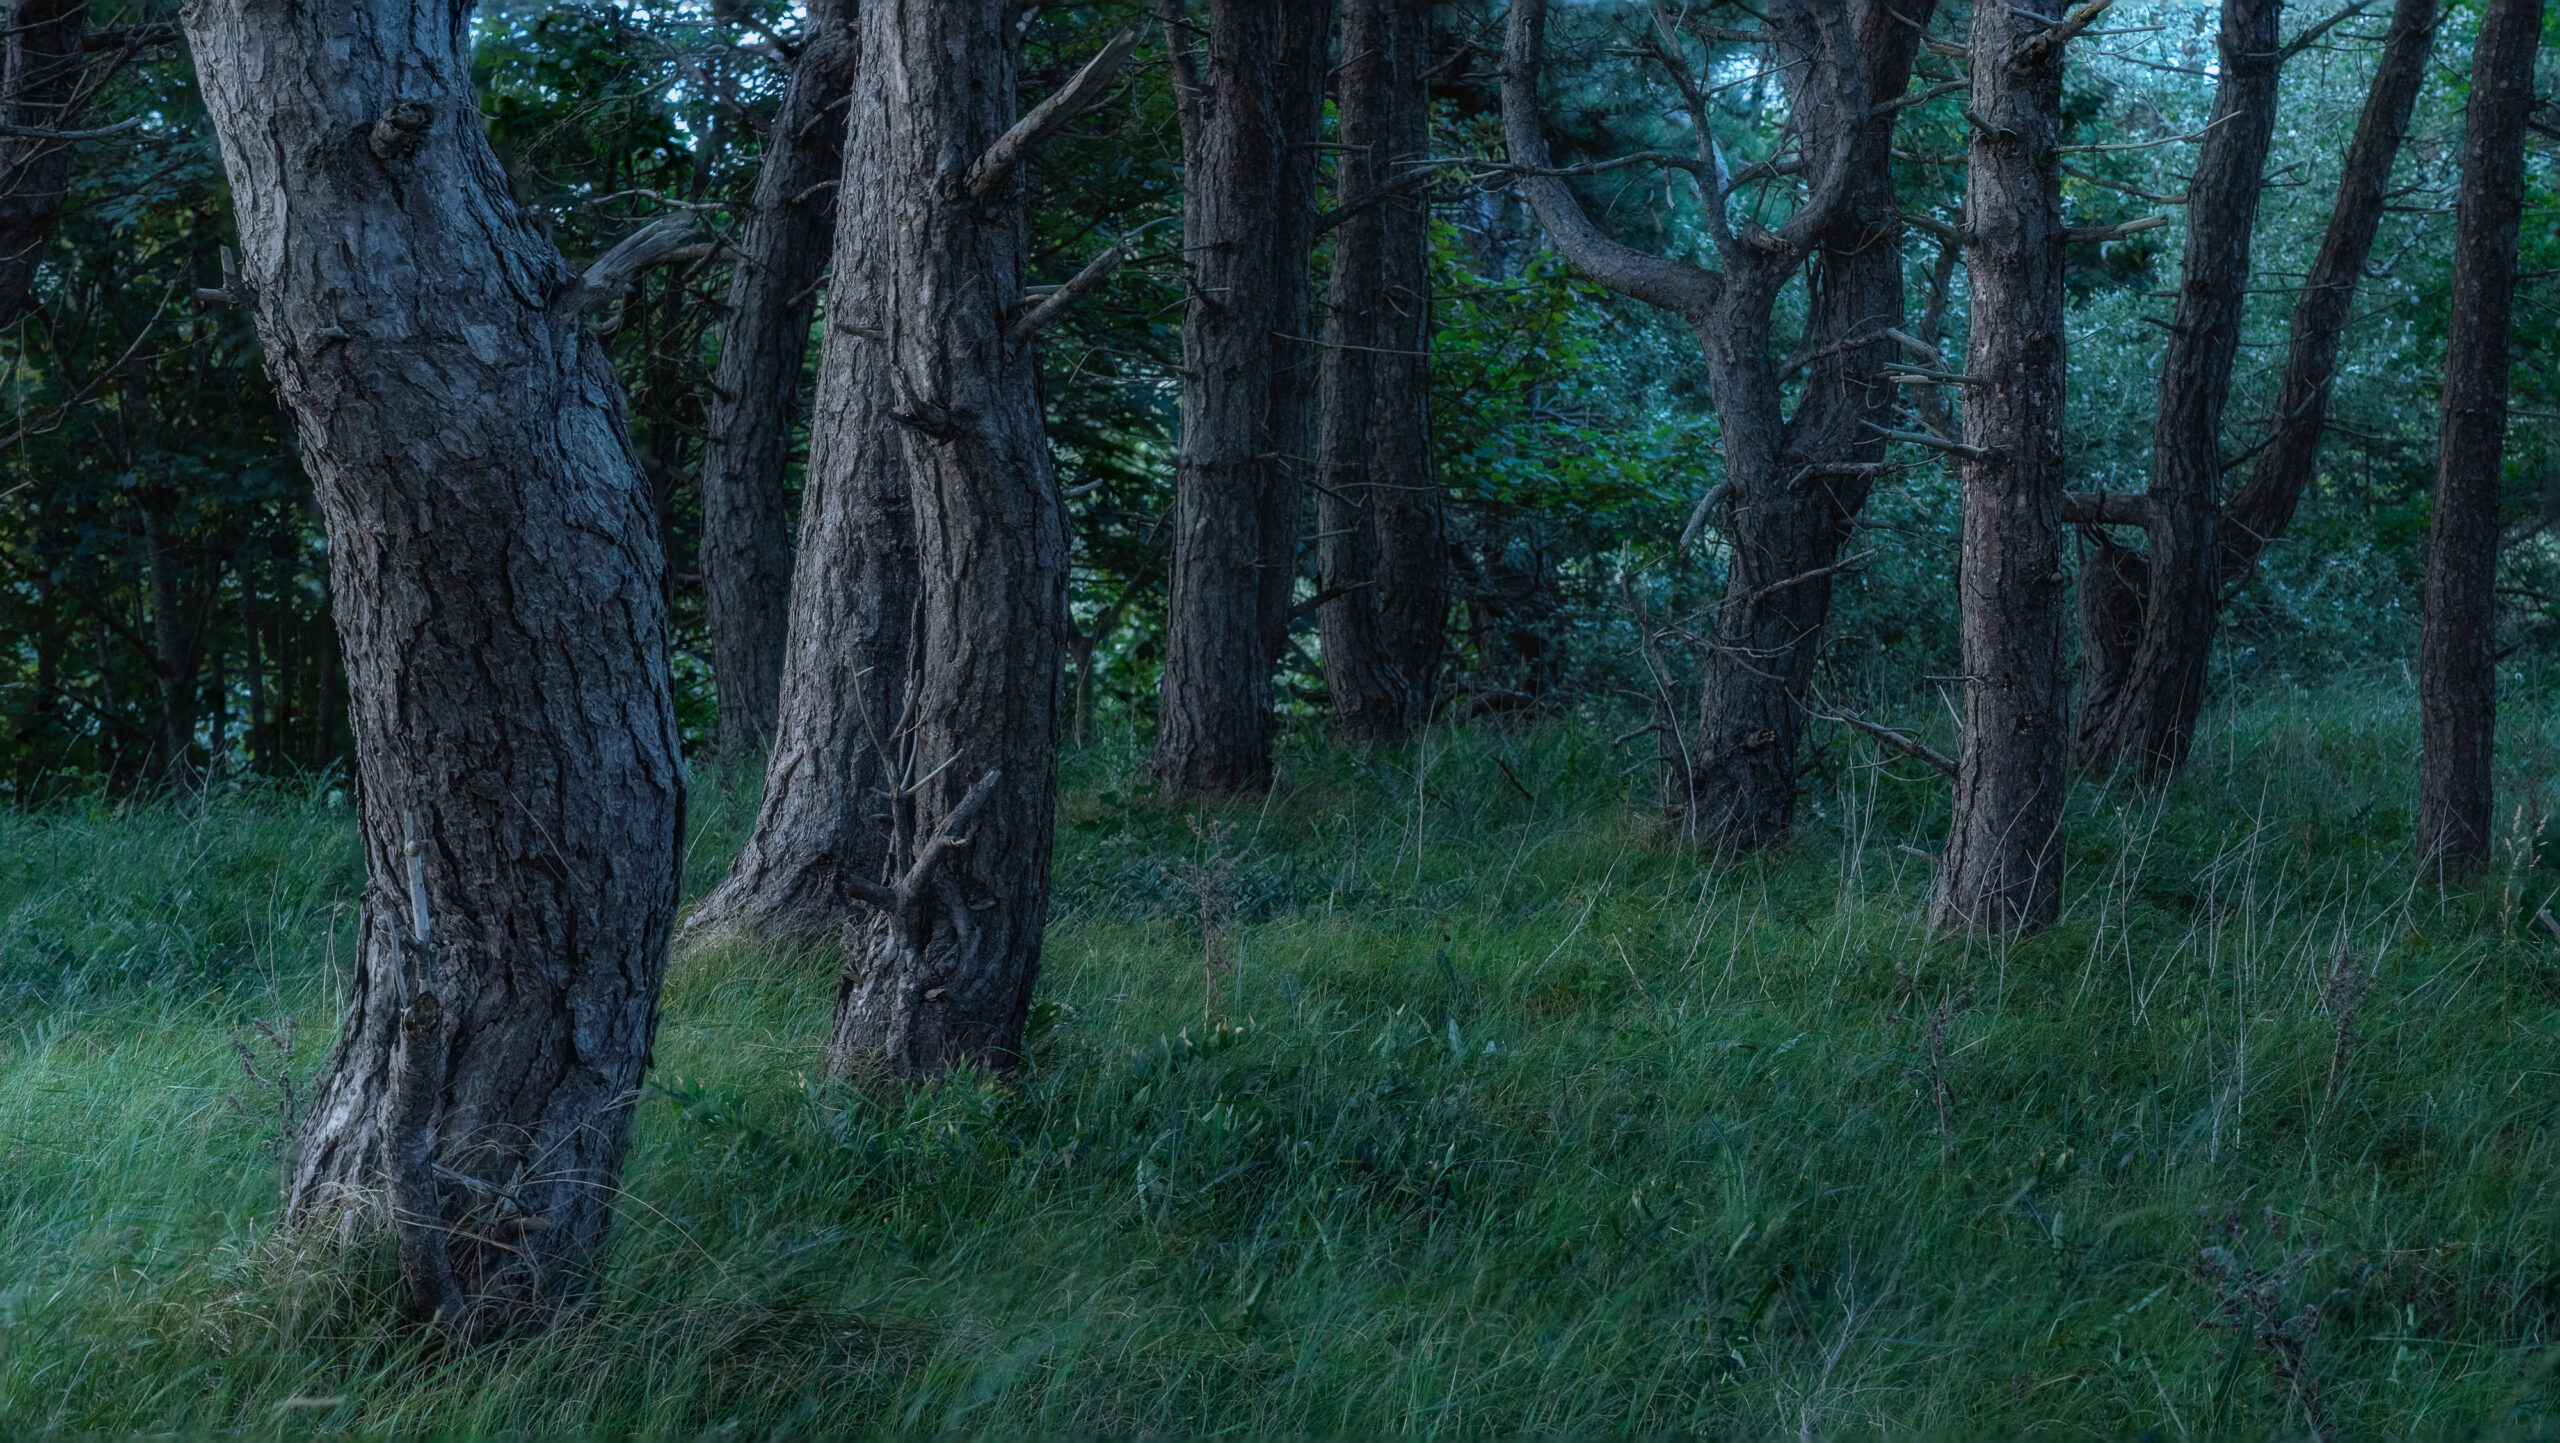
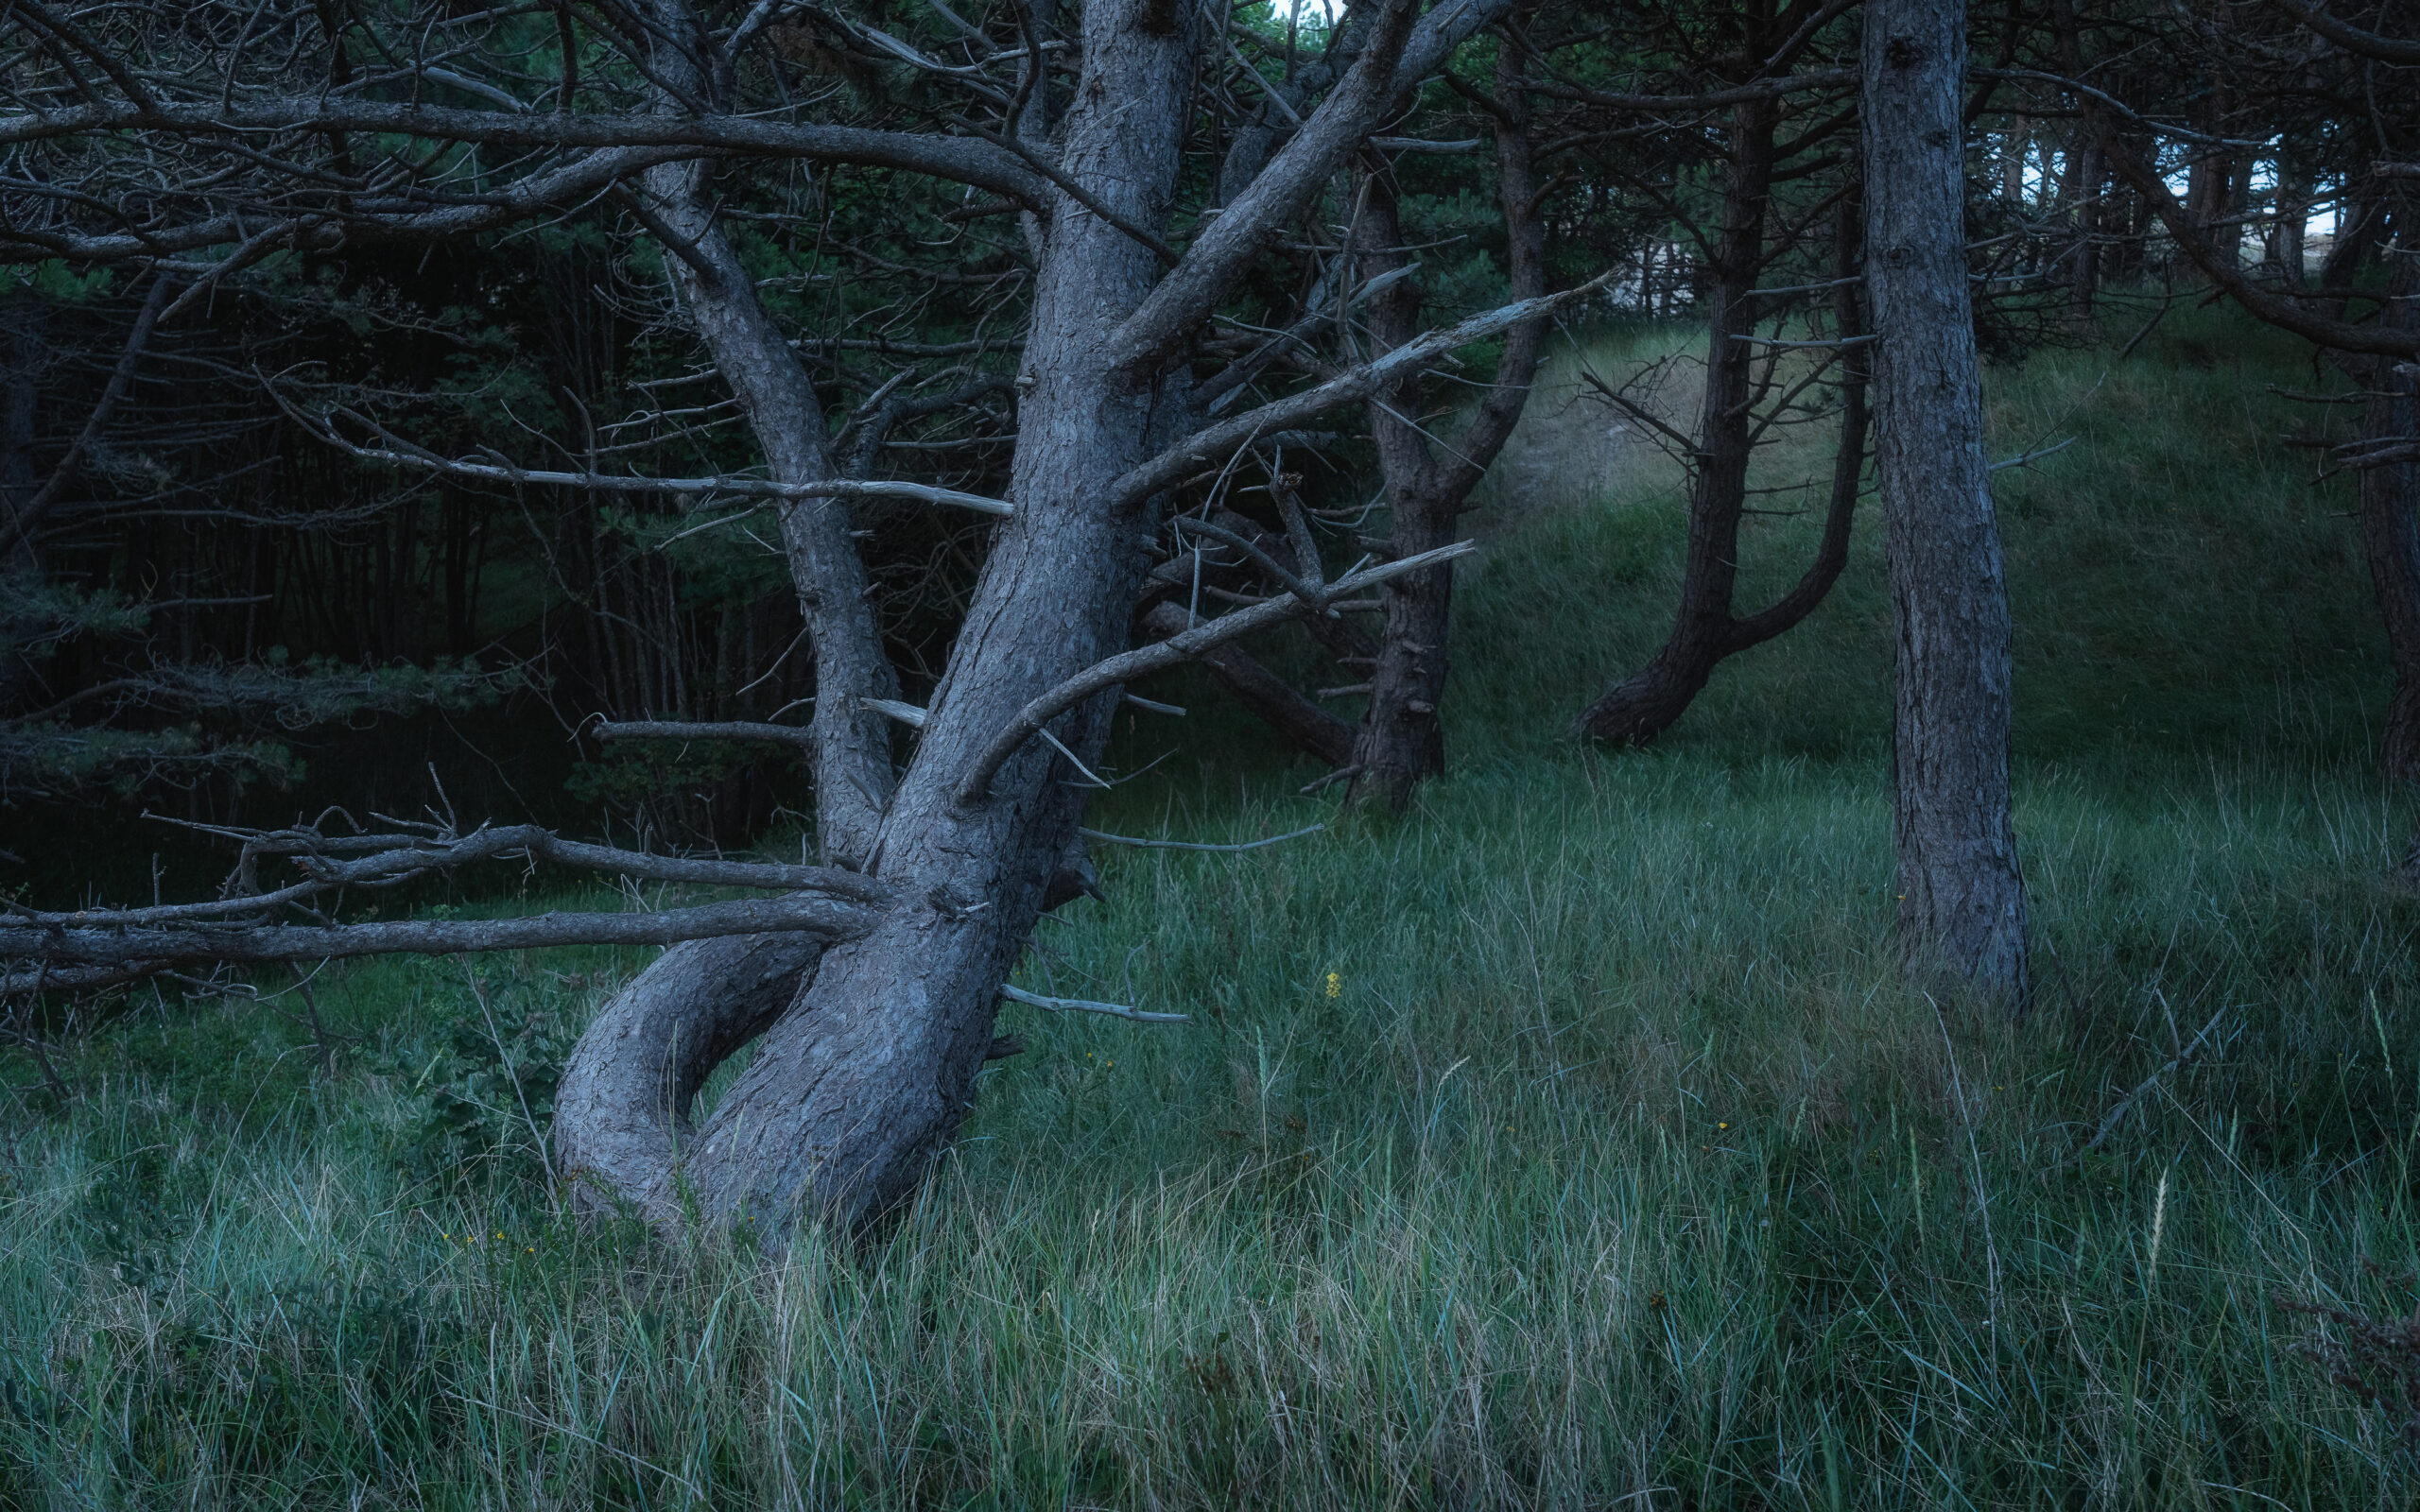
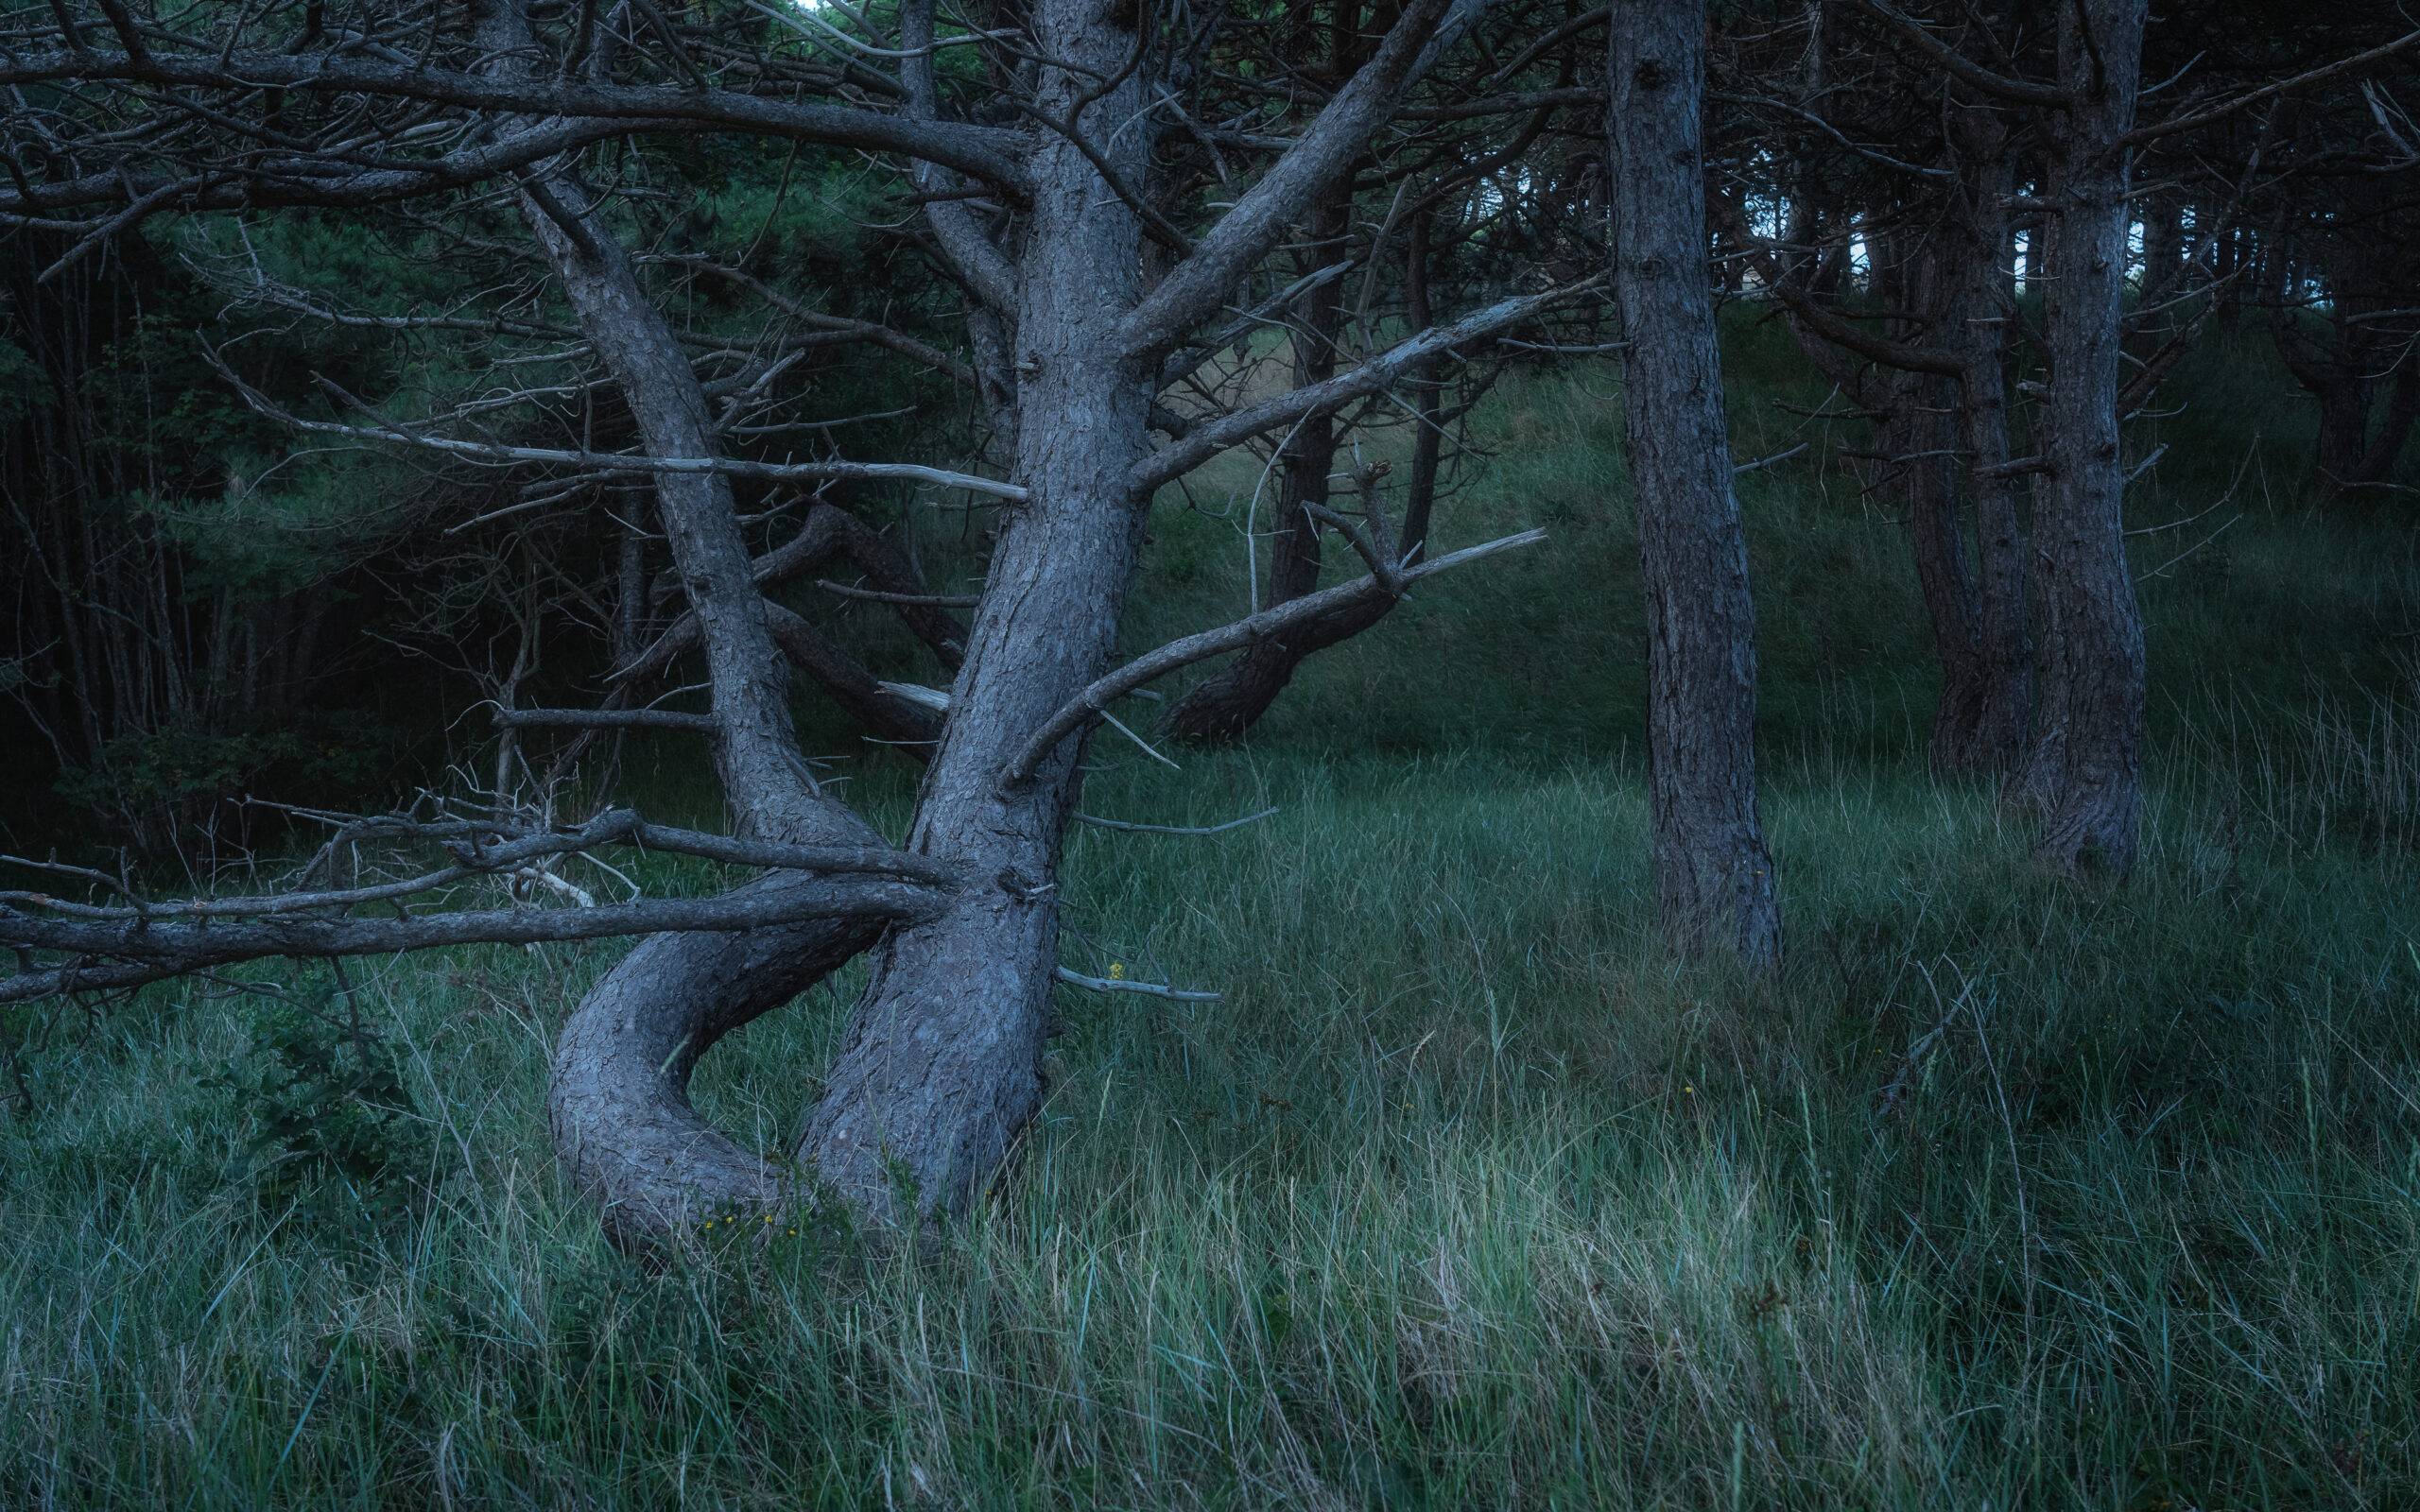
The Somme does not offer good conditions for forest photography, at least in theory. However, during my summer holiday, I came across some interesting small woods and trees. There is hardly any fog during these summer weeks. The weather is mostly stable and cloudless, and when it did rain, it was so stormy that you didn’t want to go outside. But as always, there is a solution: the blue hour. Here you can see all the pictures I was able to take during the blue hour that evening.
After sunset, the light changes – and that’s when forest photography can become truly magical. In this video, I’ll show you how to use the diffuse, reflected light of the blue hour for your landscape and forest photography. The soft yet directional light makes trees appear more vivid and three-dimensional in your photos. With the right image composition and attention to the direction of light, you can take shots that would be almost impossible in harsh sunlight.
Feel free to share:
One Response
Vielen Dank für diesen tollen Beitrag über die Waldfotografie in der blauen Stunde, die du mit deinen stimmungsvollen Bildern perfekt eingefangen hast. Ich finde es faszinierend, wie du zeigst, dass gerade das kühle, sanfte Licht dem Wald eine fast mystische Tiefe verleiht. Dein Text motiviert mich total, beim nächsten Mal länger im Wald zu bleiben und die besondere Ruhe dieses Zeitfensters selbst kreativ zu nutzen.