
You can see the VLOG to the BLOG at the bottom of the page or you can reach it via this button:
Gear:
Sony a7IV
Sony FE 2.8/16–35 mm GM
Sony FE 4/24–105 mm G
Sony FE 100–400 mm GM
DJI Mini 3 Pro
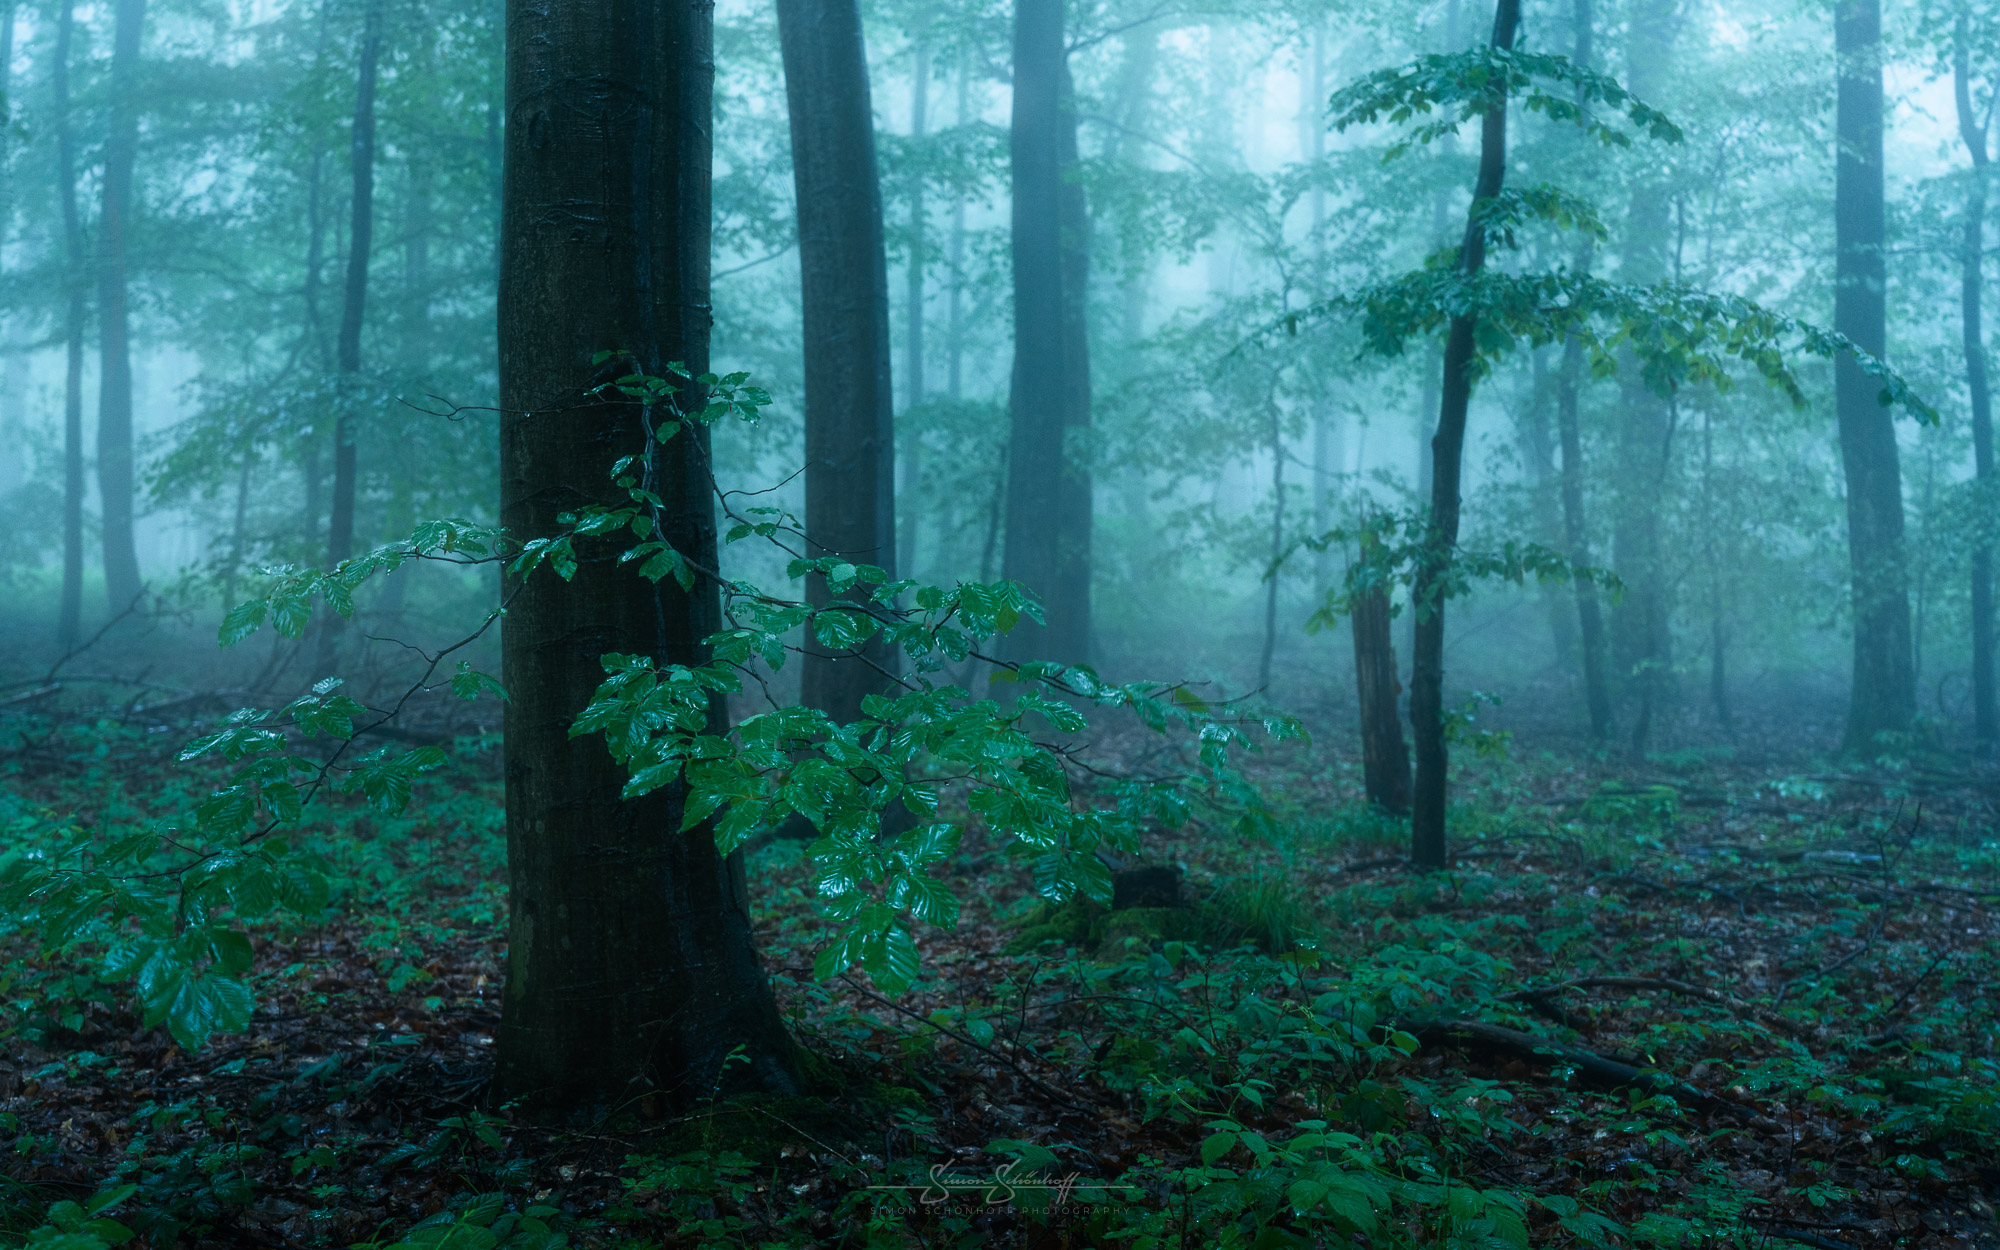
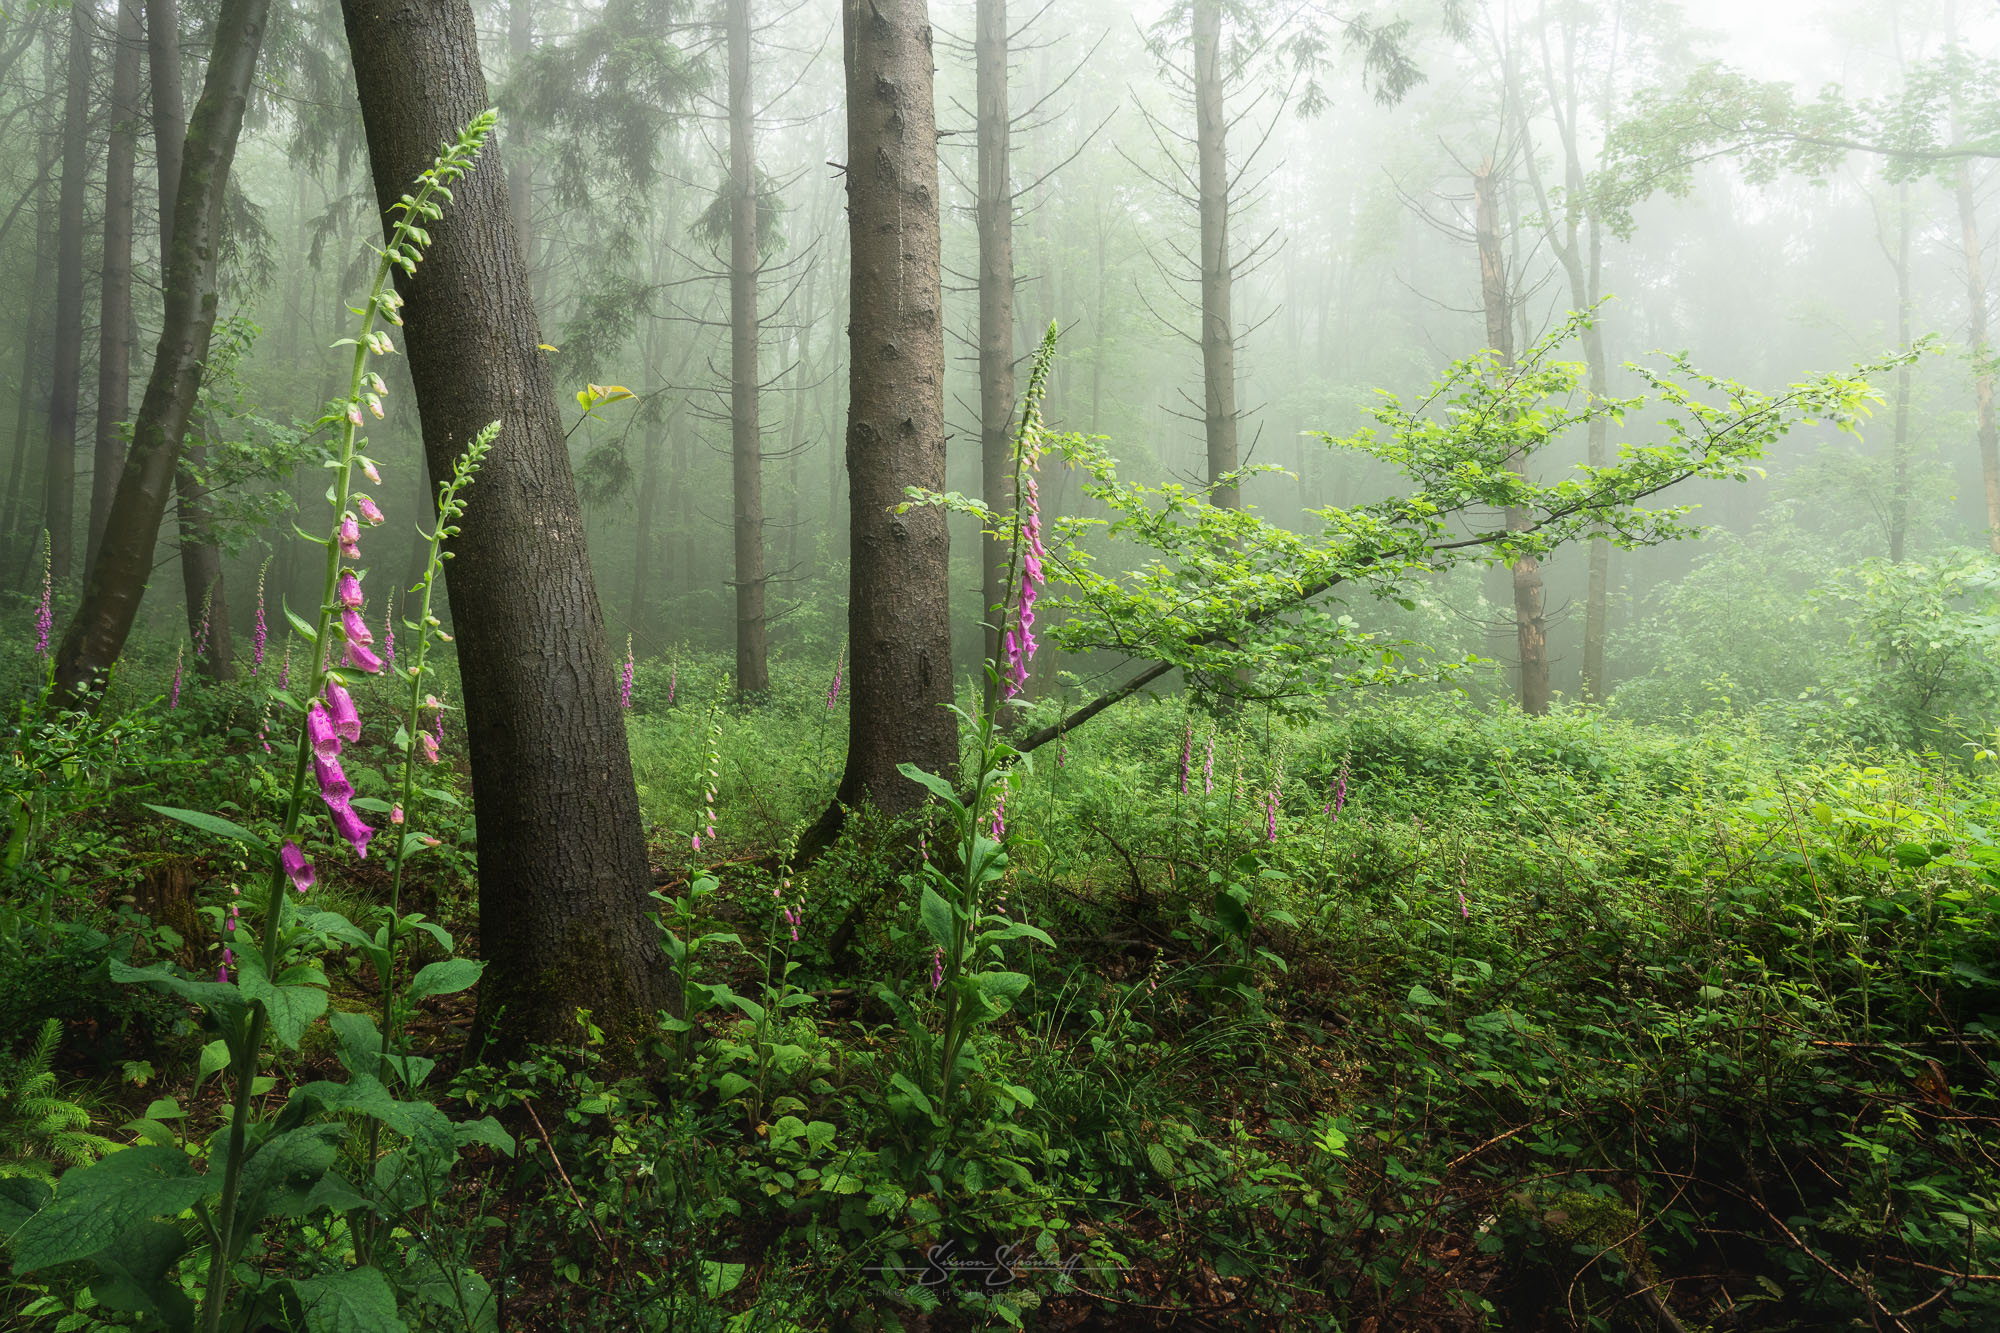
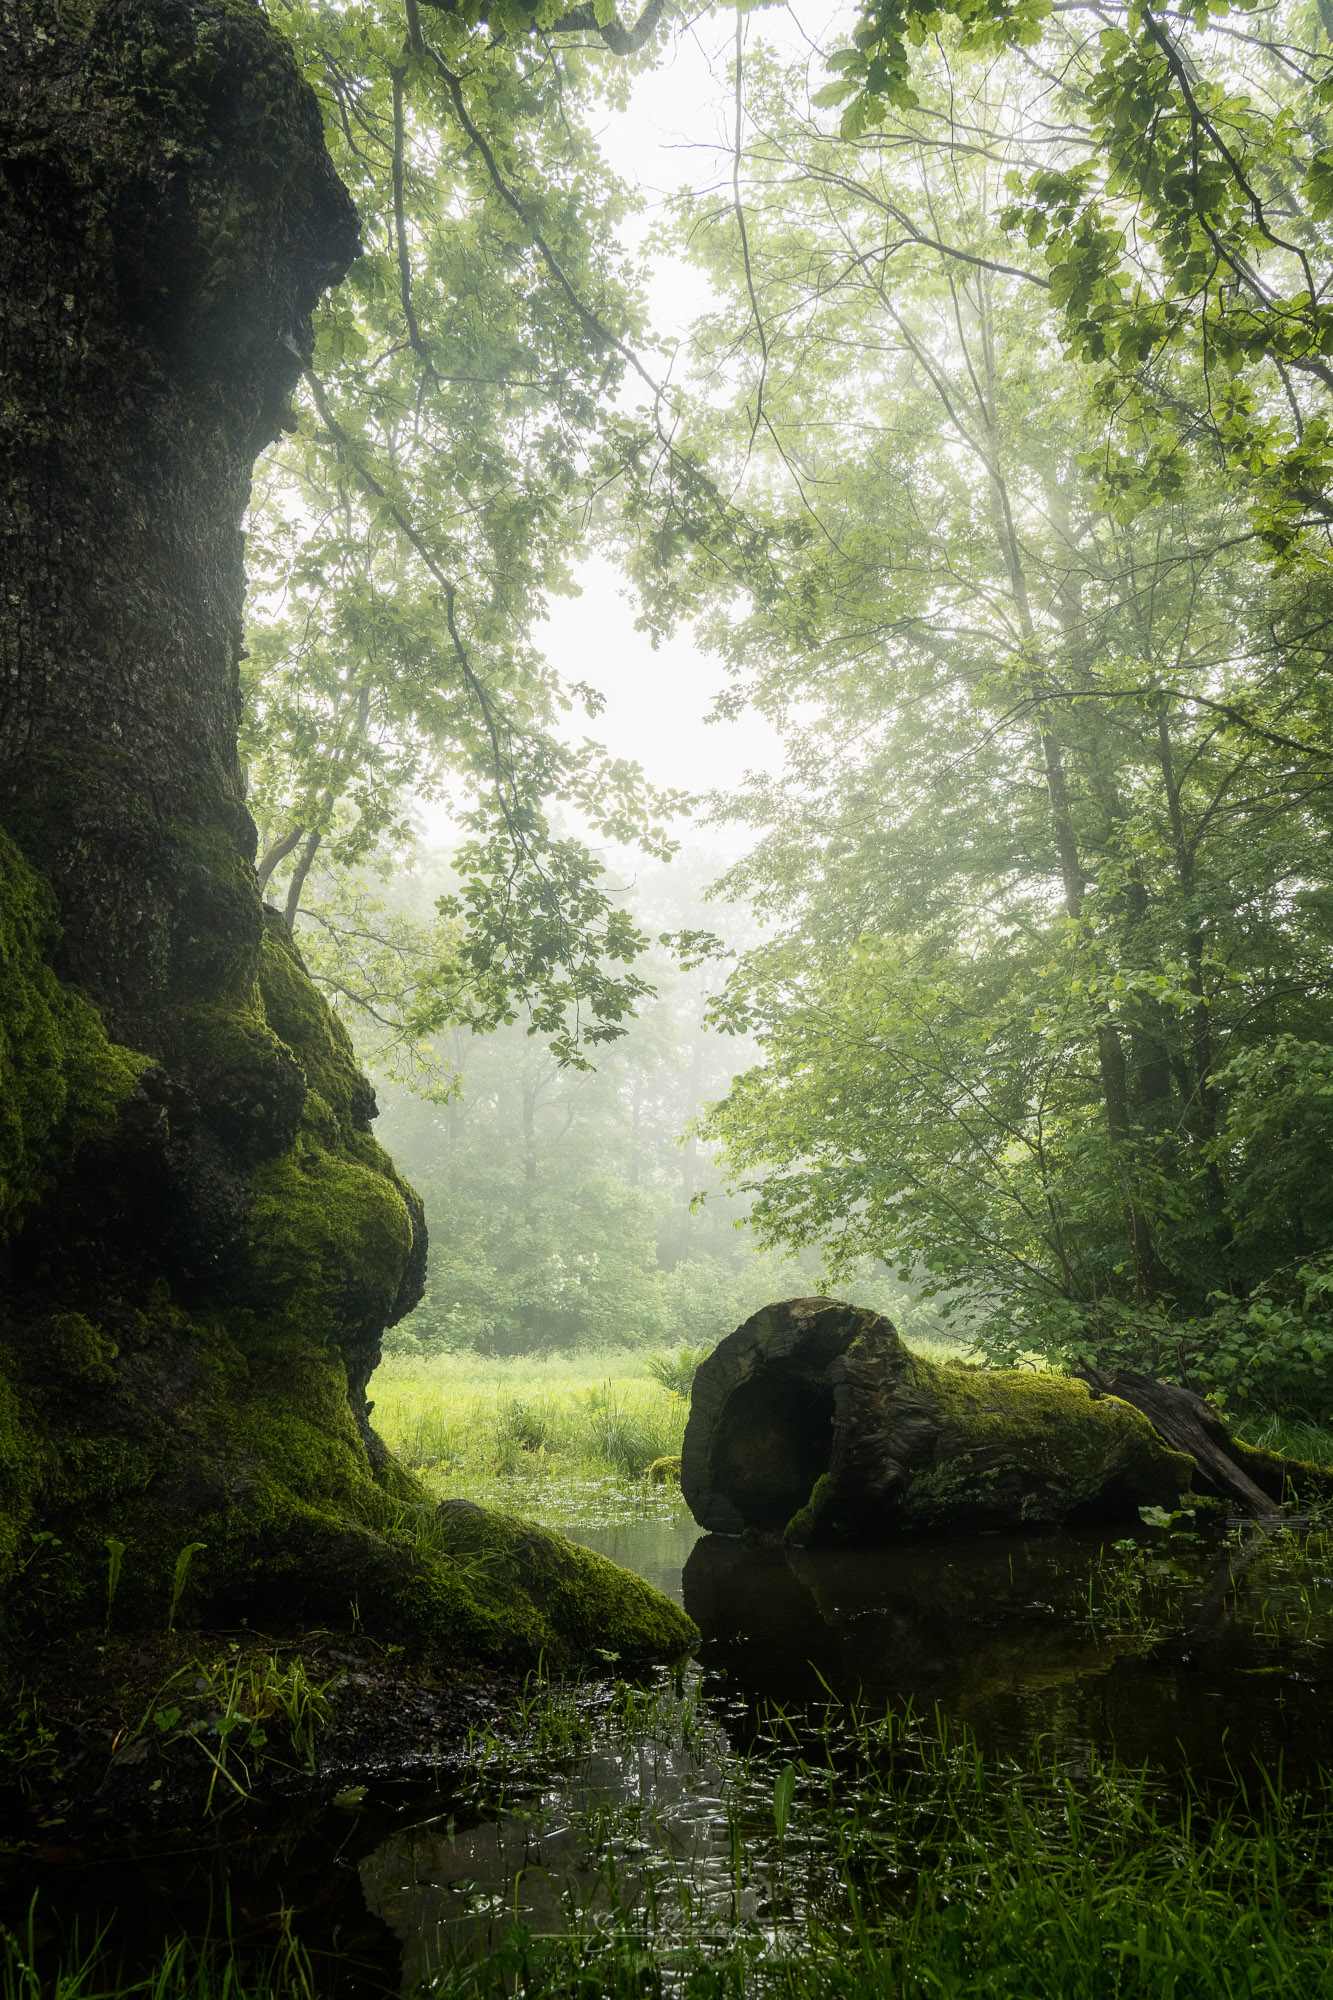
Okay, I admit it, it didn’t quite go as planned. I had chosen a slightly higher area of forest for this morning and hoped I could stand in the clouds. It’s often the case in this location that the clouds are overcast and it’s not unusual to find perfect conditions for forest photography. But it seemed that the clouds always managed to get a little higher today and were able to rain down on my neck.
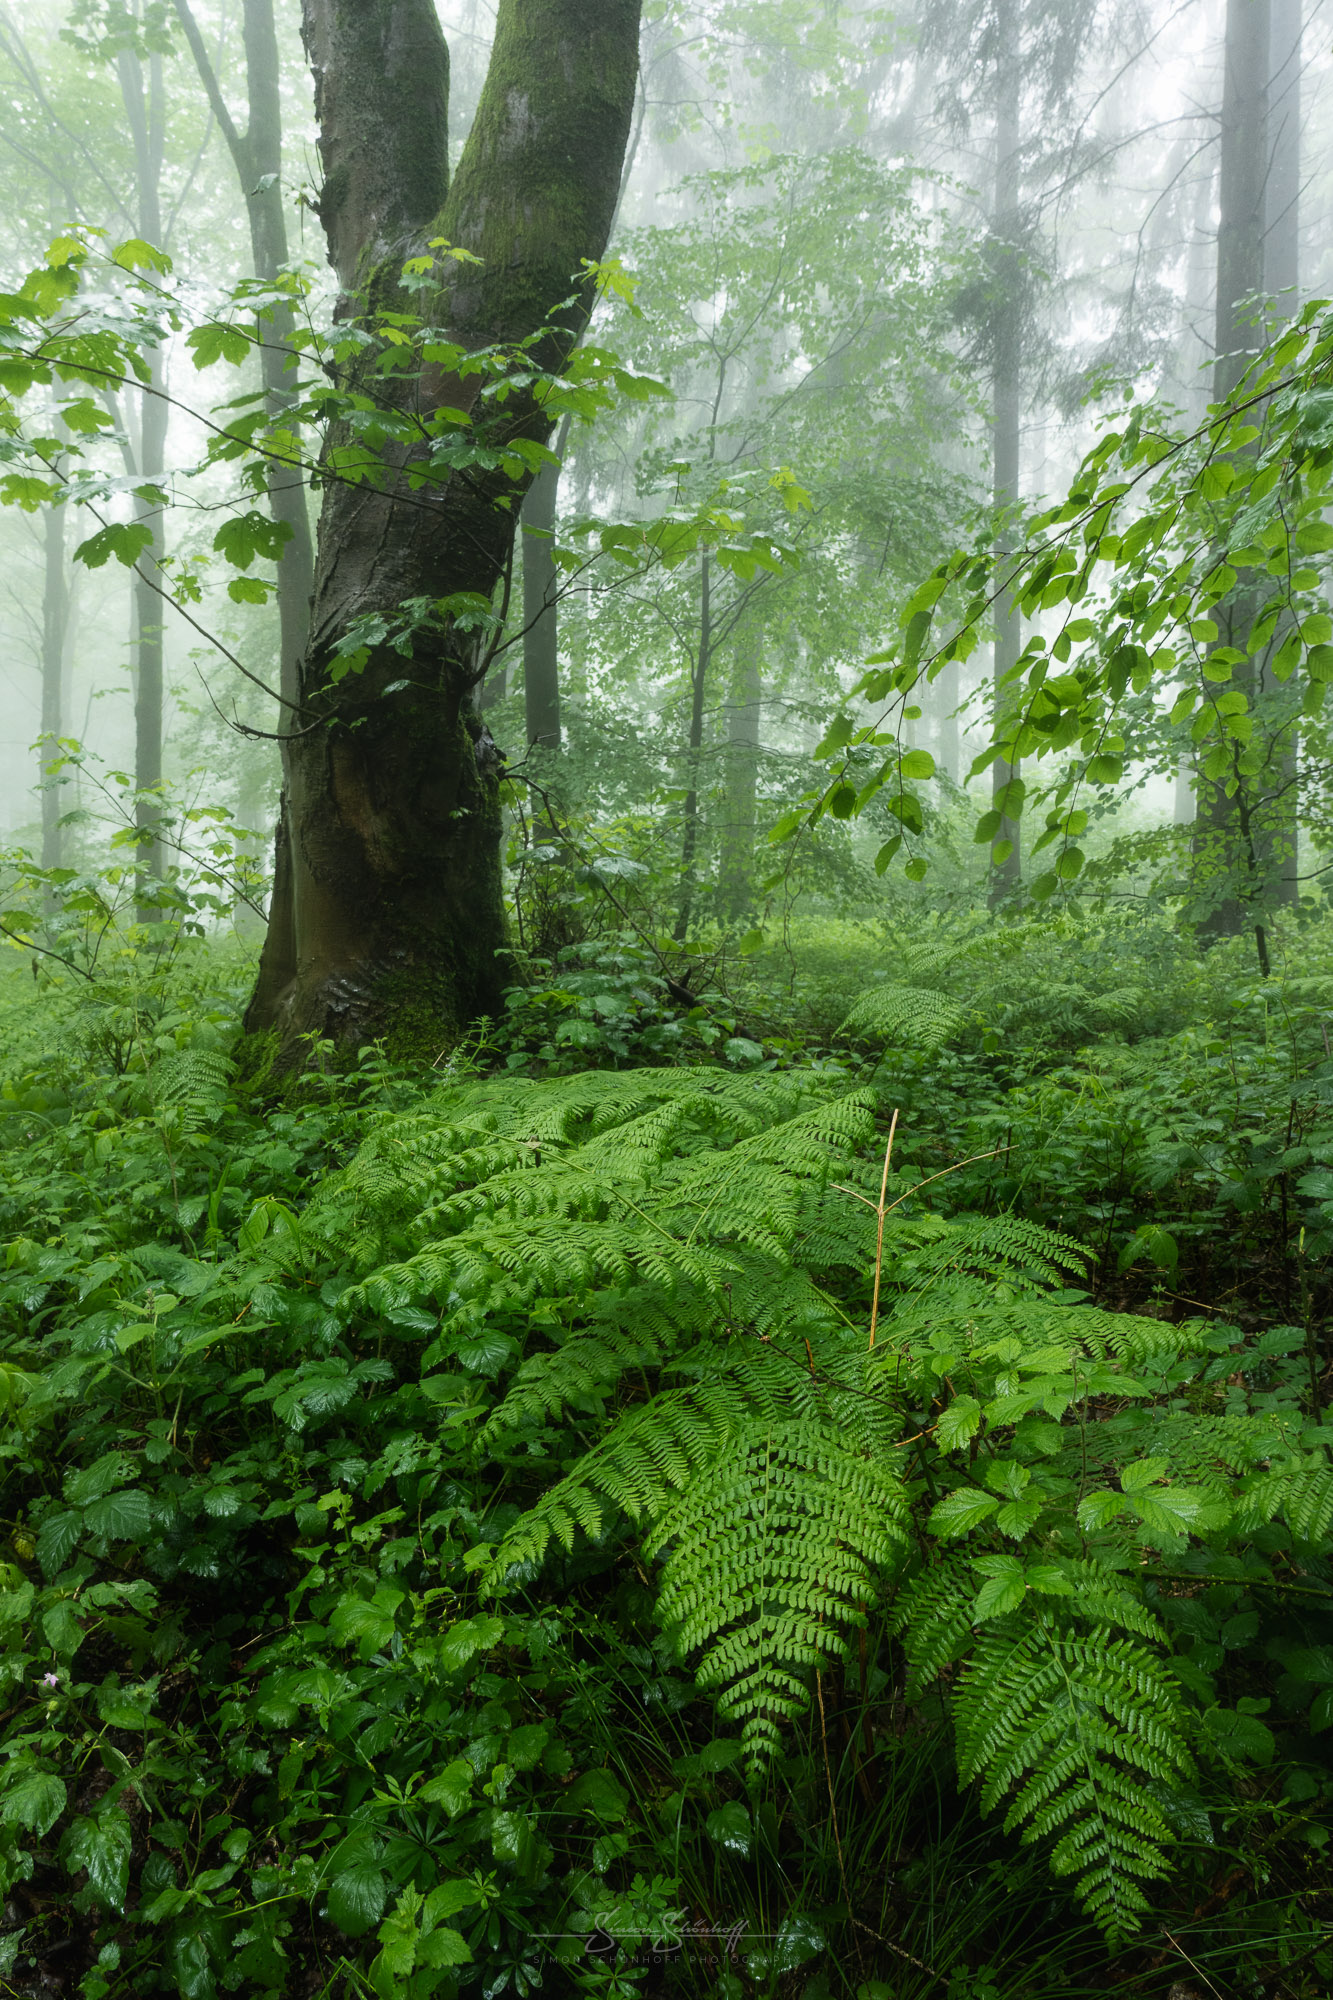
But the rain still creates a wonderful atmosphere and mood in the forest, which is in no way inferior to the fog. On the contrary, as soon as it stops raining, it is usually misty and foggy again, so that atmospheric forest pictures can be created without end.
As I didn’t know the forest I was visiting for this VLOG, I wanted to use the time before the light came through a little better to get to know the location. That means I walk around most of it first and explore what catches my eye. I take some pictures straight away. Especially if they are really special. But I don’t immediately get lost in the minutiae. However, I save some scenes in the back of my mind for later. With a completely unknown location, the best shot can easily slip through your fingers.

In addition to the focus and depth of field of your image, also keep an eye on the exposure time. Leaves sometimes tend to move. Especially during the transition from night to day, or when raindrops fall on them. If you want to avoid this motion blur, you will inevitably have to increase the ISO. So ask yourself what is worth more to you, a sharp photo or a little more noise in the picture?
Especially if the fog is very thick, in some cases you don’t have to stop down too much, as the sharpness in the background is not 100% due to the fog. A slightly shallower depth of field with the focus on the main subject is therefore sufficient. This gives you a slightly wider aperture, shorter exposure time and possibly a lower ISO. However, be sure to check each image on the camera to see whether the depth of field is sufficient or not.
Nowadays, most cameras and lenses can withstand a little rain without any problems. If it does get too heavy, there are various ways of dealing with the rain. I have already written an article about this. Get rain covers for your rucksack and camera, or use something like hoods or umbrellas if you’re planning to take photos in the pouring rain. But if you’re out in the rain for a few minutes, the rain shouldn’t matter.
In any case, avoid changing the lens, or shield the camera and lenses well against the drops. If possible, moisture should not get inside the camera.
If the rain gets too heavy, don’t be afraid to break off or take shelter until it gets a little better.

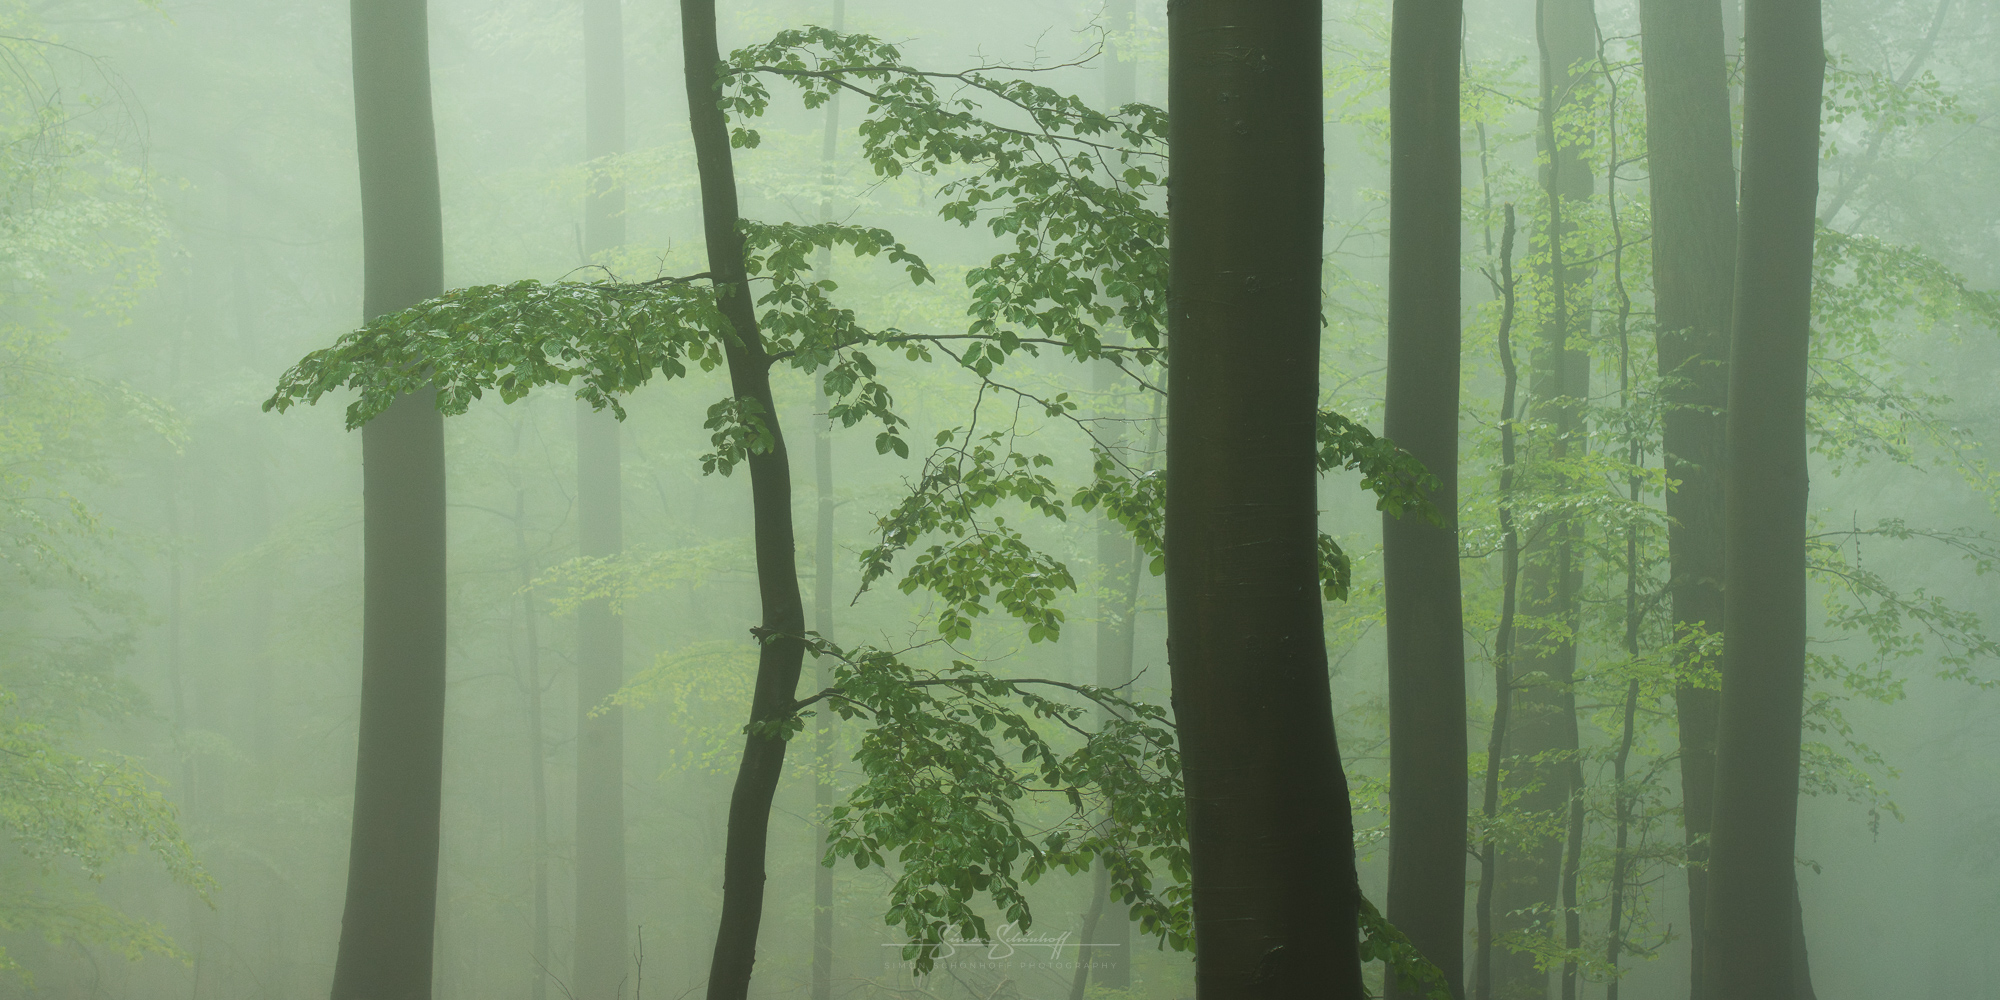
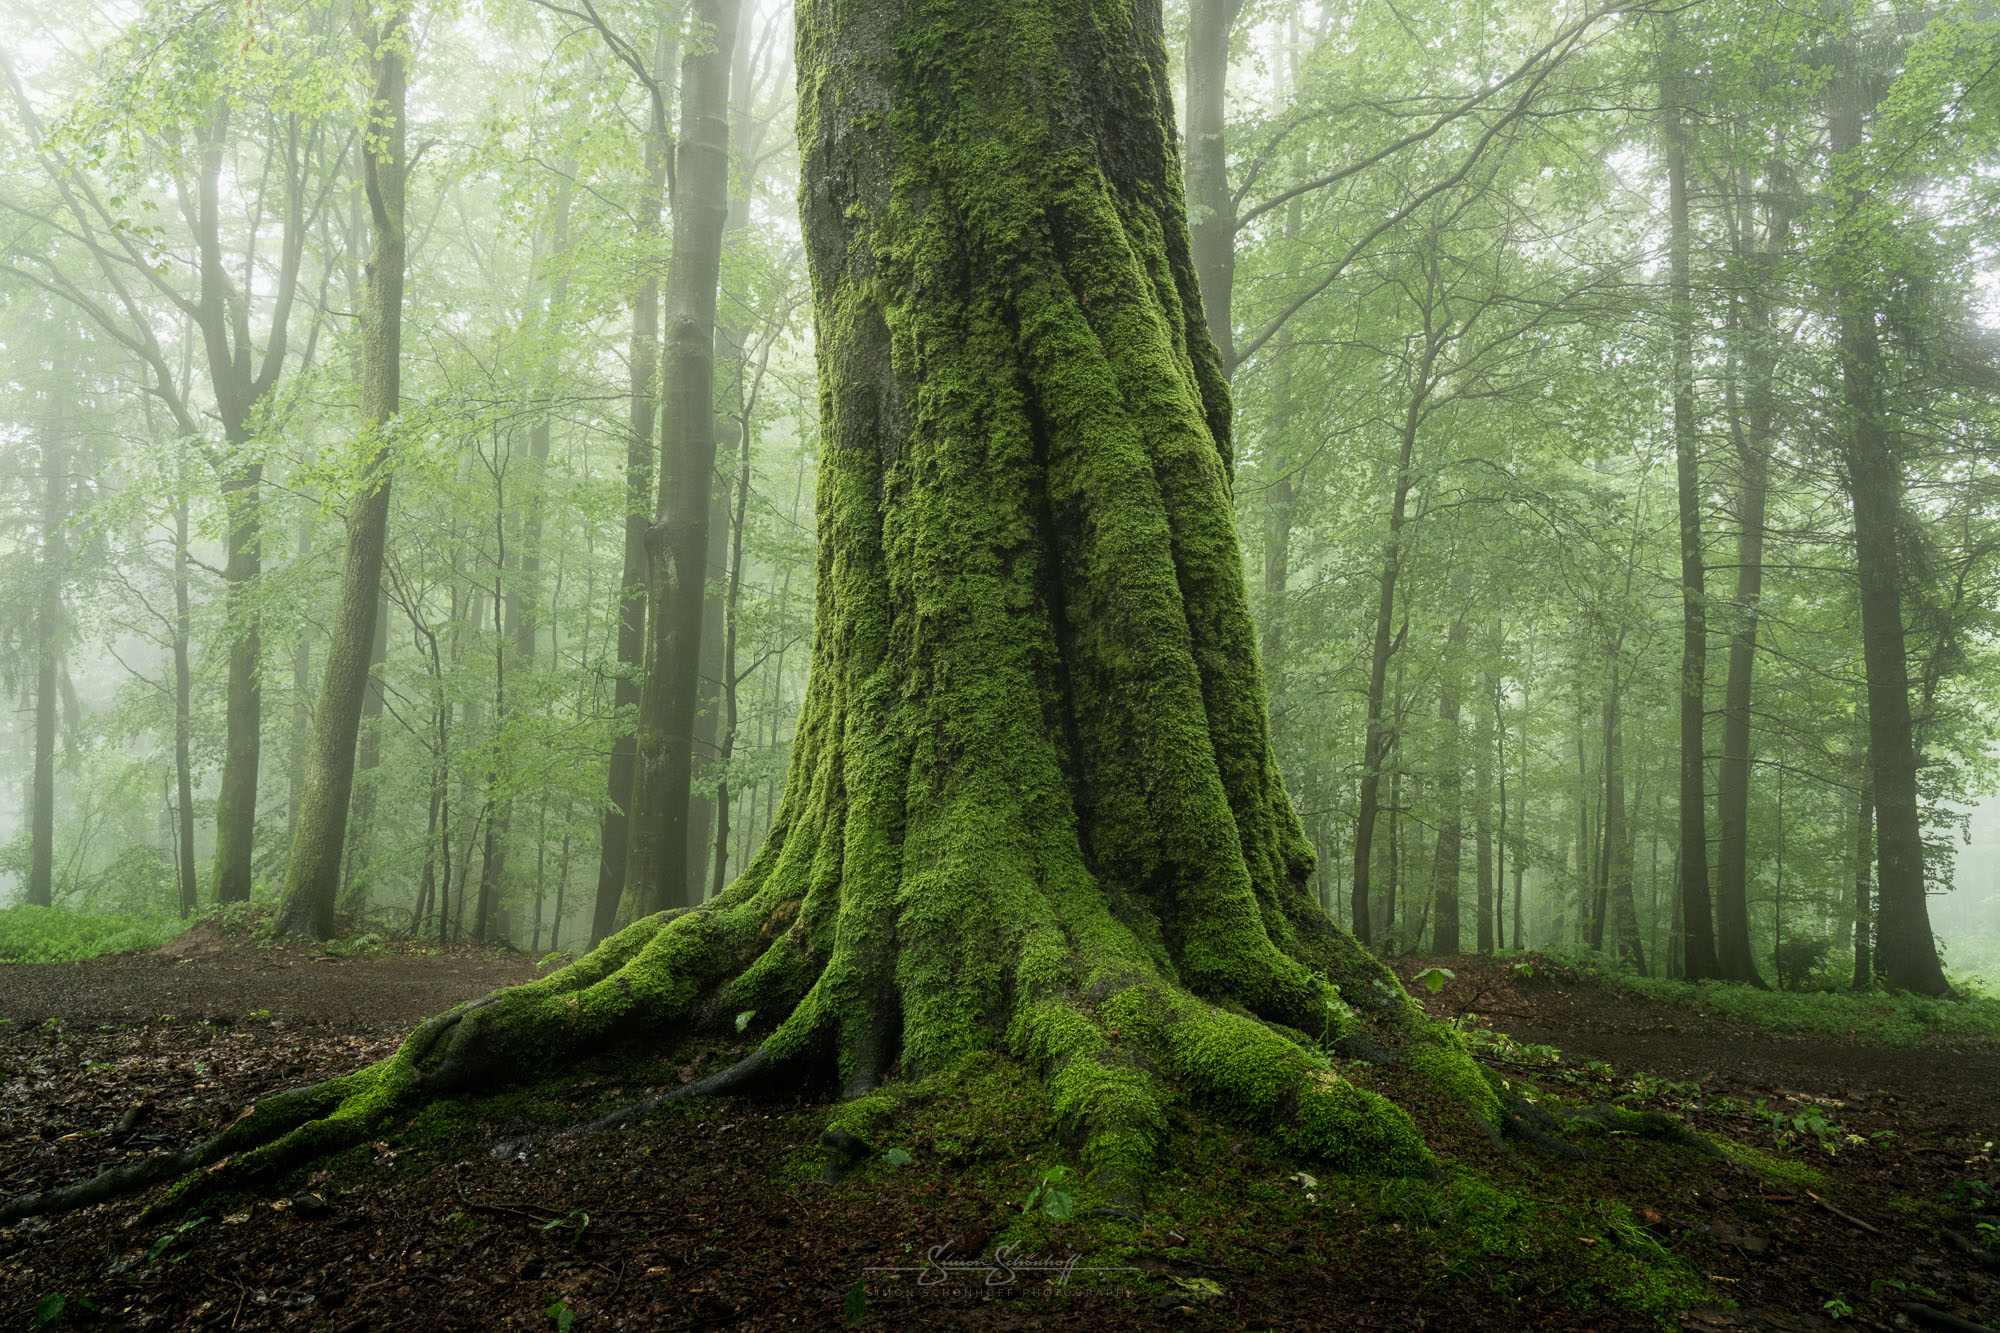
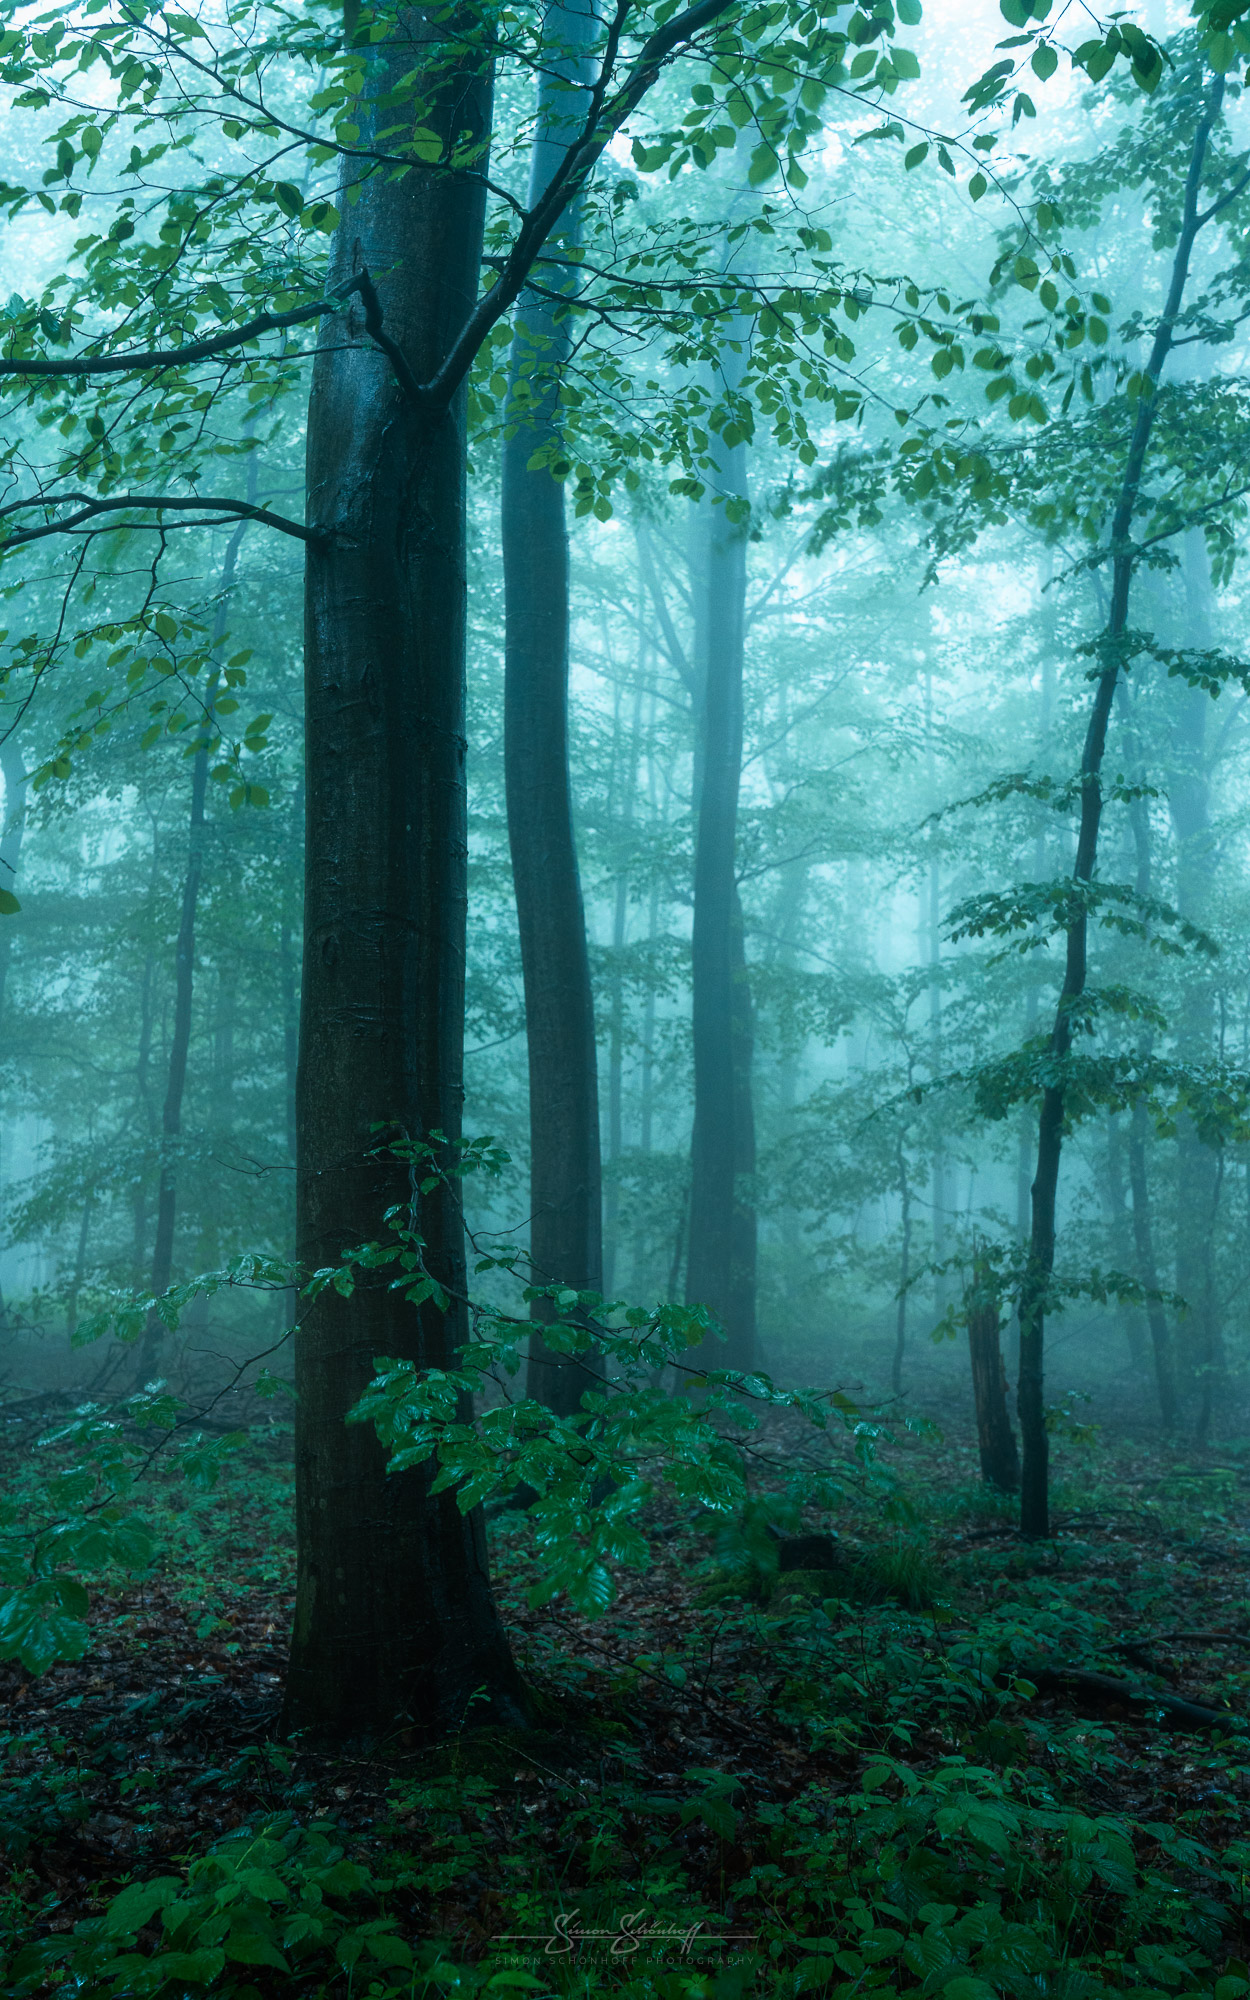
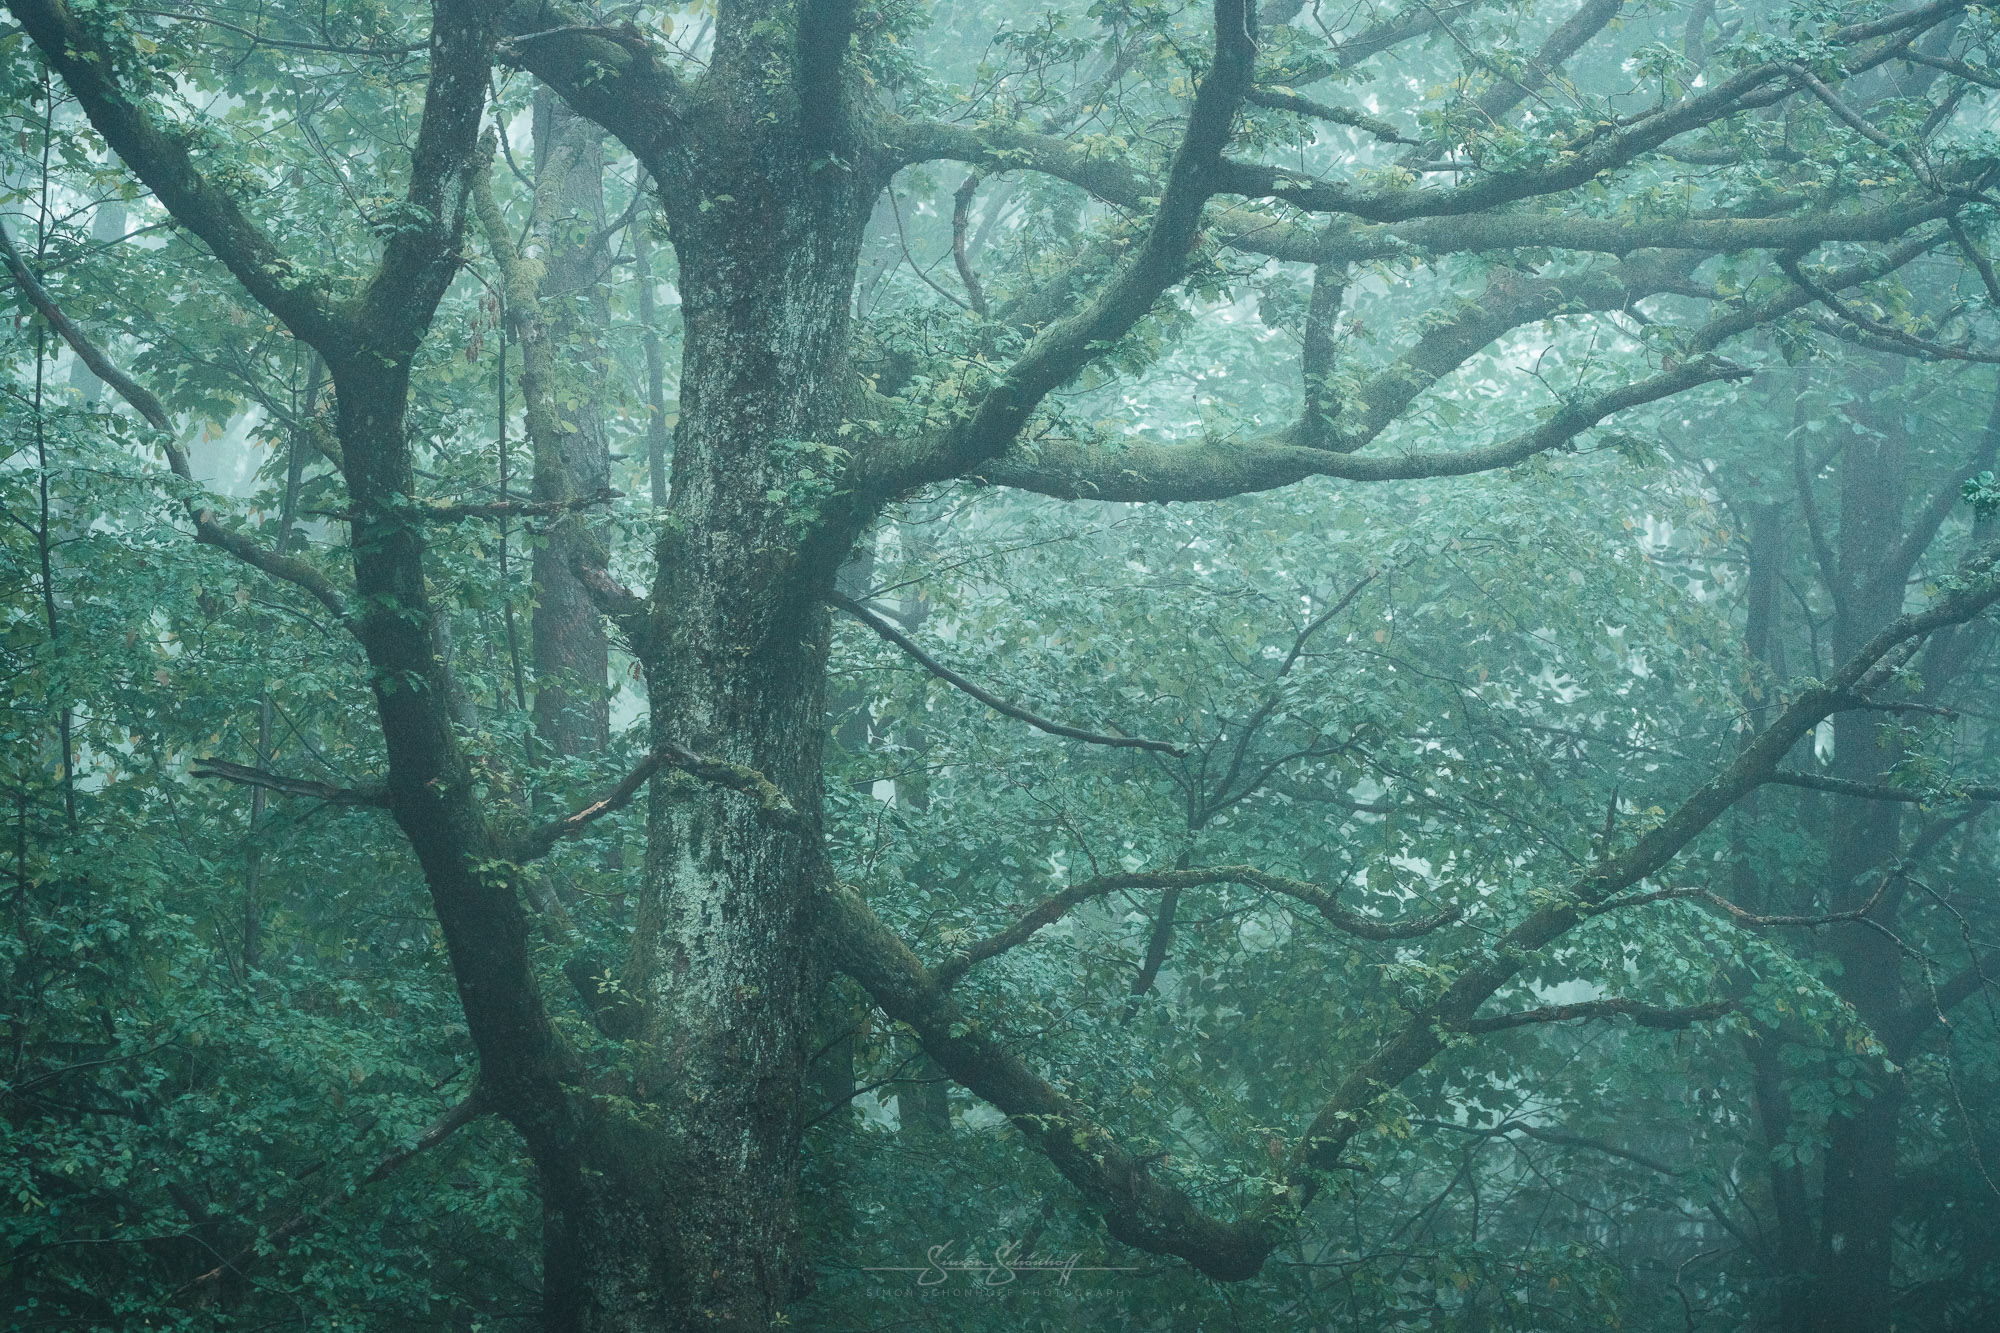
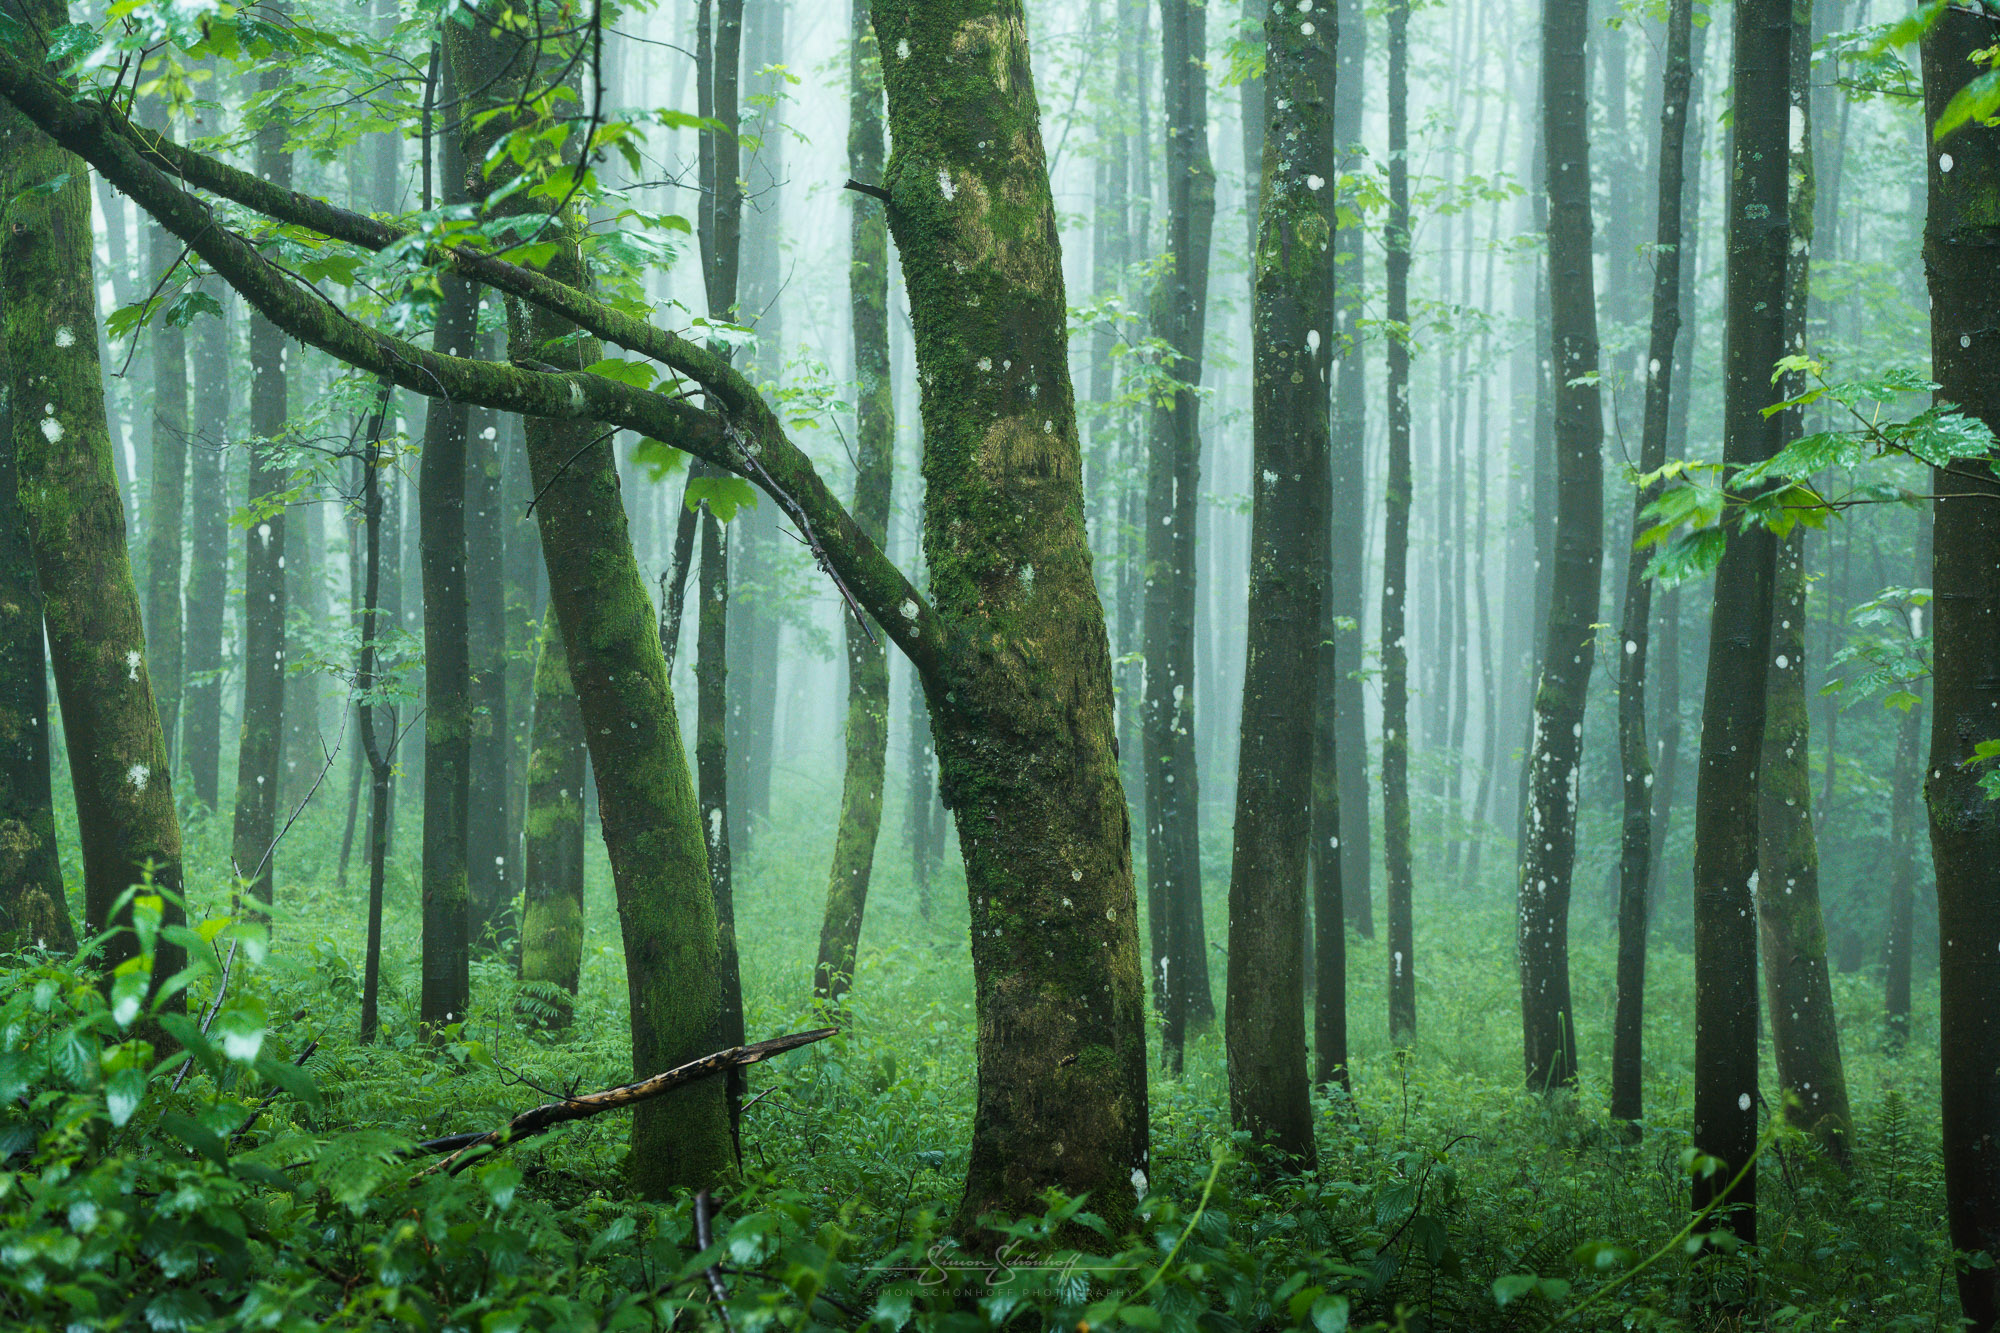
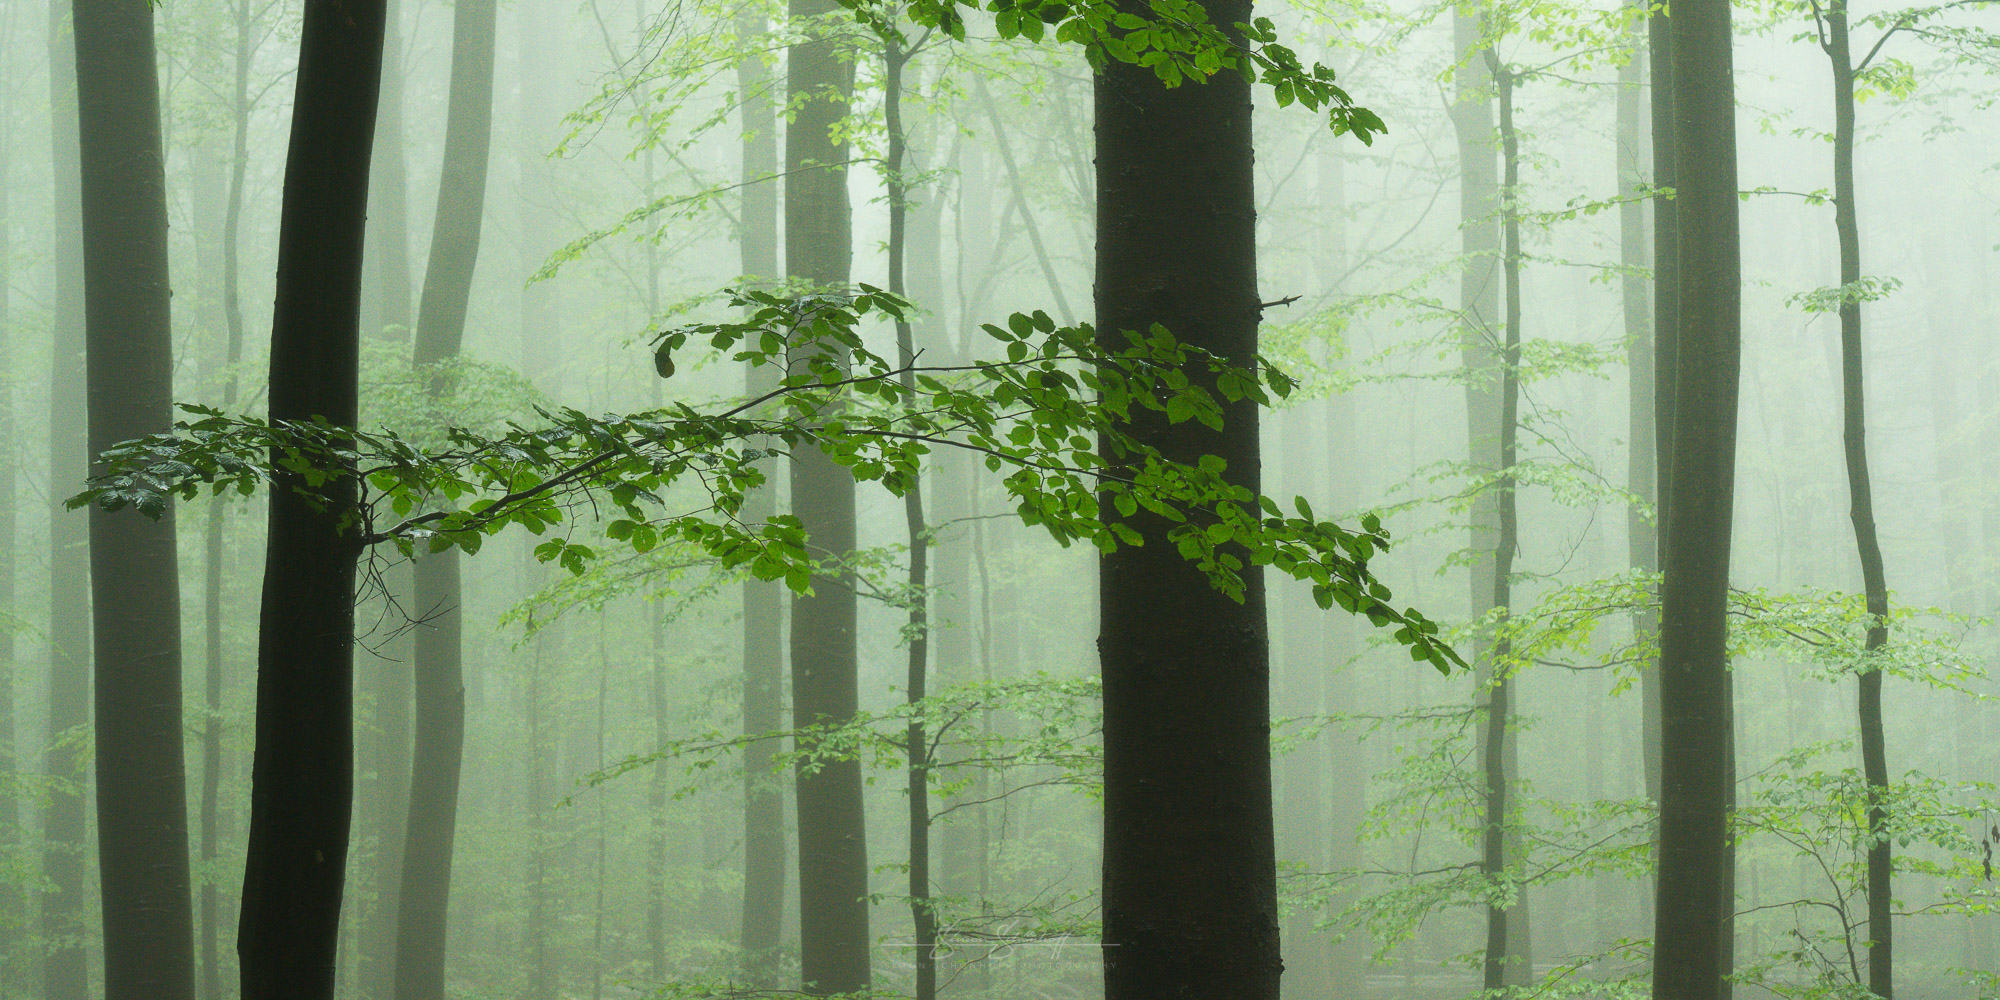
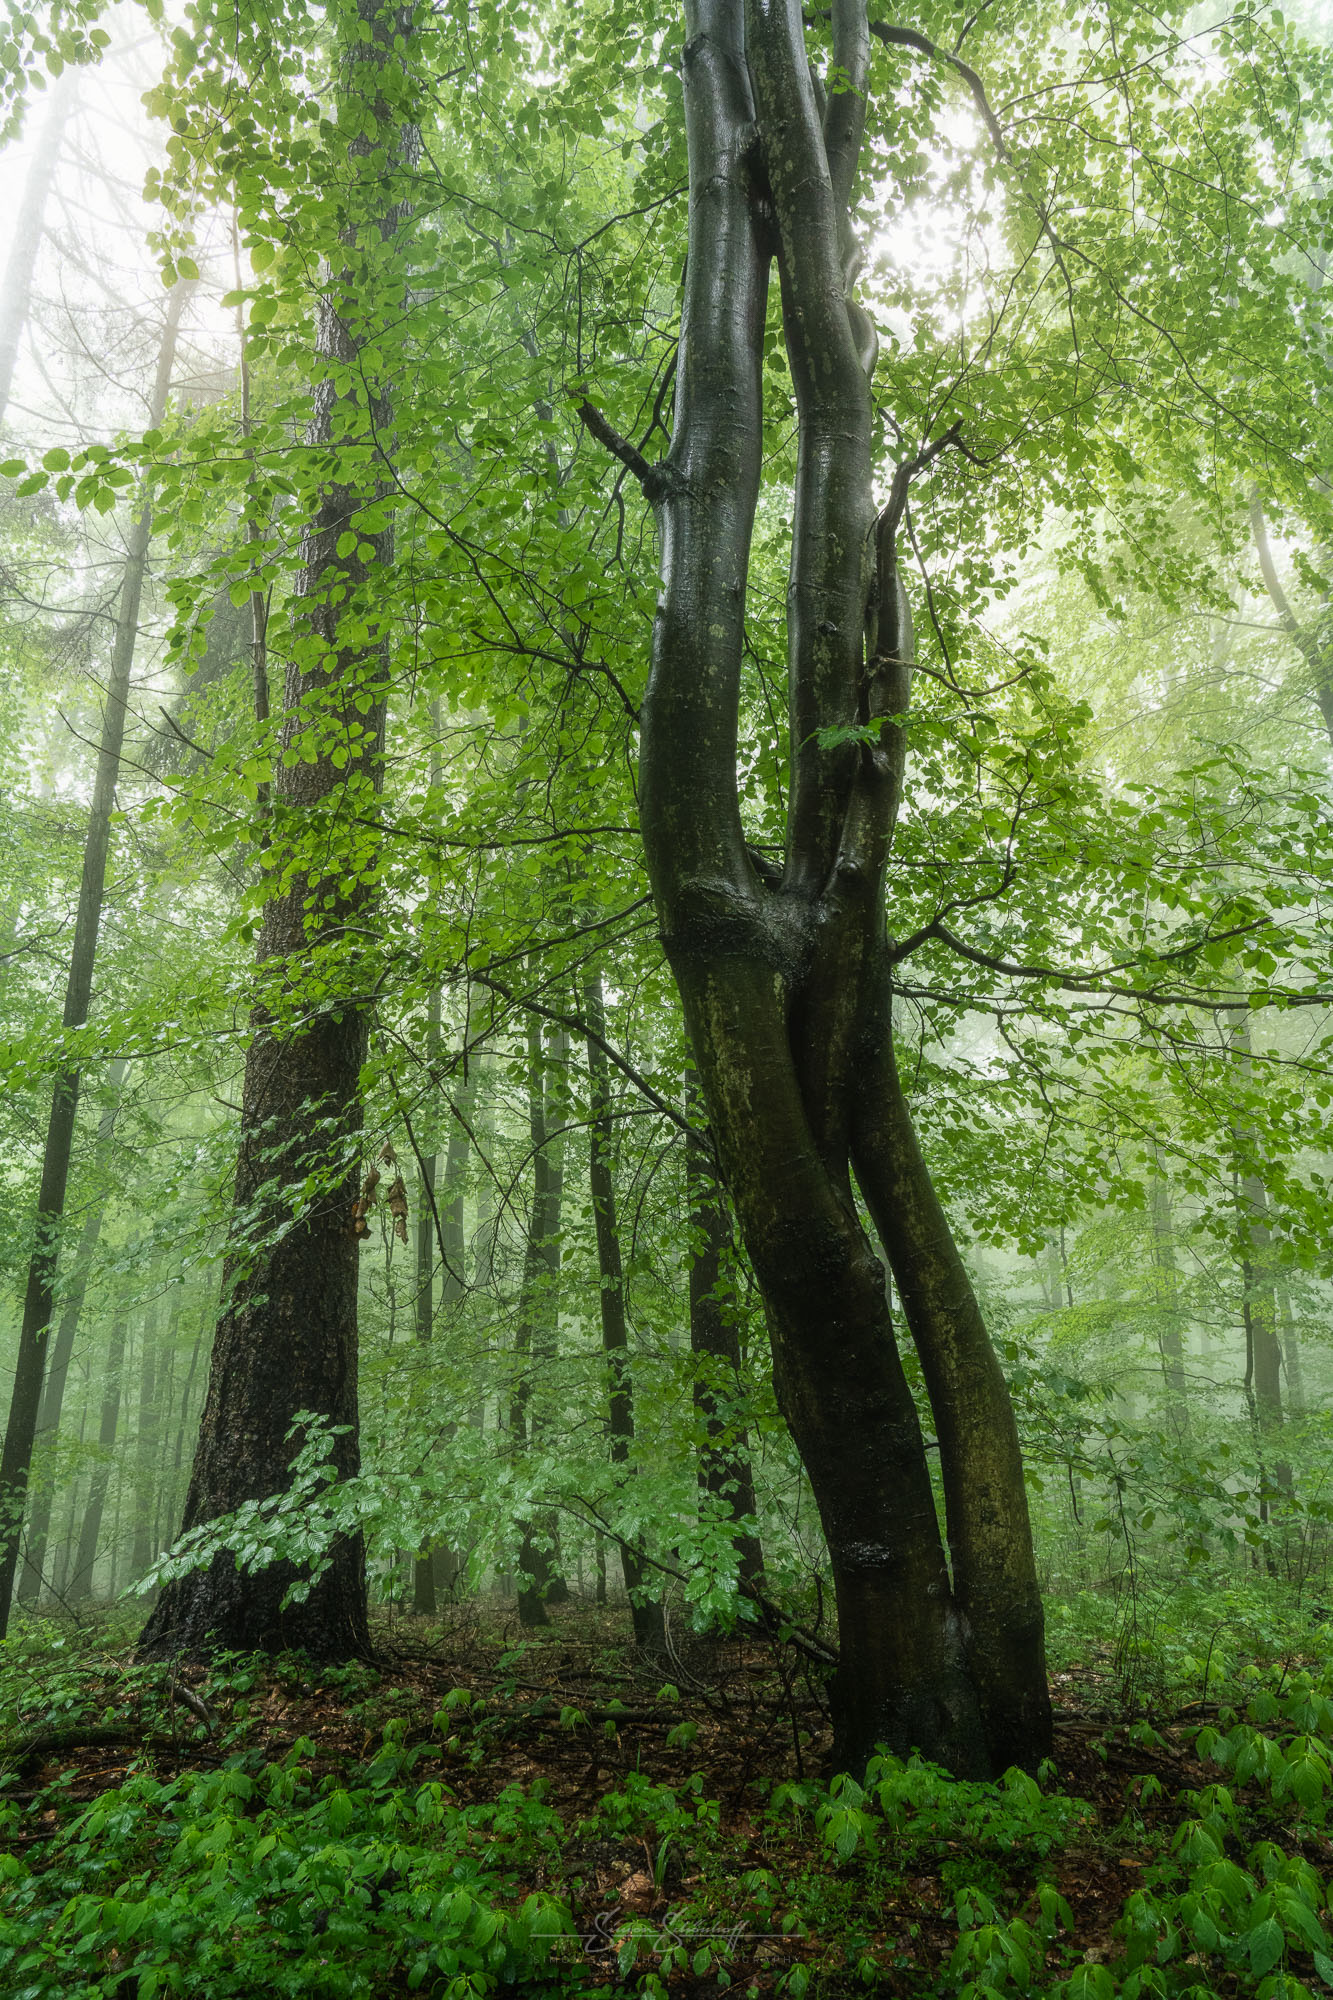
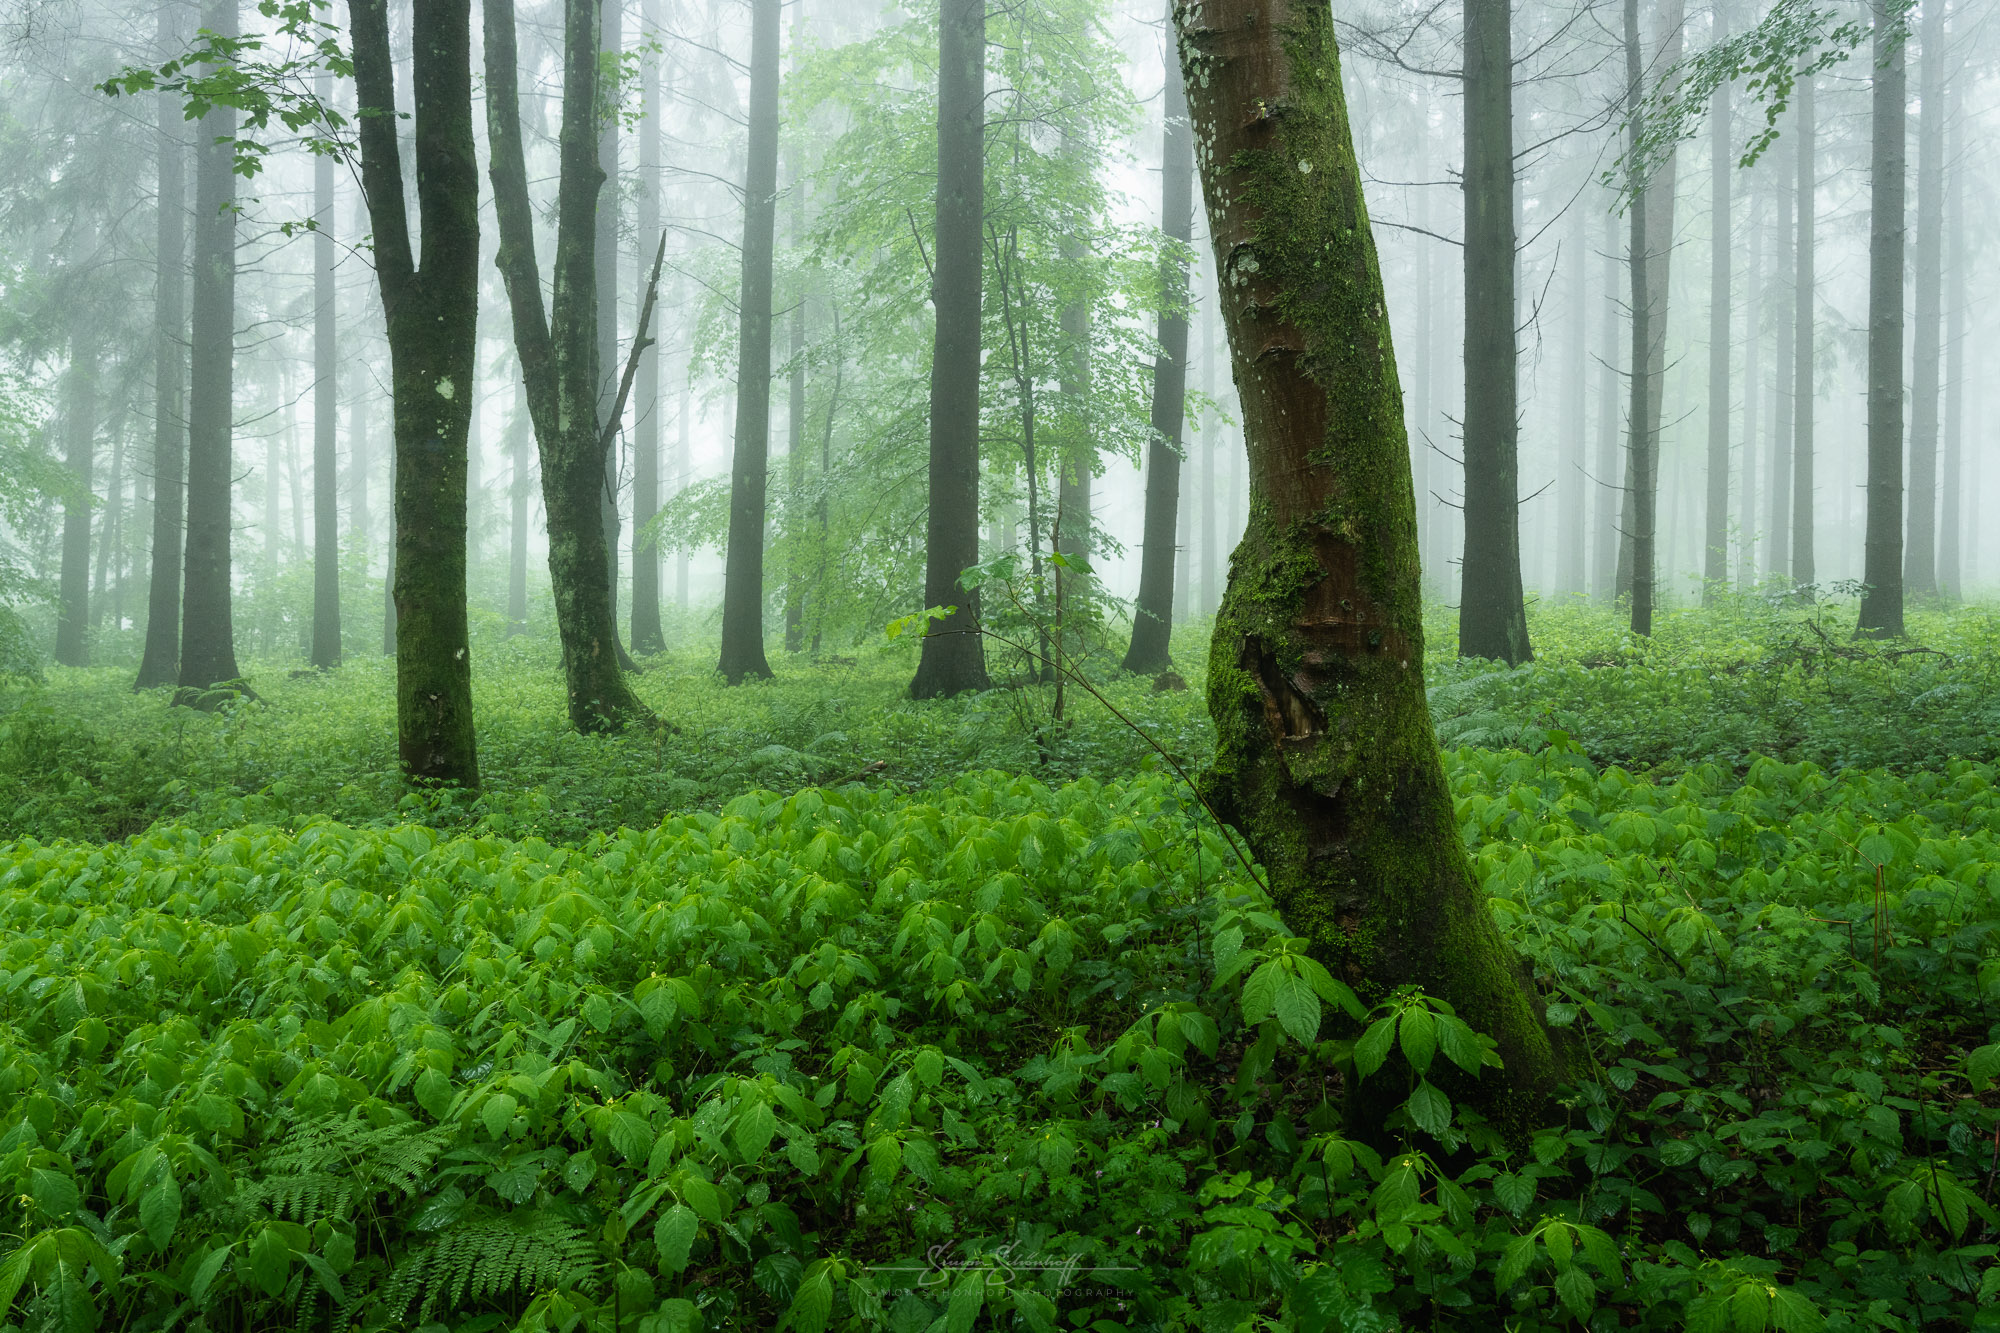
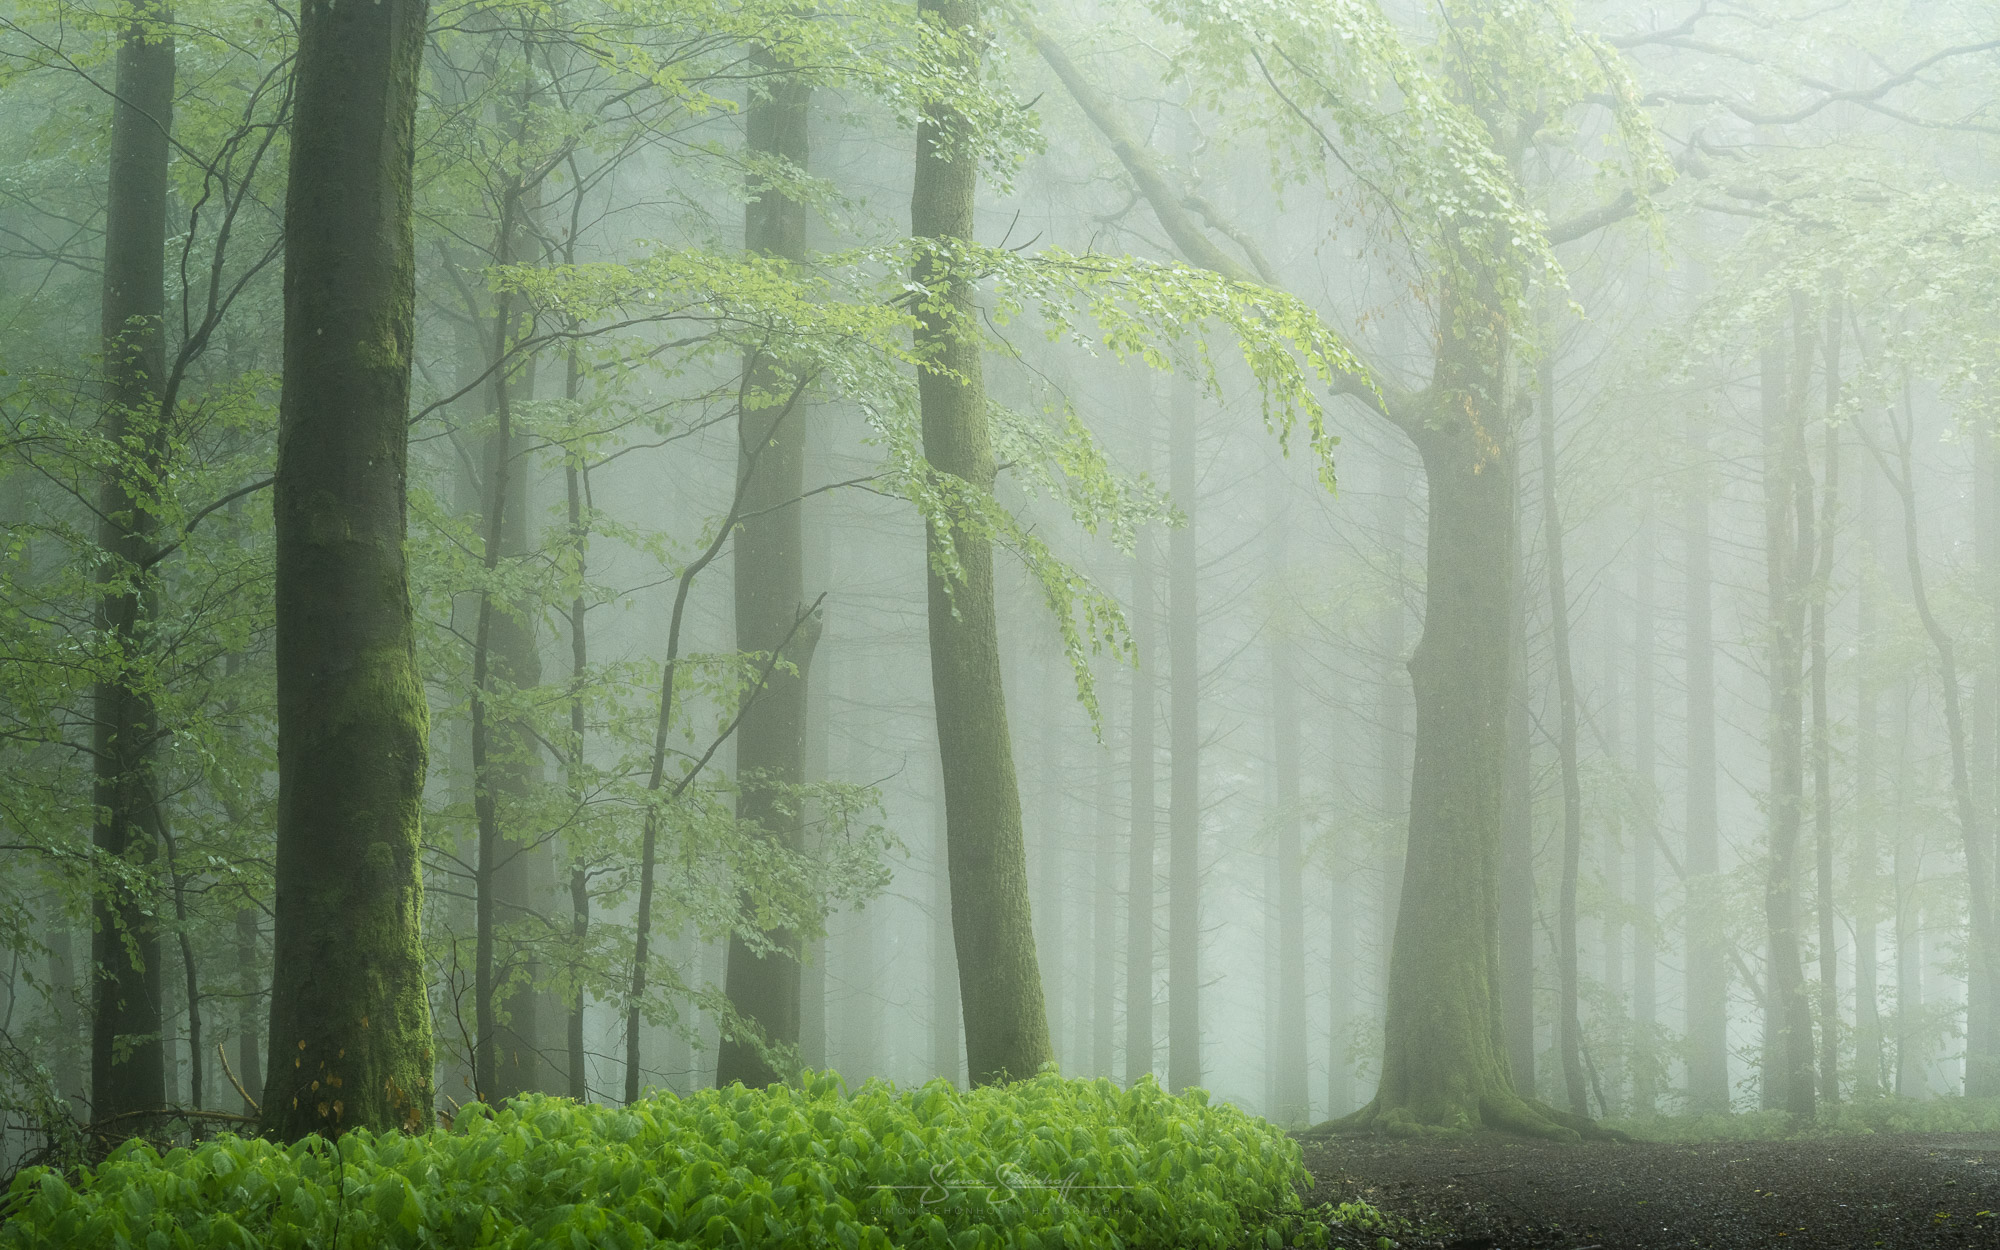
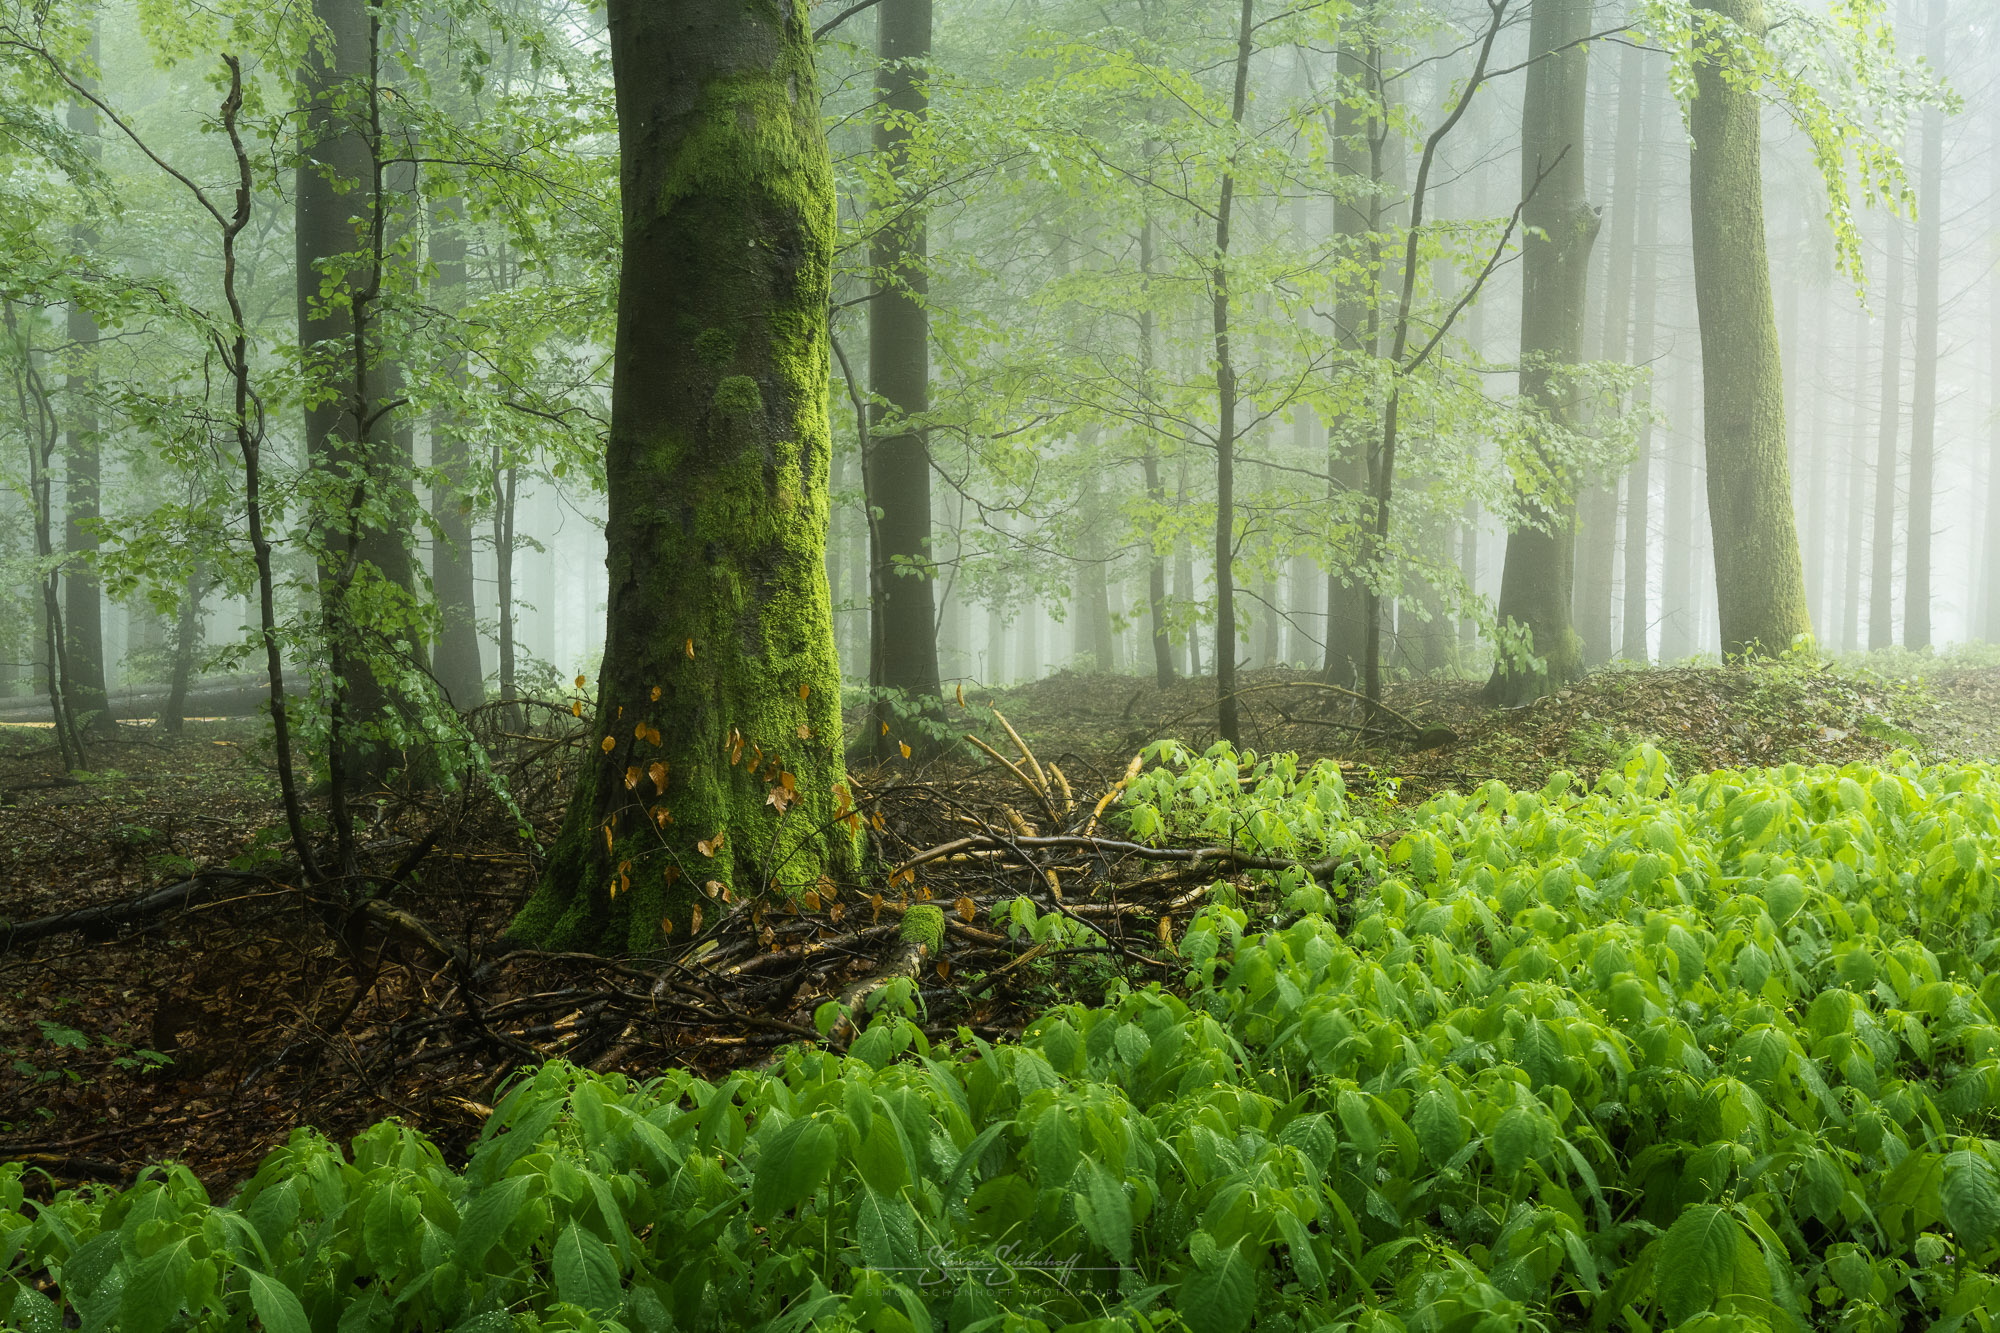
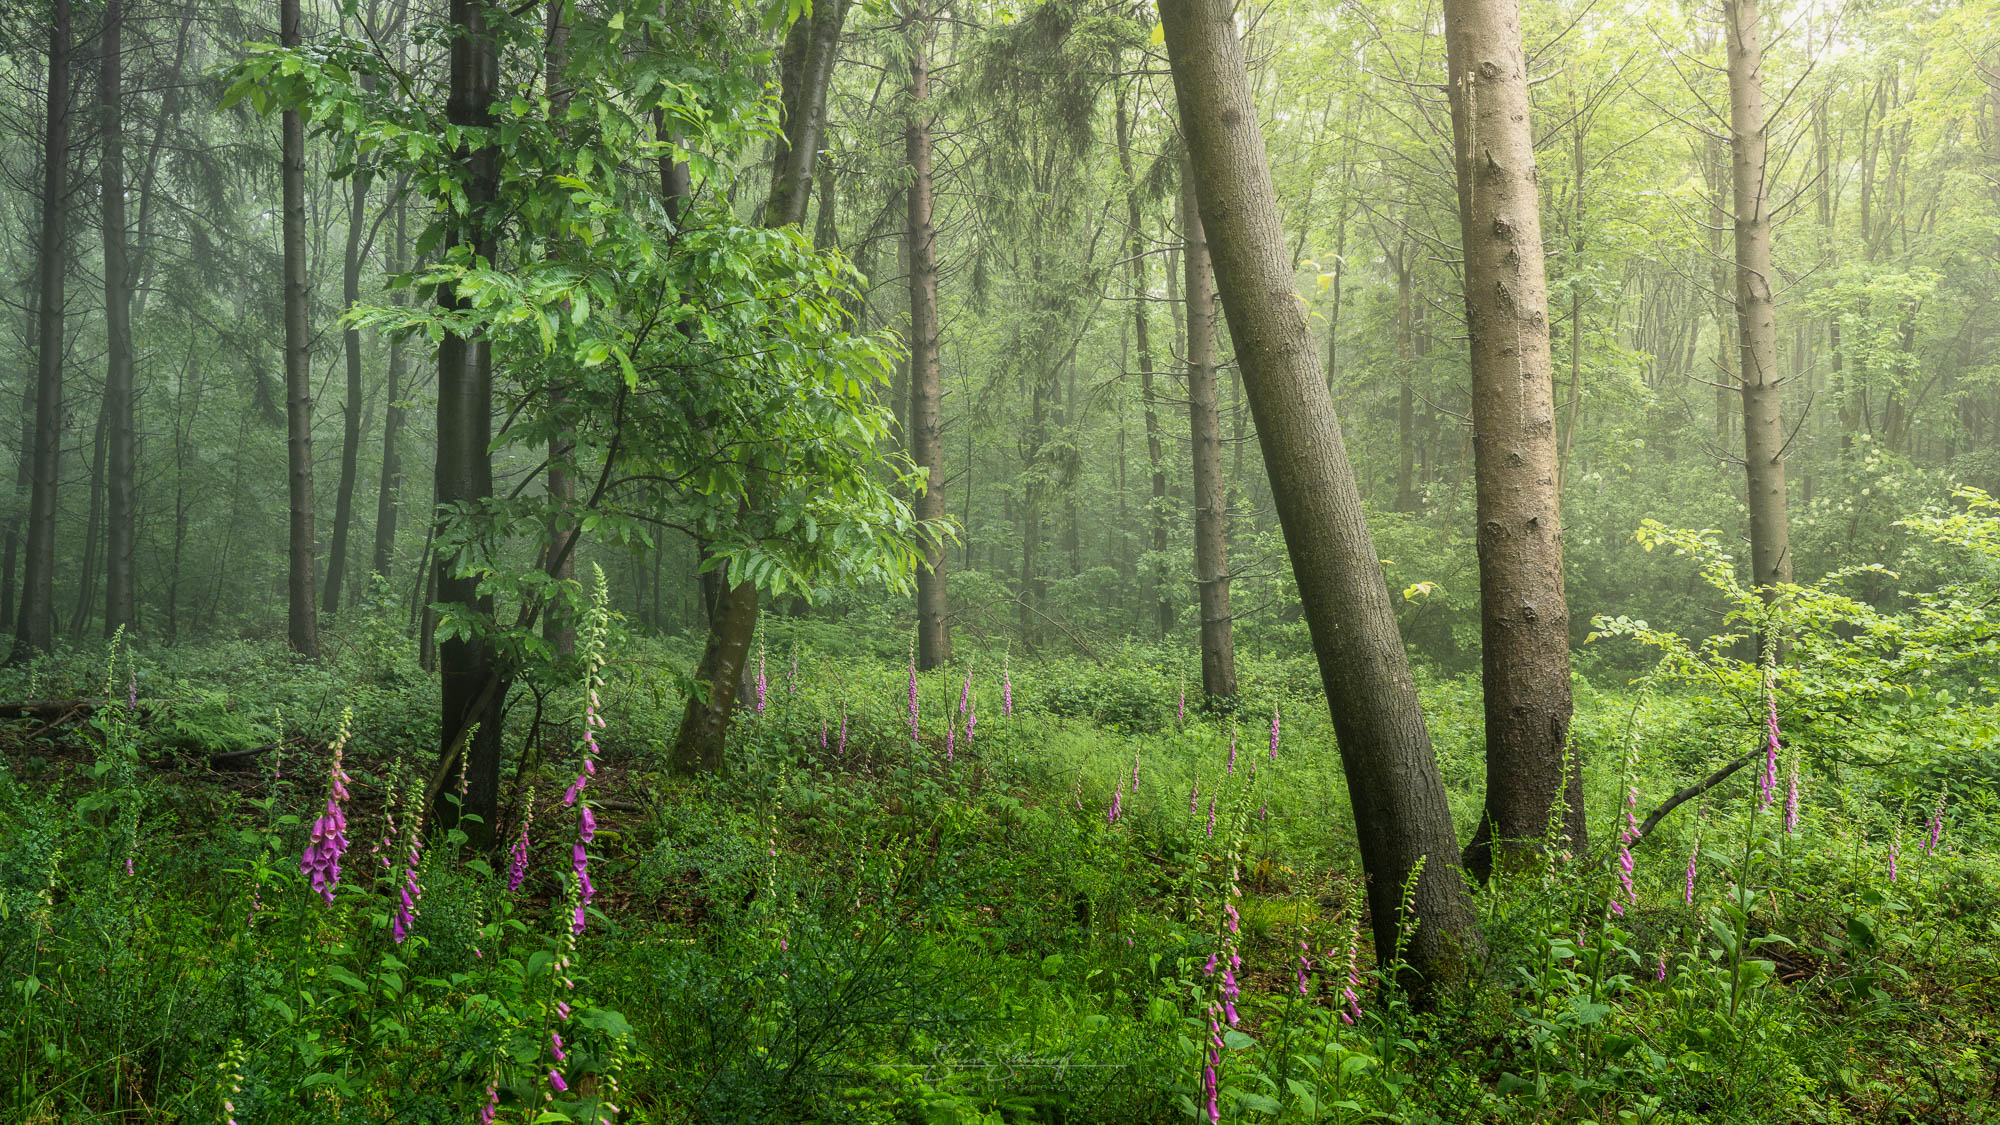
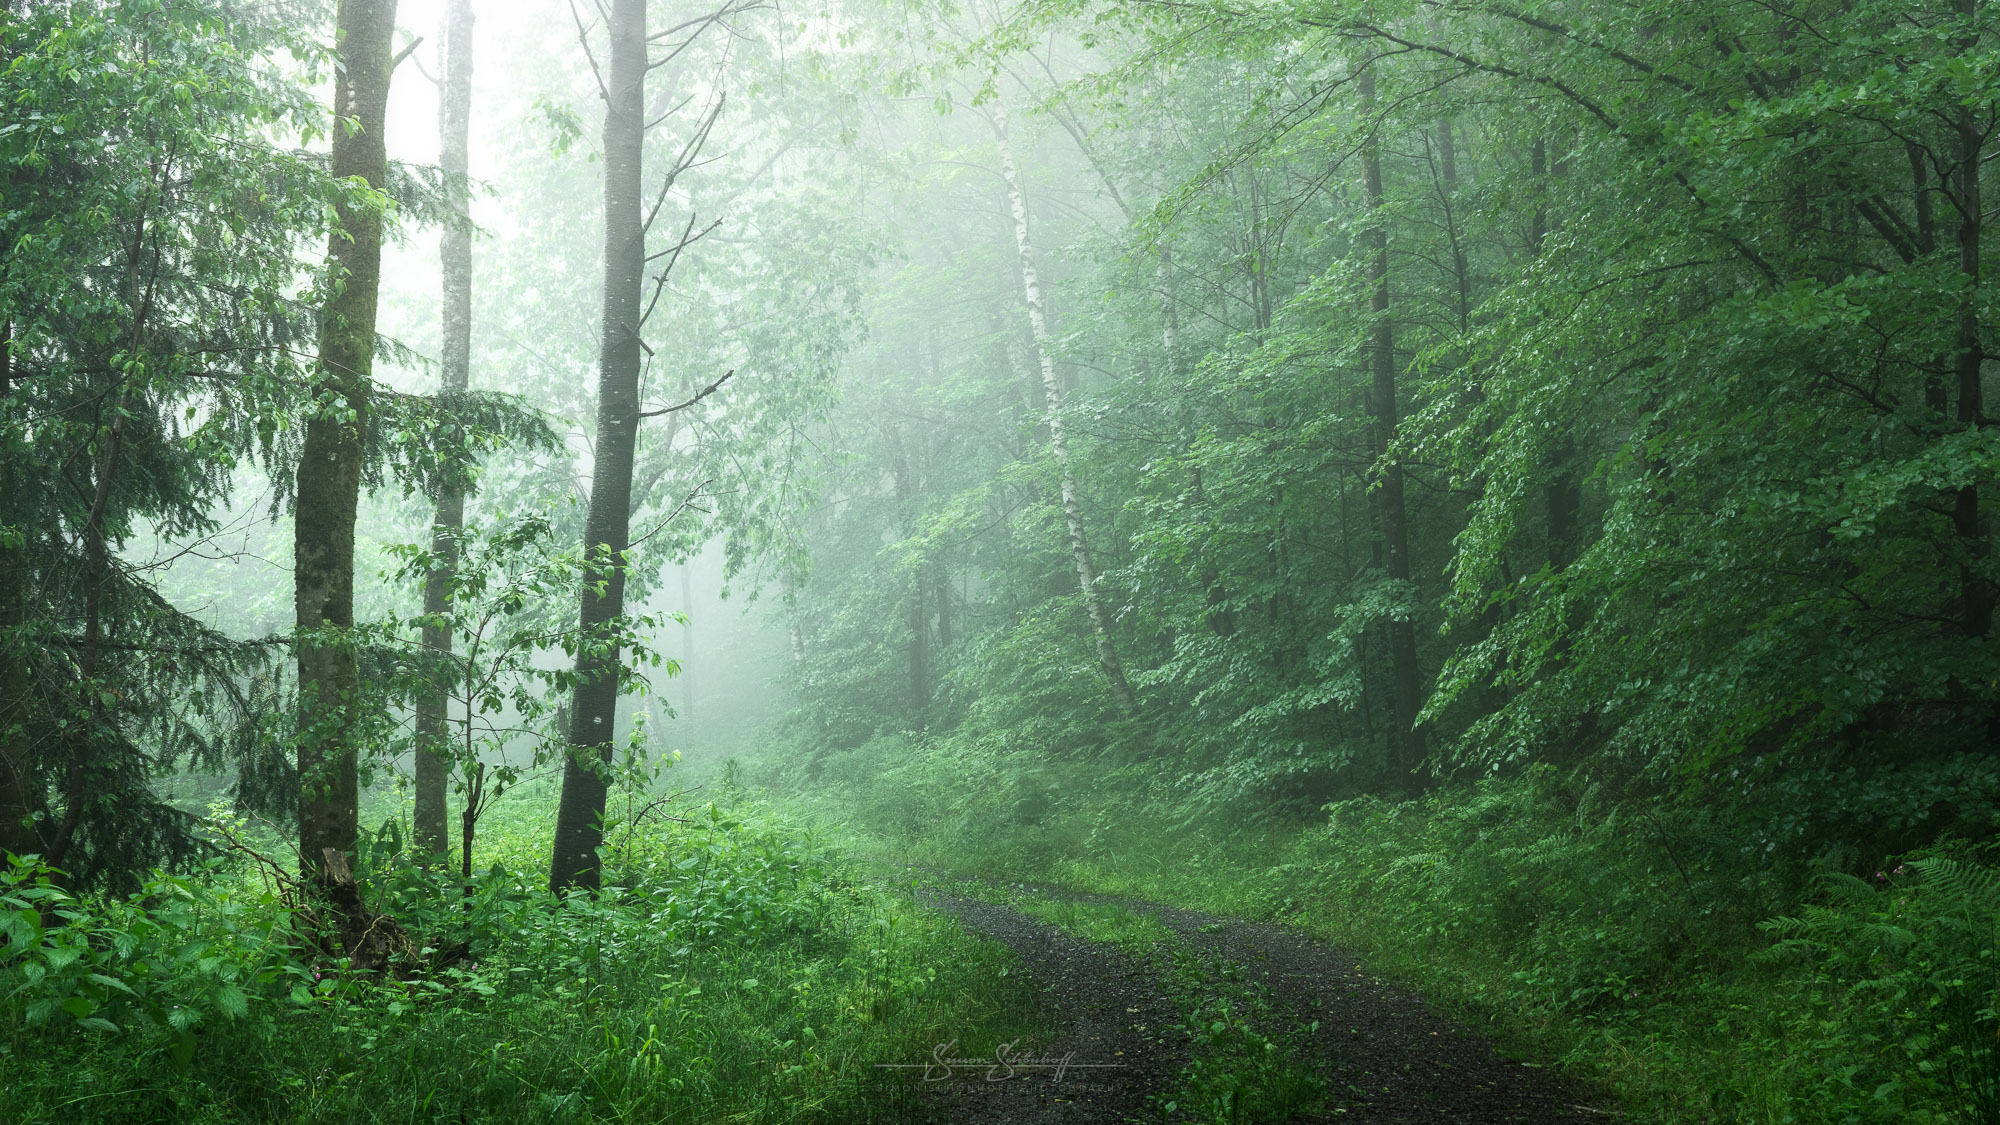
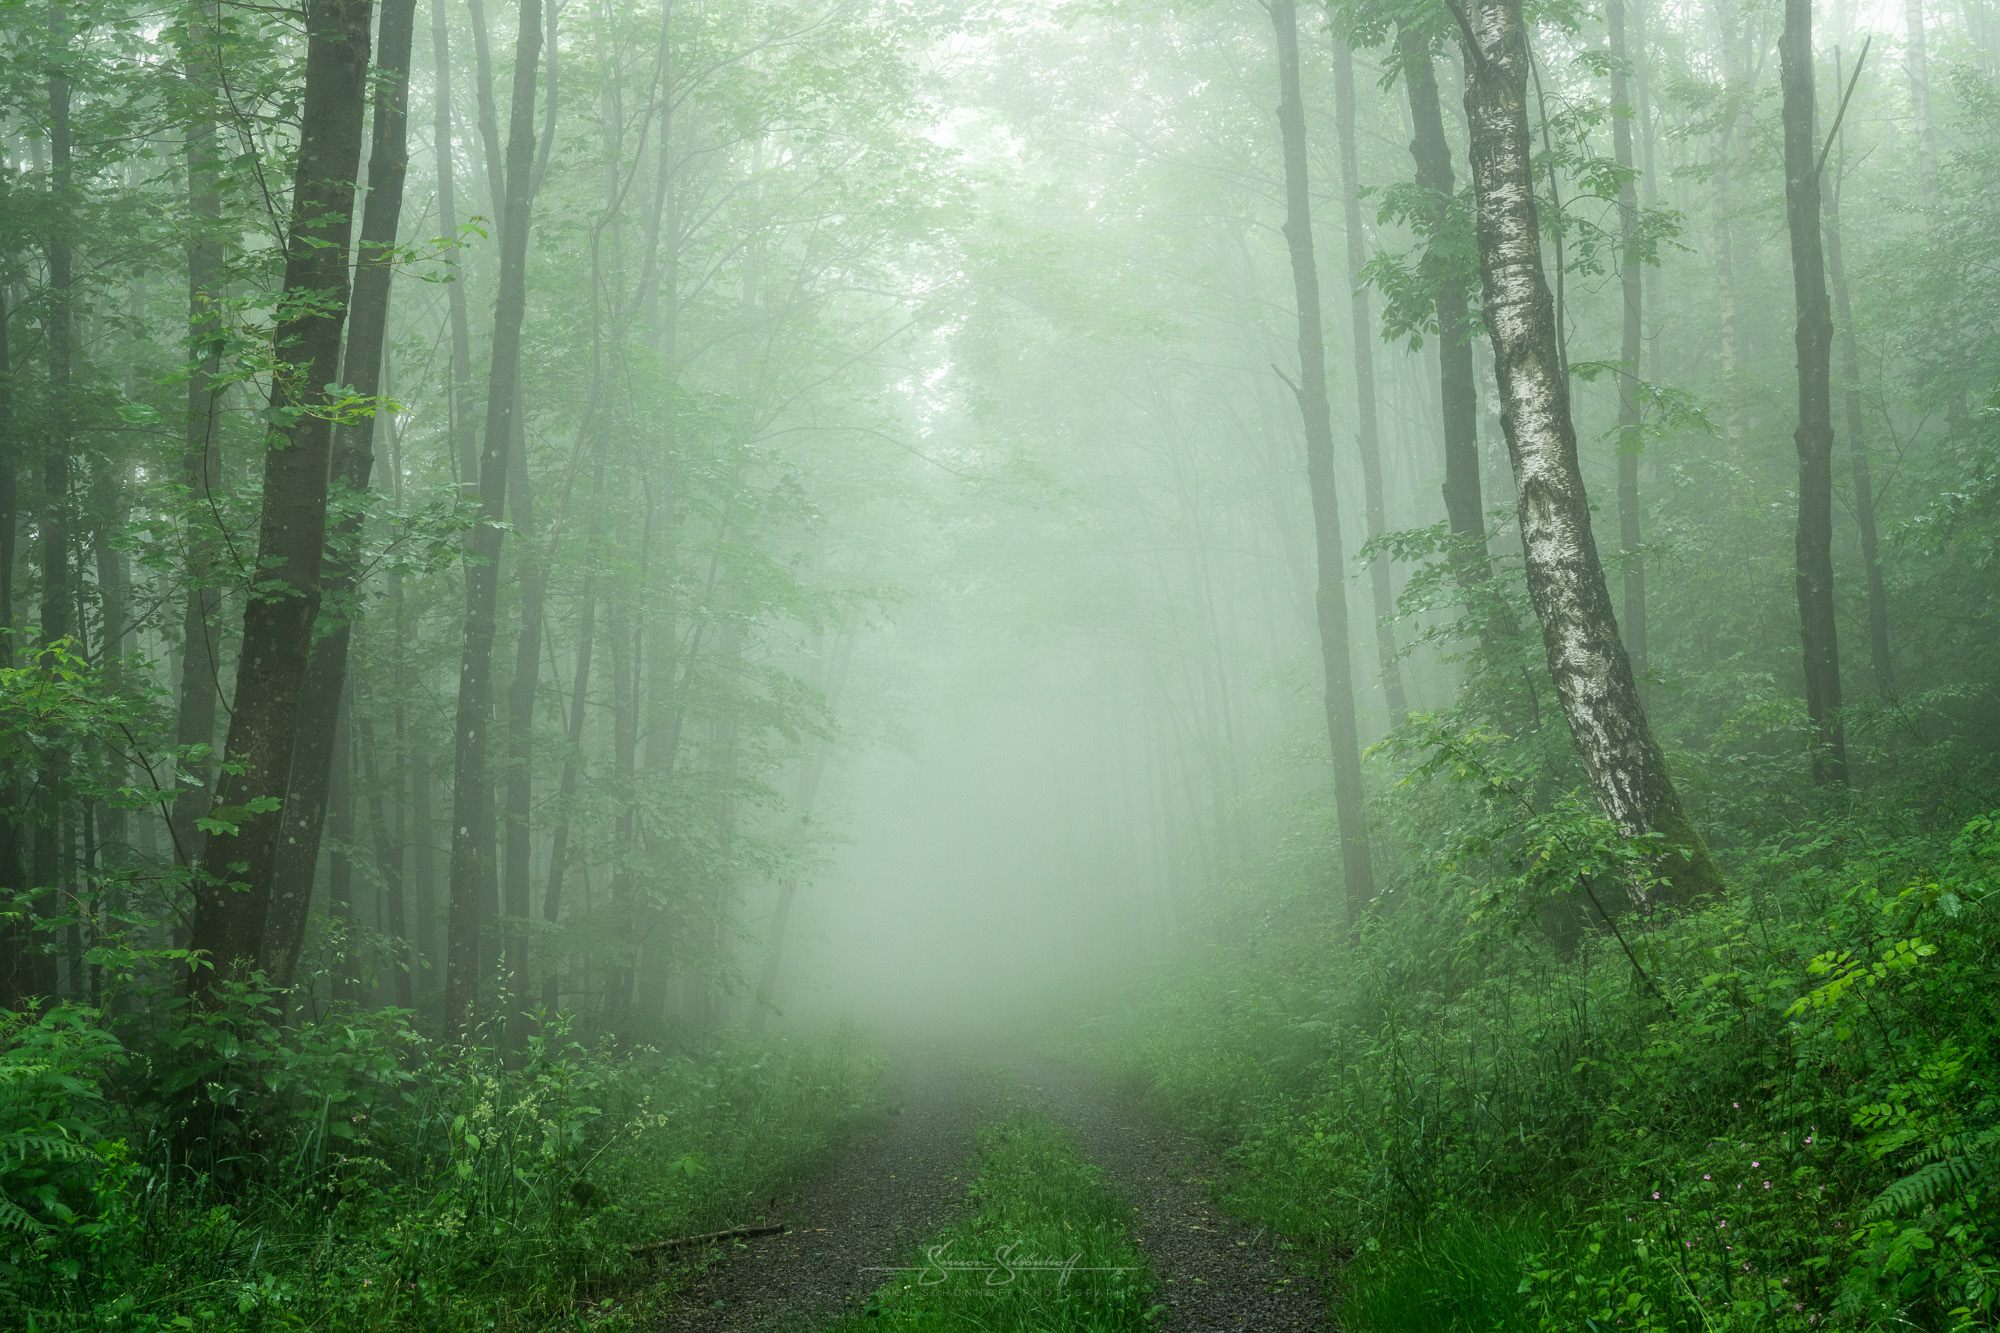
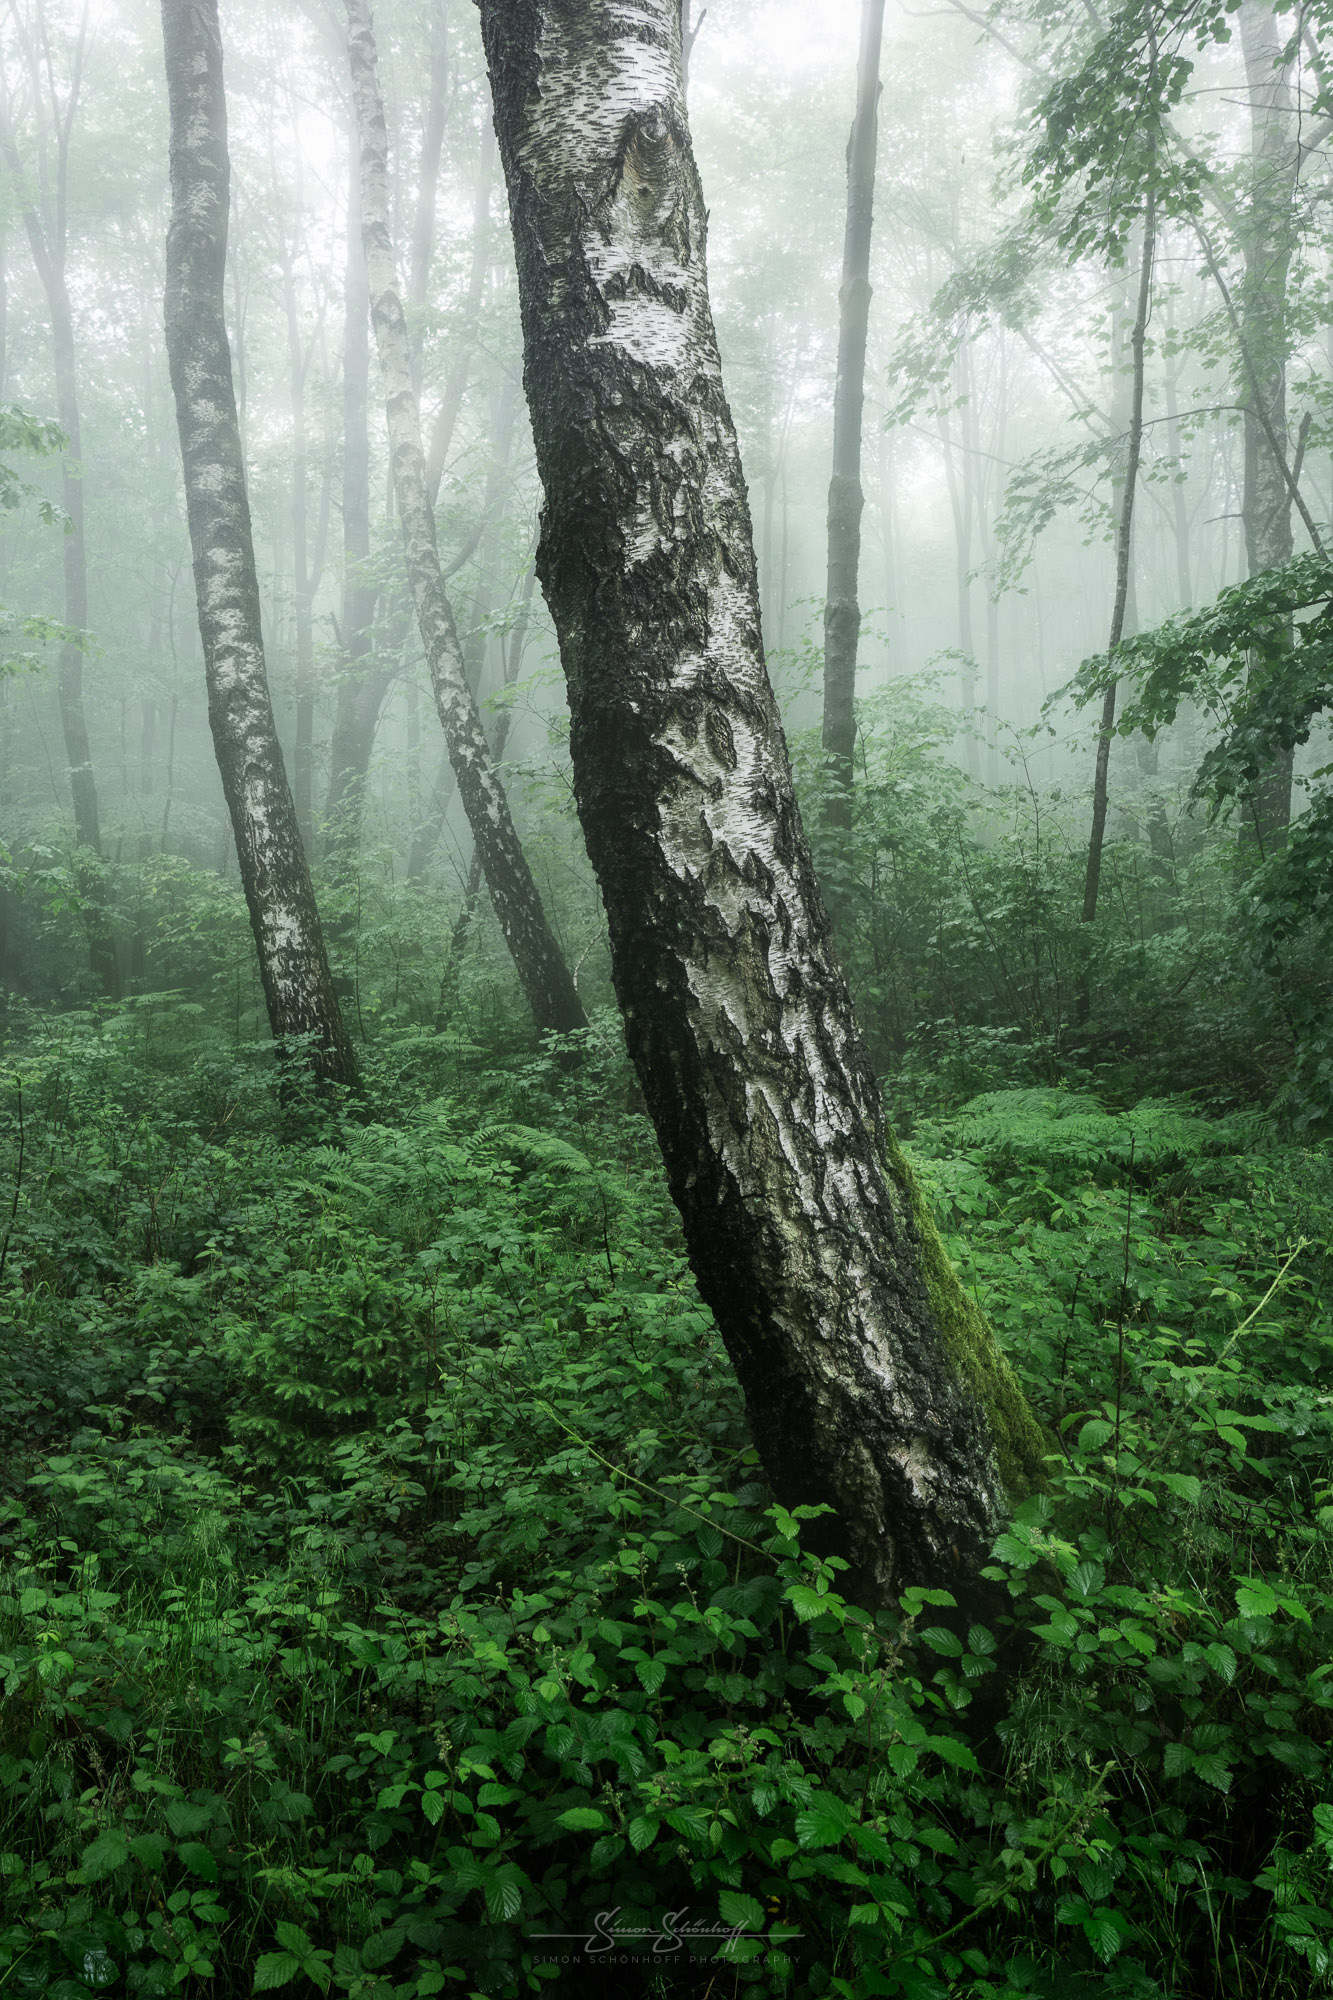
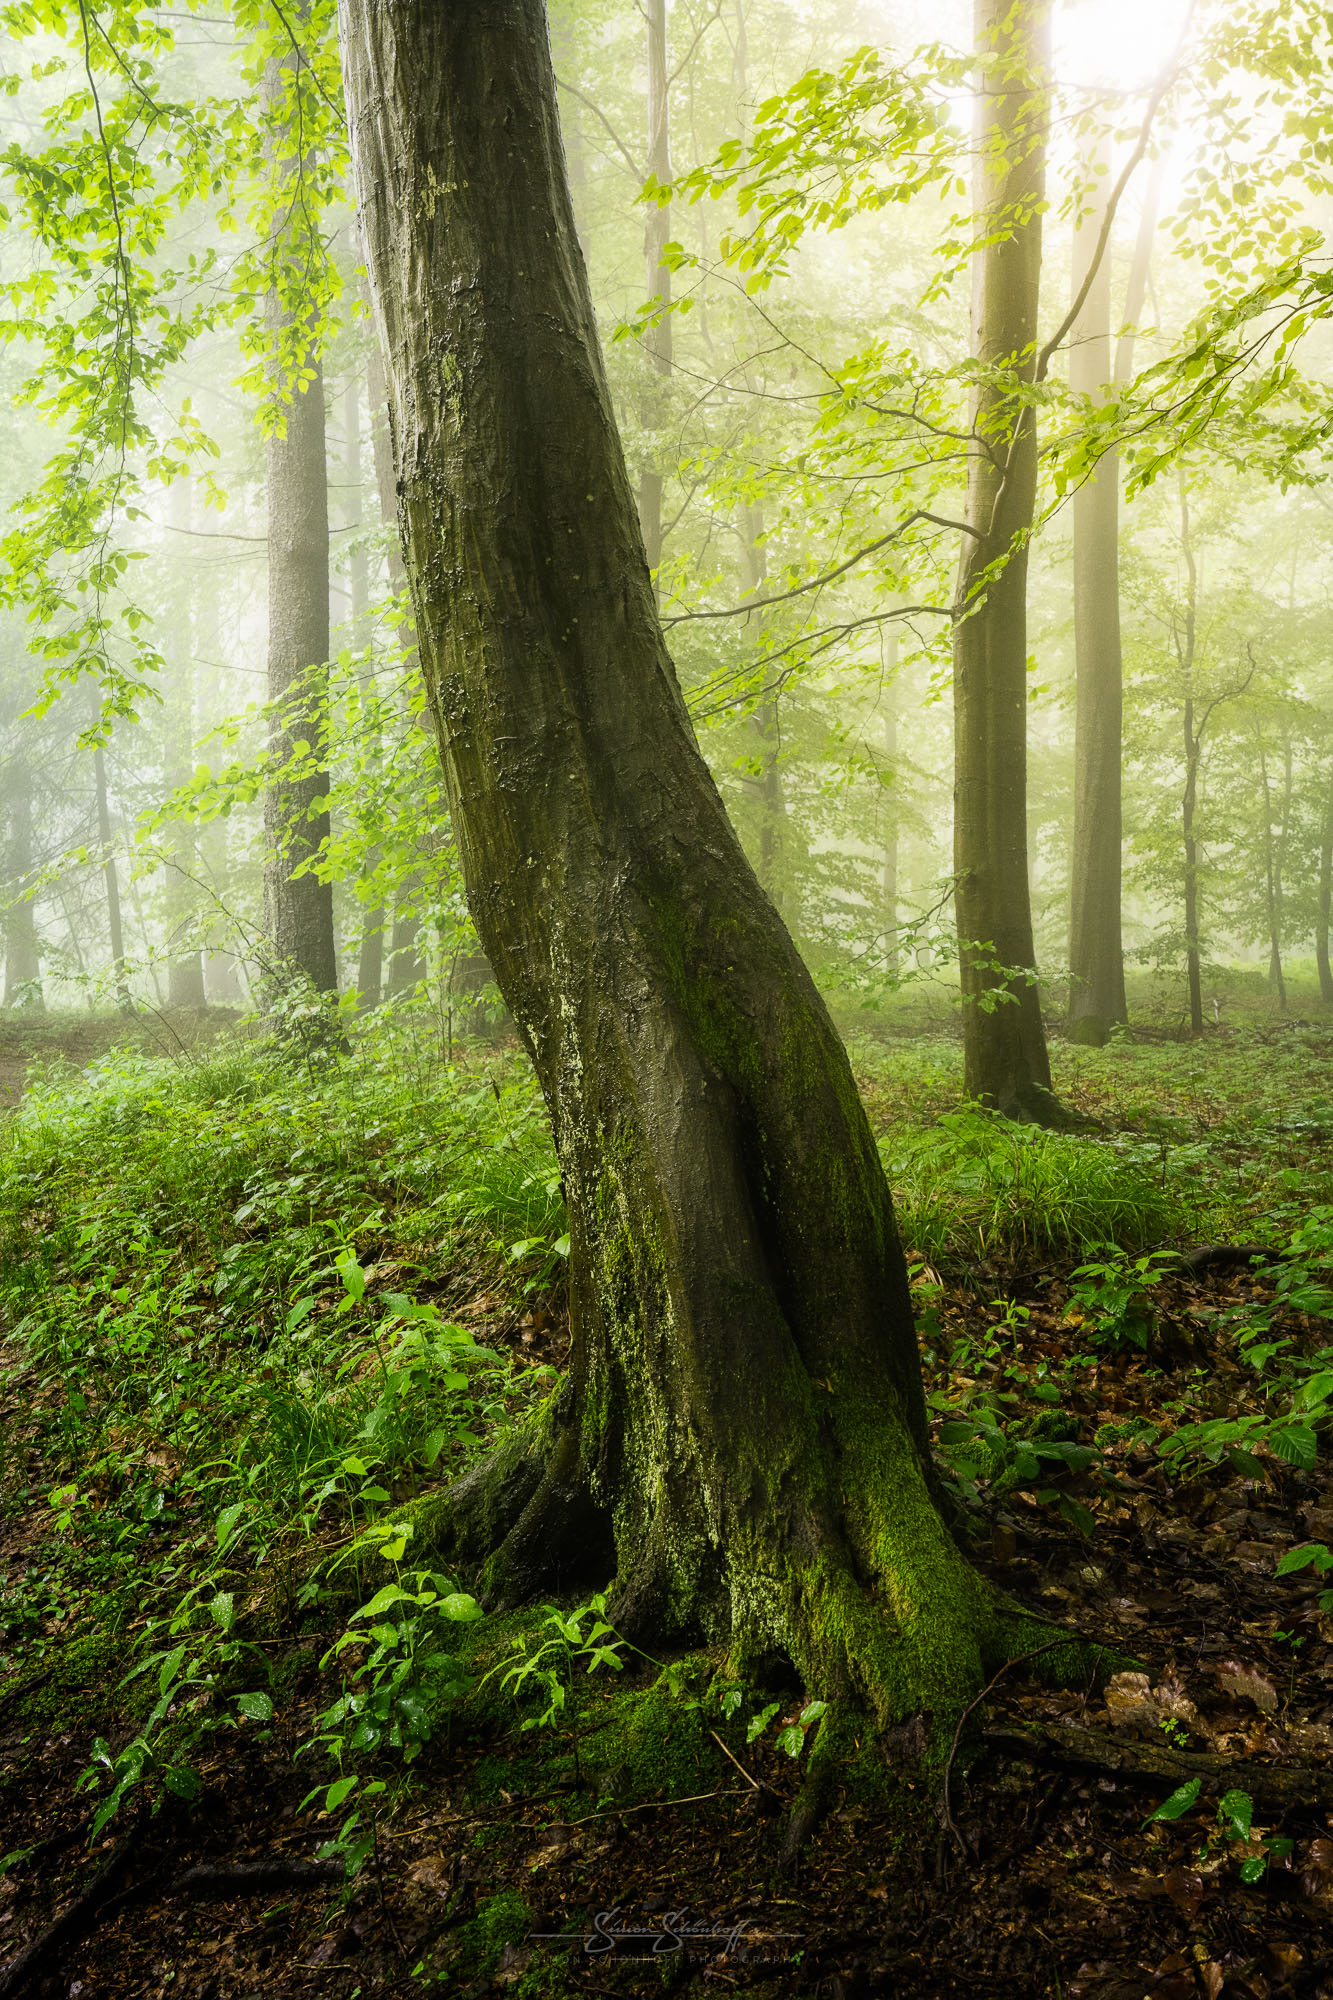
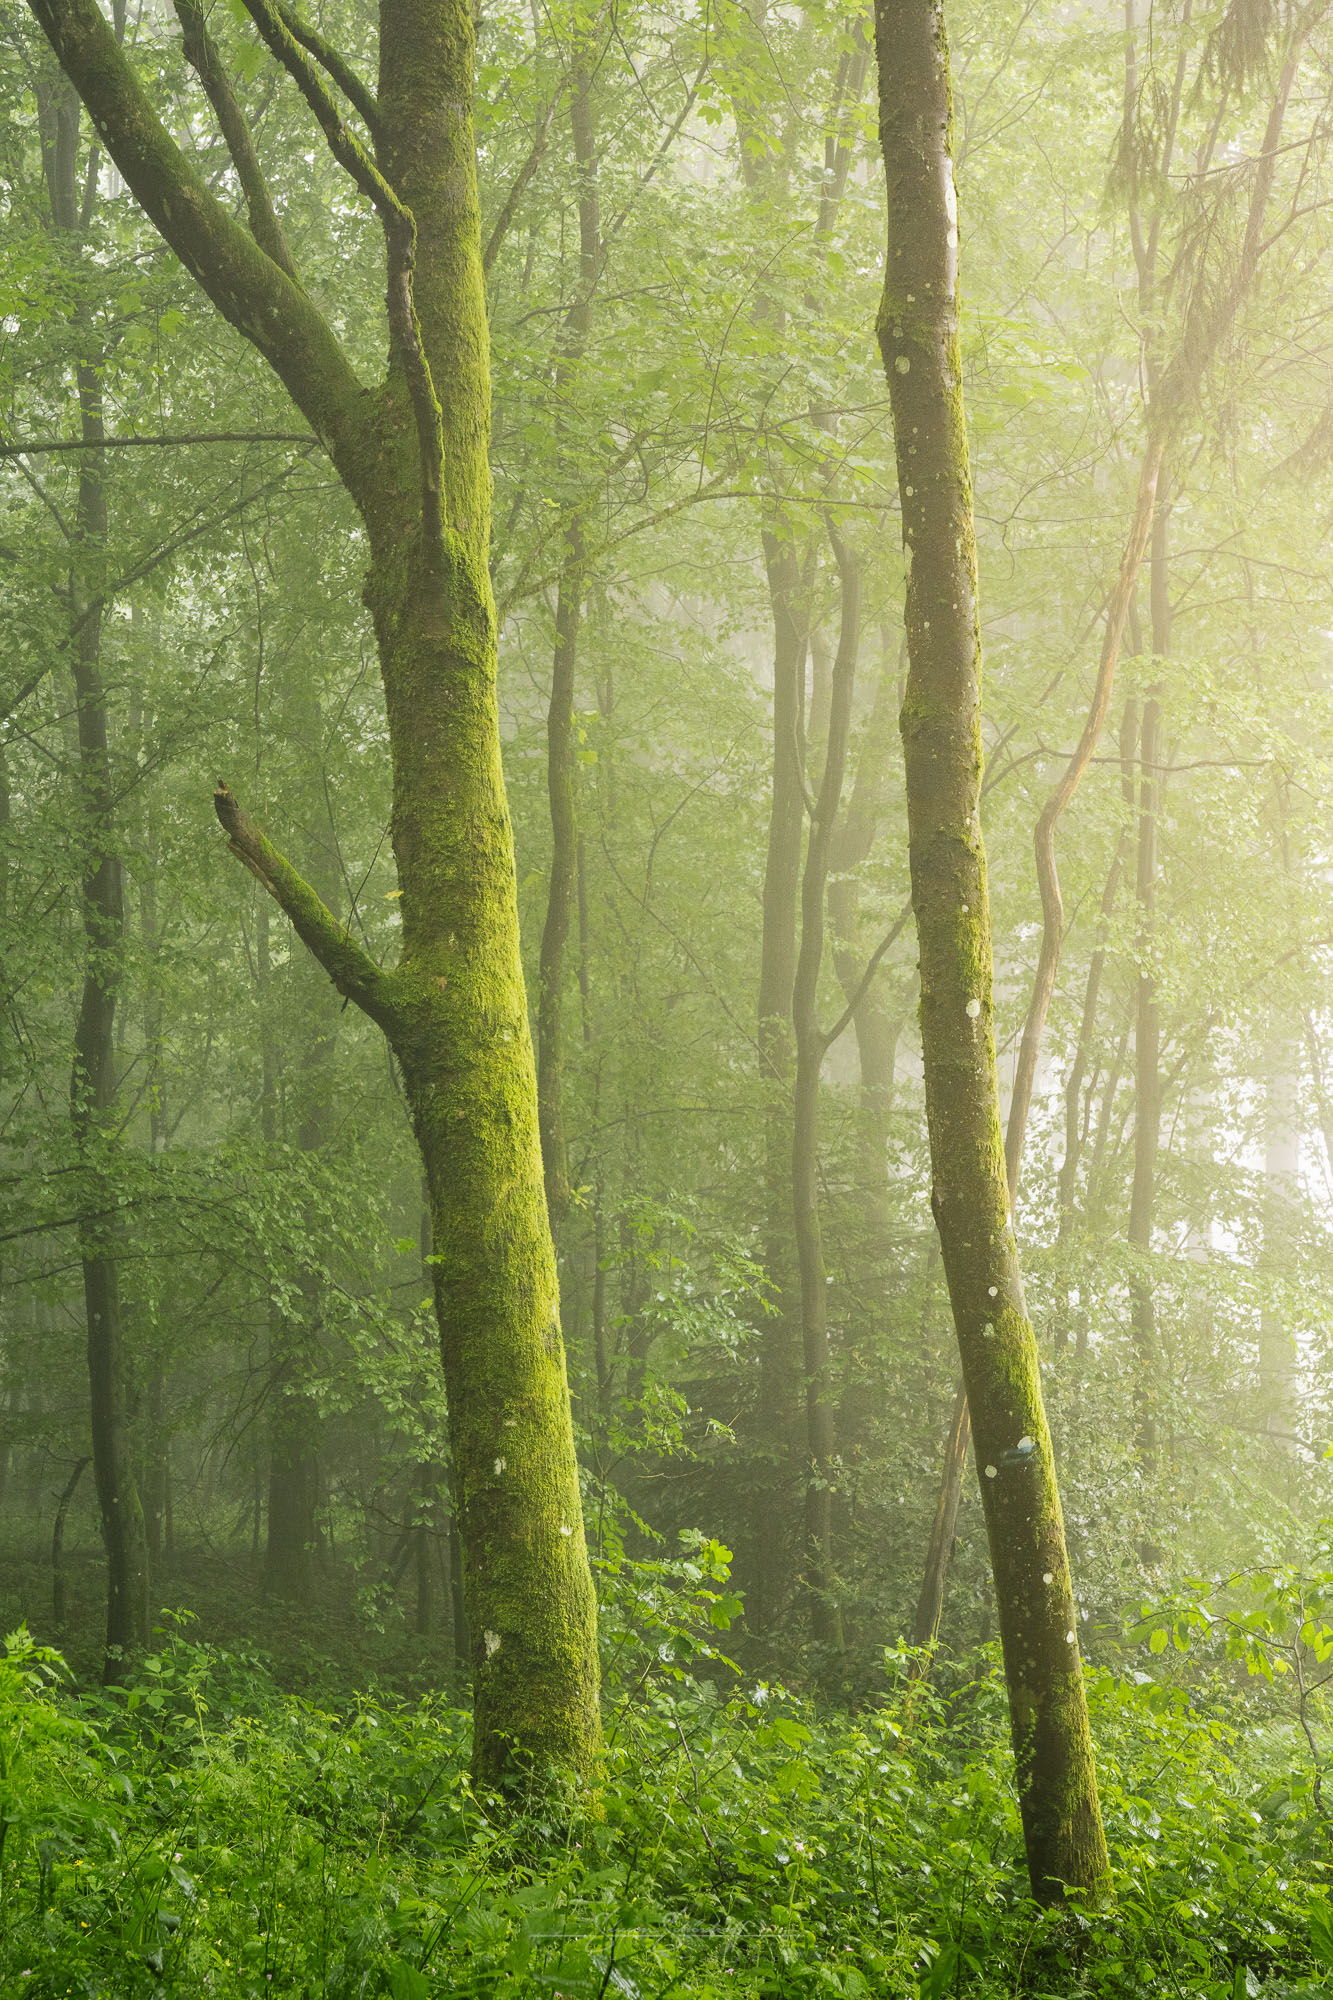
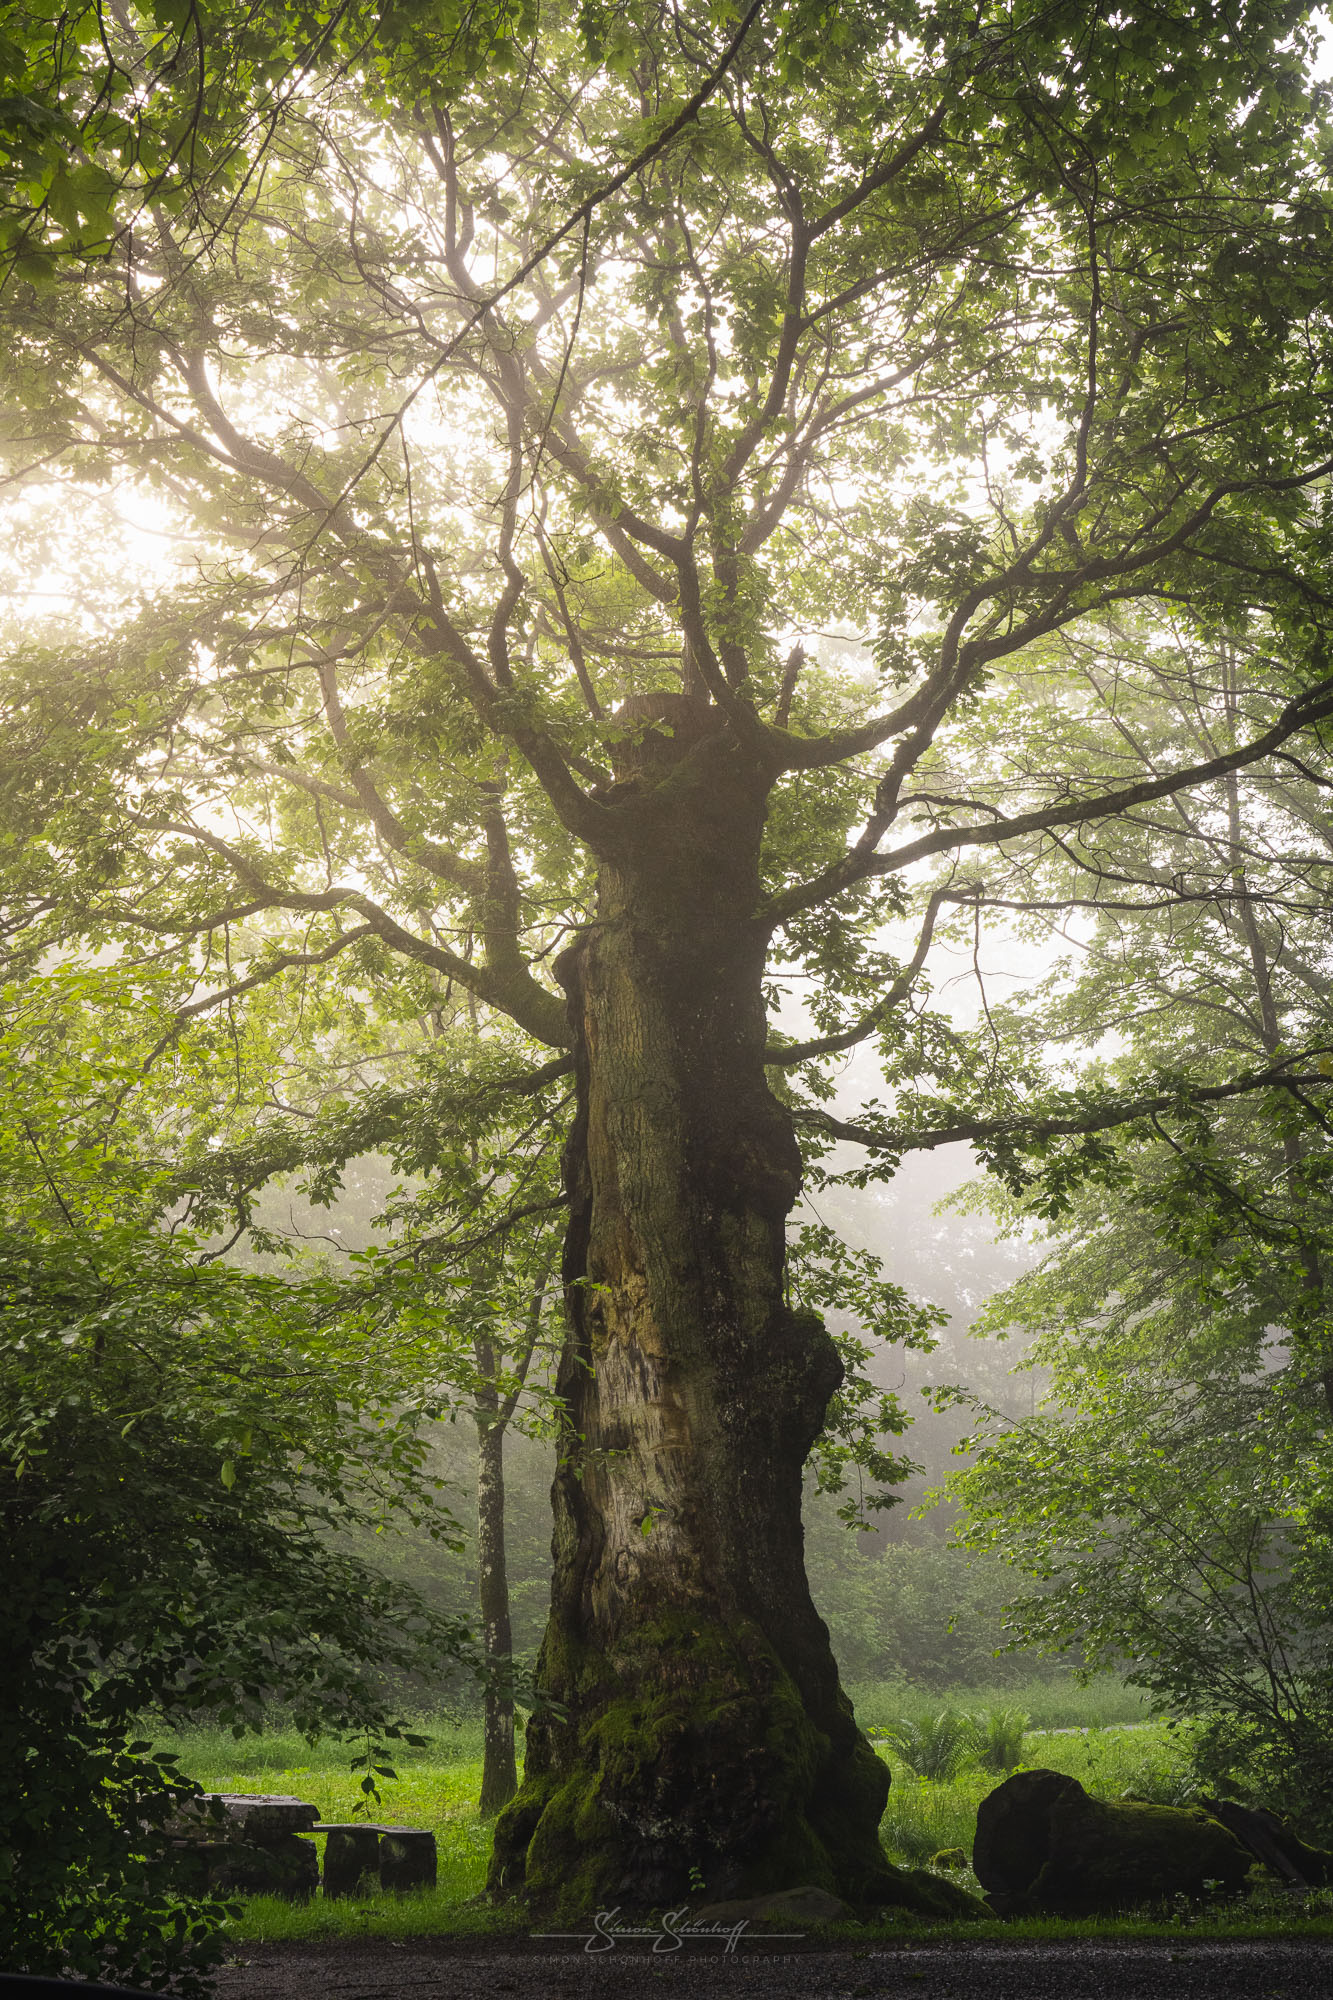
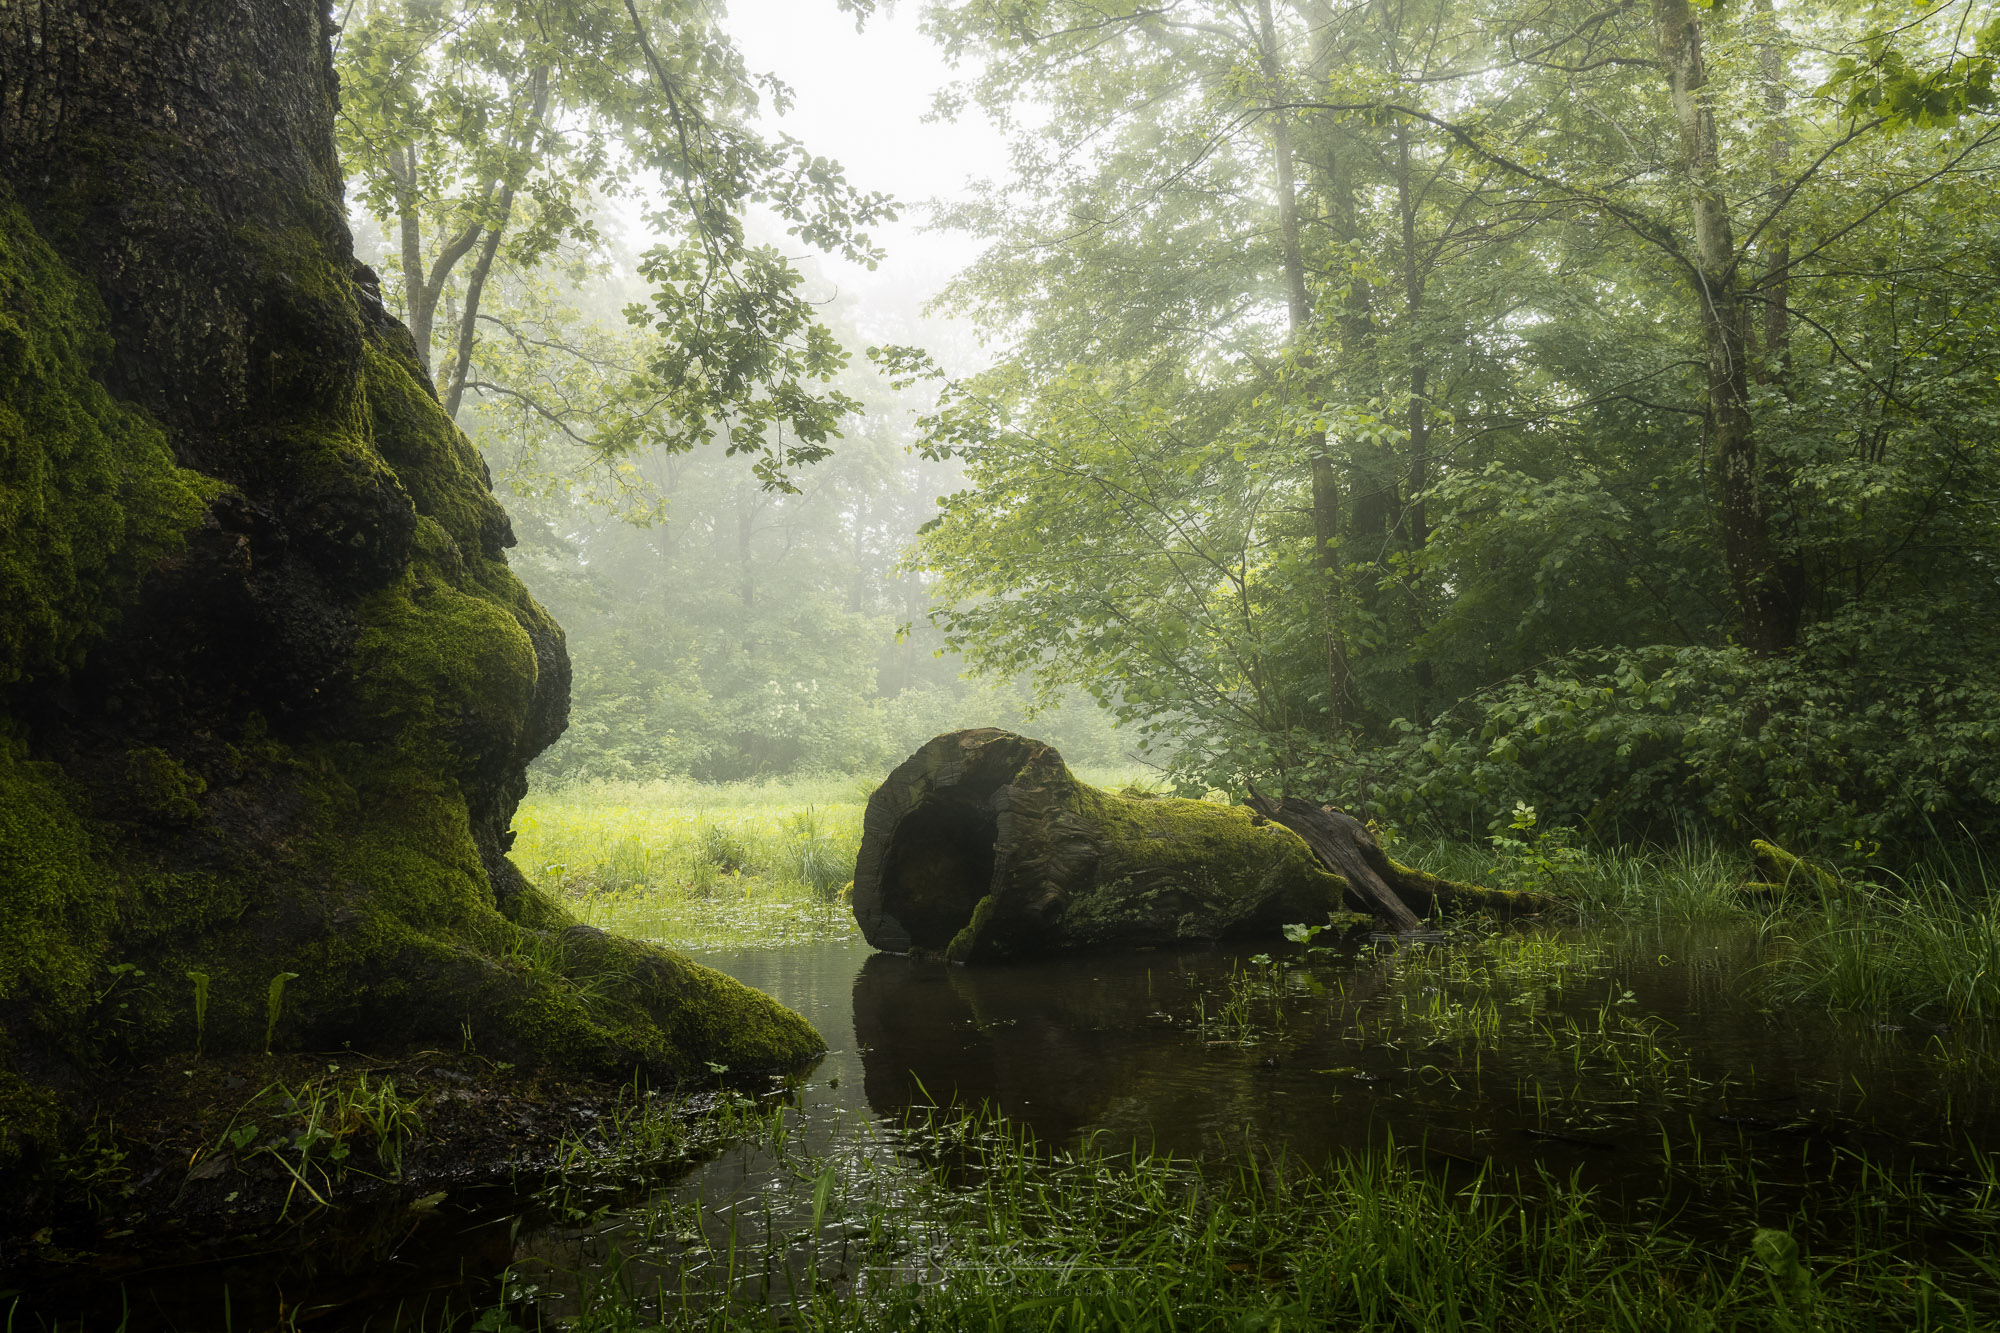
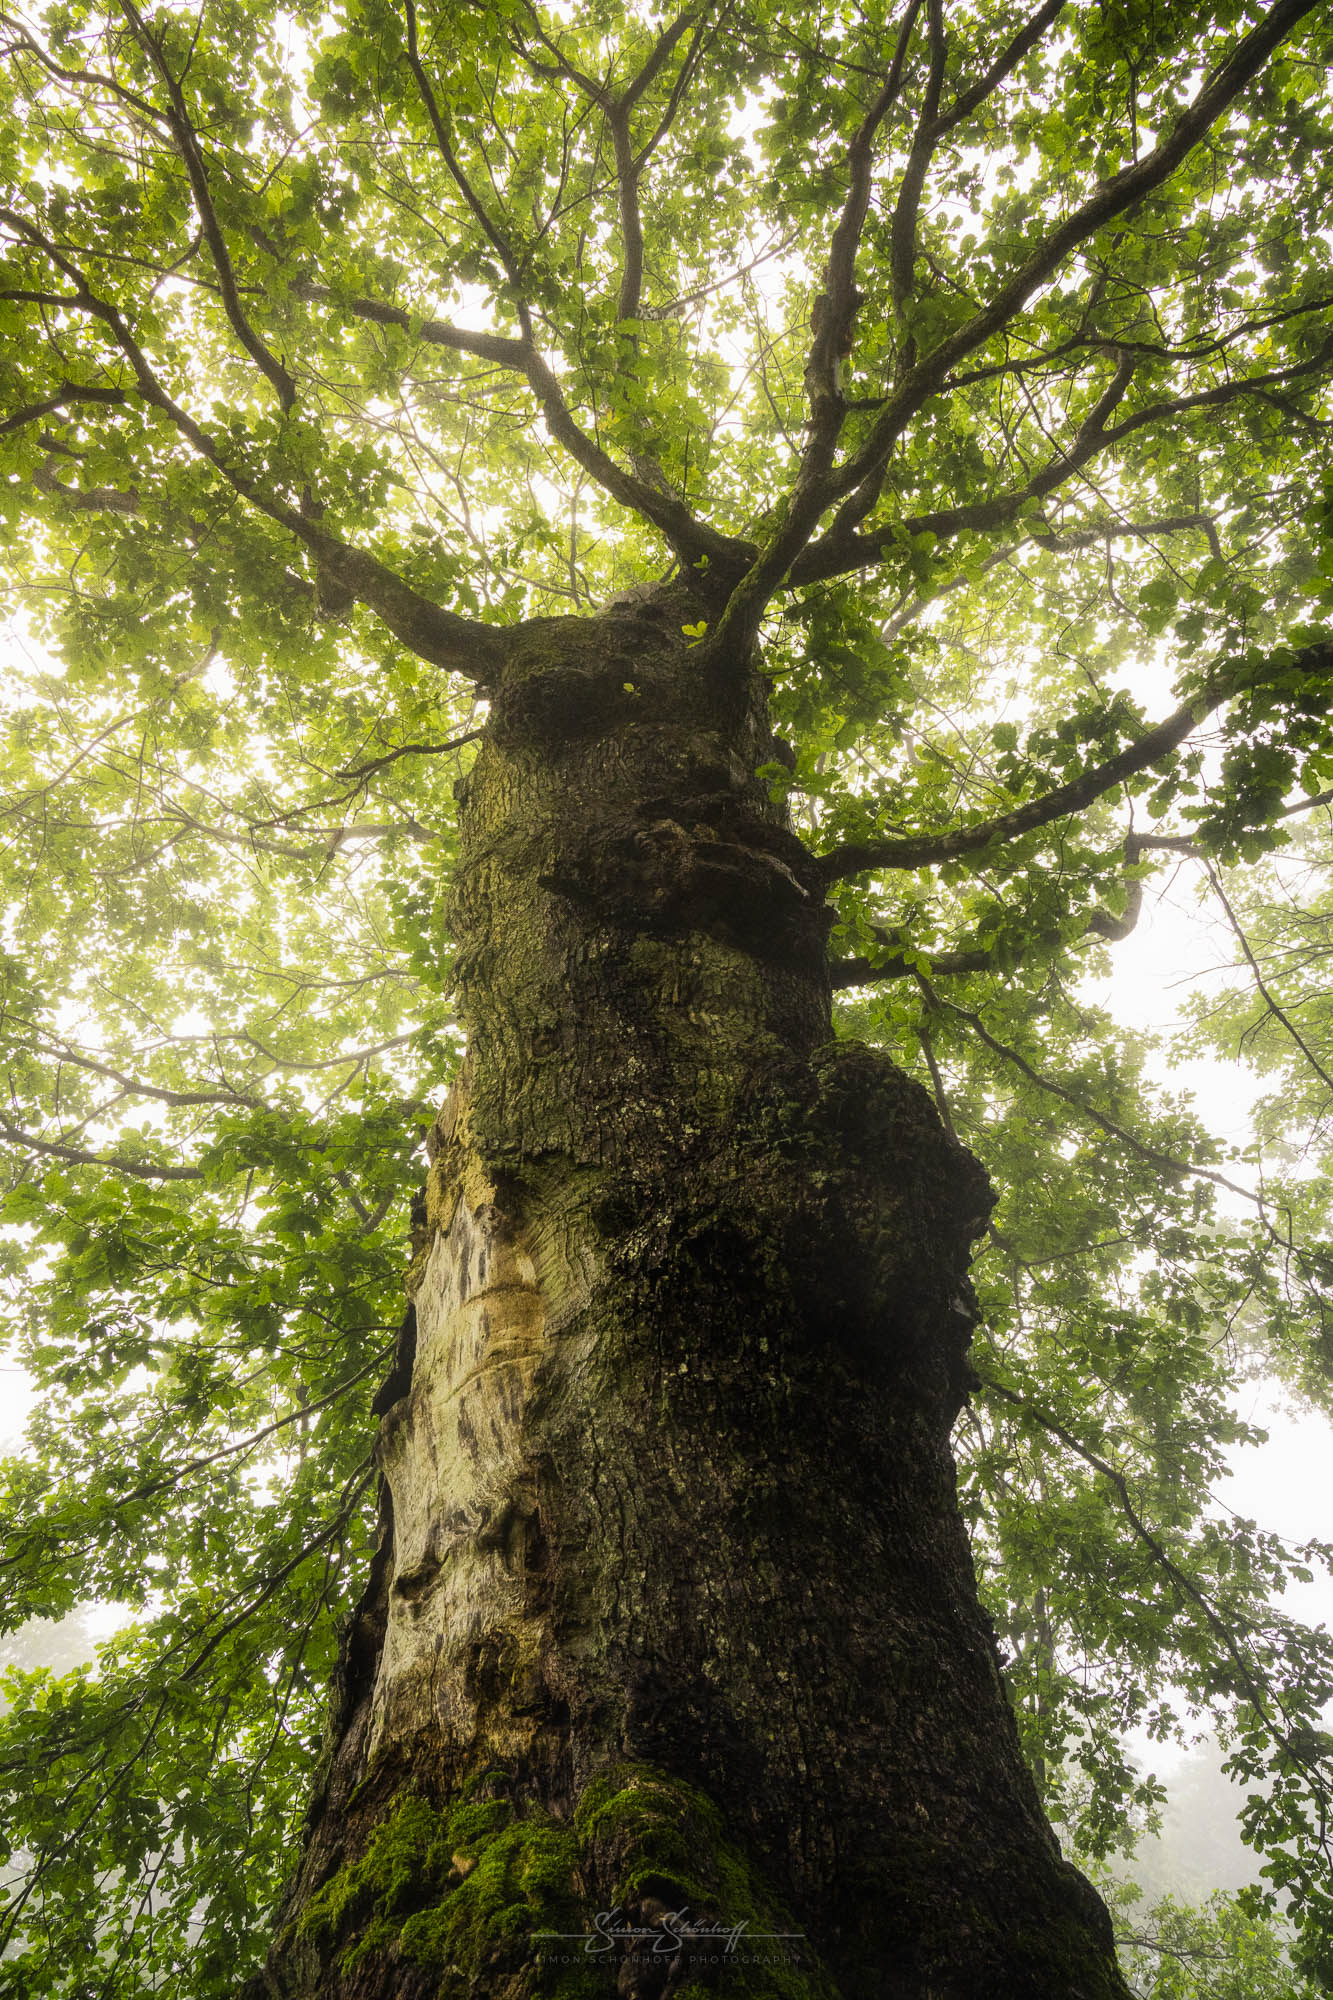
Generally speaking, large trees or trees full of character offer better opportunities for a good composition. Even lighter areas in the forest can give the light some direction that can be used in the picture. So always observe the light and its effect.
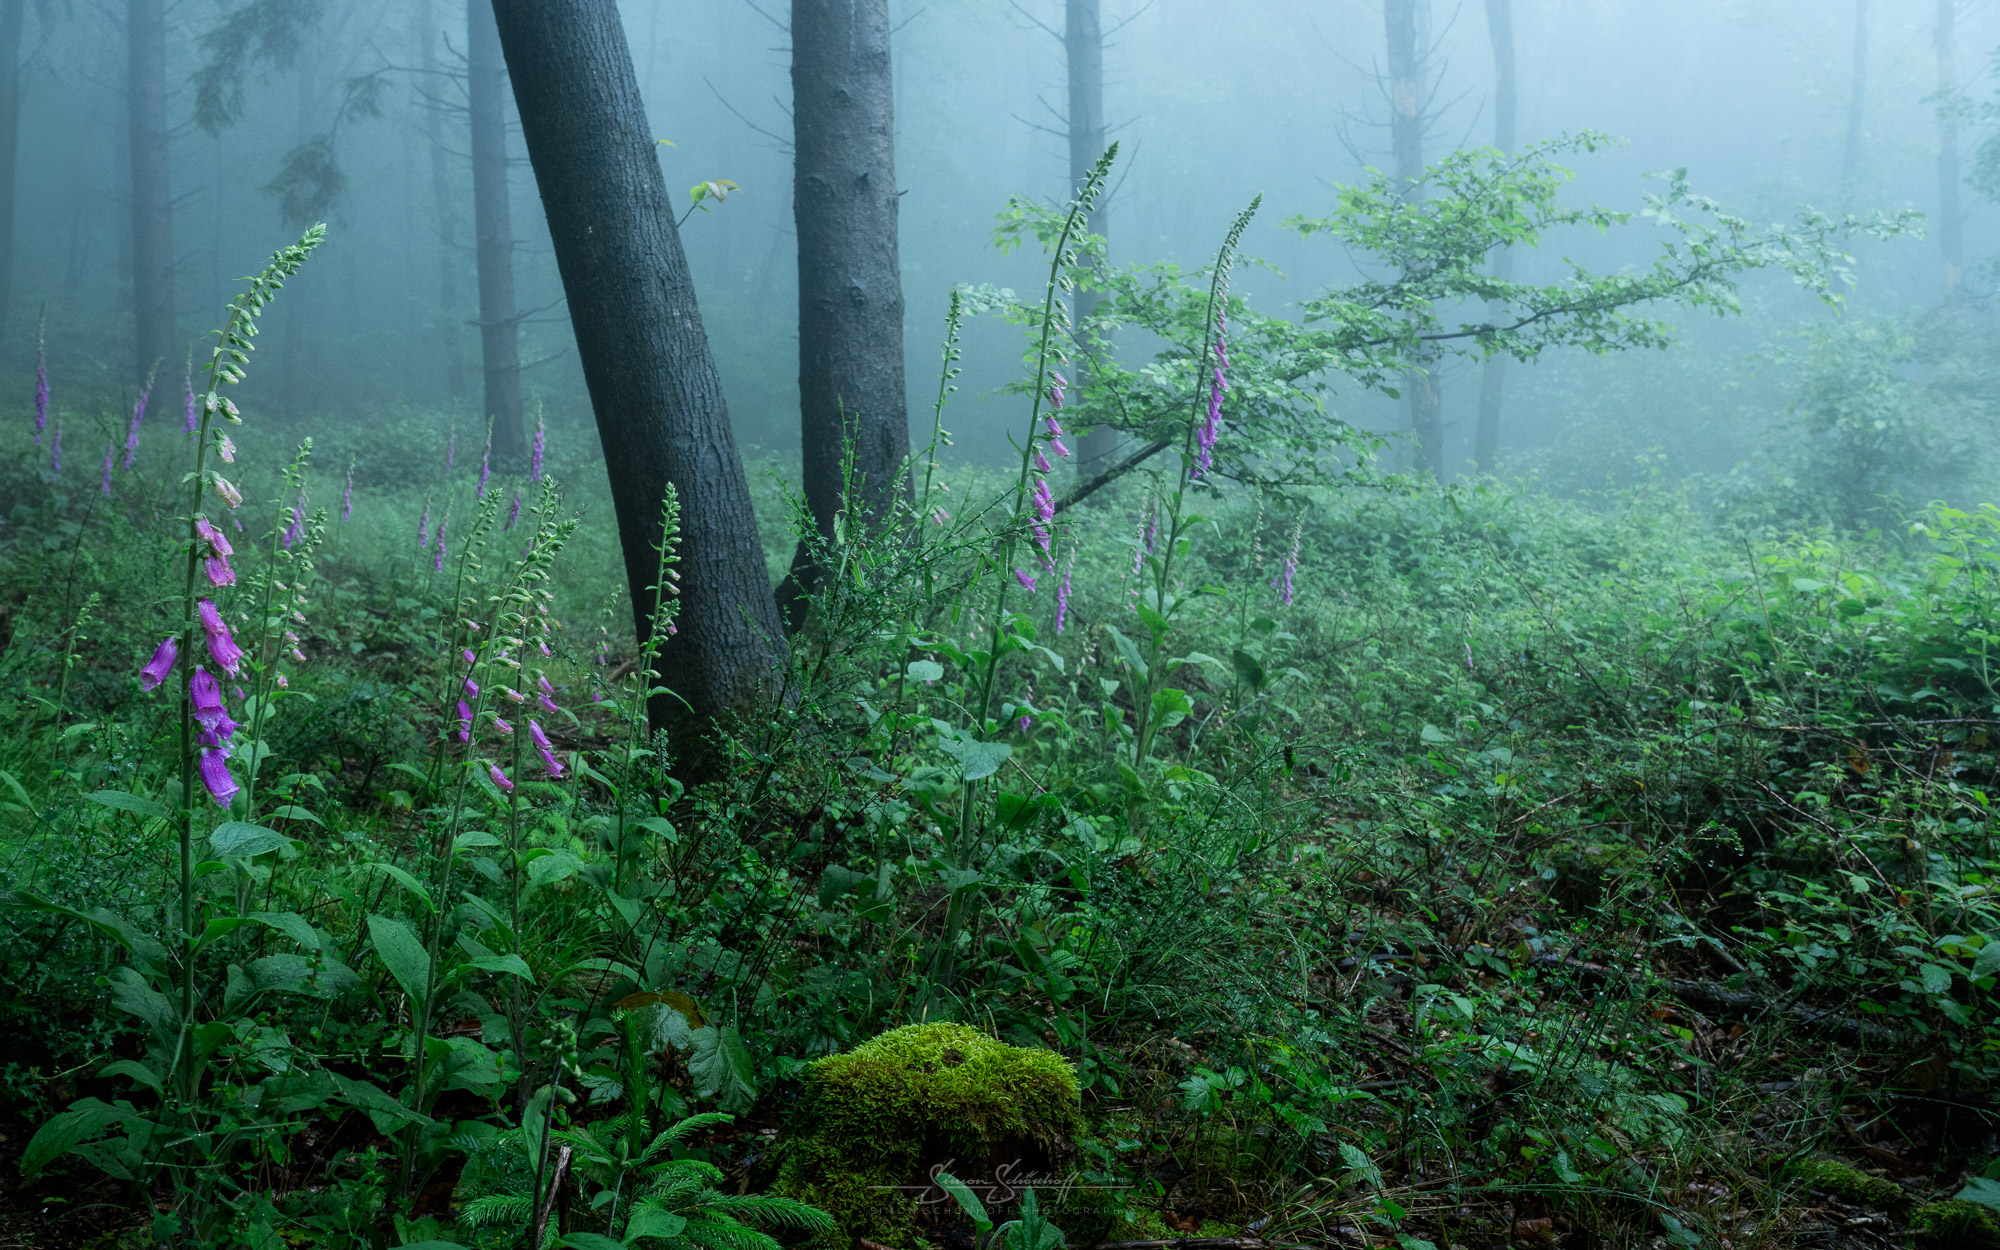
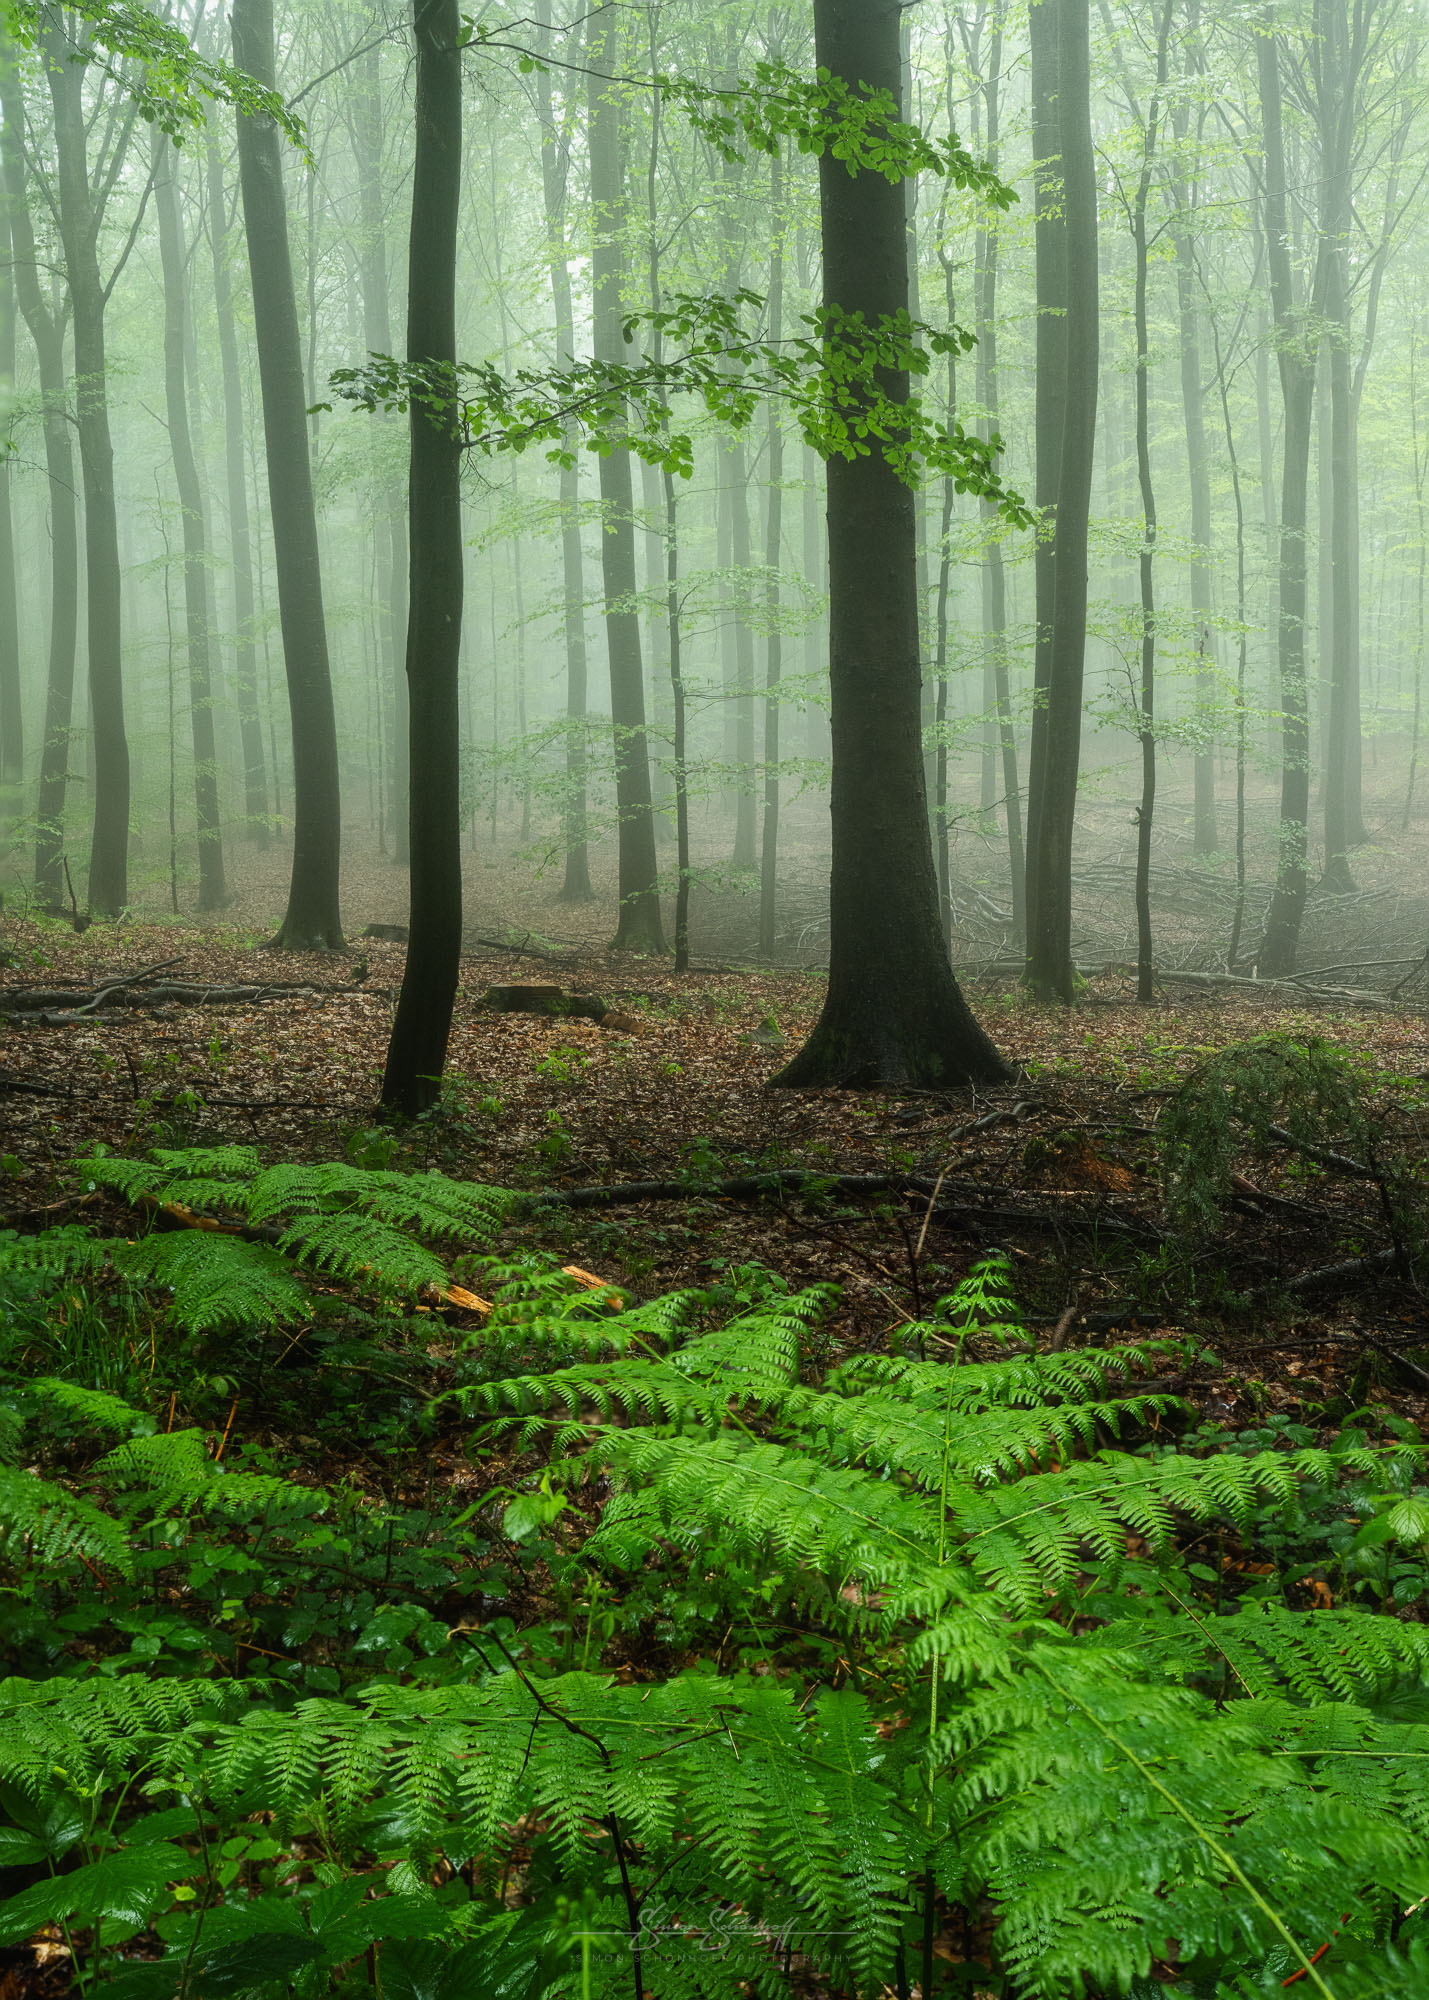
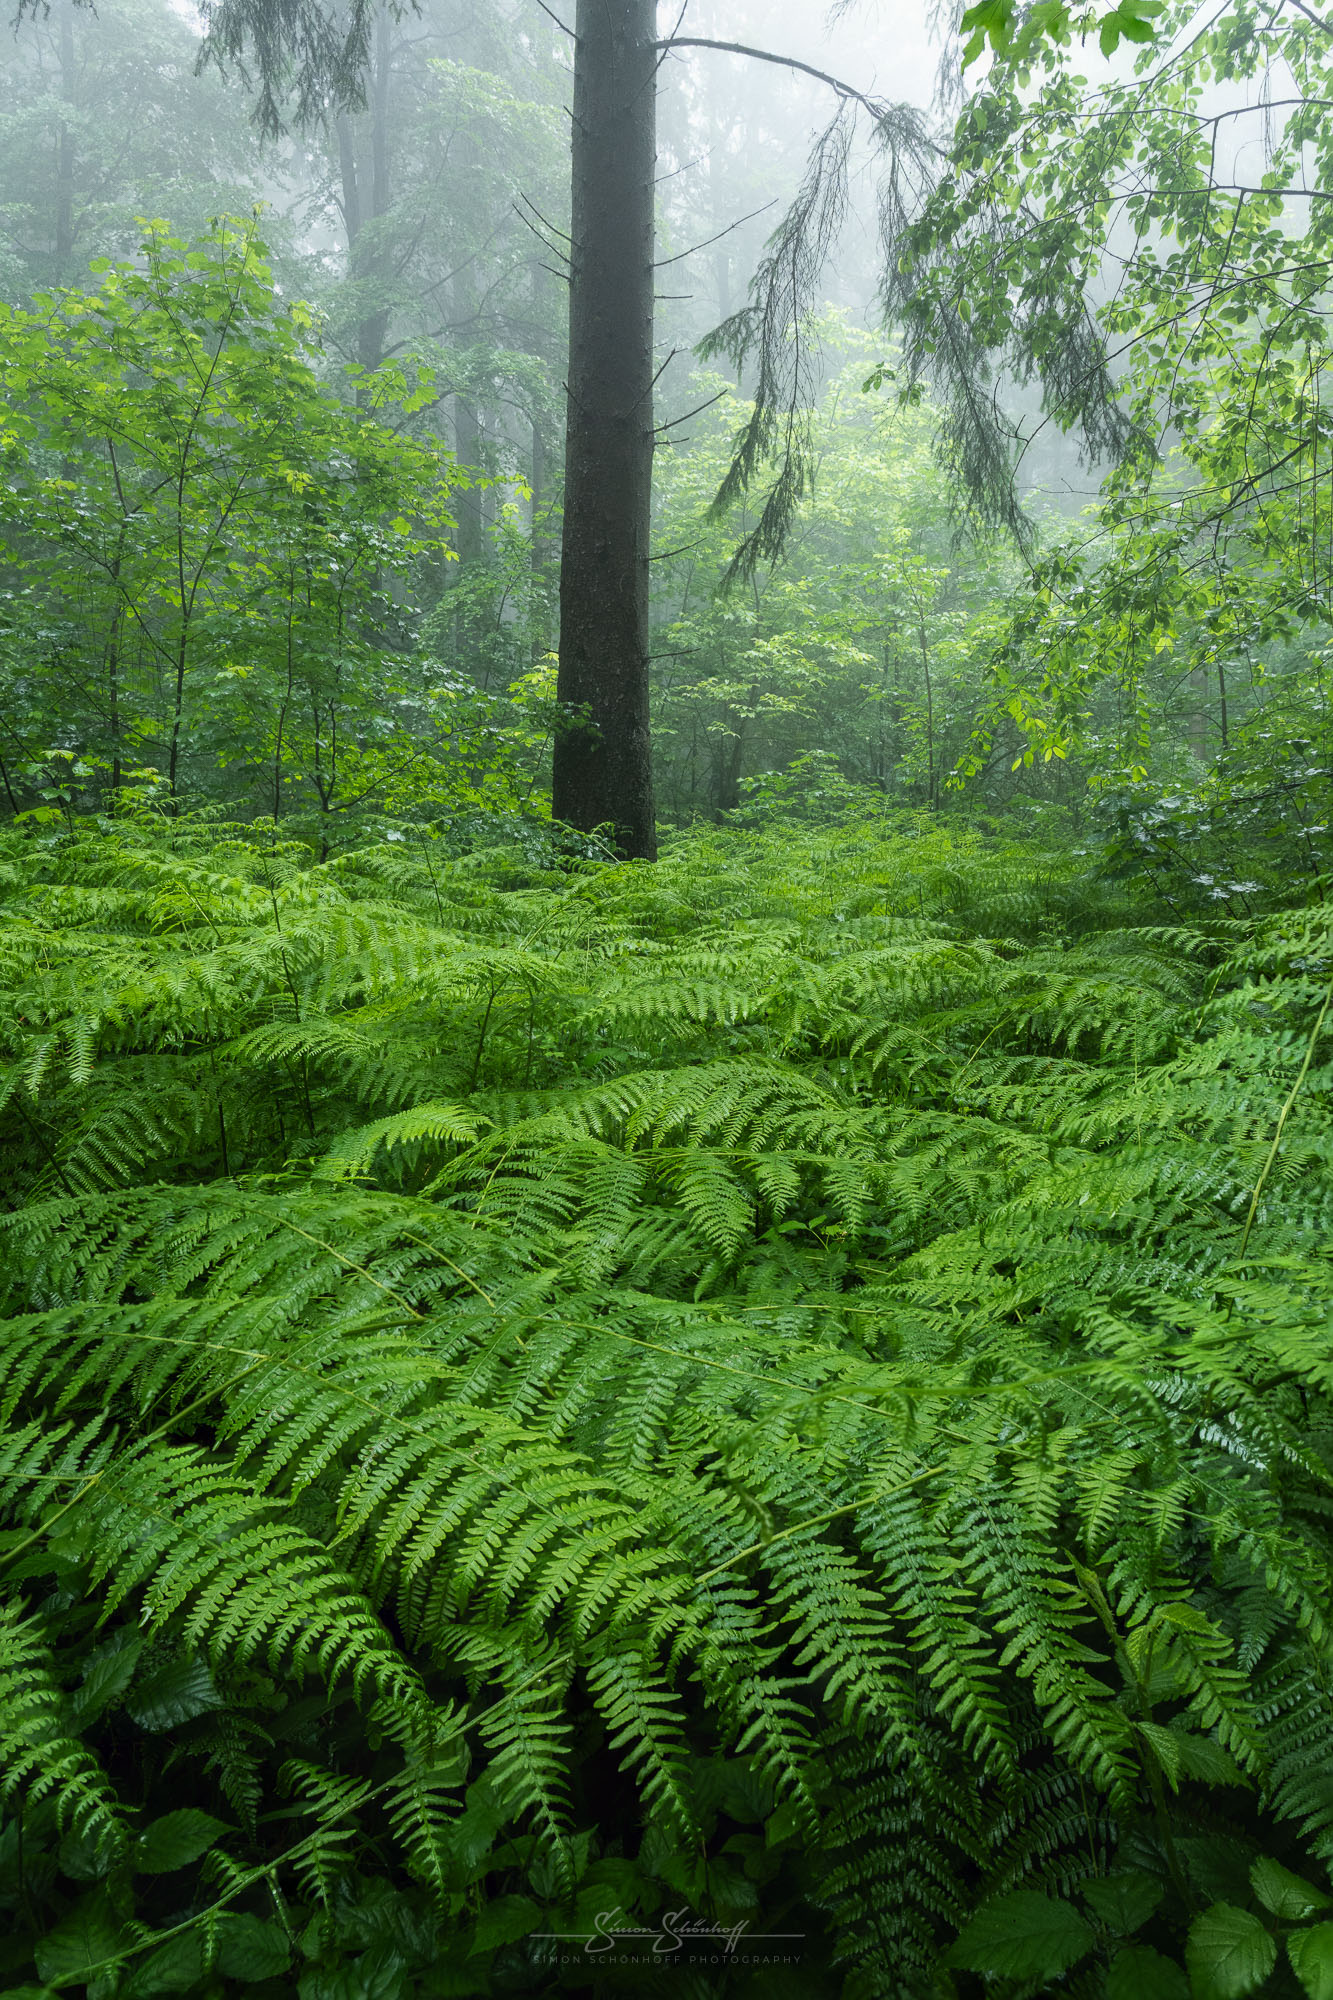
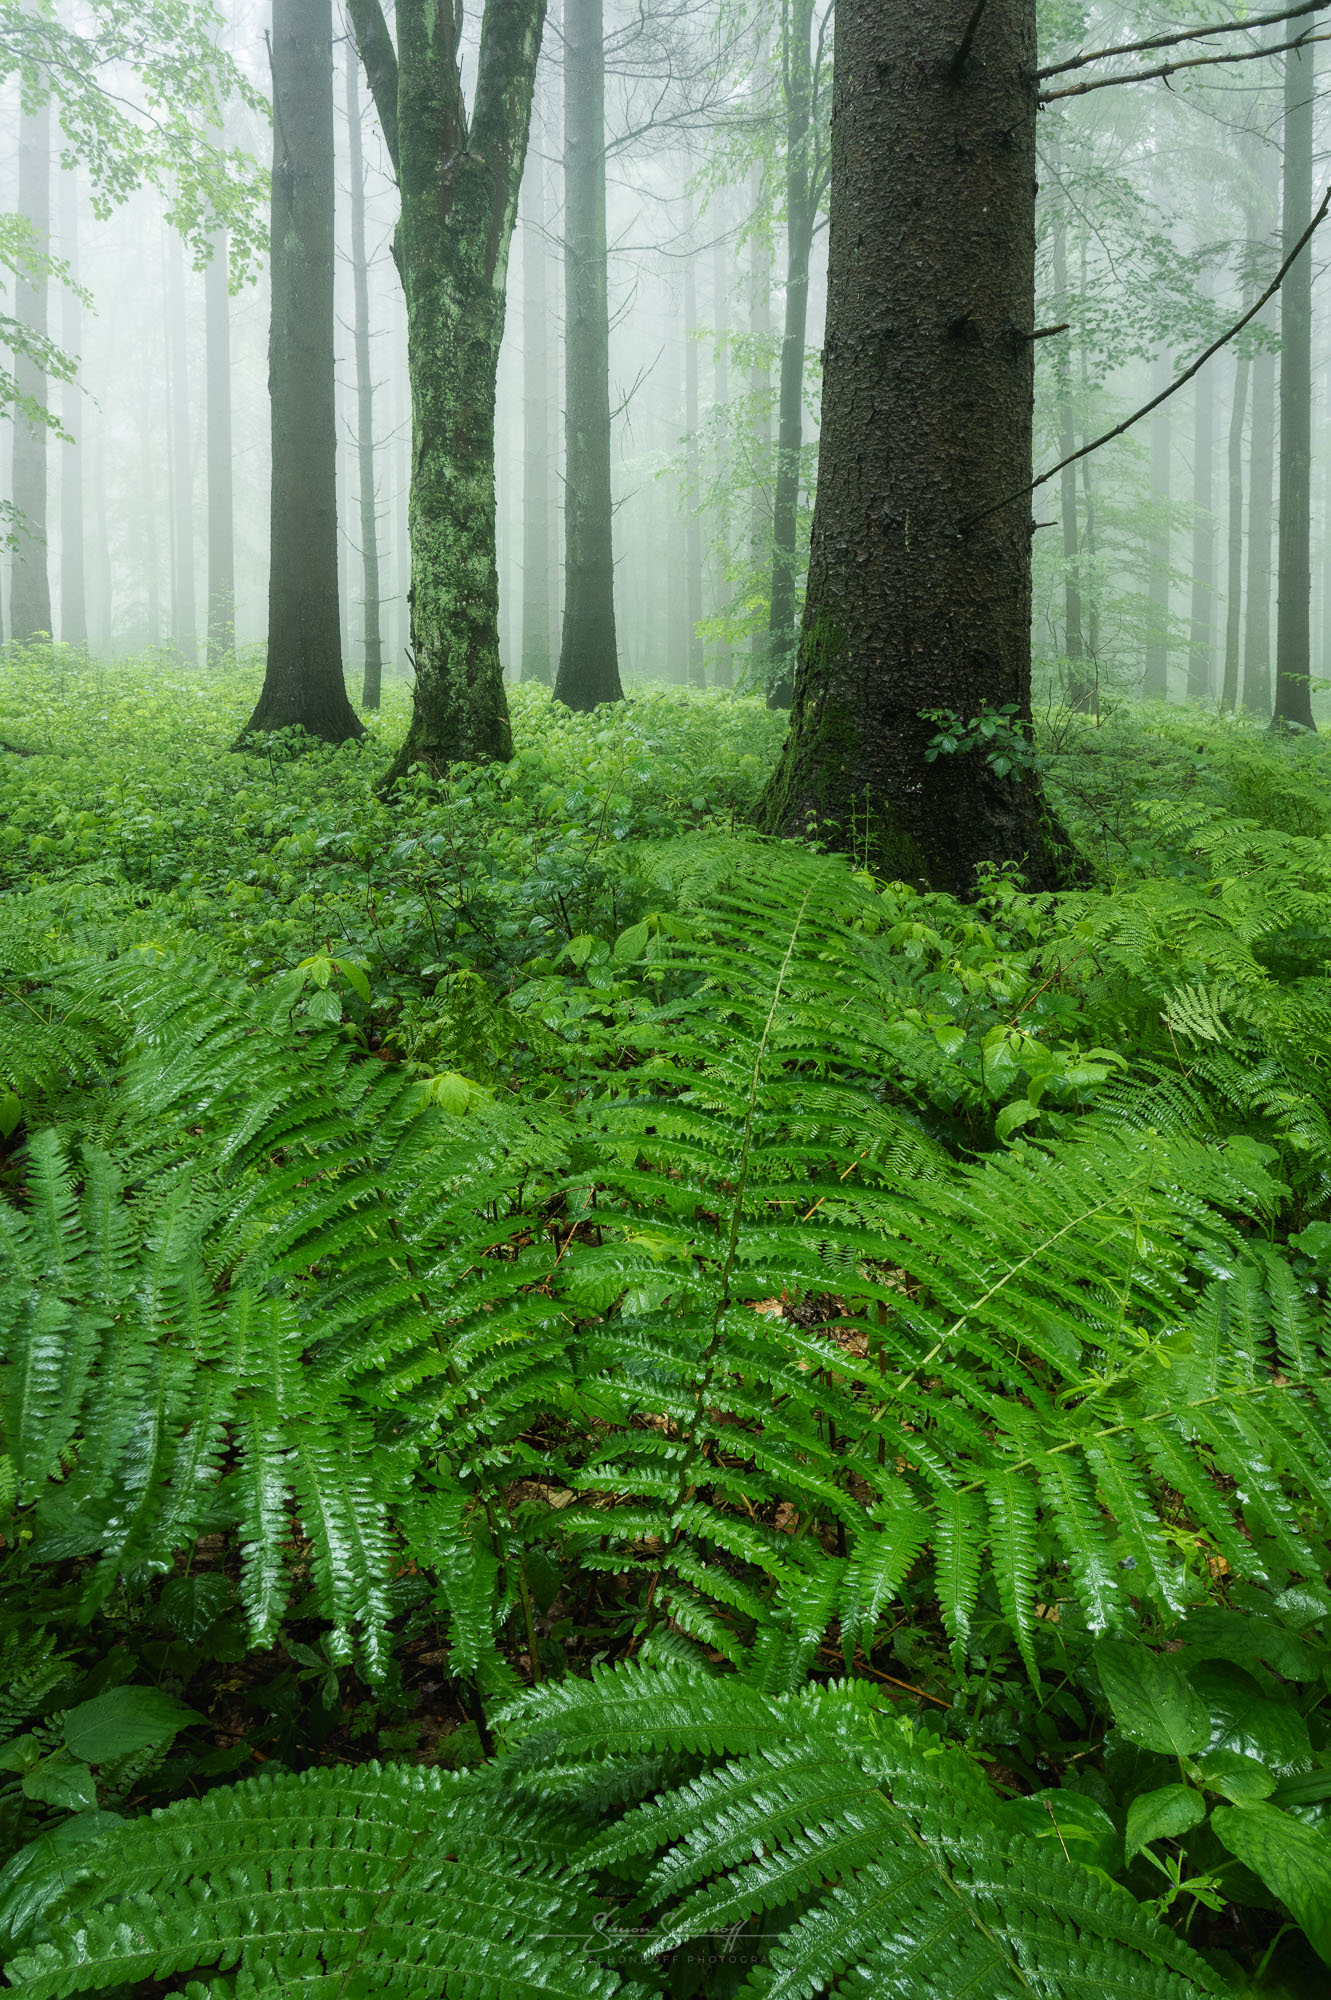
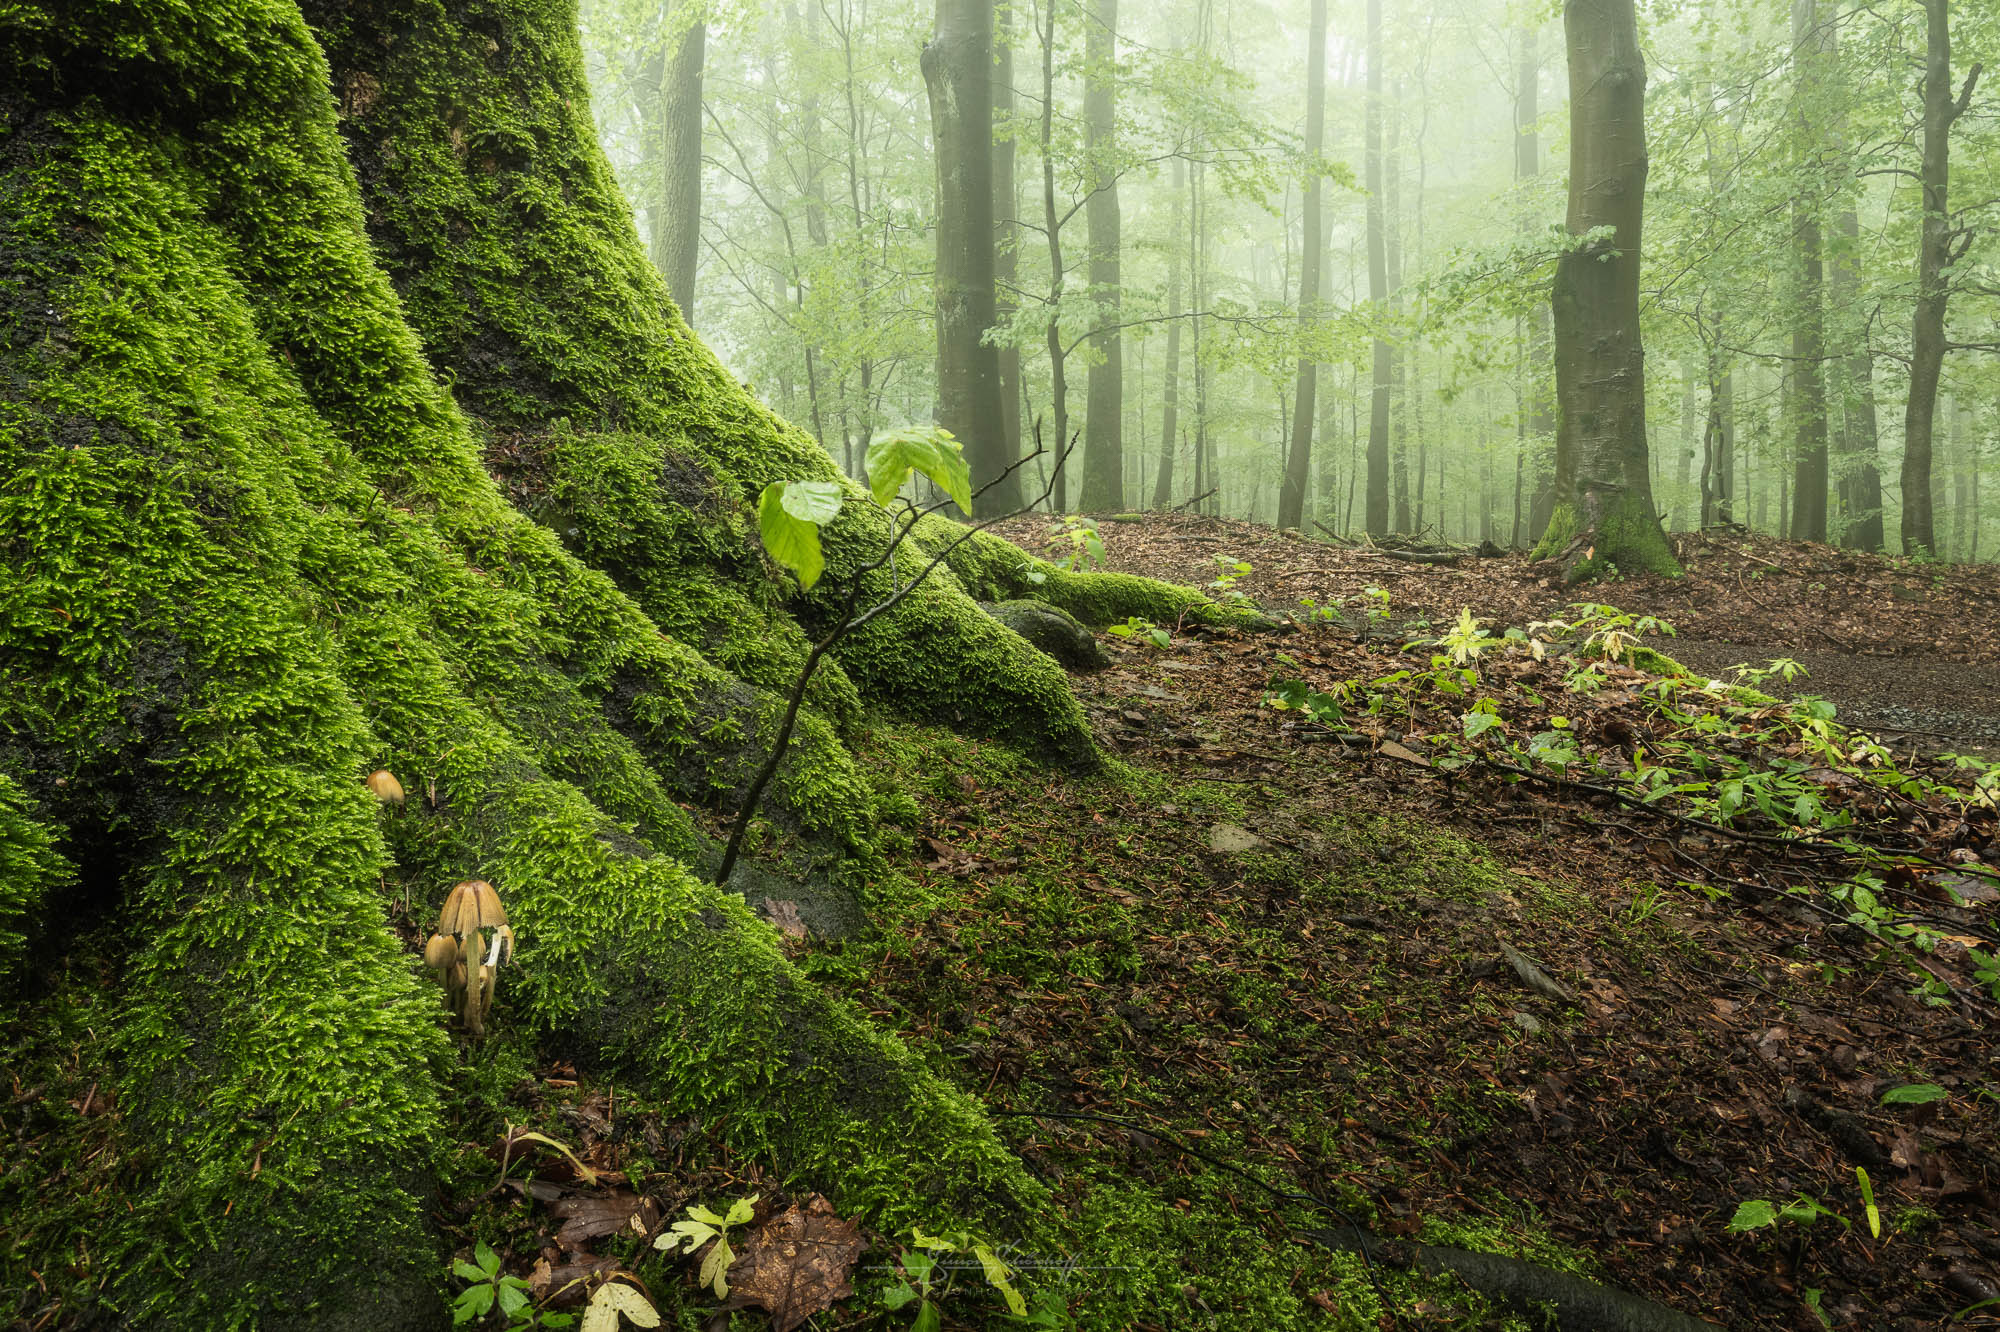
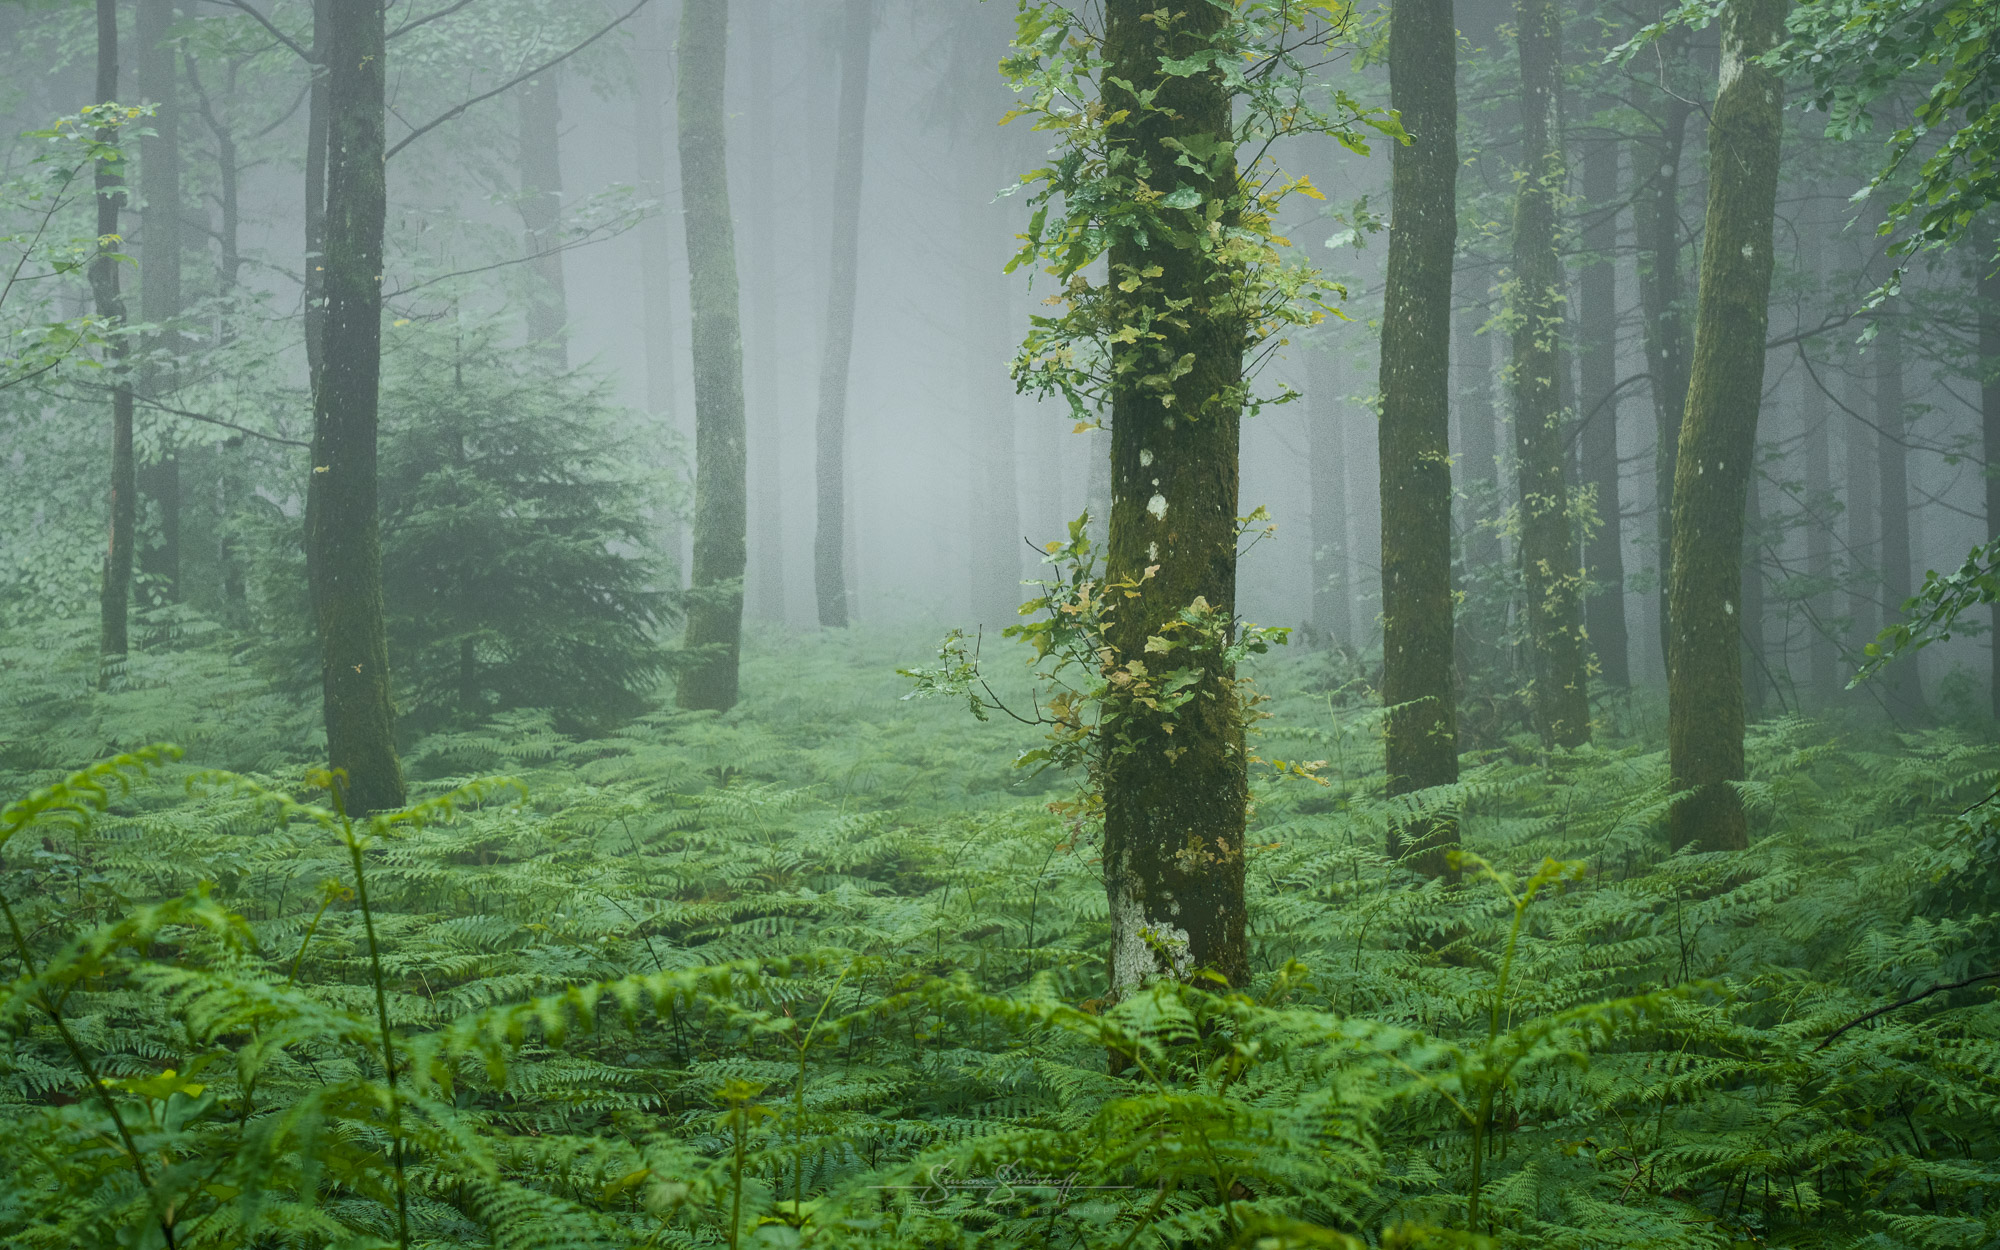
If trees are further apart and the ground and shrub growth is somewhat limited, you can create more minimalist shots. If the ground is overgrown throughout, this can make a beautiful foreground. Ferns also make great foregrounds. Roots and moss are also great foregrounds.
If the ground is boring or pure chaos, I like to use longer focal lengths and pick out details or more intimate scenes from the landscape. Photographic vision helps for all these things and you have to practise, practise, practise.
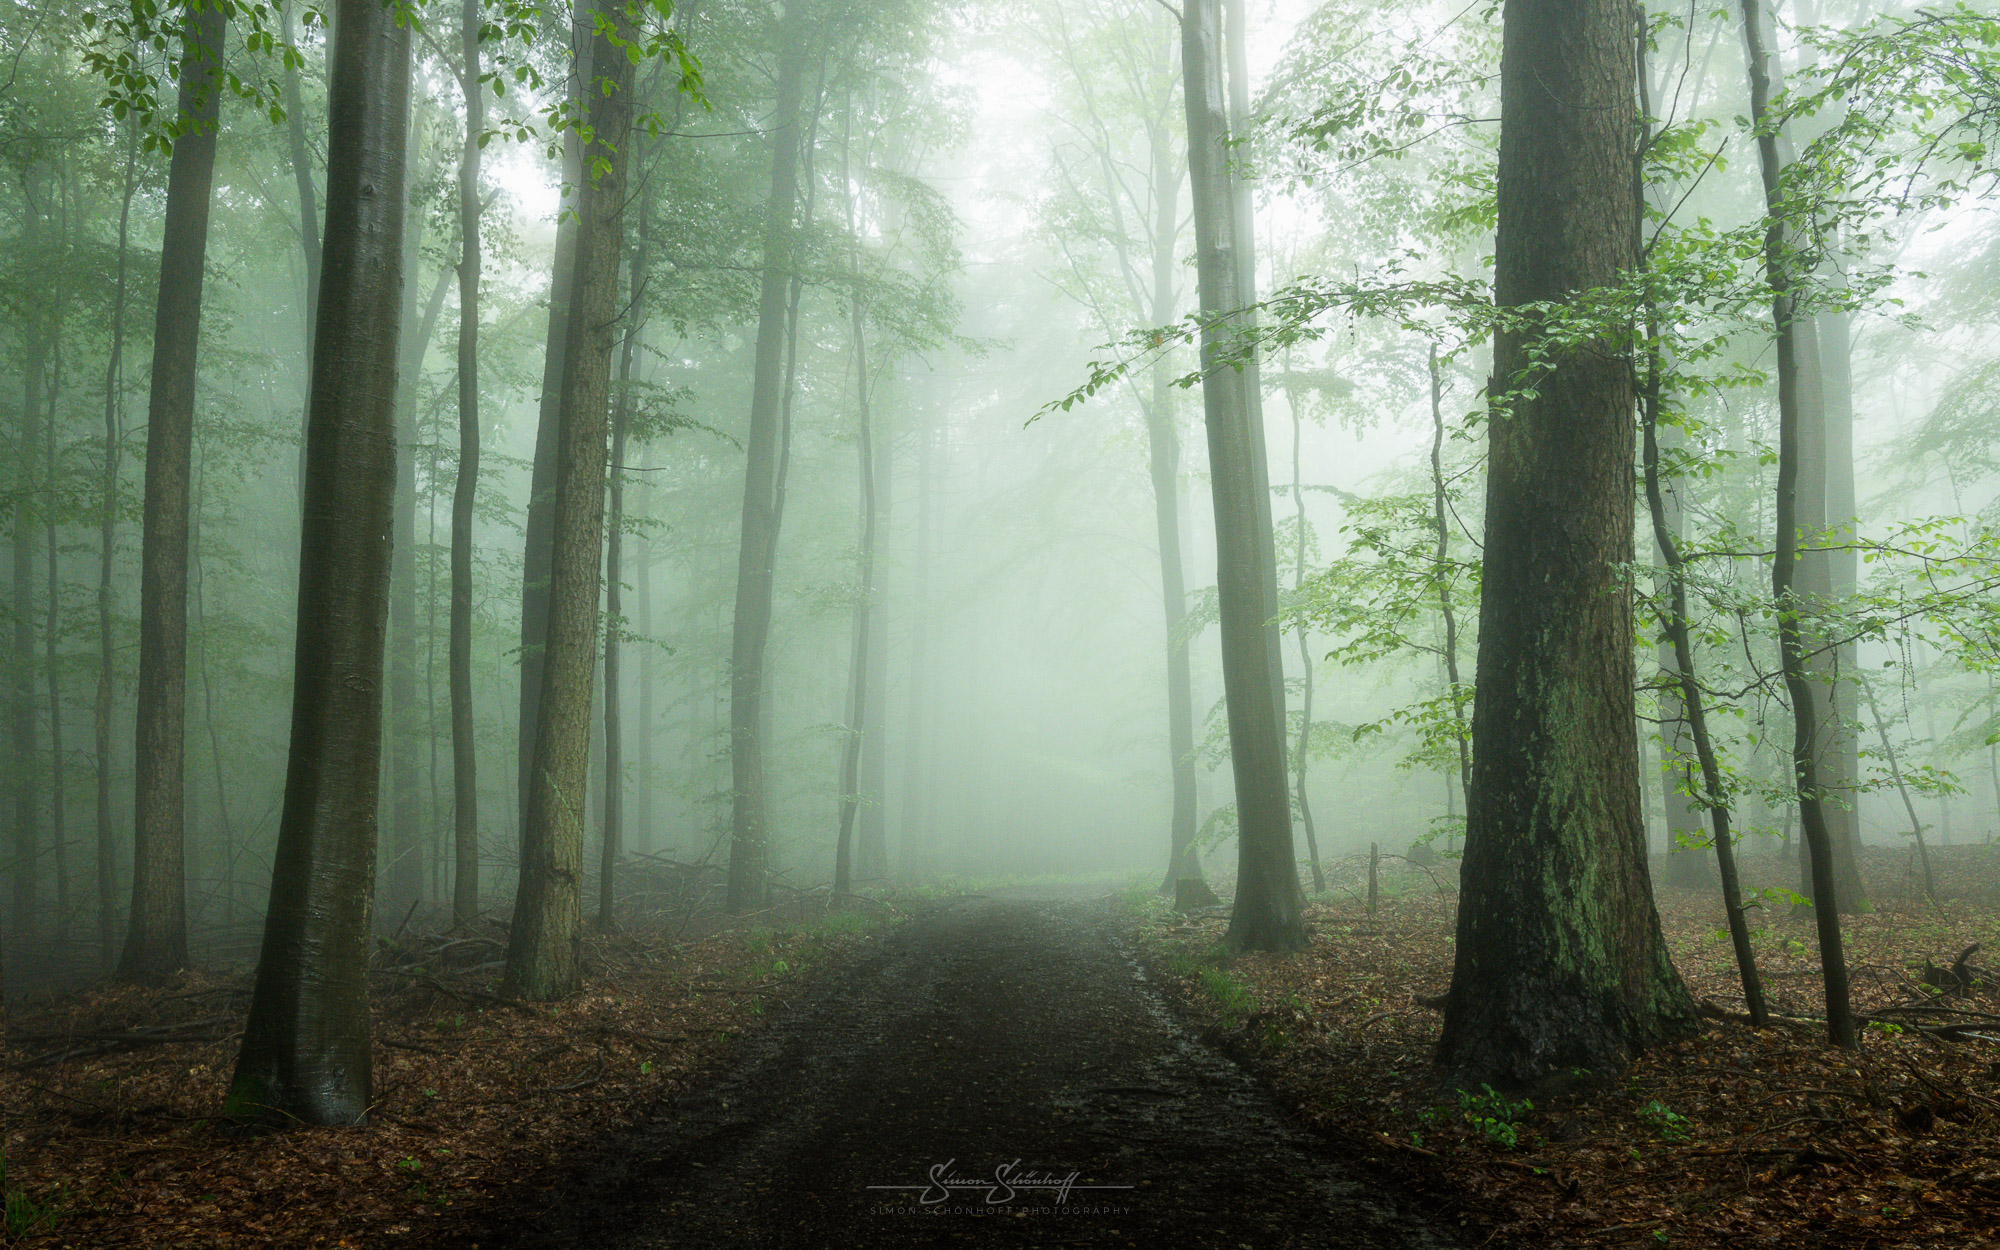
Once I have discovered a special foreground with a suitable opponent or a special motif, the next step is to find a suitable composition. If you take wide-angle photos, you can use your cell phone to try out the best camera position. If you have a flip-up display on the camera, you can also “try it out” from your hand. In general, you should manage without a tripod for the first few moments. Once you have found the best composition, use the tripod for perfect pictures.
Pay attention to every detail in the final composition. If possible, there should be a nice separation between individual trees. The fog naturally helps here and is not only good for the depth effect in the picture. In the forest, centimeters can be decisive. So take your time with the picture and the final shot. Be a perfectionist! This will affect your final result.
Be aware that a low camera position can reduce the size of the middle ground or make other elements disappear. A higher point of view makes sense if you want to take photos above the ground or if you want to show off the ground vegetation.
This and all other shots of this post you can request under “Prints” as an art print for your wall at home directly from me.
Tough conditions this morning, but on the other hand, it couldn’t be better for my favorite pastime of taking photos in the forest, because it’s pouring with rain. You can see what great shots you can take in the summer forest in weather like this in today’s VLOG. Have fun watching!
Feel free to share:
2 Responses
Hallo Simon,
wie ich im Kommentar zum Video schon schrieb: Ein tolles Video aus einem wunderschönen Wald.
Beim schönsten Bild „Ruhemomente der Natur“ habe ich den Eindruck, dass es etwas zu grünstichig ist. Die Blätter sollen grün sein, aber auch der Nebel? Falls meine Vermutung zutrifft: Es ist halt ein typisches Problem der Waldfotografie.
Entweder mehr Magenta bei der Bearbeitung oder (wenn man einen Satz kleiner Grau- und Weißkarten hat) zu Beginn ein Foto mit den Karten im Bild und per Pipette den Weißabgleich vornehmen. Funktioniert nicht immer, aber erspart viel weitere Arbeit wenn es klappt.
Gruß Bernd
Hi Bernd,
vielen Dank für dein Feedback! Du hast recht, dass viele Kameras (besonders meine alte Sony a7III) da wirklich Probleme mit dem Weißabgleich im Wald hatten. Die Sony a7IV macht es zu 99% echt Top.
In diesem Fall wirkte der Nebel vor Ort, durch den grünen sommerlichen Wald, ebenfalls schon grünlich. Man erkennt es sogar im Video etwas und ich war vor Ort schon darüber erstaunt. In der Nachbearbeitung habe ich das dann bewusst so gelassen, wie ich es auch vor Ort gesehen habe. Das zarte Grün unterstreicht die Ruhe und Gelassenheit, die das Bild ausstrahlen soll und für das es in der Farbsymbolik steht, sogar noch etwas in meinen Augen. Aber ich denke hier kommt auch ein wenig der künstlerische Aspekt der Fotografie zum Tragen. Vermutlich würden 10 von 10 Fotografen dieses Bild auch ein wenig anders bearbeiten.
Viele Grüße,
Simon